Crystal's Okie Wagon #2
You may know of my first wagon in the post below.
viewtopic.php?f=5&t=6015
I just got back from a 10 hour trip picking up another one.
This one is red. Plans are swap out the a6 rt setup for a b20 crv awd setup. Pics are how I picked up the car. Car was in pretty good shape. Interior was really clean and it had an black oem roof rack which can be hard to come buy. If you want to see the other one that I own check the link below.
New Wagon
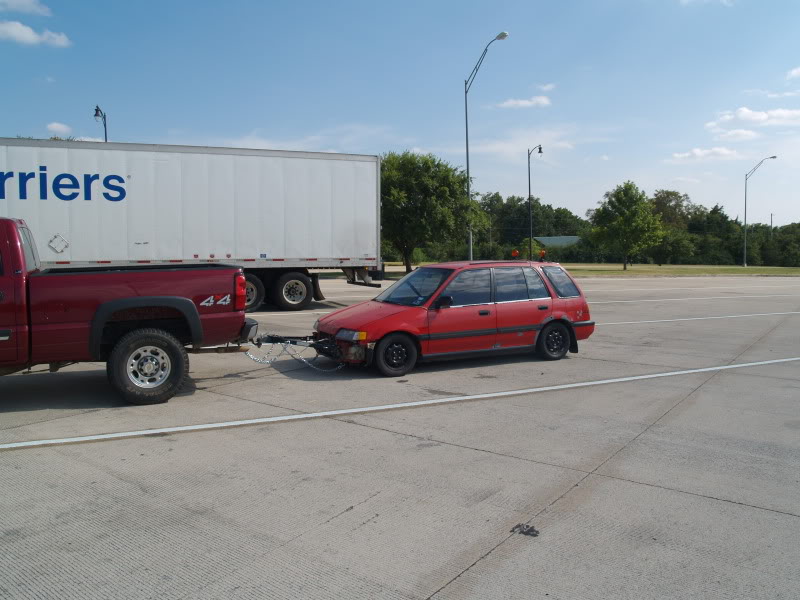
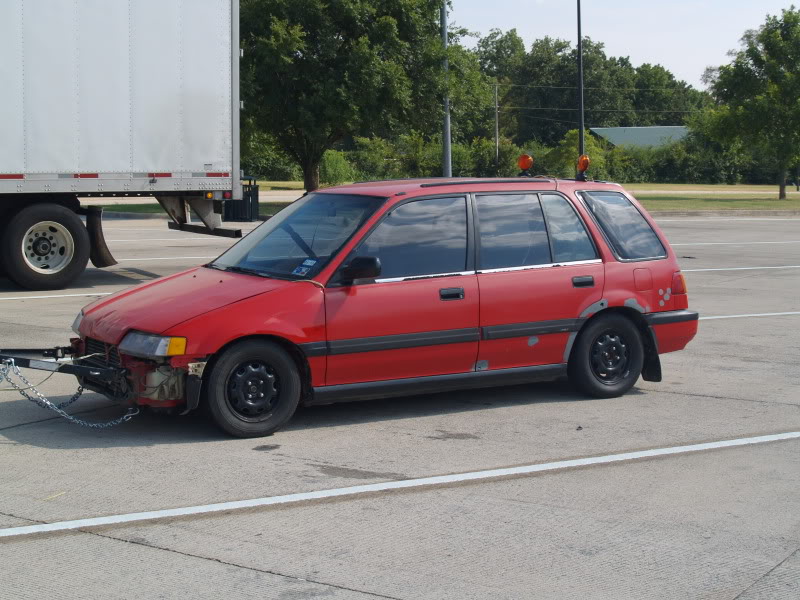
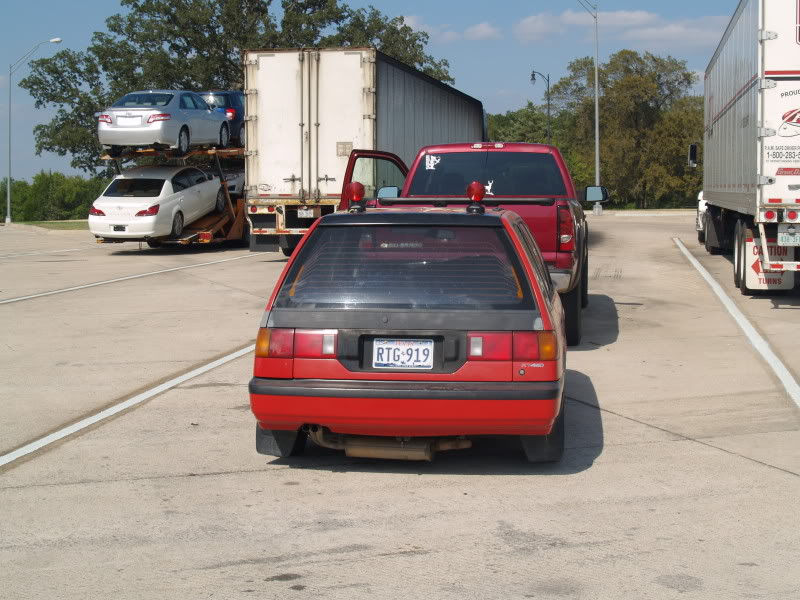
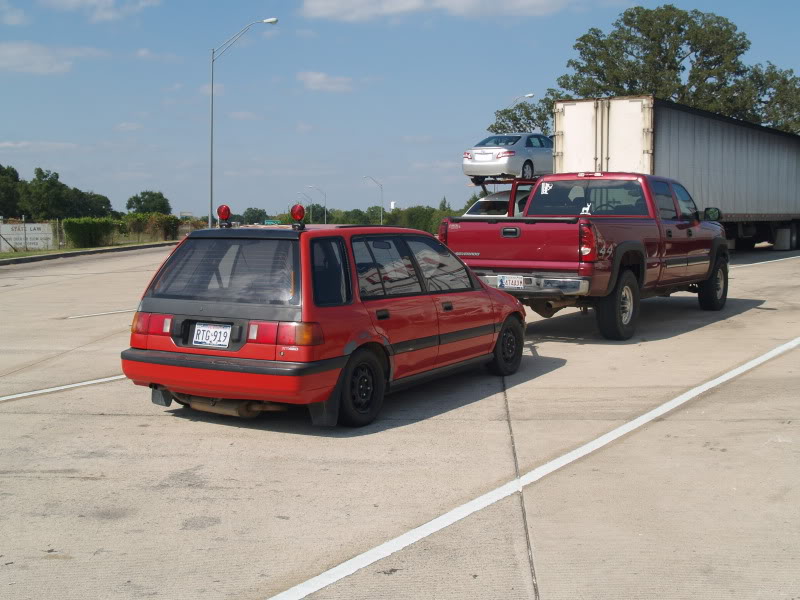
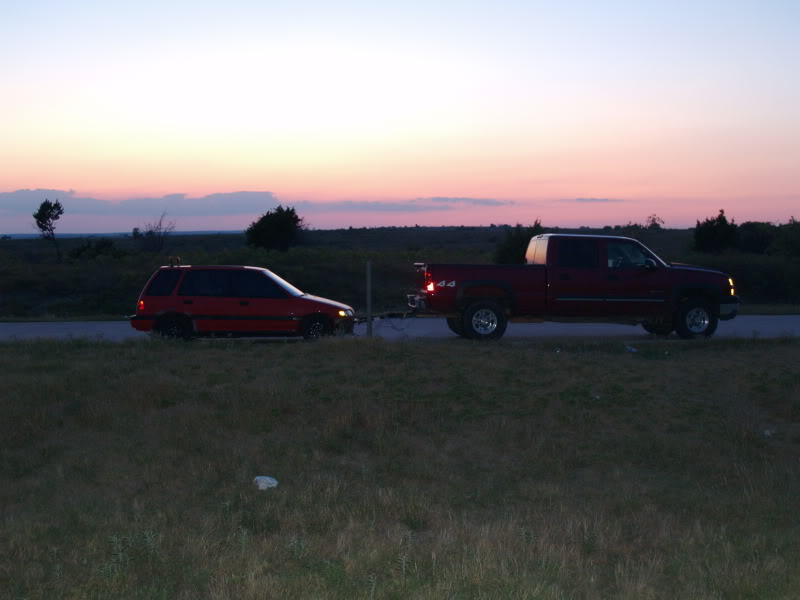
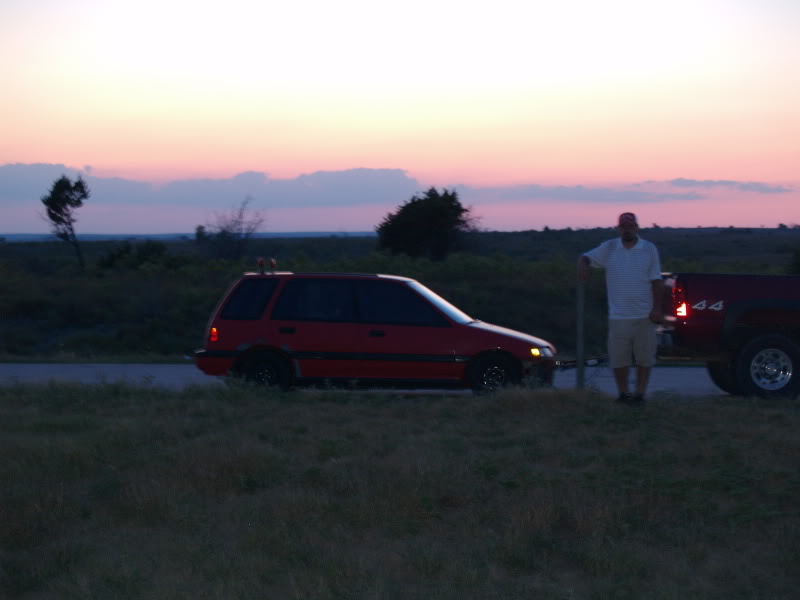
Random pics during trip
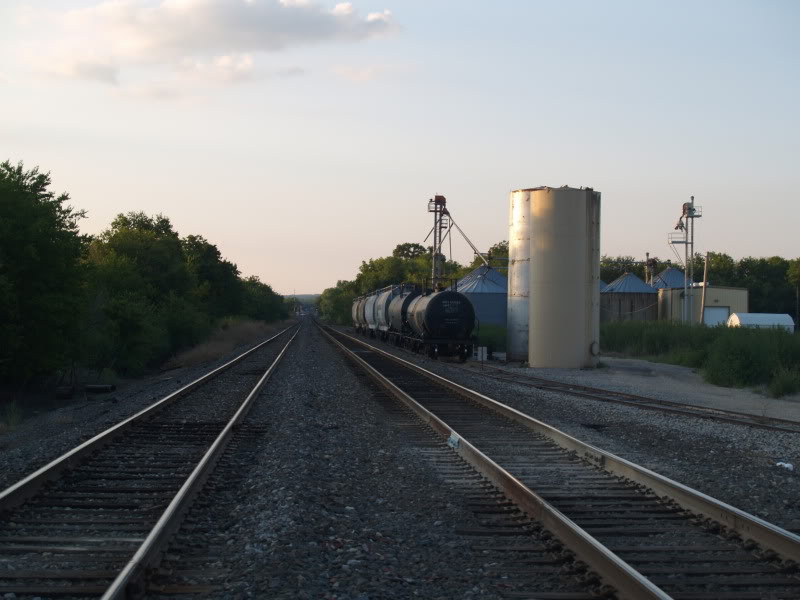
Nice Train Pics
viewtopic.php?f=5&t=6015
I just got back from a 10 hour trip picking up another one.
This one is red. Plans are swap out the a6 rt setup for a b20 crv awd setup. Pics are how I picked up the car. Car was in pretty good shape. Interior was really clean and it had an black oem roof rack which can be hard to come buy. If you want to see the other one that I own check the link below.
New Wagon


Random pics during trip

Nice Train Pics

Comments
look familiar?
Glad to see someone from this forum has it. Now I know it will be taken care of the right way.
I will be there with two wagons. The Okie1 and the Okie2 as I have named them.
thanx...
send my regards to...
hokey and pokey...
The wagon has received
Yakima Roof Rack
Stock Roof Rack
JDM Light Bar with lights
AEM Intake
Plugs/Wires/Cap/Rotor/etc.....
Hitch for towing my one man pontoon boats
Black 16' Rota Slips with toyo proxes 205/40
8k Hid's
Yellow Brights
Ground Control Coilovers on adjustable tokico whites
Pioneer Head Unit and door speakers
Full custom exhaust by me :roll:
Soon to come:
Front Foglights from a 89 prelude tinted yellow
Rear Foglights (still need to find these though)
Rear Speaker Pods (I have these in brown just need to paint grey)
Heres another project: It was painted last year but notice some flaws so repaint. one of them was when the rust in the wheel arches was fixed the rust came back. So out with the whole damn quarter and on with a new one. :shock:
viewtopic.php?f=27&t=8419
Followed the KISS (Keep It Simple Stupid) Method
Remove Headliner (please tell me you can atleast do this)
Measure, Mark, and Cut so that DA light falls into place. I cut so close to perfect that the light snapped in and I couldnt get it out.
I then used metal strap (man I love this stuff I always have some in the garage) to hold it into place. I ran 10mm bolt through the strap and into the map light and then ran a nut to pull everything together.
Then I went for the overkill and added one more strap just because.
Next came the wiring.
Two wires come off of the Map Light. One for power and one for ground. You can run the power to any spot you want. I chose a constant power source so the car would not have to be on for the light to work. And it just so happens you can go right to the white wire on your dome light for power (KISS).
Then I found a good ground on the power seat belt bracket.
Then put everything back together and enjoy.
i believe a DA...
very cool mod!
And for those who havent seen Crystal's (Okiewagon2) 91 Integra here you go
i'll trade ya for stock...
j/k
Fresh Hood
Custom Made Tophats. Ride quality has been well lets just say bad once I added the ground controls and tokico adjustables so I decided to try and make some tophats.
Started by seperating the top buckets.
Then Welded a 1 3/4 pipe between the buckets
Unfinished Product Compared to Stock. Not a huge difference but I think enough.
Finished