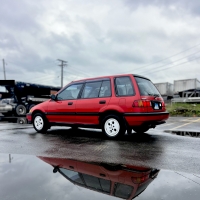
My Red Gem RT
 Vtec_Shuttle
Wagonist
Vtec_Shuttle
Wagonist
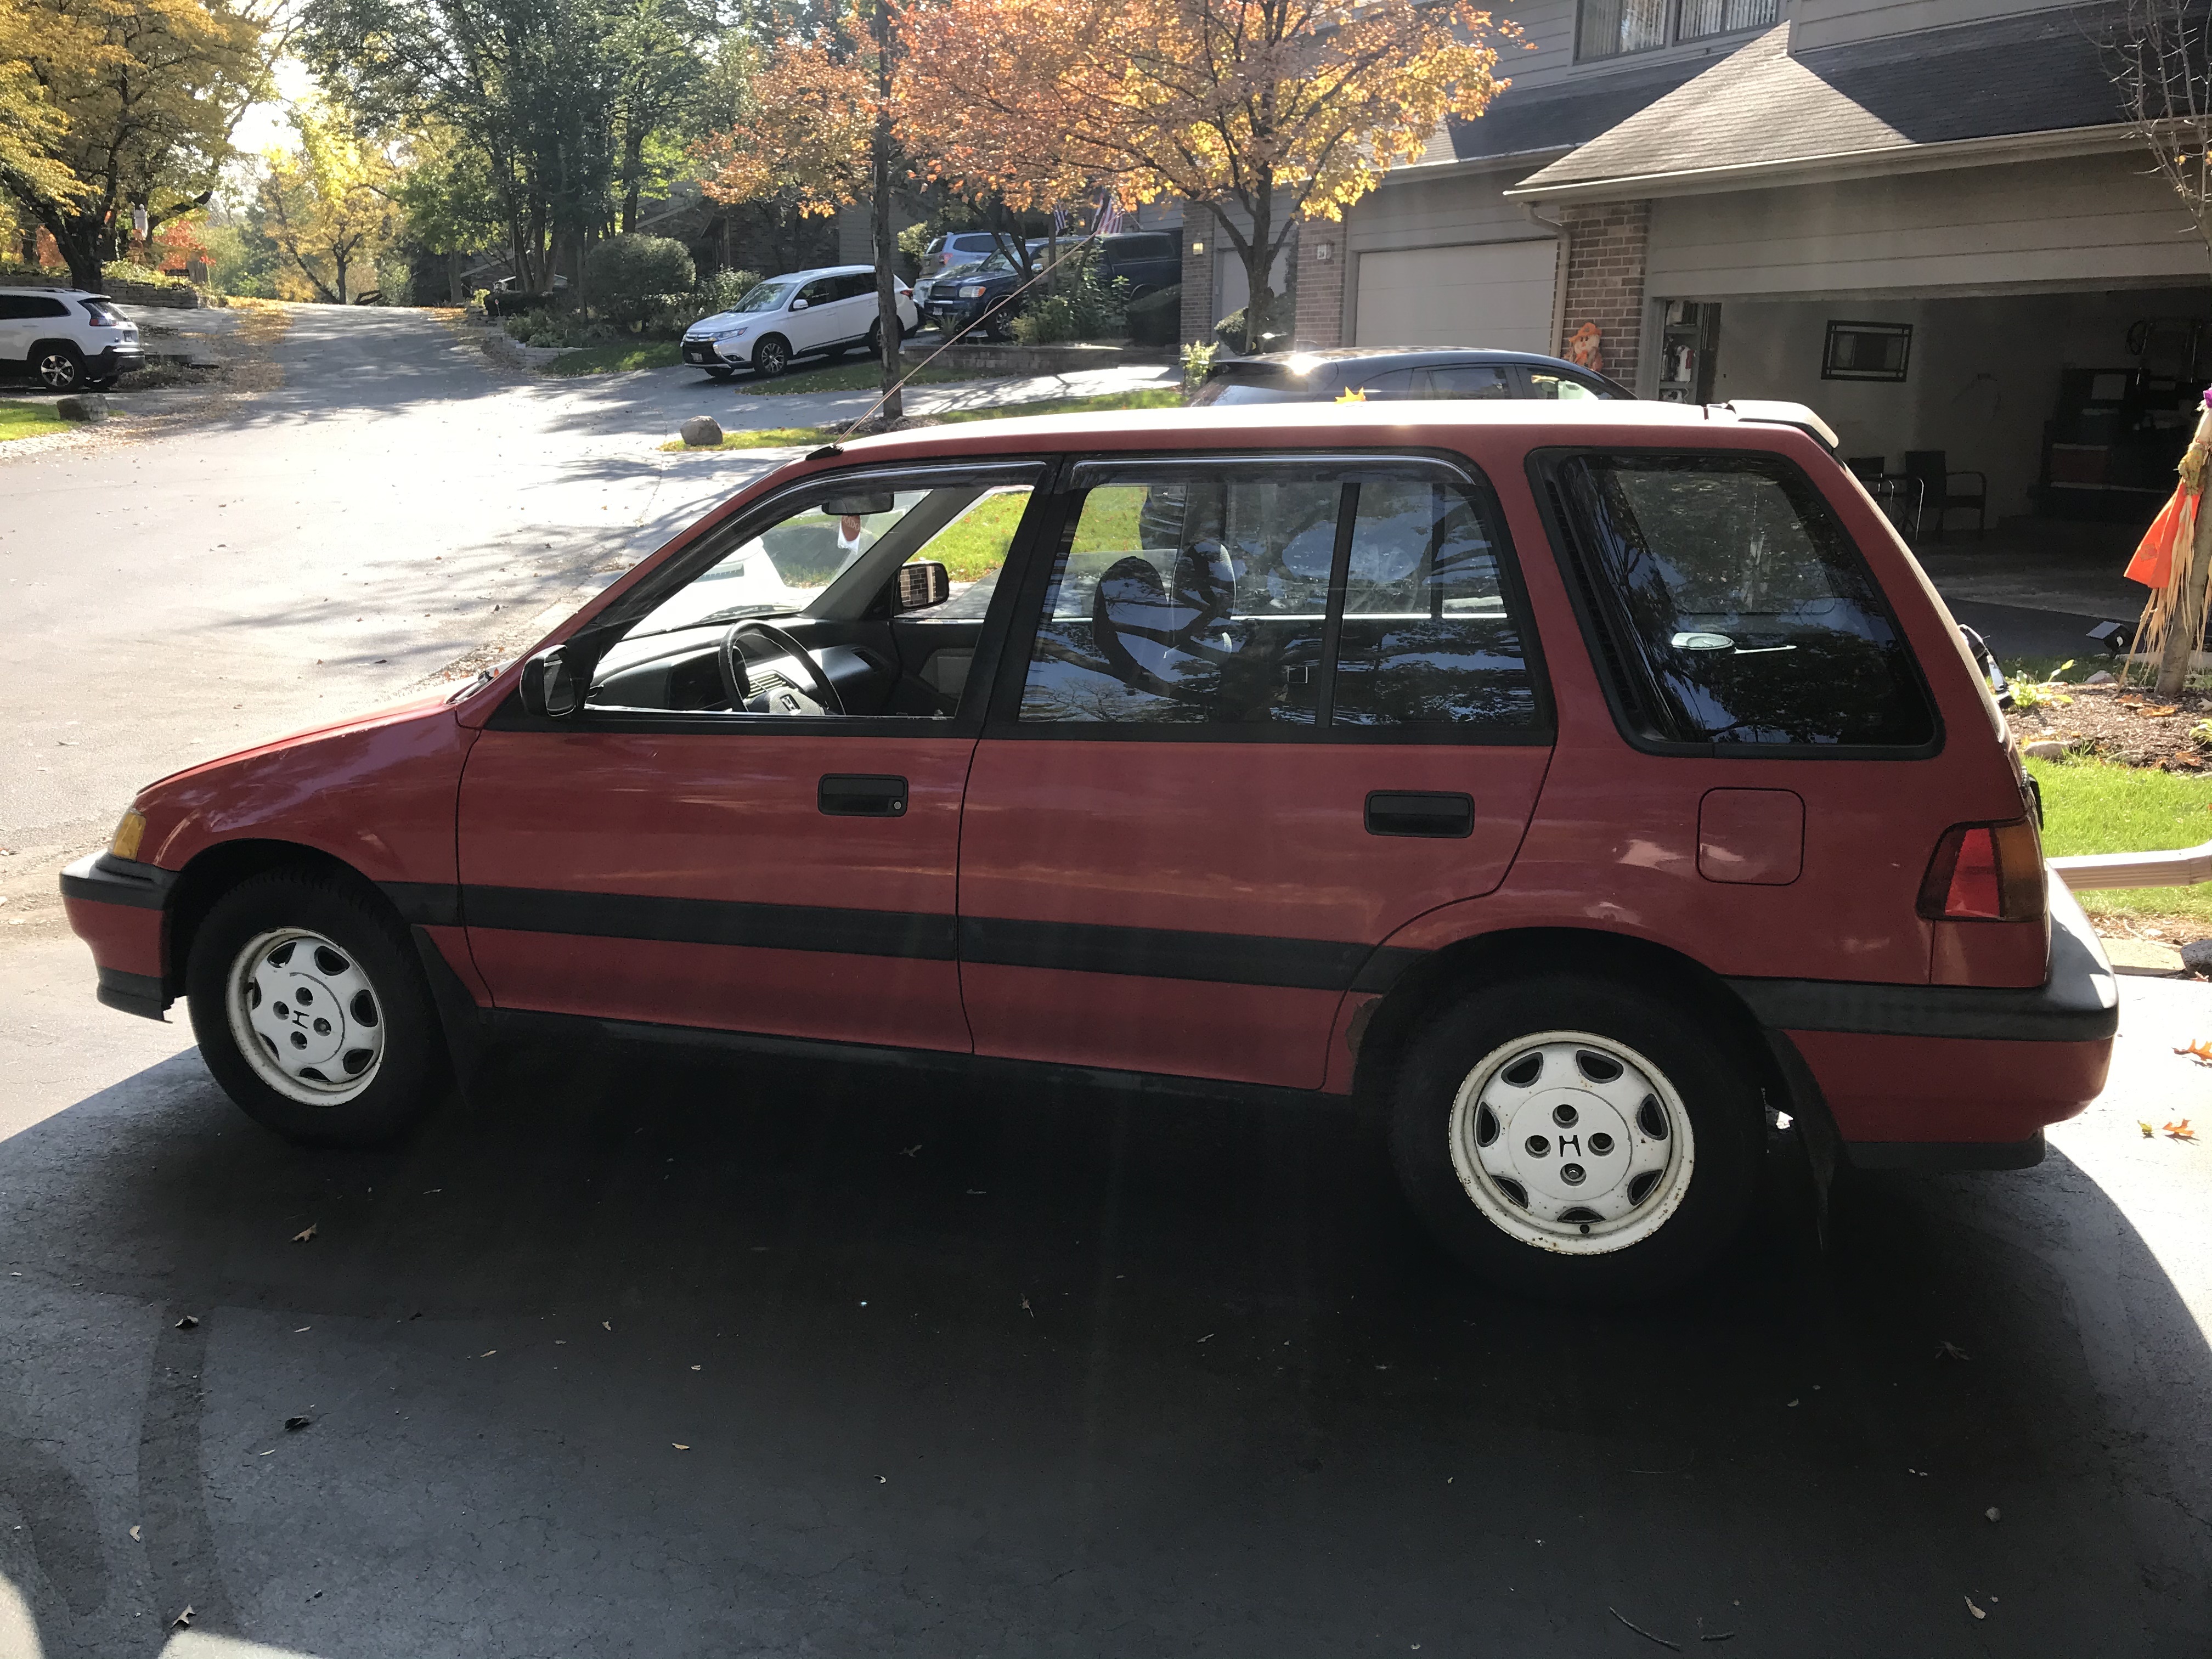
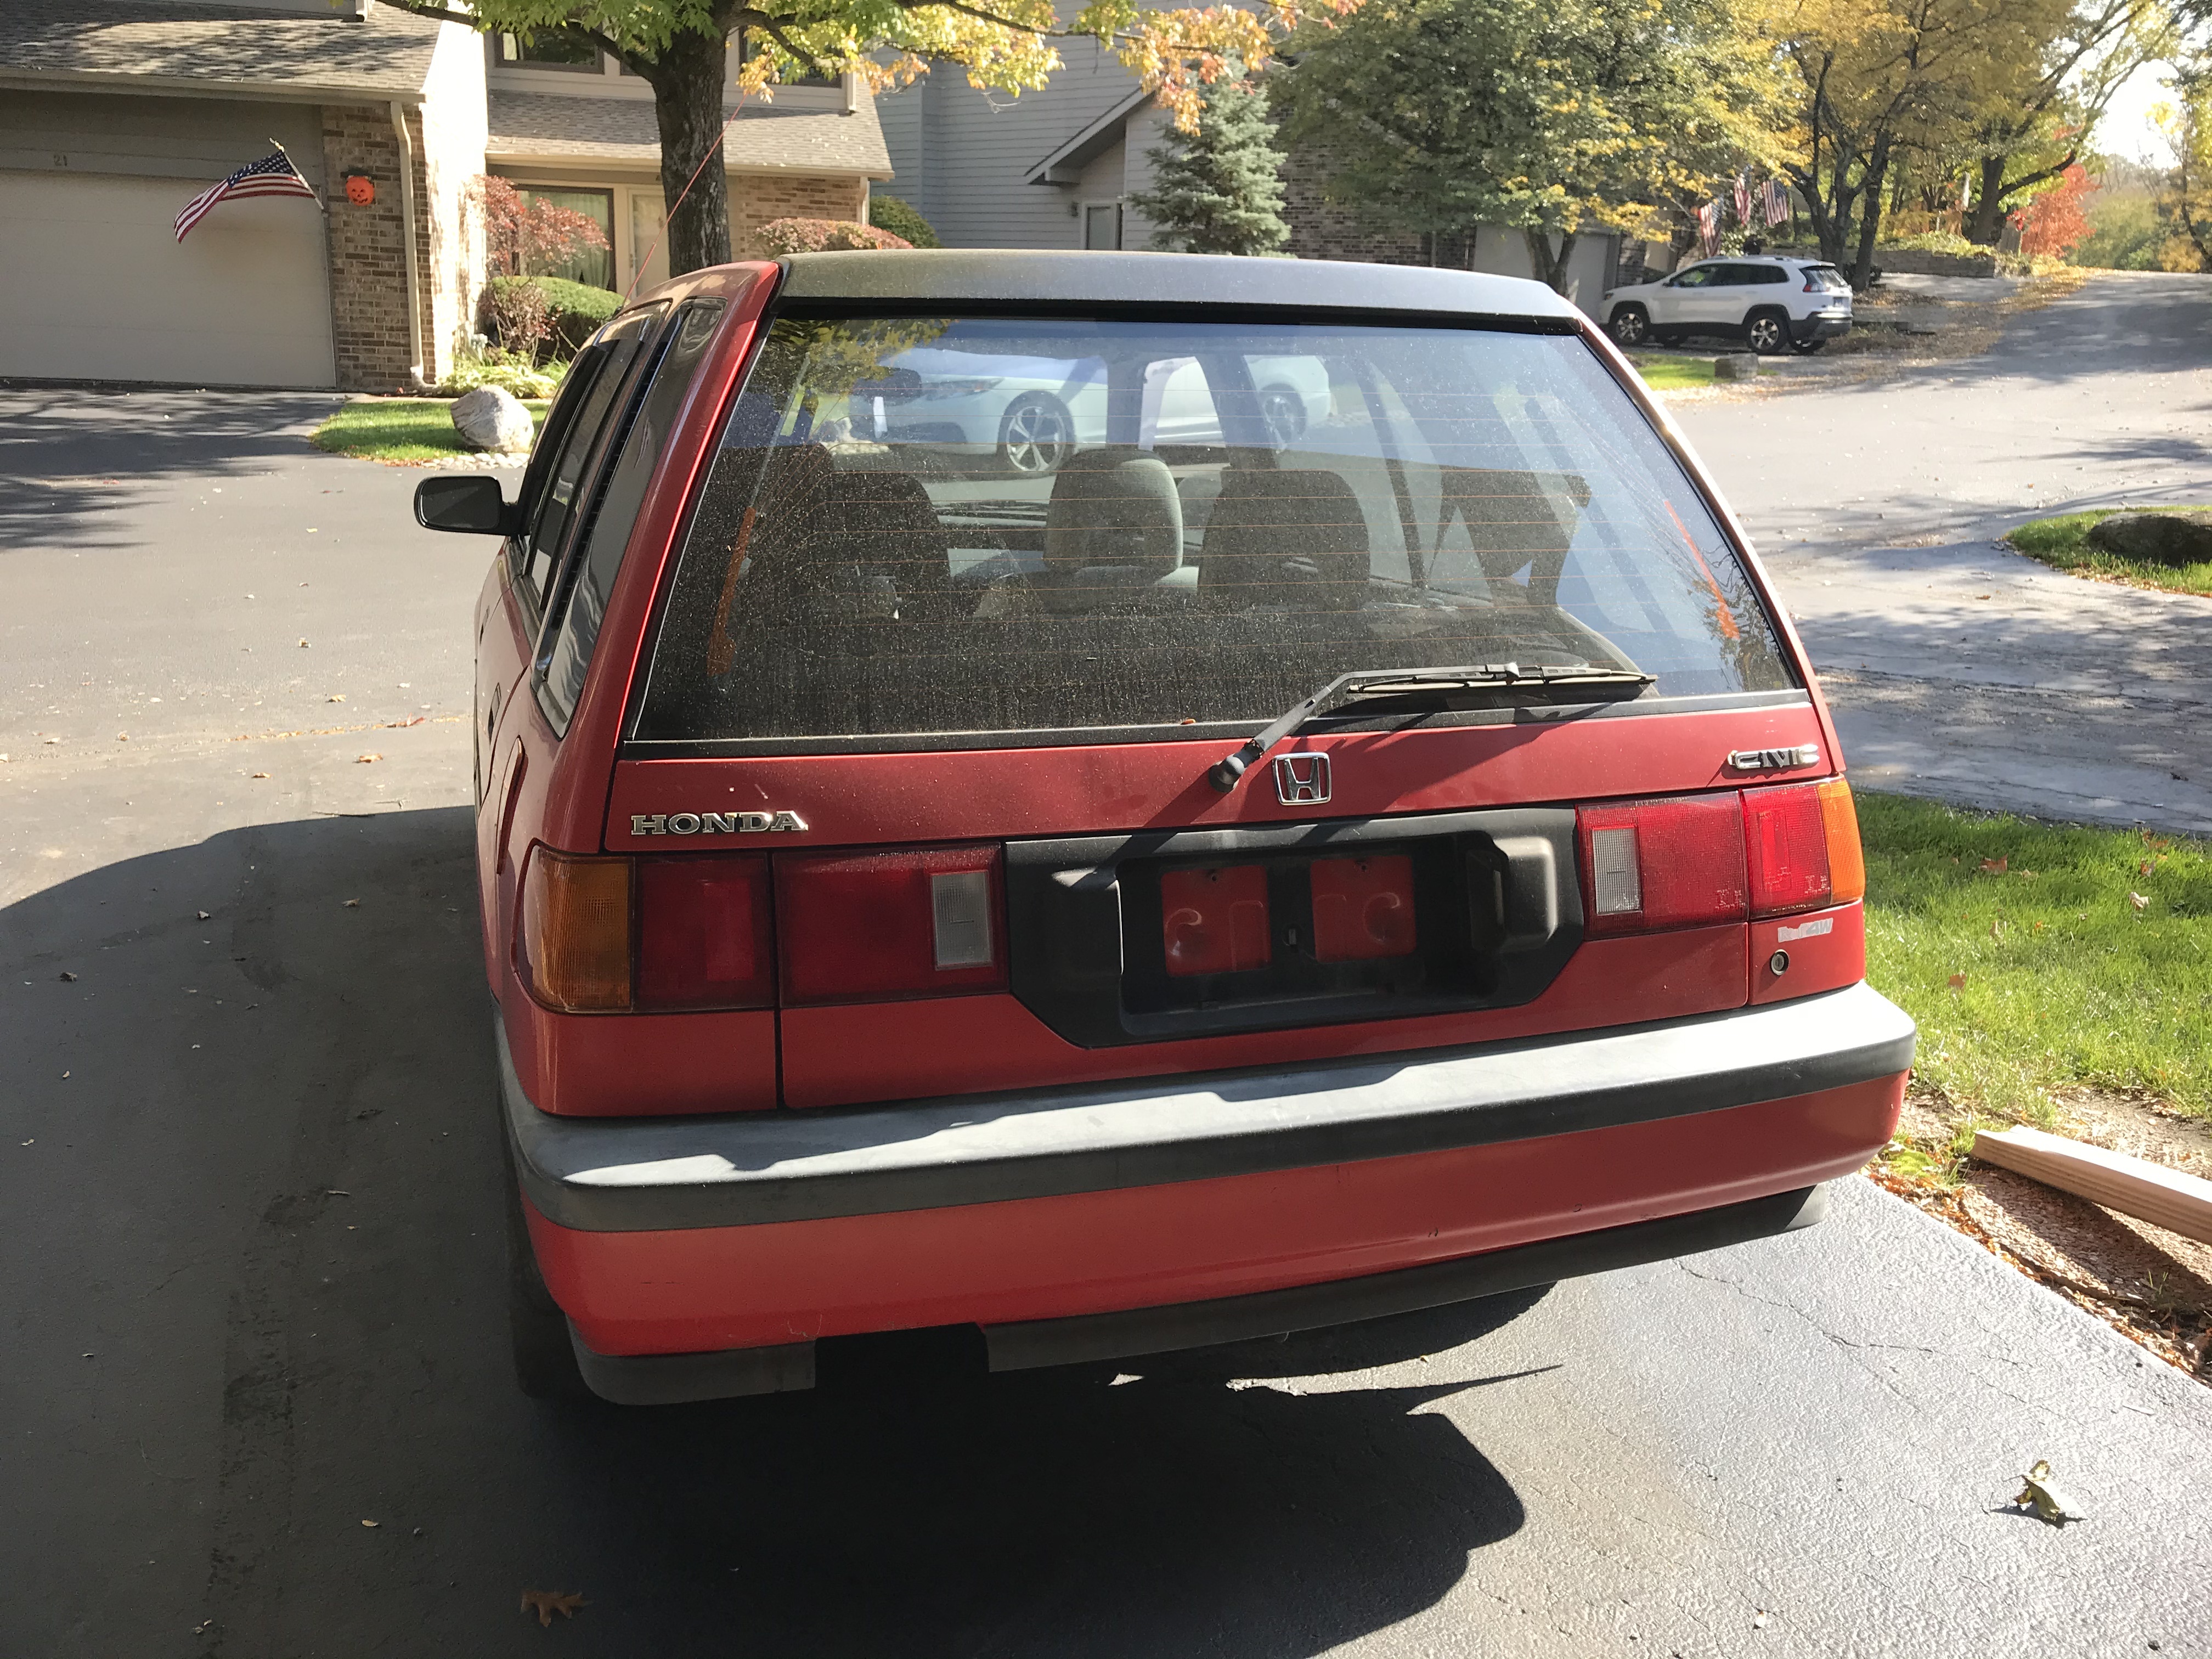
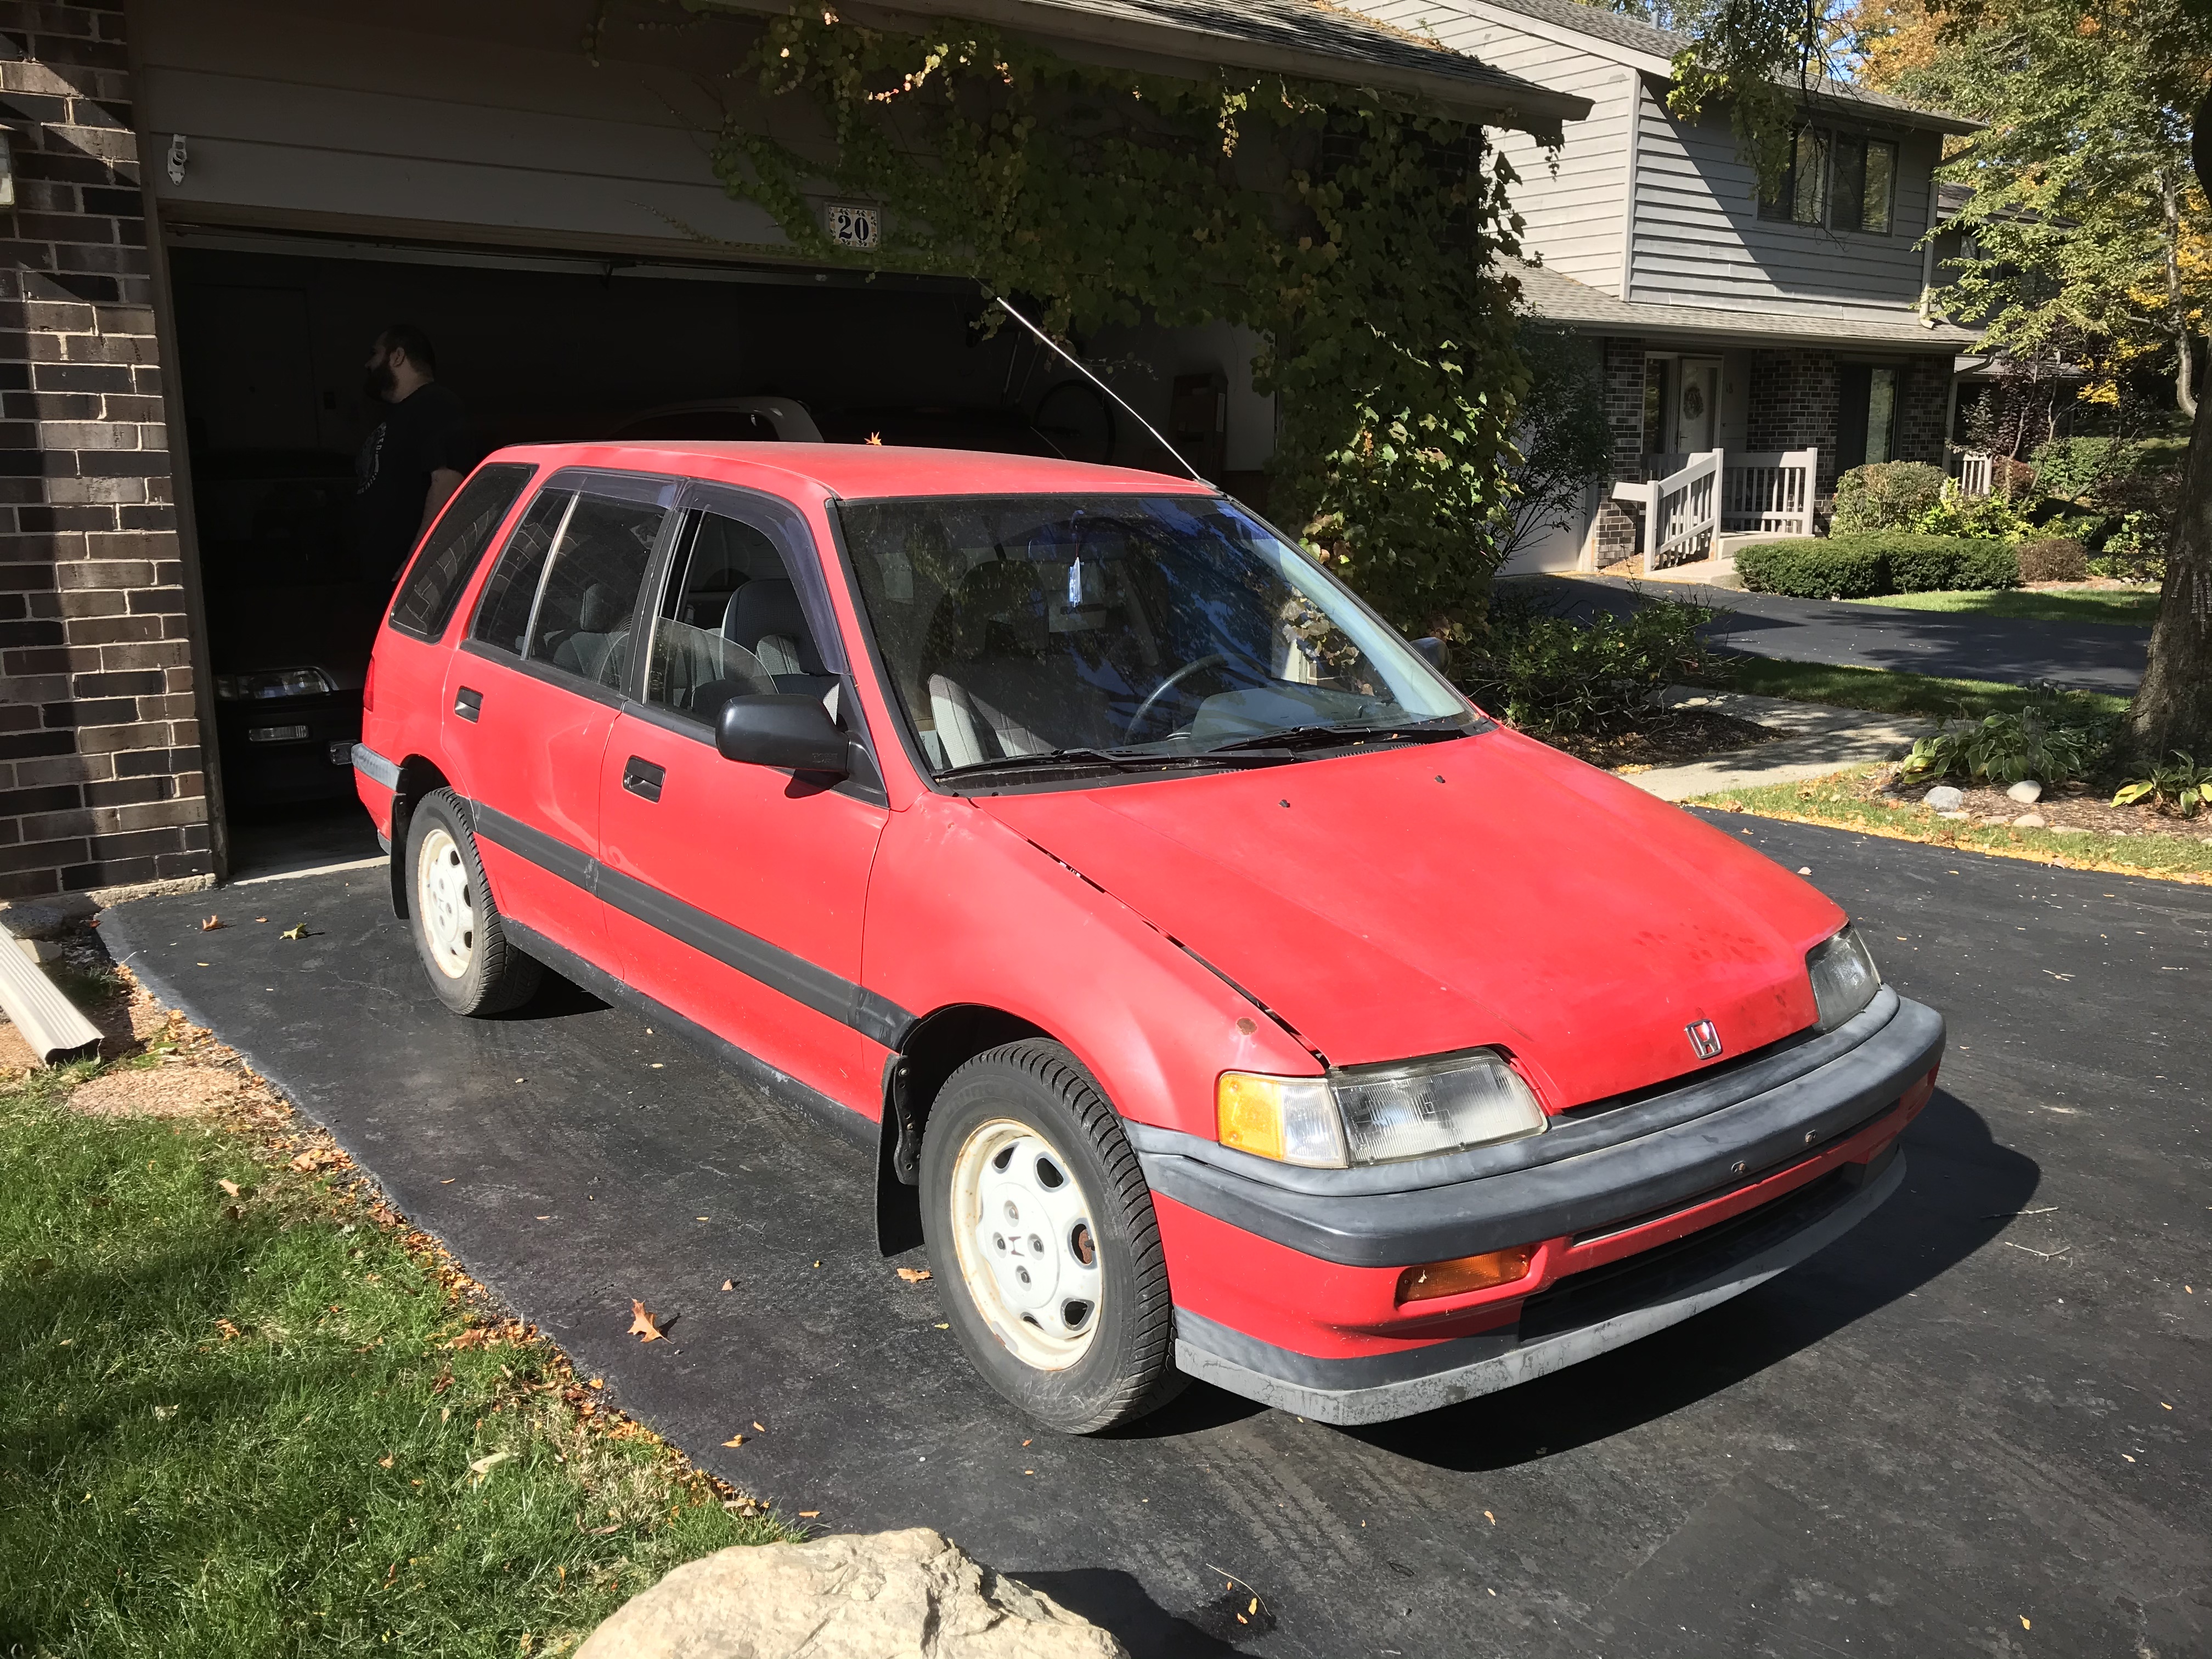
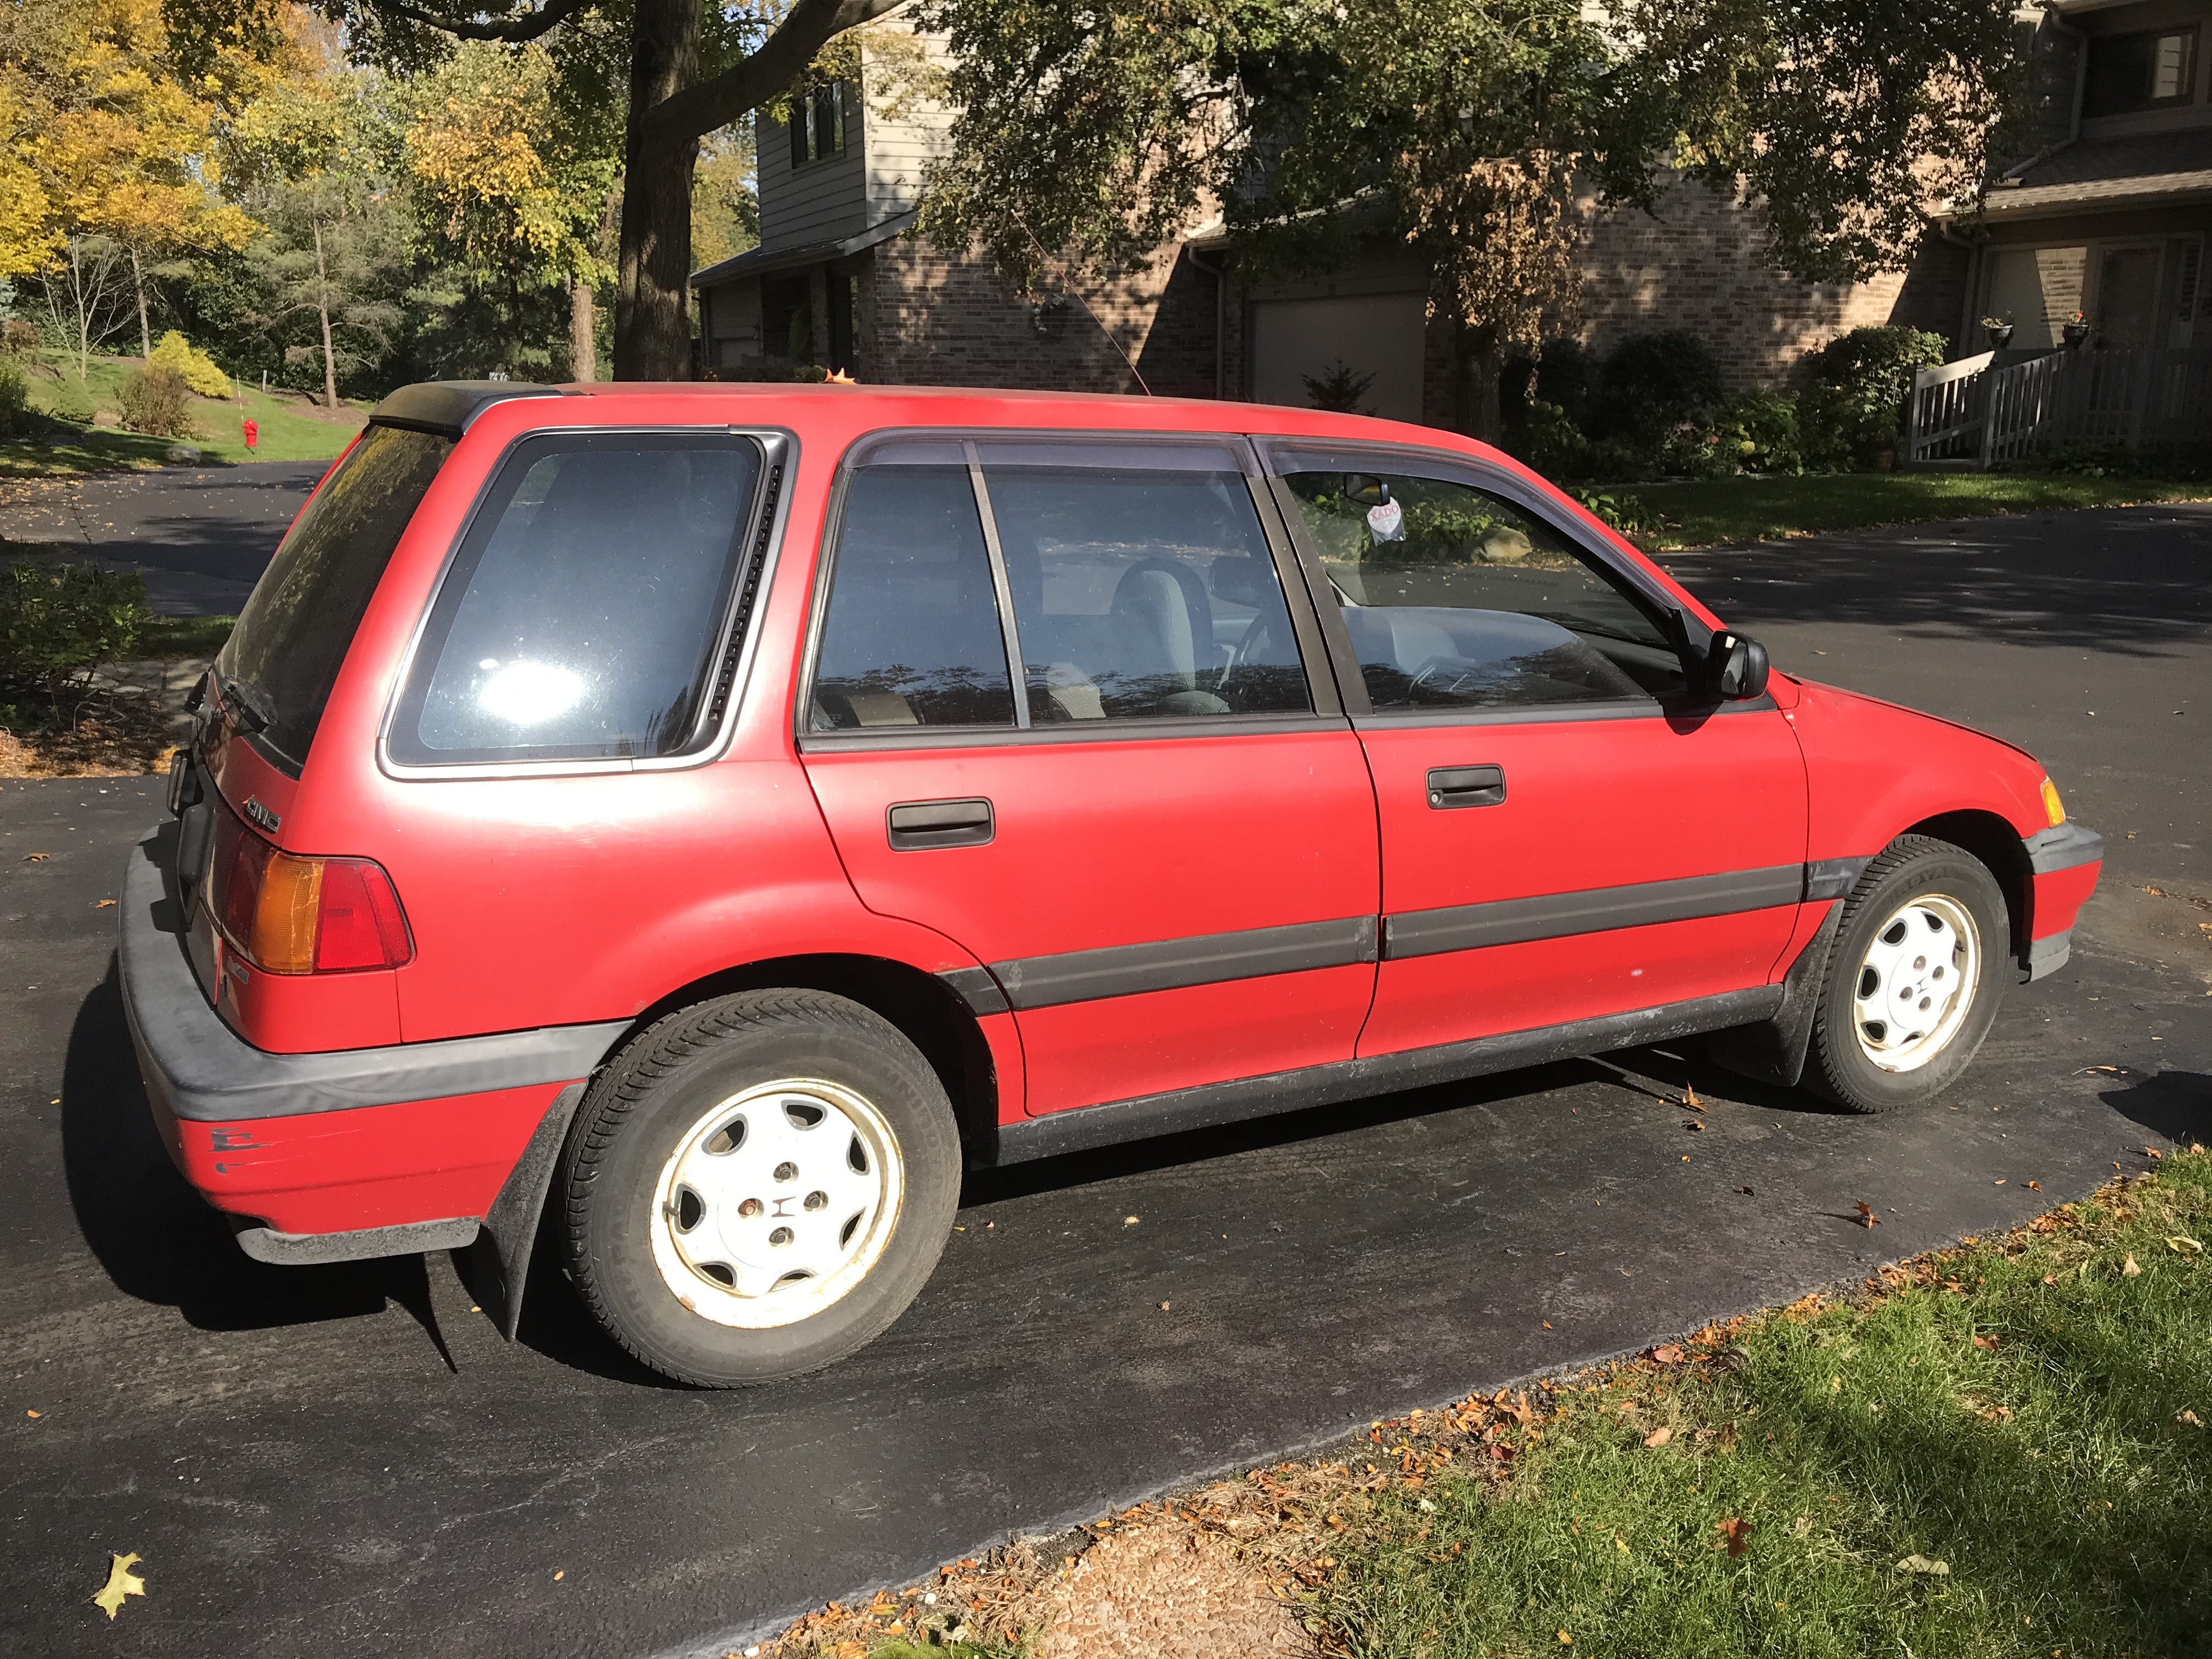
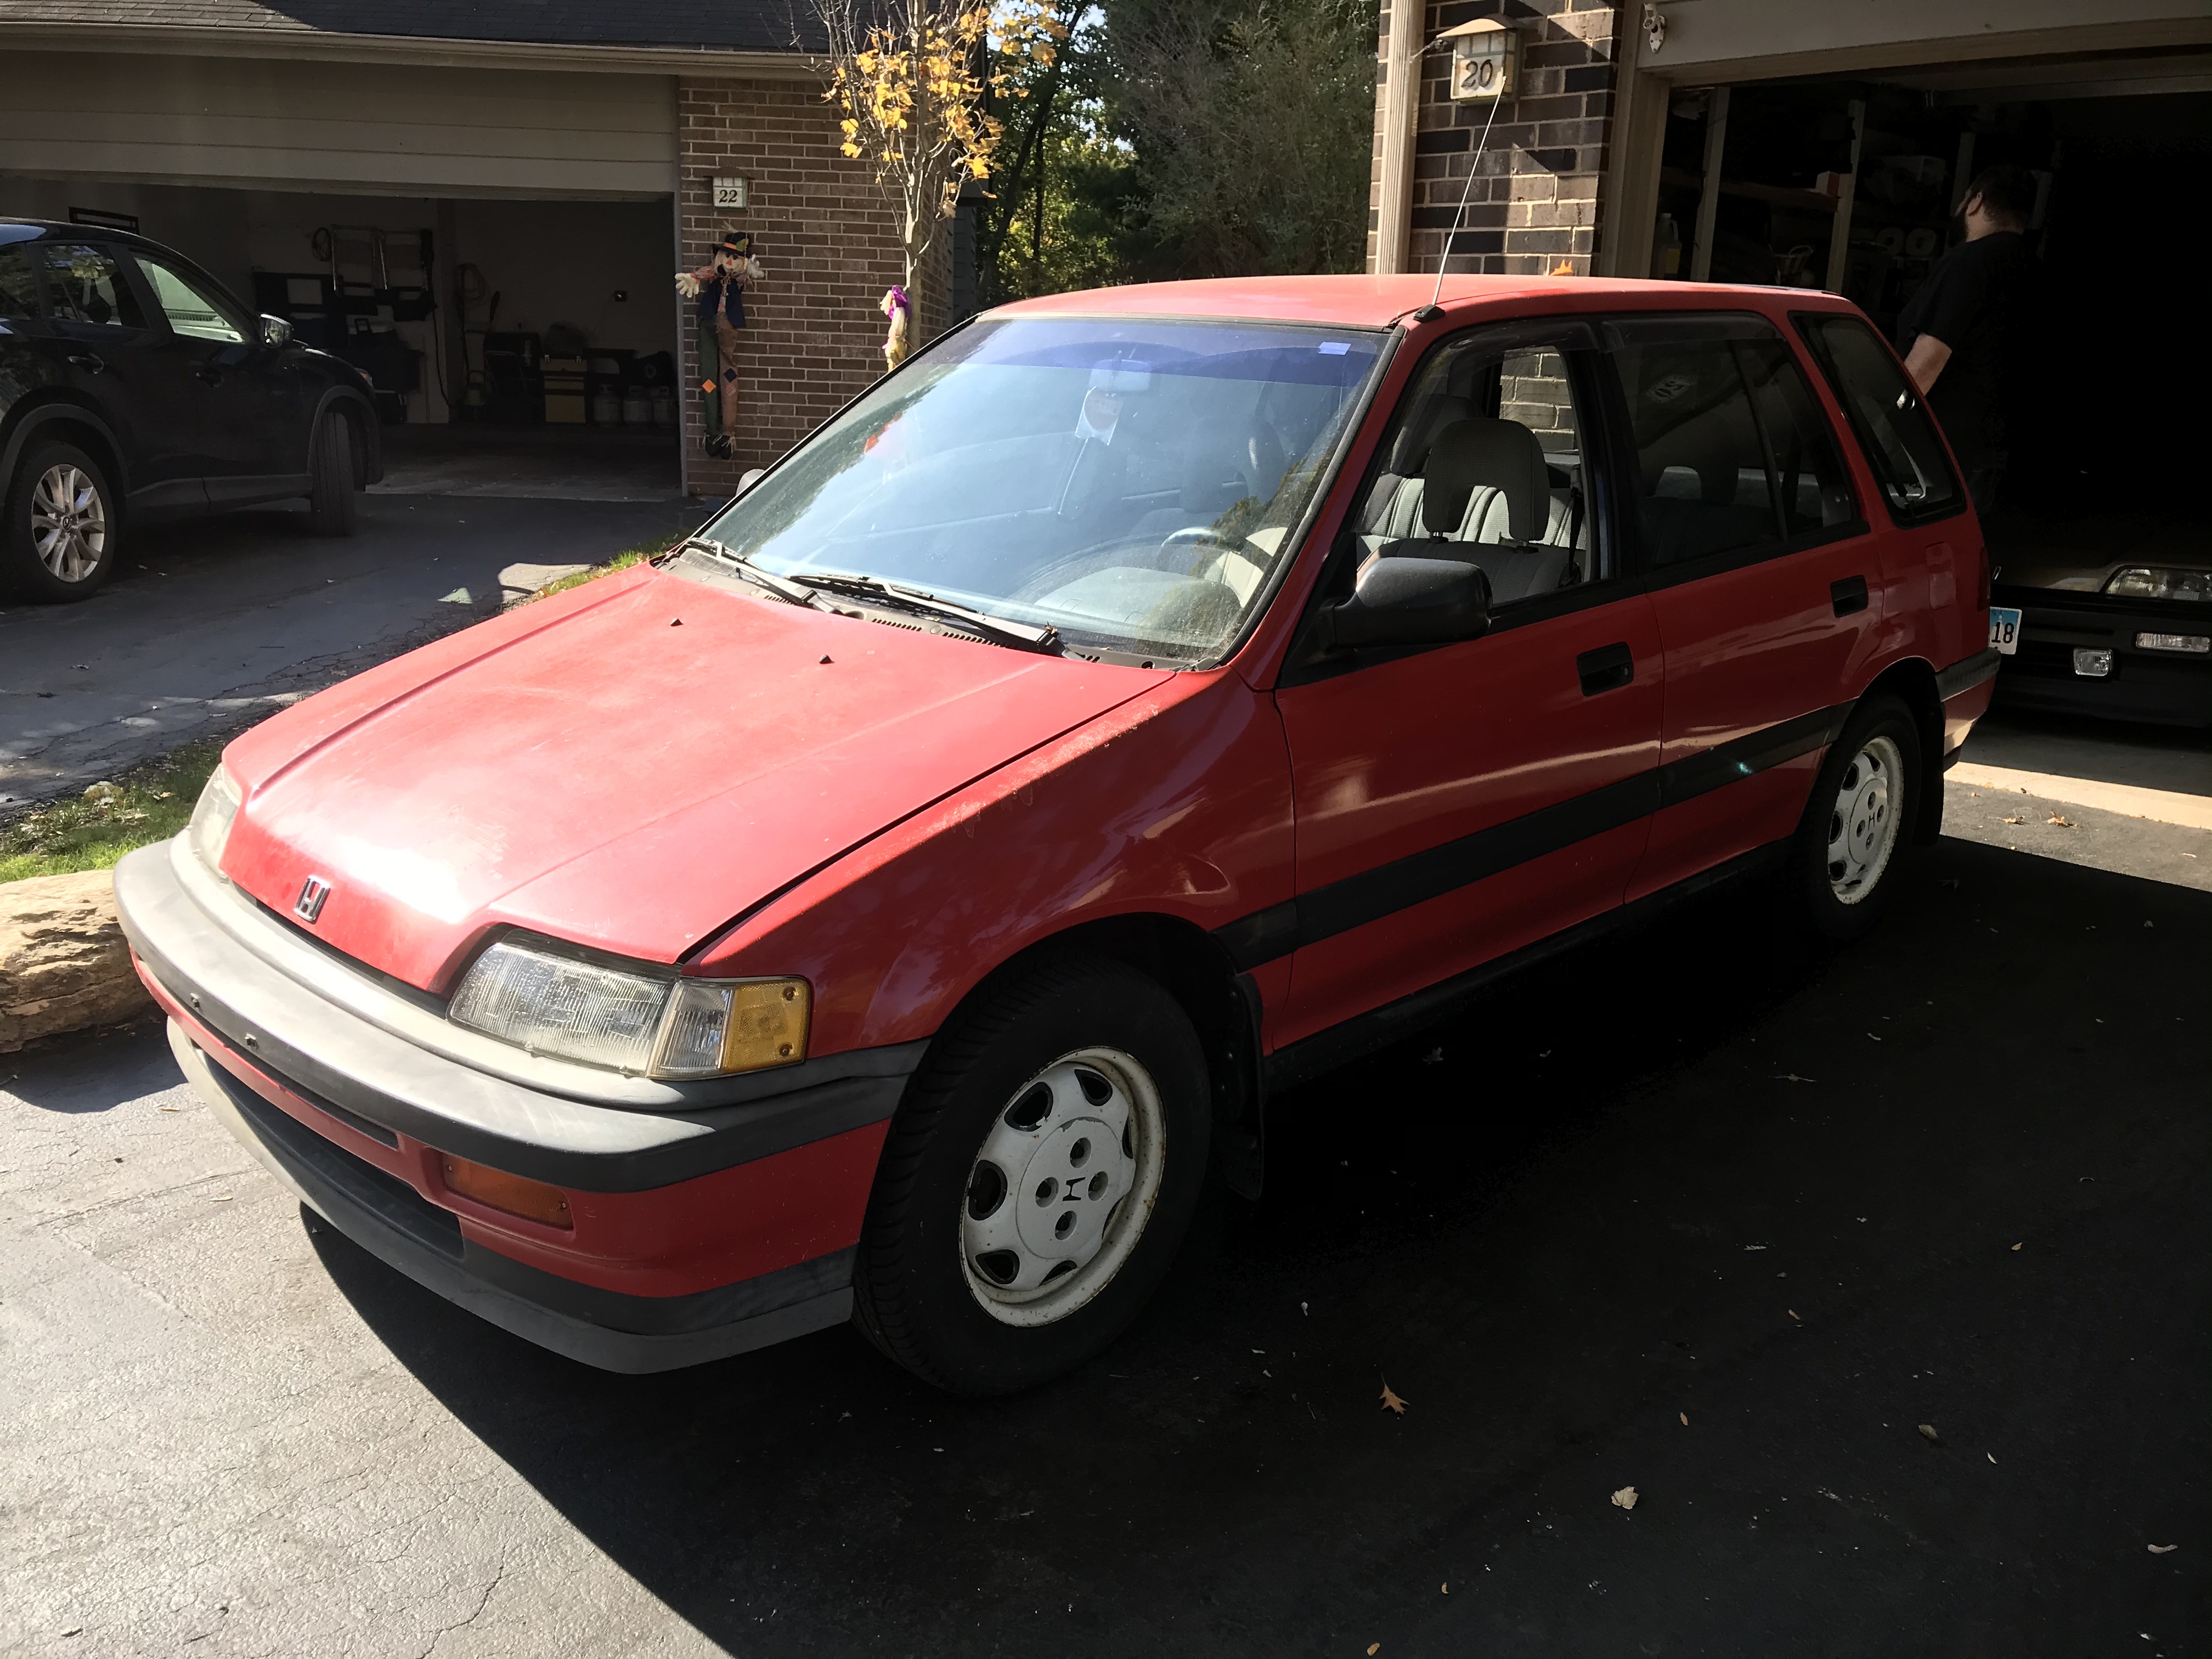
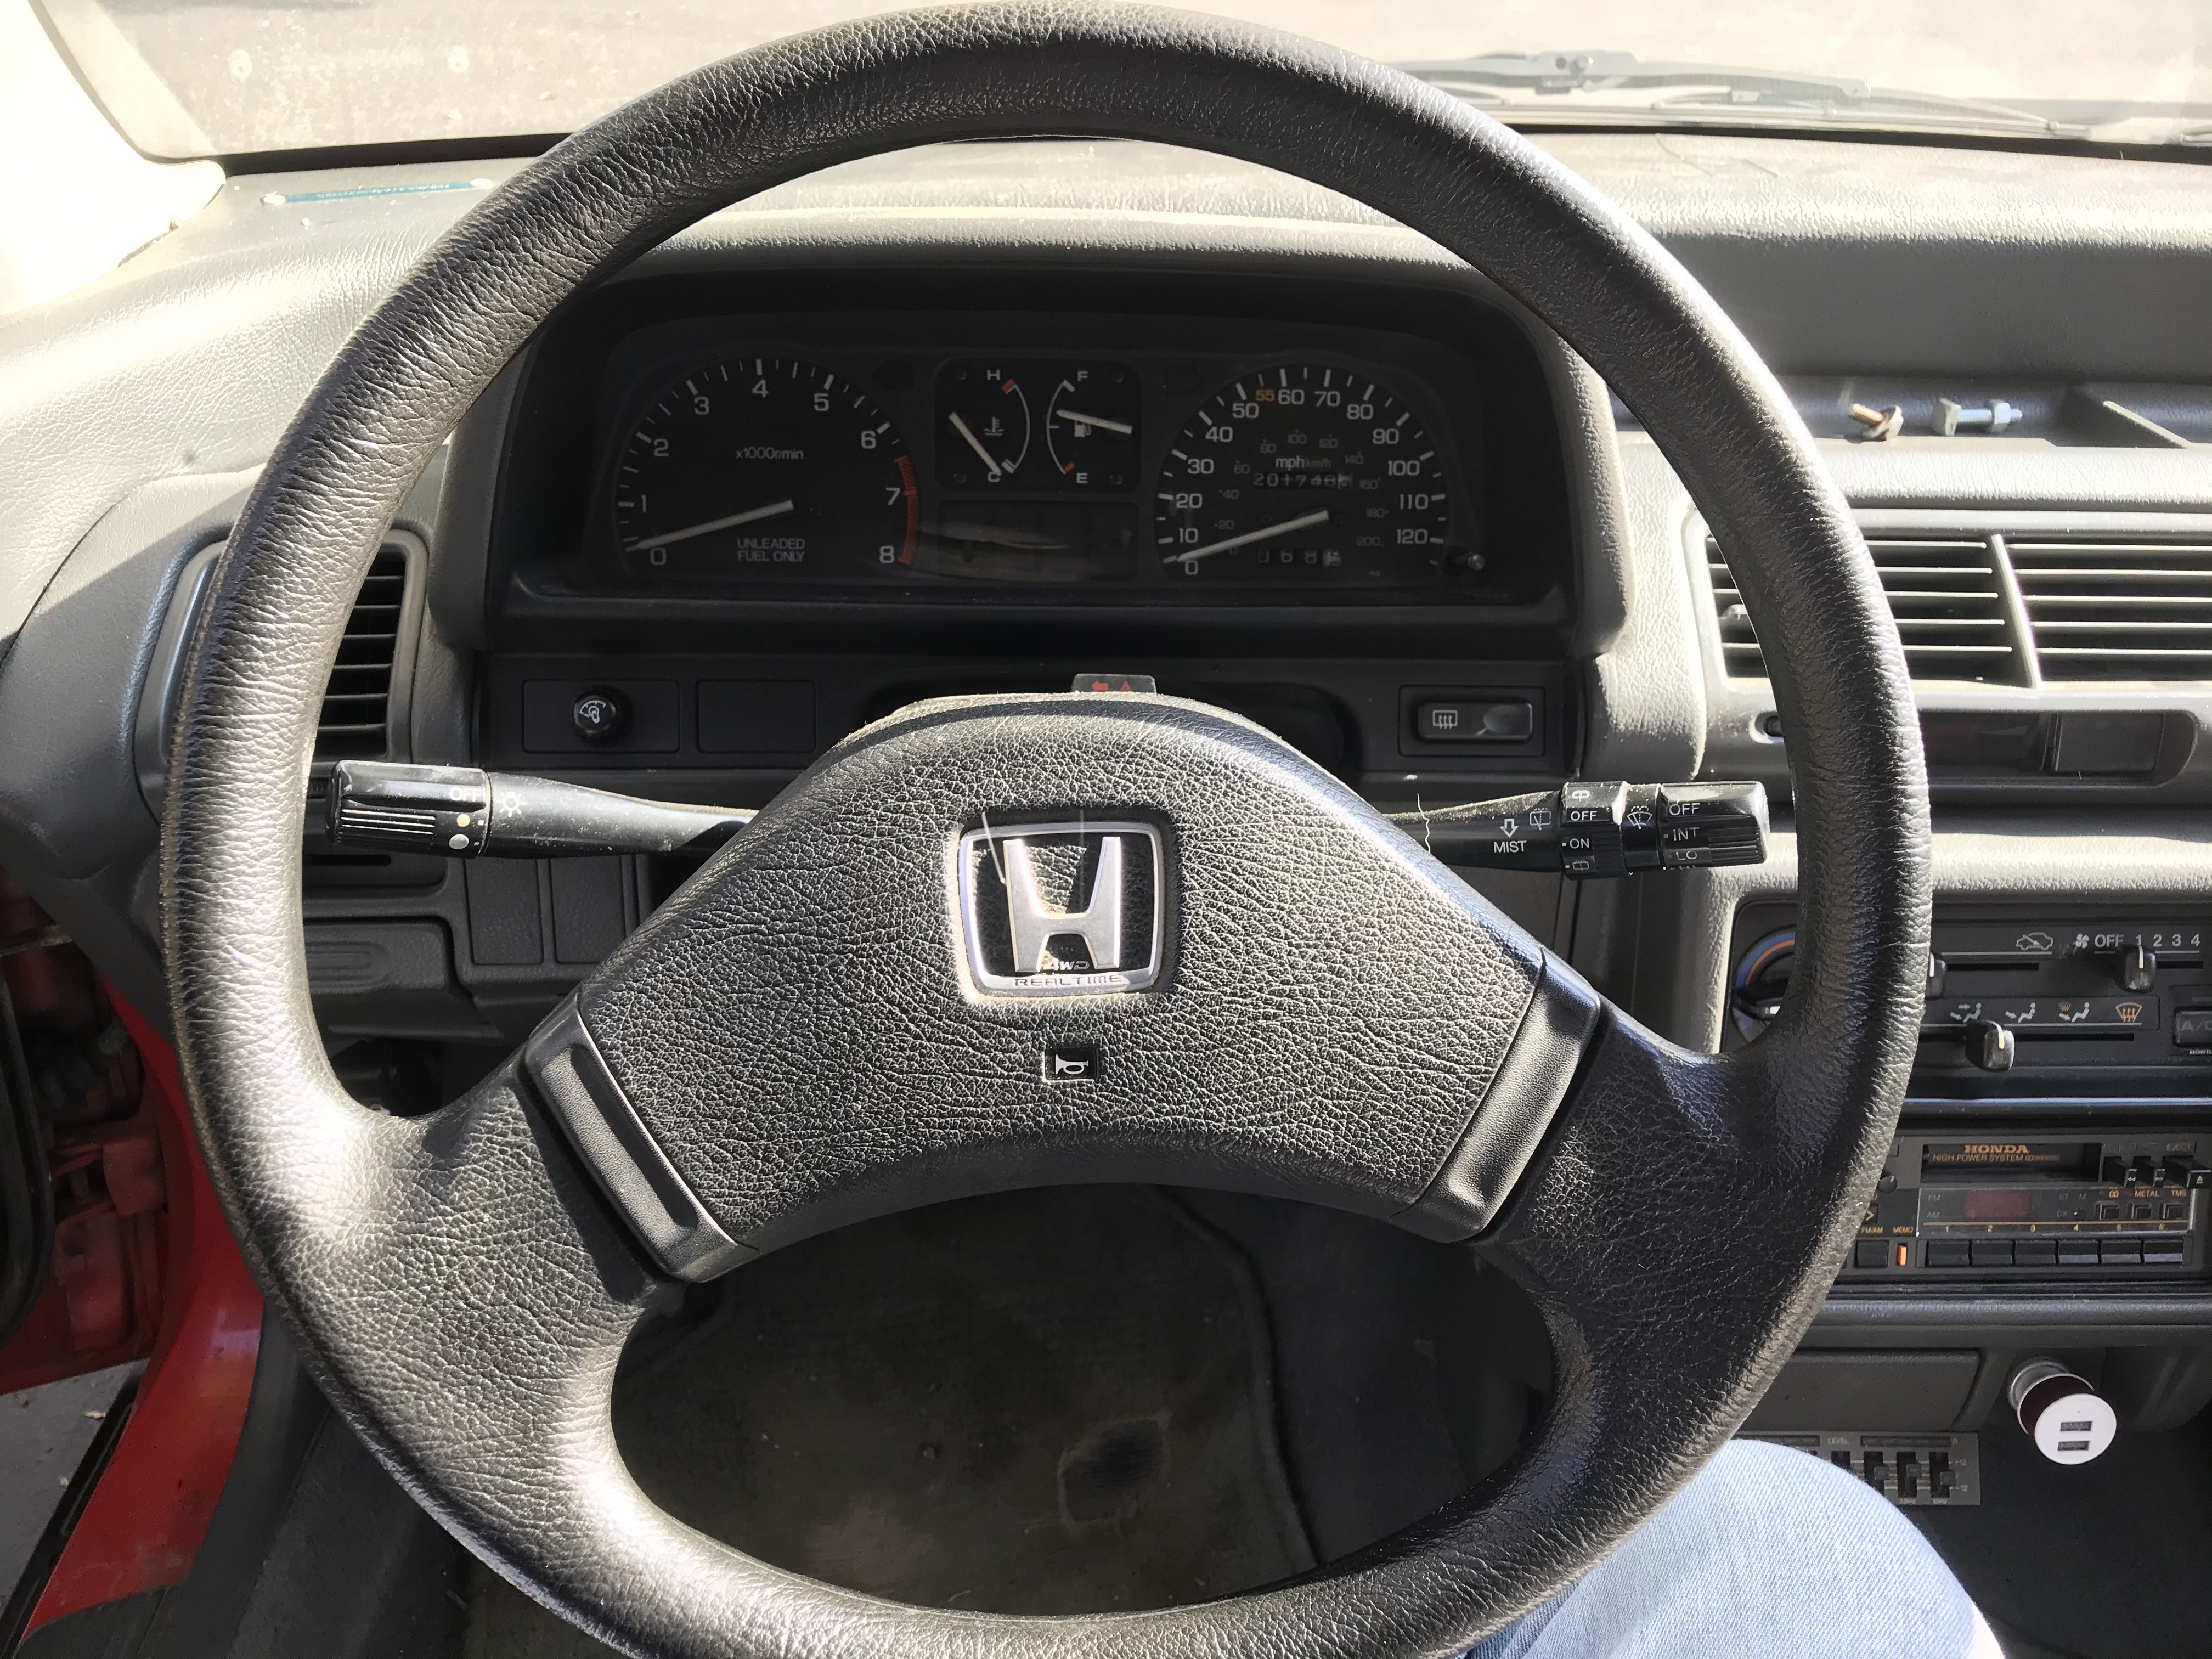
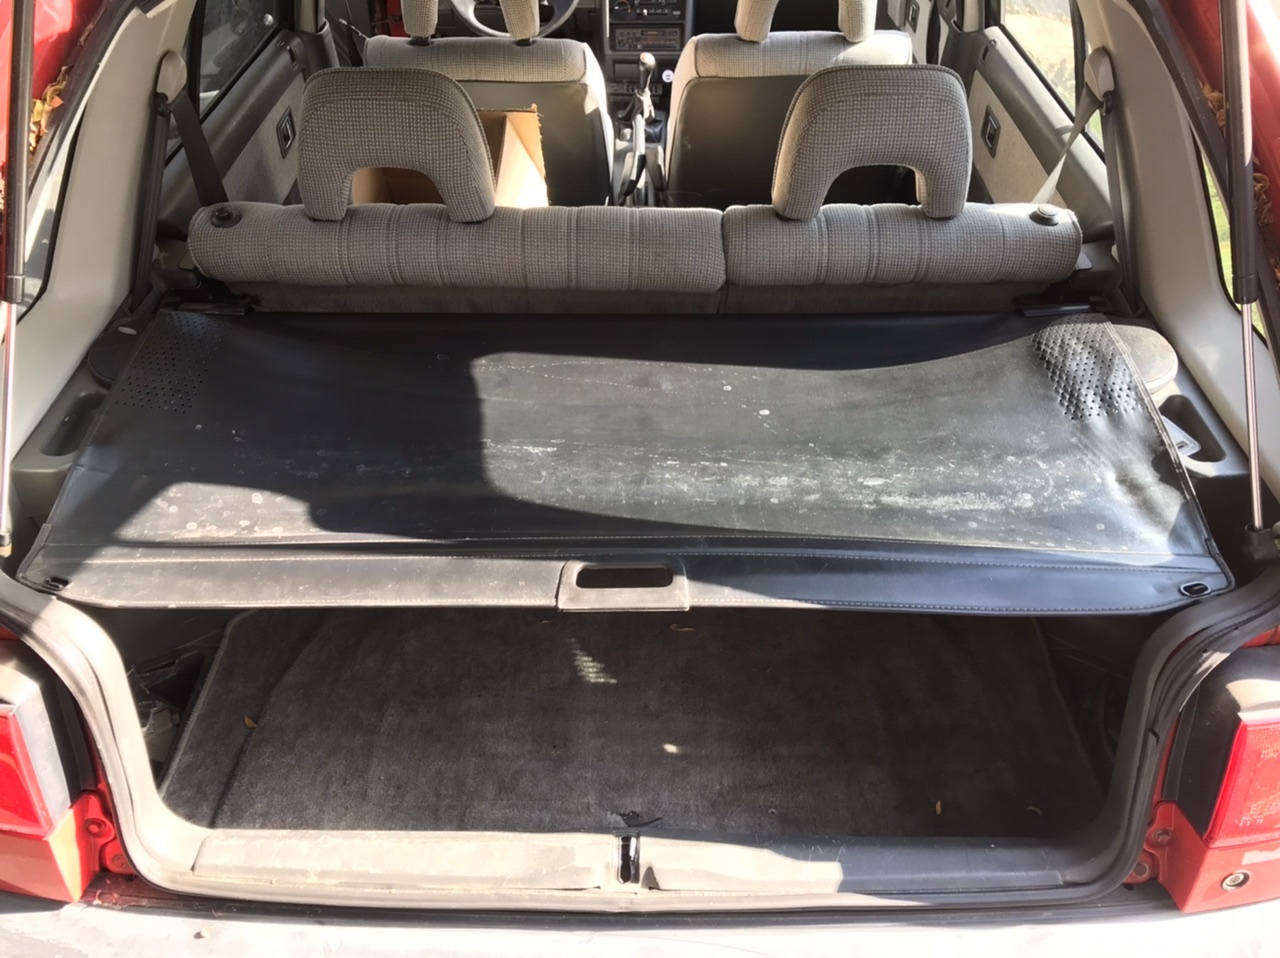
Here’s my other wagon ALL FACTORY a little high mileage 1989 RT4WD Manual transmission this will be a little project from complete engine maintenance from gaskets, hoses to belts it definitely needs it SOON and hopefully in the future body work and fresh paint keeping this all Stock except for suspension the wheel gap is to much for me we’ll see what happens but for now it sits as is
Comments
This looks like a great project. Just a little TLC and it will shine!
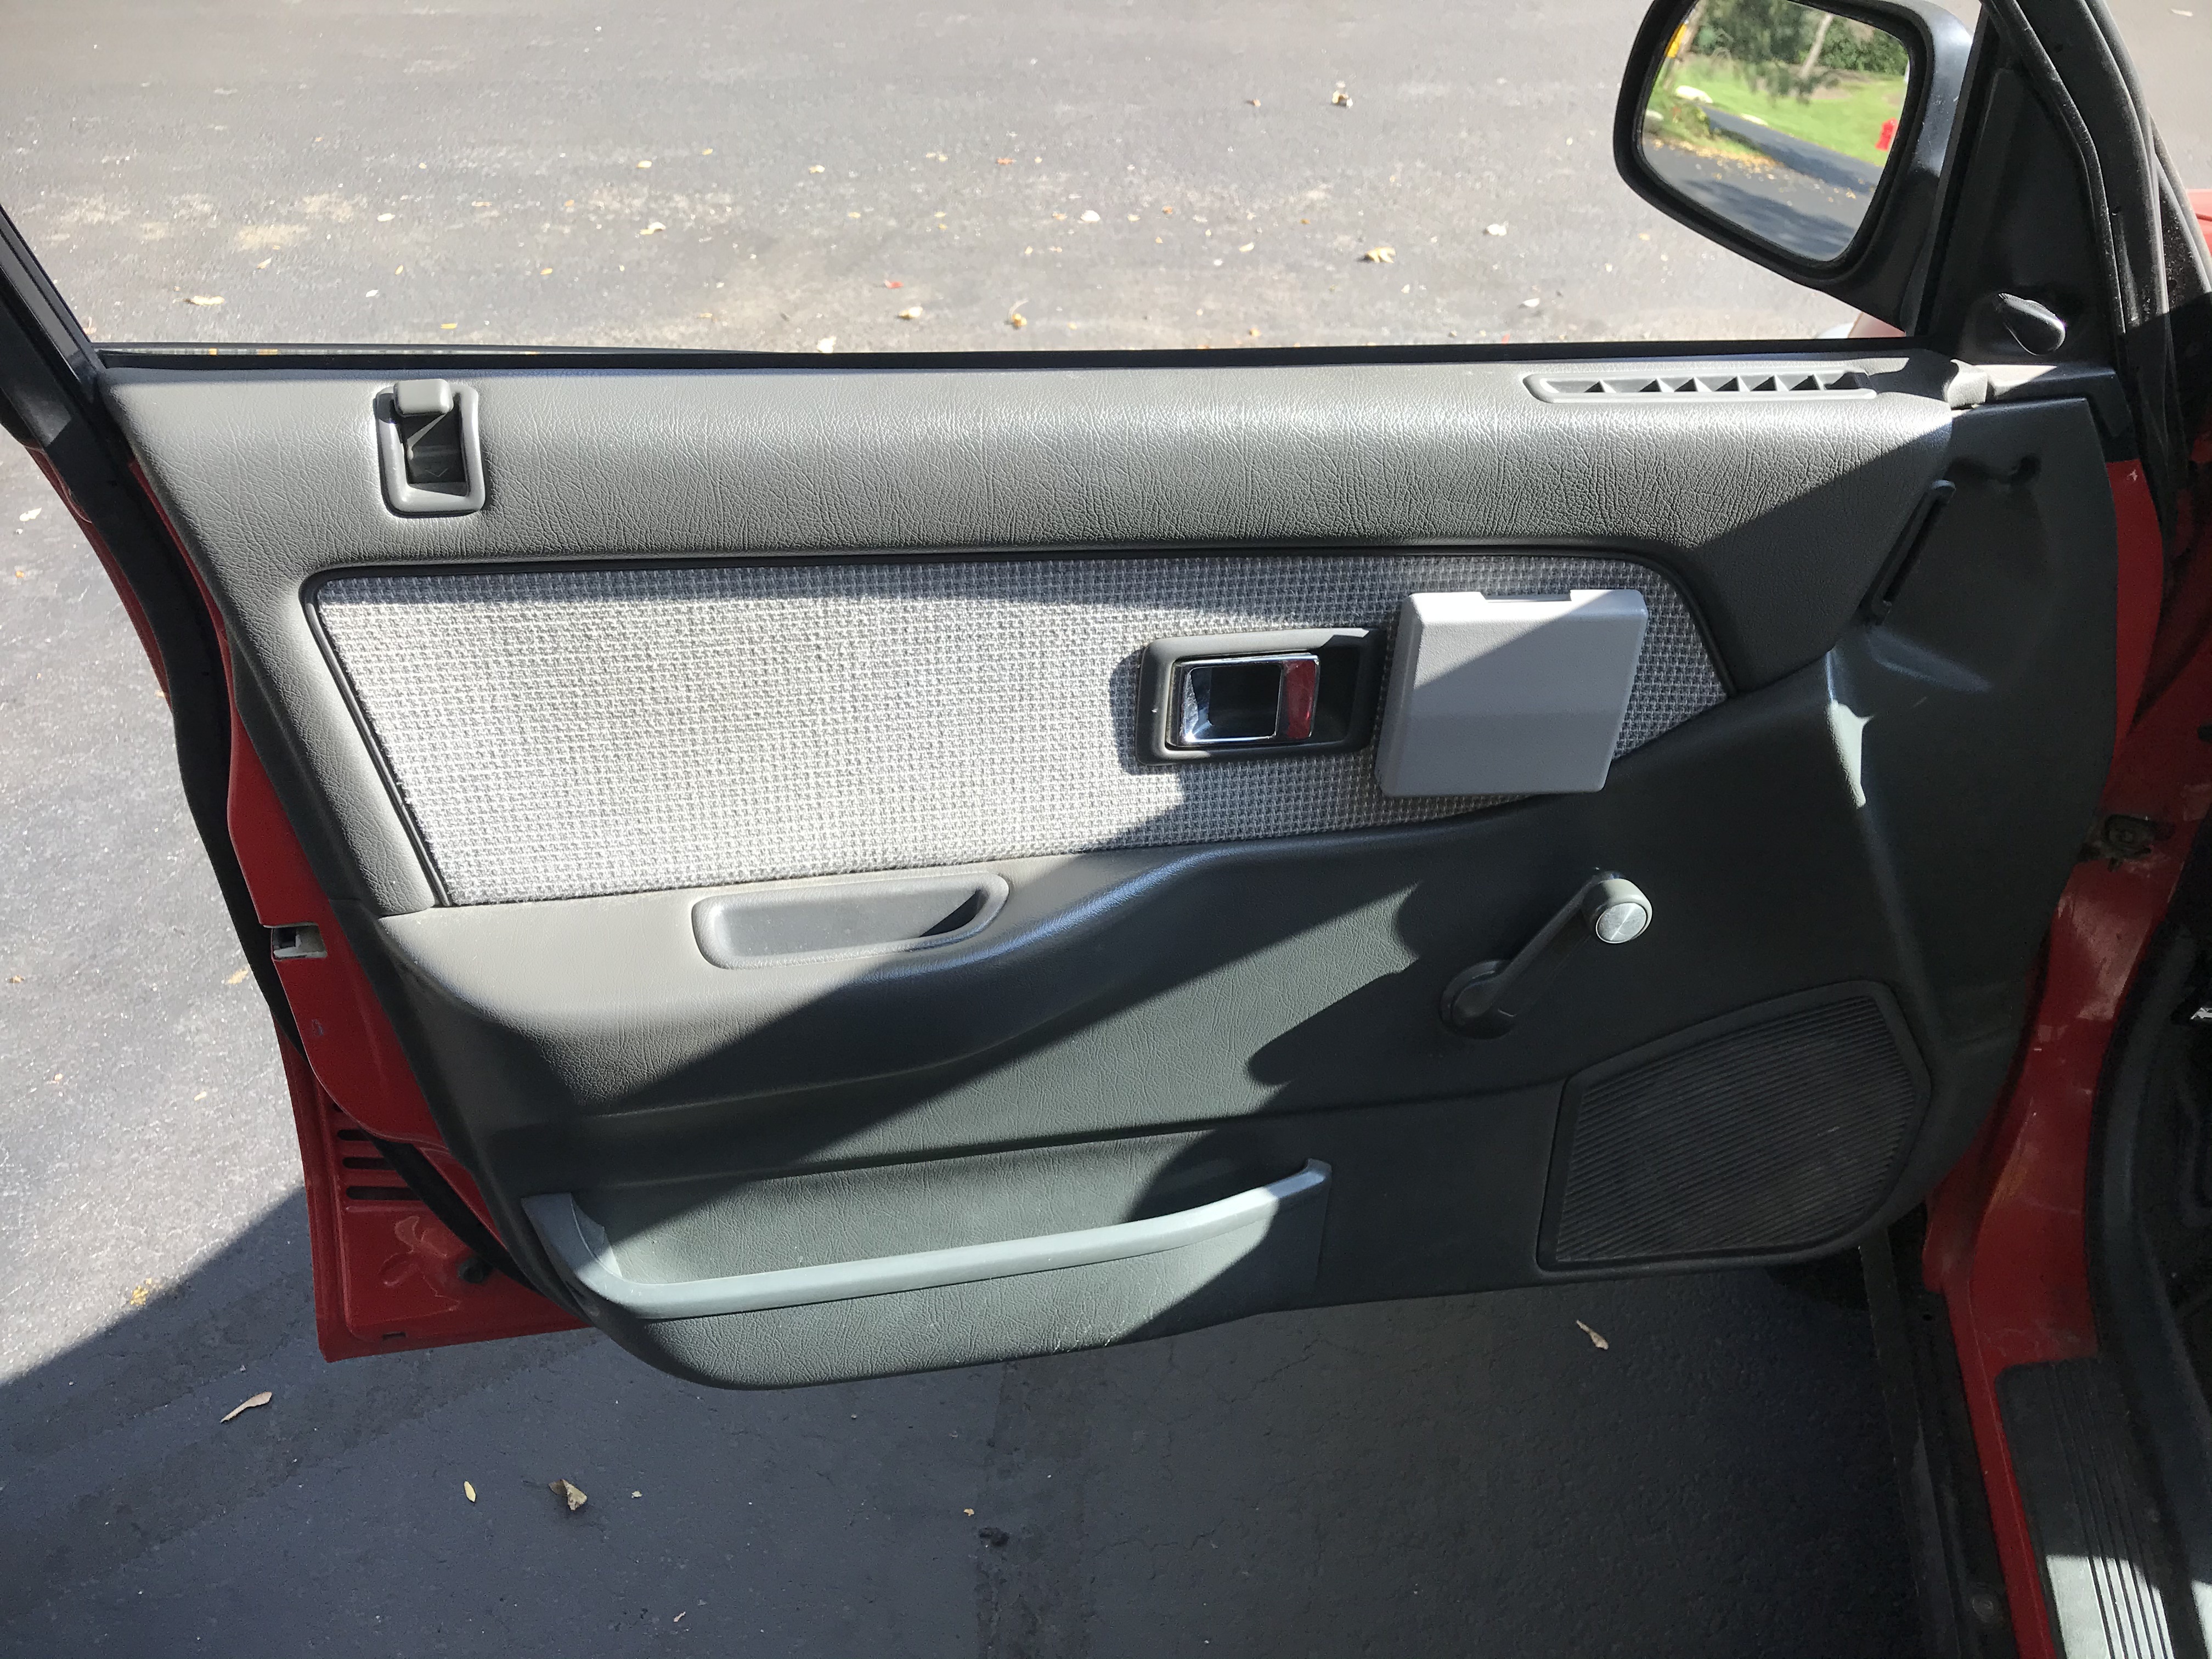
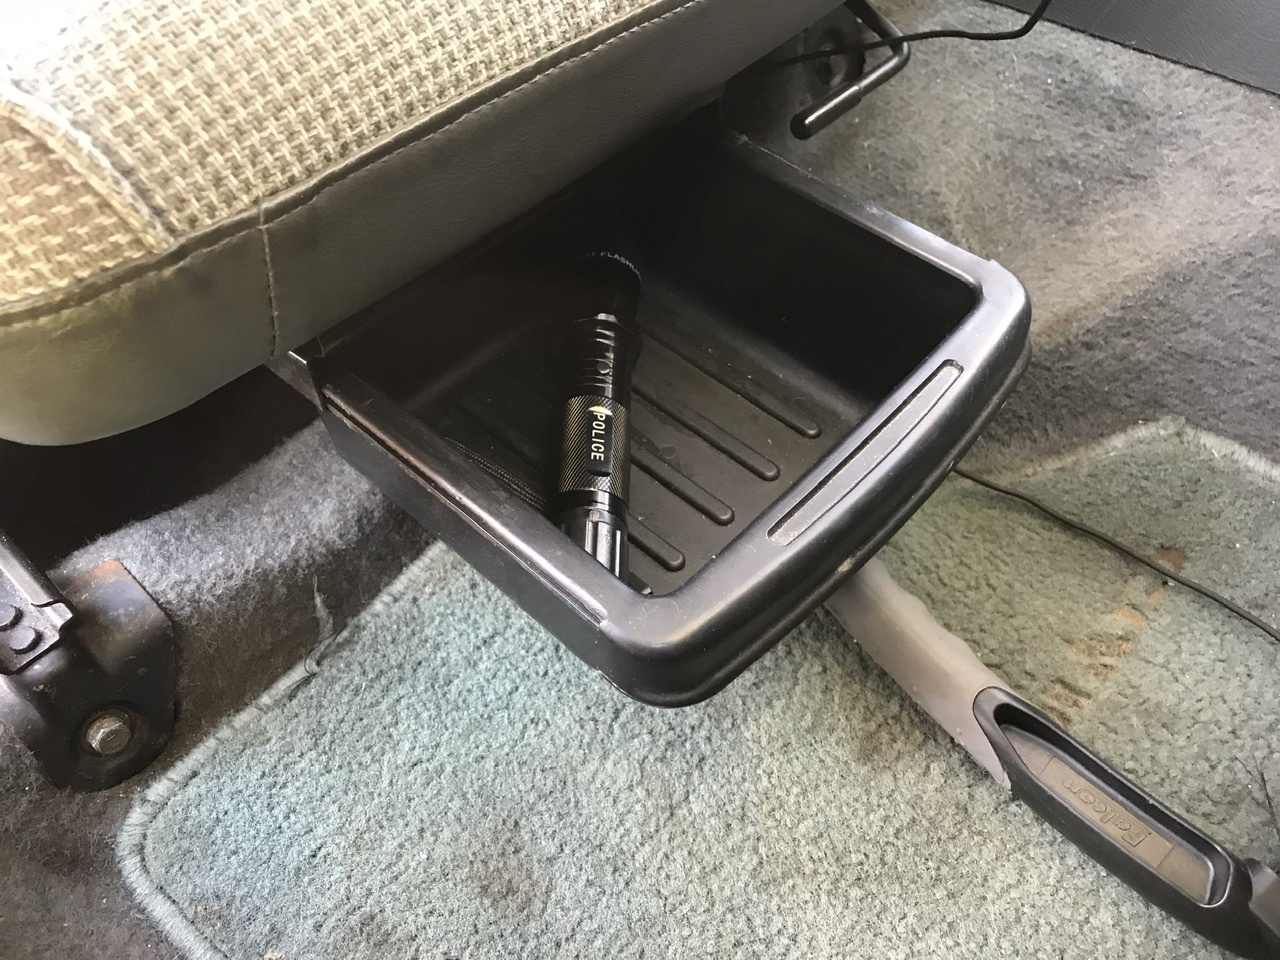
Whats the white thing on the drivers door?
@superhatch Yeah just a little TLC it’ll come out great but I won’t touch anything just yet, it’s going to take sometime. those are cup holders on the driver/passenger doors they came with the car when I bought it. Did a little research and they’re universal cup holders for boats they sell them on eBay I’ll get a better picture for you folded out
Hello all, not really a huge update just something I wanted to throw in here. First I wanna say thank you to @superhatch for selling me this LSD
I bought new carrier bearings awhile ago i forgot to post it, I bought a 2nd pair of carrier bearings just waiting for them to arrive
This one is kind of a big deal to me at least, I started to rebuild one of my Viscous coupler
I’m not a mechanic anyone can do it, if they have the correct tools and research. I took a break I’m still in the middle of doing the rebuild I’ll update as I go. Thank you for reading
Love that 89! Looks to be complete with minimal rust. Good find!
Thank you, Me too I know it’s been a year but I’m just now buying parts for it now little by little, yeah this just randomly popped up on Facebook one night and bought it the next day haha
I rebuilt my 1st Viscous Coupler last month and rebuilt my spare today I still need to paint it
Also I’m starting to get parts in for the major maintenance job I have to do to this wagon still need more
And I’m upgrading my driveshaft with 1310 u joints, flanges and yokes in order to make these fit properly you need to take off the transmission flange and differential flange get them machined a little so they can sit flush the the new setup hopefully I can get this done next week
A little update, I found a shop to upgrade my driveshaft with the 1310 joints, flanges and yokes. They did replace the rear shaft to 2.25 or 2.50 I have to find the receipt also the front shaft they cut and welded a little piece to make it easier for them to install the joint/flange. I haven’t installed it yet still waiting on parts.
i also sent out my spare rear Differential to get rebuilt with Seals, bearings and Quafie LSD from TrustFab on IG
Sweet rebuild! I'm currently in the works of trying to tackle this daunting issue. I read online a while ago that mazda b2000 carrier bearings would work but I can't find the thread just yet.
I know some 3rd party companies make billet CNC'd bearings and mounts but cant find out who does that either at the moment.. lol.. Was curious on where you were able to buy a set of bearings?
@907YNGFLX for the OEM carrier bearing it’s 60/28LU bearing. If you want brand new Carrier Bearings https://efbossgarage.com/oem-style
if you want the billet ones hit up Wefshitup on IG
https://www.s1built.com/search?q=carrier+bearings
A little update, going to start working on the red wagon now, bought a new battery and started up fine after sitting for awhile. As it sits now I need to lower it to kill the wheel gap looks weird to me with the Si wheels on it
Going to find some suspension soon, also the Tires on the RT wheels are from 2014 so I need to replace those when the time comes
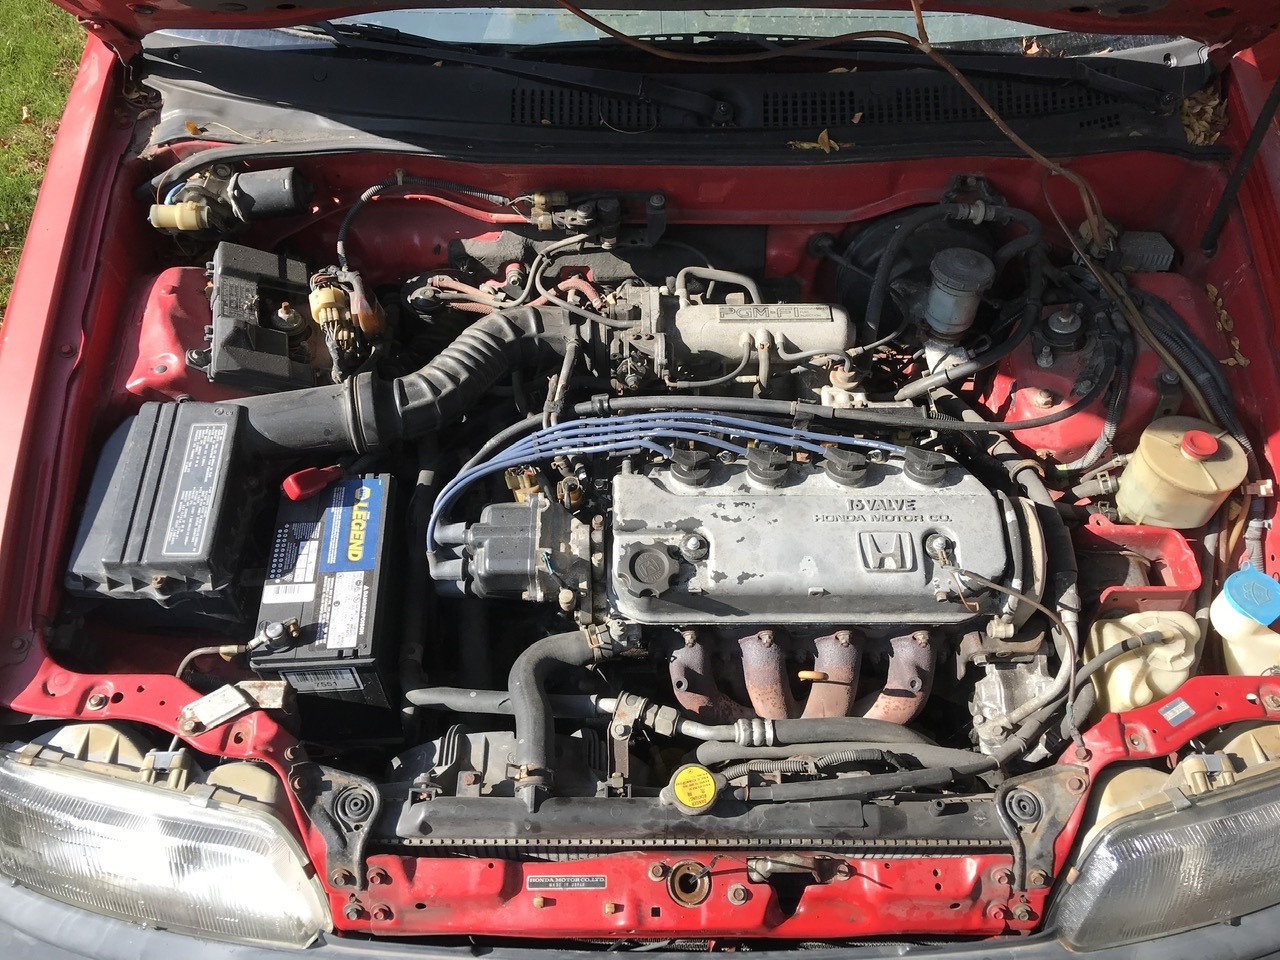
Bought the fluids today that I needed. Engine oil, MTF, Rear Differential Fluid, Antifreeze
These are the parts I’ve been collecting for some time now, complete Valve cover gasket, head gasket, rear main seal, oil pan gasket, oil pump, water pump kit, Spark wires, Spark plugs, thermostat, fuel filter, ACT Clutch kit/Flywheel, Tru hart Front/Rear camber kit and Toe, Energy Suspension Bushings all around. I think I’m forgetting some things
Today I had the chance to flush the transmission and rear differential. Rear differential was really easy to flush and fill. You’ll need a 3/8th Ratchet for both fill/drain plug and a hand held pump to siphon the fluid in, once drained insert the drain plug and fill 0.69 U.S Quarts or until it spills out from the the fill plug.
Next I did the Transmission and let me tell you please do not over tighten the plugs, who ever serviced this transmission (or maybe it was never serviced) the plugs were not budging at all it took force to get them off. took me awhile to get them off forgot to take a picture of the fluid it looked terrible way over due. You’ll need a 17mm wrench, 3/8th ratchet and a funnel with flexible hose. I used Honda MTF
Still need to do the oil change and coolant flush
After two years I finally went to the muffler shop to get my HKS exhaust installed
I also bought a cheap ebay 4–2-1 header to install just needs a little modification to fit properly. The OEM header has cracks and causing some leaks
I changed the oil as well over the weekend and it was pretty dark I should’ve done this awhile ago but kept putting it off 🤦♂️
I ordered my Coilovers I went with Bc racing BR with swift springs 10k (Front) 5k (Rear). ETA 3-6 weeks
Big fan of the work you're doing. Especially admire that you're not a mechanic and that this is a passion project. I'm an Electric Vehicle specialist full time and it's made me really drag my feet on my wagon. The last thing I want to do after working on cars all day is come home and work on a car haha. You've definitely inspired me though. Thanks for the motivation! Also, really like those carrier bearings. Nice
Appreciate it, haha definitely not a mechanic and yes it’s a passion to work on my own cars even though sometimes it’s a pain in the ass to deal with. EV specialist that’s a whole new ball game and it’s just getting more technical, there’s times like that though working all day and when you see your vehicle or project vehicle you don’t want to touch it just seems like a regular day of work not getting paid for it haha. thank you that means a lot. Hopefully the motivation stays there. I always recommend replacing the carrier bearings cause how old it is
I bought (won the bid) these JDM taillight’s from Japan 3-4 weeks ago had them shipped via plane (2-8 days) the boat was going to be (3-6 months) I didn’t feel like waiting that long. I’m happy how clean they are and the gaskets are still soft barley any cracks
Nice work. Especially that "new" rear dif! Pretty!
Thanks bill it’s a real real slow progress but it’ll get there one day. Oh yeah the diff looks amazing can’t wait to put it in. Good to see you lurking around here haha
A few more parts came in
St rear sway bar
I went to Autozone to buy Clucth/Brake pedal pads (Part# 20726)
Ordered some black foam sheets from Michael’s to make gaskets for the JDM Taillights
I also bought front/Back mud guards off HmotorsOnline got a good deal on them I just need to paint the “Honda” “4wd” in white
My BcRacing Suspension finally showed up
I think I’m waiting on couple more items can’t remember at the moment, that’s my update for now
Got bored over the weekend installed some Red LEDs brake lights (strobe flashes fast 8 times turns solid after) Amber LEDs for the rear turn signals and front bumper turn signals built in resistor no hyper flash
I also painted the new/old mud guards lettering with white paint pen/marker
I’m waiting for one more part to come in (back order til next month) ARP headstuds
Just couple things that came In bought a Neuspeed strut bar from a guy in California
Also bought JDM Stanley Fender indicators
Still waiting on the ARP head studs
No real update besides getting the 2nd driveshaft rebuilt with 1310 U-Joints/flanges. I had to buy SpeedFactory Racing adapters to fit properly to the transfer case/rear Diff. The wagon doesn’t vibrate anymore (above 50mph) and drives nice and smooth like it should.
Awesome work on this. Crazy how all the upgrades and service eventually add up to a rebuilt, confident and reliable restored ride! Keep at it.
Thank you, the maintenance/upgrade list adds up real fast haha but worth it once done. I still haven’t done the full maintenance just yet. The more I drive it the more I really need to change out the suspension/bushing. Like @BillBoard said haven’t seen your username in awhile
I don't know if I mentioned this, but I do really like that HKS exhaust you put on. Looks great!
I like the way the HKS sounds, but I did noticed I have a leak in the cracked header and one or two leaks somewhere in the exhaust that I really want to fix
Waited four months to receive my ARP head studs for my a6.
Now I’m just waiting on rear lower control arms
I didn’t realize it’s been over a year without an update, not to much of an update but I bought my first Home early August 2023 that’s been taking all my time fixer upper.
Here’s the before of the garage
I painted the walls and ceilings white just to refreshing up the paint, I hired a guy to install industrial epoxy flooring ( meant for warehouses ) he fixed/repaired the cracks sanded the concrete flooring applied the epoxy and laid down two coats of UV protecting so it won’t yellow I get a lot of sun towards the garage
I recently bought a bull bar for the wagon this past weekend one downside didn’t come with mounts so I need to make custom mounts to properly install it. I also gave it a quick little polish need to do another pass
Back again with a small update, Maintenance never forget about Maintenance. For awhile now I noticed a smell of burning oil and my car had a hard time starting sure enough oil flooded the spark plug tubes, finally had time to fix this issue
Tools you’ll need
• Hammer
• 12mm Wrench
• 7mm, 10mm, 12mm and A 16mm Sockets
• Socket Wrench
• Tamper Proof T15 Torx Bit or Tamper L shape Hex Key
• Screwdriver, Flat head/Phillips and Hook/Pick tool
• Torque Wrench
• Magnet (just in case you drop something in the engine bay)
I followed this video for reference thank you for posting this it helped me out a lot https://youtu.be/nGDUQ1wyET0?si=sPAYwJMB_LInq_EV
First thing first make sure you know the firing order take as many pictures as possible to remember where everything goes
Make sure you have all your parts with you
the issue
take of these valve cover bolts and brackets and ground wire (circled in yellow)
once the valve cover was off I focused on the distributor, It’s a little bit of a process to disassemble and reassemble the internals to get to the seals forgot to take a picture, you’ll need to unplug the pigtails/Connectors. If your like me I marked the distributor/bolts to make sure I put it back properly. use a 12mm socket or wrench for these three bolts. As you can see it’s leaking oil bad
Once you have that out you’re going to see this piece (orange arrows) MAKE SURE To Mark or take photos and remember how that piece was installed before you take it apart. It’s IMPORTANT or the car won’t start
Unscrew the Distributor cap theres three 10mm bolts, this is how it looks like inside, the yellow outline is a plastic cap you can squeeze off
Once off unscrew the distributor rotor with a tamper proof T15
At this point you want to take as many pictures to remember what connects to what etc, I started to Take out the old seal. This little rubber piece the (orange circle) you’ll have to move out the way don’t worry it’ll come out with a flathead to pry under it just be carful don’t rip it. theres a screw behind it you need to take out, also pay attention to where those two wires are connected to ones positive the other is negative
a closer look of the wires (I didn’t notice that crack in the sensor until now)
Next you’ll need to unscrew what’s circled in yellow and you’ll see the rubber circled in orange hiding a screw. After that you can slide that sensor right out
Move on to this sensor, make sure to remember where the correct wires are connected to which pin you can easily pull them out or use a flathead to slightly lift them off
Now unscrew this three screws and slide the sensor out the way
Once that’s out the way your going to look for this little piece outlined in orange make sure to look how it’s positioned and spaced from the gear, the little orange outline a little section where the gear turns there’s a little metal piece has to be centimeters away from the gear to turn freely
remove the T15 Tamper proof screws from above picture
Next ones that out you want to look for these T15 screw there’s three of them (I only took pictures of two of them) the third one is on the top you’ll see it
when you get those three screws out, flip the distributor over (remember early I said this part you need to make sure it’s properly installed correctly) move the C clip out the way I didn’t take it completely off, there’s a pin you can push out with a pick or a hook
now turn it back over and you want to pop that shaft out the way. It might give you a little fight but it’ll come right out
now you’ll see the seal that you need to replace, I used a pick to get out once out install the new seal. This is where the hammer and the 16mm socket is used to place the seal in flush give it couple taps and the new seal will go in
now that you got that seal installed, put the shaft back in place turn the distributor over put the pin, C clip In place and replace the seal/O-ring
Now reinstall everything back in order that’s where the pictures and videos come in handy to make sure it’s all installed correctly, install your new seal/gasket around the distributor
put the cap back on screw it tightly and your all done
Continue….. Now it’s time to replace the seals/gasket for the lower spark plug tube (under the rocker arms)
you‘ll need a 10mm or 12mm I forgot sorry but you’ll see in the picture orange circles there’s 16 bolts unscrew them all the way but do not take them out.
Next take out the rocker arms all in one piece that’s why I left the bolts still in there. It might be a little tough to get the rockers arms out in one piece but it’ll come out. I placed it on its side so I can get the old seals out. Once you get all the old seals out and cleaned the surface m. Install the new seals
now the rocker arms are out the way make sure you clean off the old seals from the surface once that’s down install the rocker arms back in place be careful the rockers arms and not jammed up on anything once you torque the bolts down
Use this diagram to the proper torque spec. Some people say do one pass 9 ft Ibs then finish with 16 foot Ibs but I just went with the full 16 ft Ibs one pass
Now that’s torque to spec install the new seals for the valve cover set plug seals and the main valve cover seal I added couple dabs of RTV in the corners of the valve code gasket where it’ll normally leak oil from during time
Install the valve cover with brackets and new hardware 7 ft Ibs
install the new spark plugs/wires (NGK spark plugs 10-14 Ft Ibs) I don’t have a socket for the spark plug I just cut the old wire and used that, it works.
Now you’re done. Great job
Next is suspension