Side Markers, and a lesson
 greenteagod
Moderator
I'm sure there are probably other side marker install guides somewhere on here, but I figure I'll just throw this one out there since I document most all the crap I do anyway. So let me start this with the old adage, measure twice, cut once. It's not that bad but I lined up with the wrong edge of the tape and got the marker 2 inches too high.


O.k. Barring that, on with the write up.
First thing is to mask off a line referencing the top of the wheel arch.

You want to be parallel with your trim molding too.


Then you tape your template in place. Here is where I screwed up. I should have taped along the bottom edge of the first bit of tape I put down, instead I taped off the top. Since I was using 2" painters tape that means I am two inches off. Oh well, lesson learned, and hopefully you learn from this.

I put some more tape under to protect where I was cutting.

Then I used a center punch to mark the holes accurately. Be careful with this as these fenders are made of tissue paper,

Drill your holes, I started with a 1/16 bit then opened the holes to 1/8. I set the marks 1/16 from the edge so 1/8 puts them near spot on.

Using a Dremel with a cut off wheel and a tungsten carbide bit to clean up and finish shaping.

Coming along nicely. Even if it is in the wrong spot....

Initial hole.

Had to make a slight modification where it snaps in and just slightly open the hole a bit more. I just hit the edges with the tungsten carbide bit to open it up ever so slightly to get it spot on.

I then cleaned up the edge with some sand paper. Sprayed some rustoleum in the cap and used a bit of wire to paint the edge to seal it up from rusting,

Old turn signal, you'll be cutting this free, leave yourself some pigtail in case you ever need to convert back or decide to sell the socket.

My soldering gear.

Tin them mofos good!

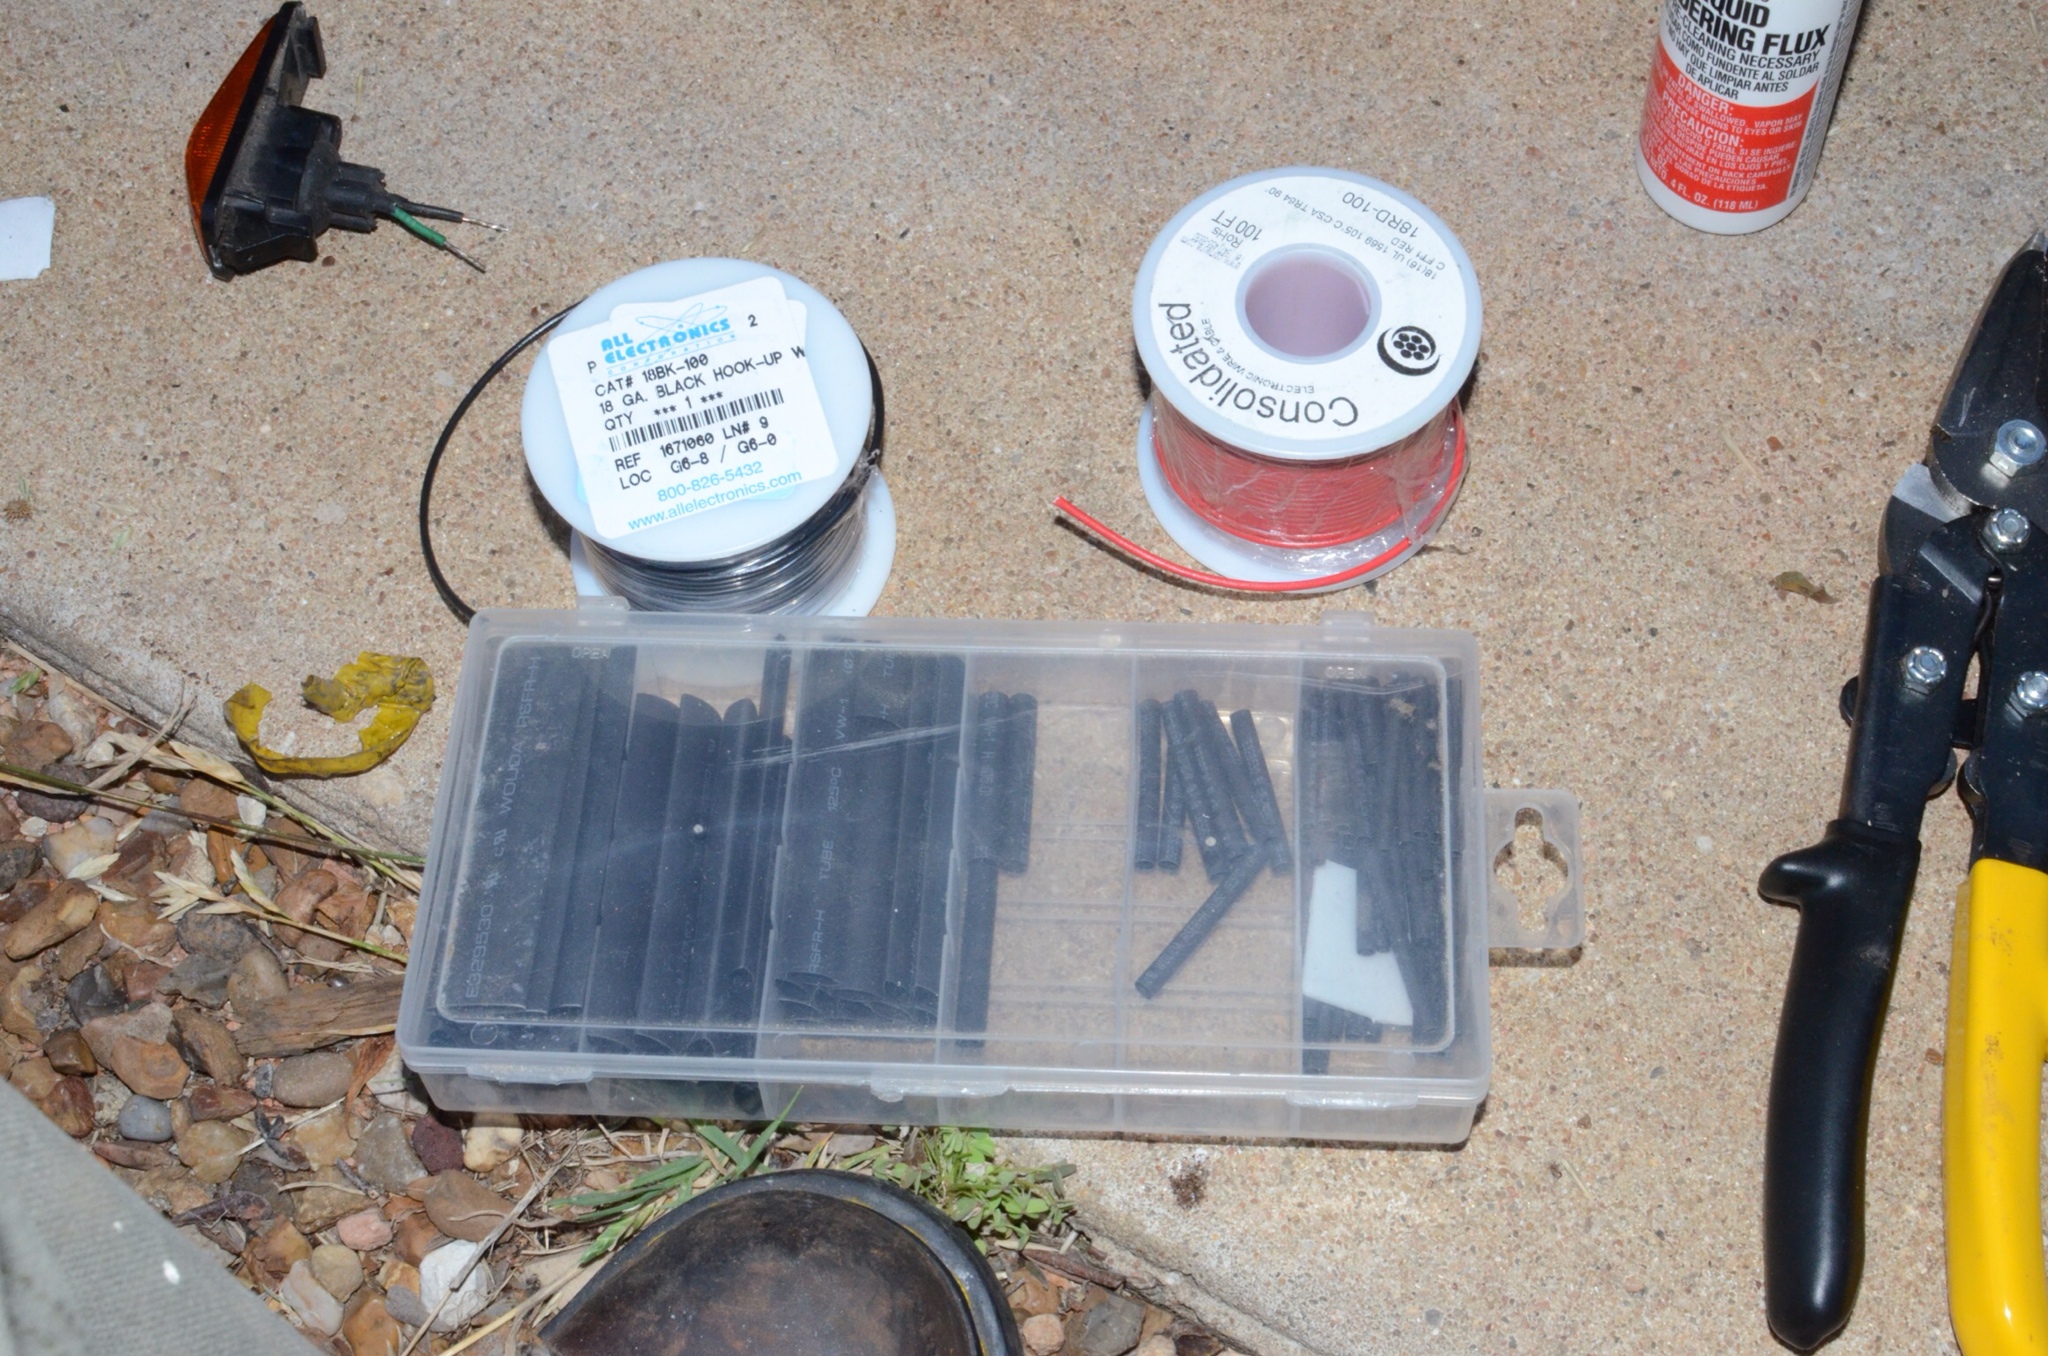
More gear

My little helper, stiff copper wire with two alligator clips soldered on to the ends. I have three loops in the holder just to give me some flexibility to get the wires positioned right. Also they act as heat sinks so it helps in more ways than one.

Then it's just a matter of doing the same thing with the old turn signal wires, and of course heat shrink. You can install a connector if you like. I'd rather just solder as I did it pseudo nasa spec so it's easy to take apart if I really need to.

Last thing was to screw some zip ties in place. I'd have liked to get them up higher so I know they won't interfere with the splash guard (missing guard passenger side) if they do though I'll go get a 90degree bit adapter so I can fit it up in there.

Mmmmm glow glow.

If I missed covering anything, let me know.

O.k. Barring that, on with the write up.
First thing is to mask off a line referencing the top of the wheel arch.

You want to be parallel with your trim molding too.


Then you tape your template in place. Here is where I screwed up. I should have taped along the bottom edge of the first bit of tape I put down, instead I taped off the top. Since I was using 2" painters tape that means I am two inches off. Oh well, lesson learned, and hopefully you learn from this.

I put some more tape under to protect where I was cutting.

Then I used a center punch to mark the holes accurately. Be careful with this as these fenders are made of tissue paper,

Drill your holes, I started with a 1/16 bit then opened the holes to 1/8. I set the marks 1/16 from the edge so 1/8 puts them near spot on.

Using a Dremel with a cut off wheel and a tungsten carbide bit to clean up and finish shaping.

Coming along nicely. Even if it is in the wrong spot....

Initial hole.

Had to make a slight modification where it snaps in and just slightly open the hole a bit more. I just hit the edges with the tungsten carbide bit to open it up ever so slightly to get it spot on.

I then cleaned up the edge with some sand paper. Sprayed some rustoleum in the cap and used a bit of wire to paint the edge to seal it up from rusting,

Old turn signal, you'll be cutting this free, leave yourself some pigtail in case you ever need to convert back or decide to sell the socket.

My soldering gear.

Tin them mofos good!

More gear

My little helper, stiff copper wire with two alligator clips soldered on to the ends. I have three loops in the holder just to give me some flexibility to get the wires positioned right. Also they act as heat sinks so it helps in more ways than one.

Then it's just a matter of doing the same thing with the old turn signal wires, and of course heat shrink. You can install a connector if you like. I'd rather just solder as I did it pseudo nasa spec so it's easy to take apart if I really need to.

Last thing was to screw some zip ties in place. I'd have liked to get them up higher so I know they won't interfere with the splash guard (missing guard passenger side) if they do though I'll go get a 90degree bit adapter so I can fit it up in there.

Mmmmm glow glow.

If I missed covering anything, let me know.
Comments