Dwebble (The Silver Slug)
 greenteagod
Moderator
greenteagod
Moderator
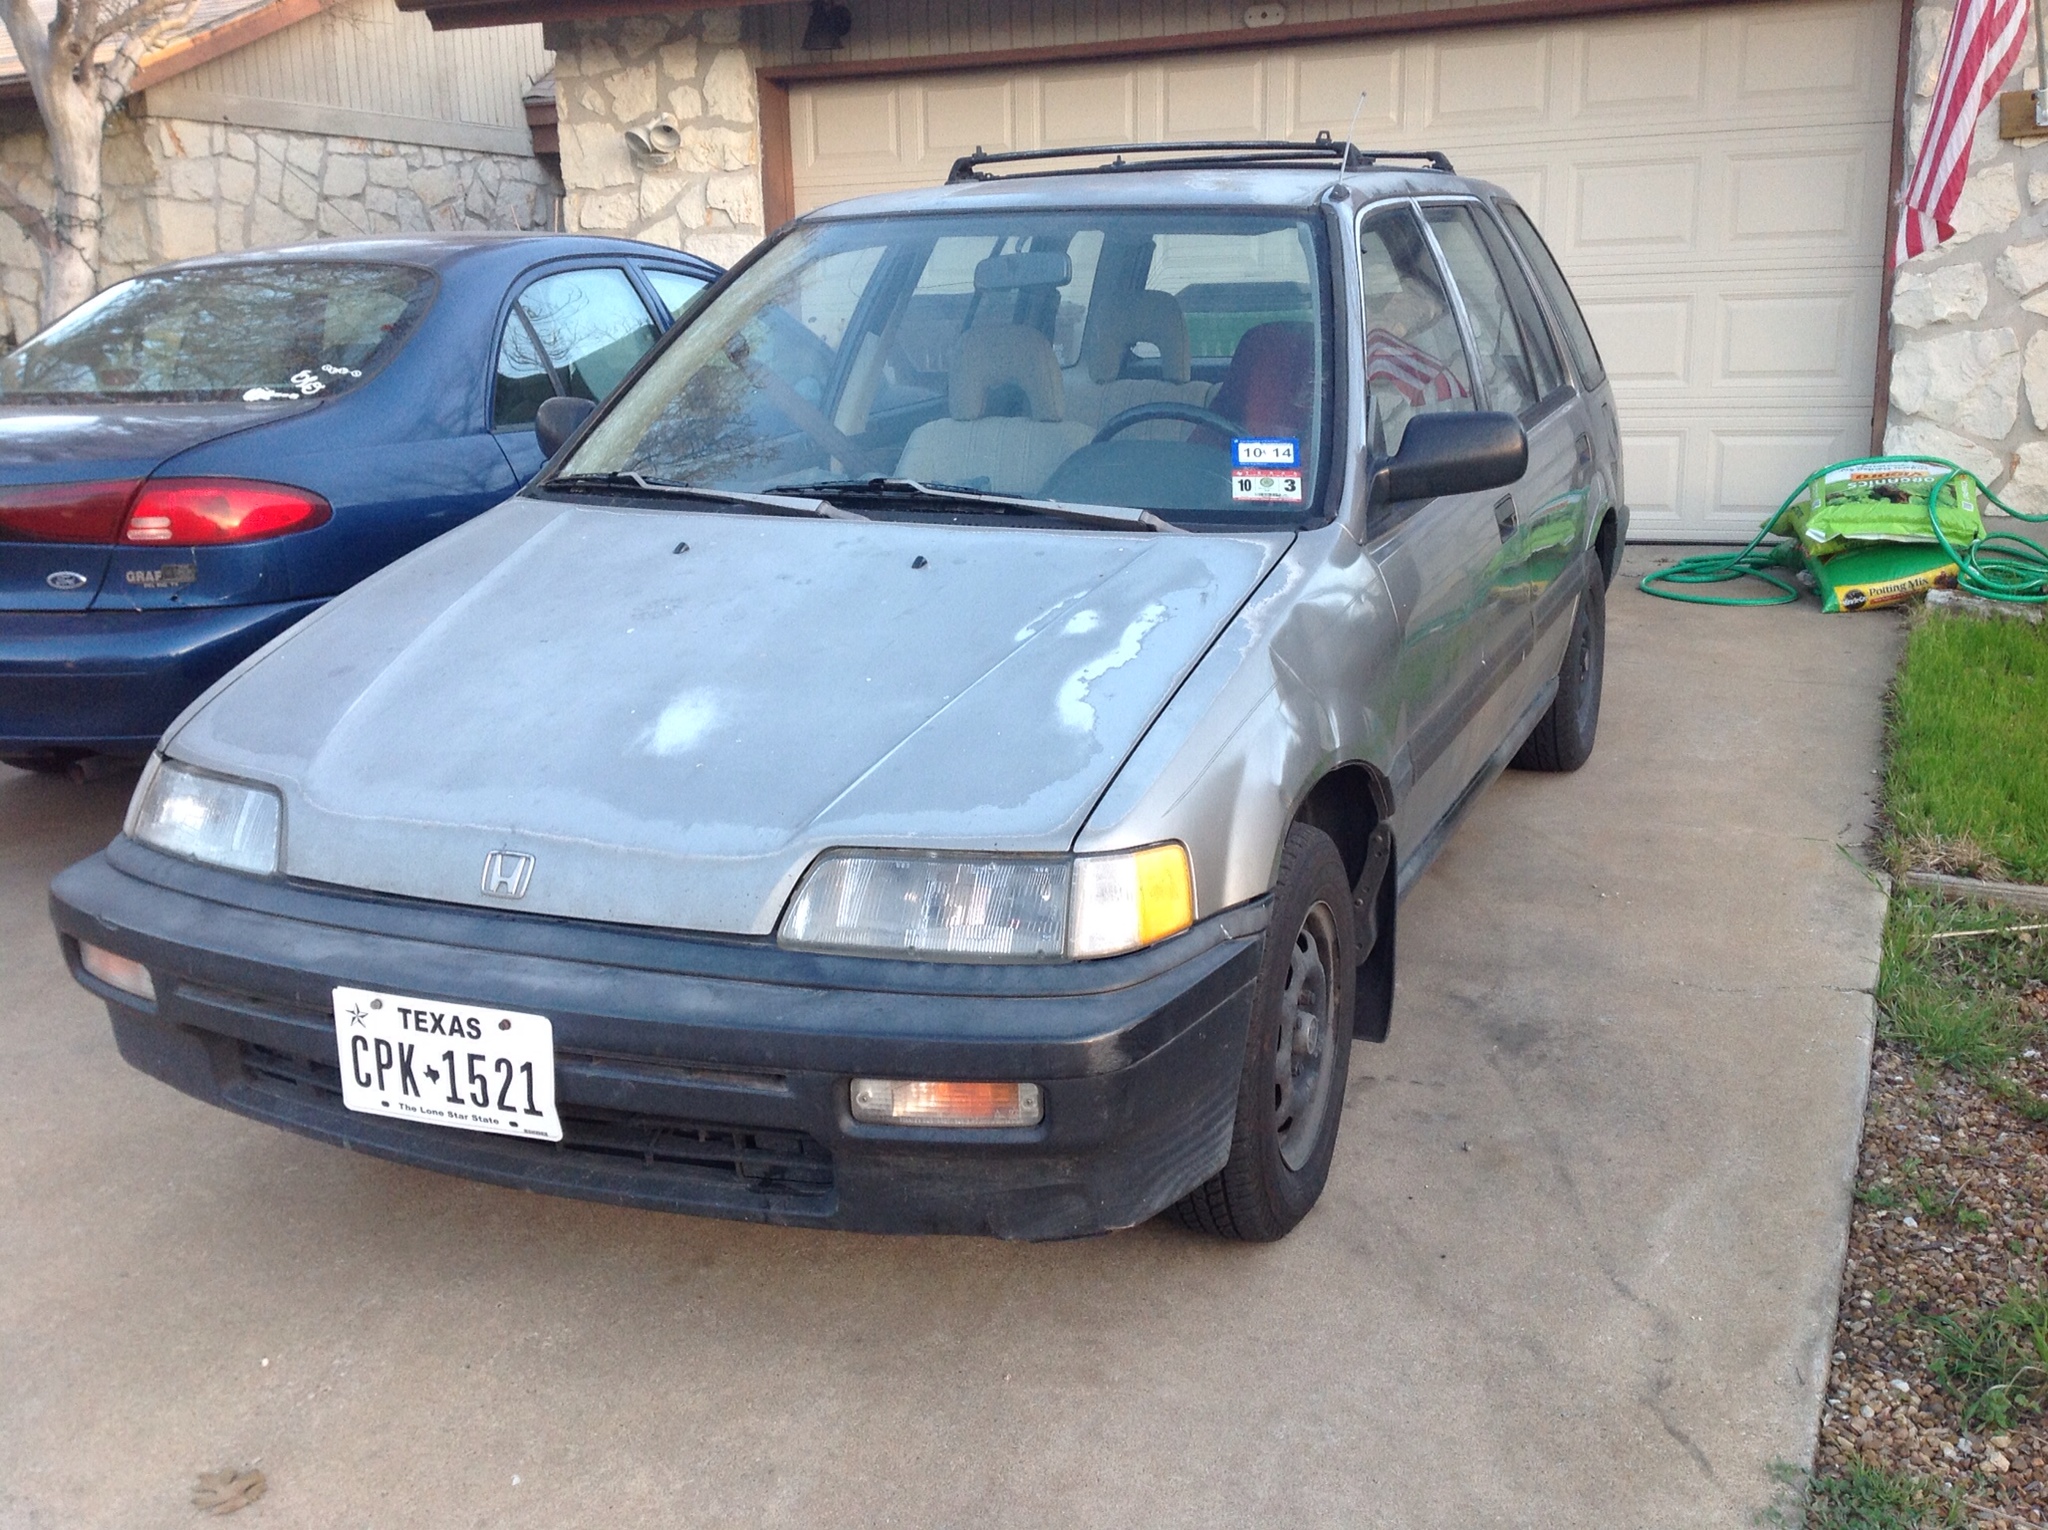
All right, so here it is, as I got it. So far the only thing I've done is had the windshield replaced. Lots of cracks, bulls eyes and starburst chips. I probably paid too much for it.
It's got a sloppy shifter, I've got an Energy Suspension bushing kit coming in to take care of that. I was debating on whether or not to install a short shifter at the same time. But I'm not doing any racing in this and I've heard that they're bad on the synchros, so I'll leave that stock.
304k+ on it. Supposedly 50k on the engine and transmission. It does have a good amount of pep still. I'll do a compression test when I've got a spare moment.
One thing I would definitely like to do, as I've been reading up on it here, is a 5th gear swap. 3000+ rpm at mild highway speeds is not fun.
Anyway, on with the pics.
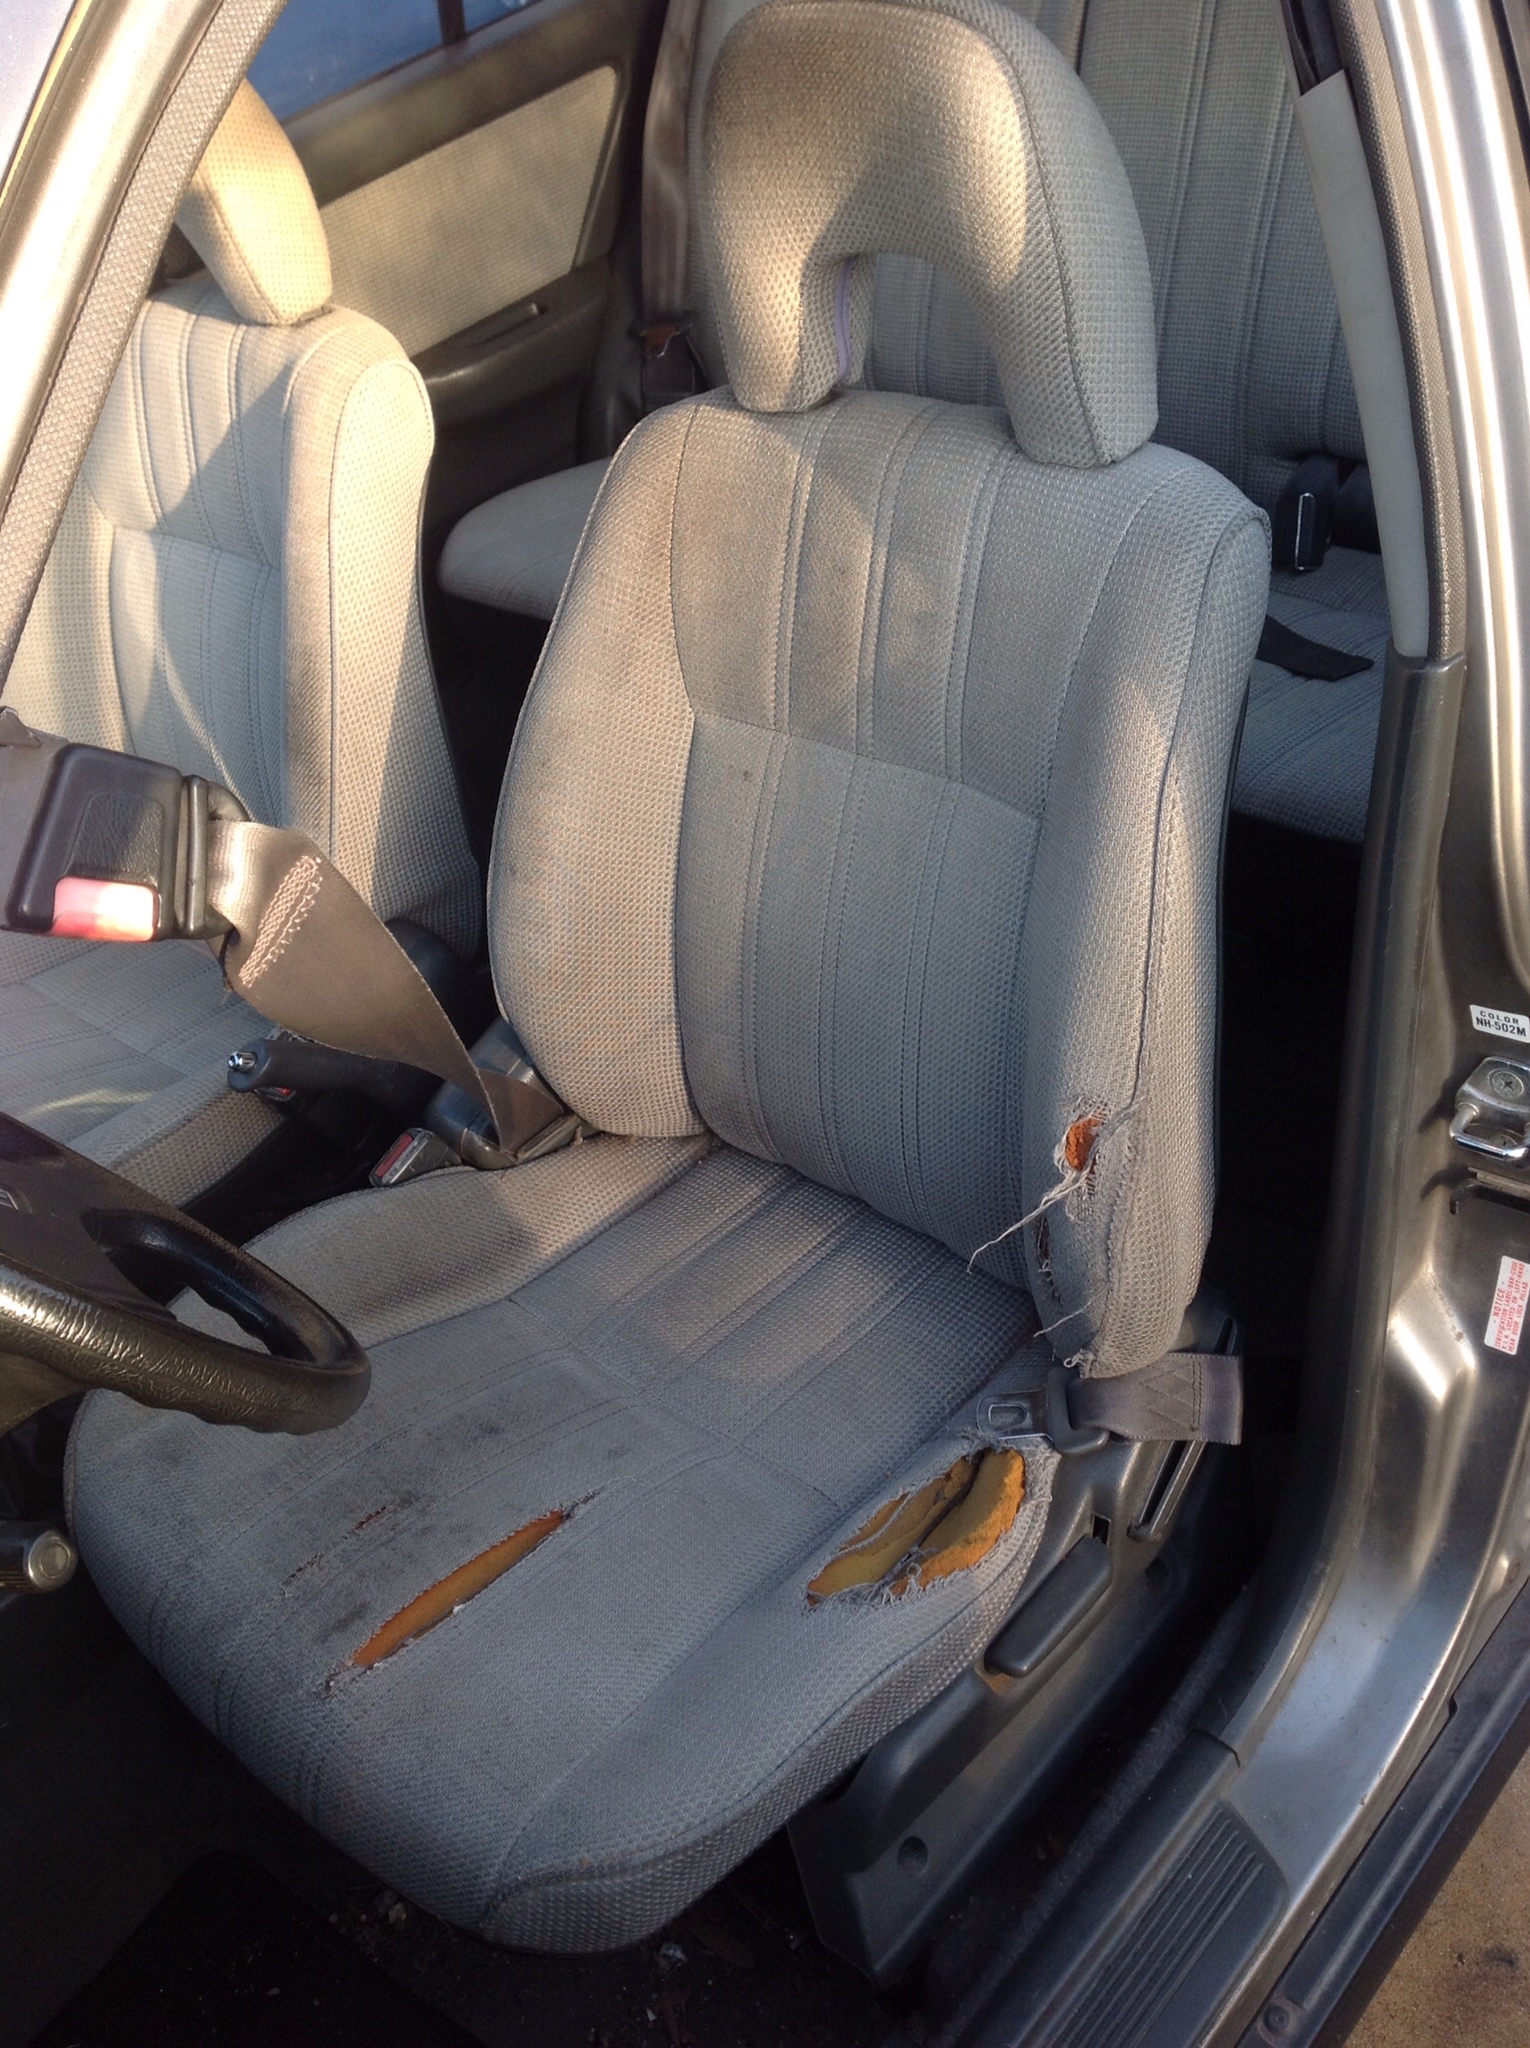
It's got a busted up driver's seat unfortunately, that has been covered by some gaudy ed hardy looking cover.
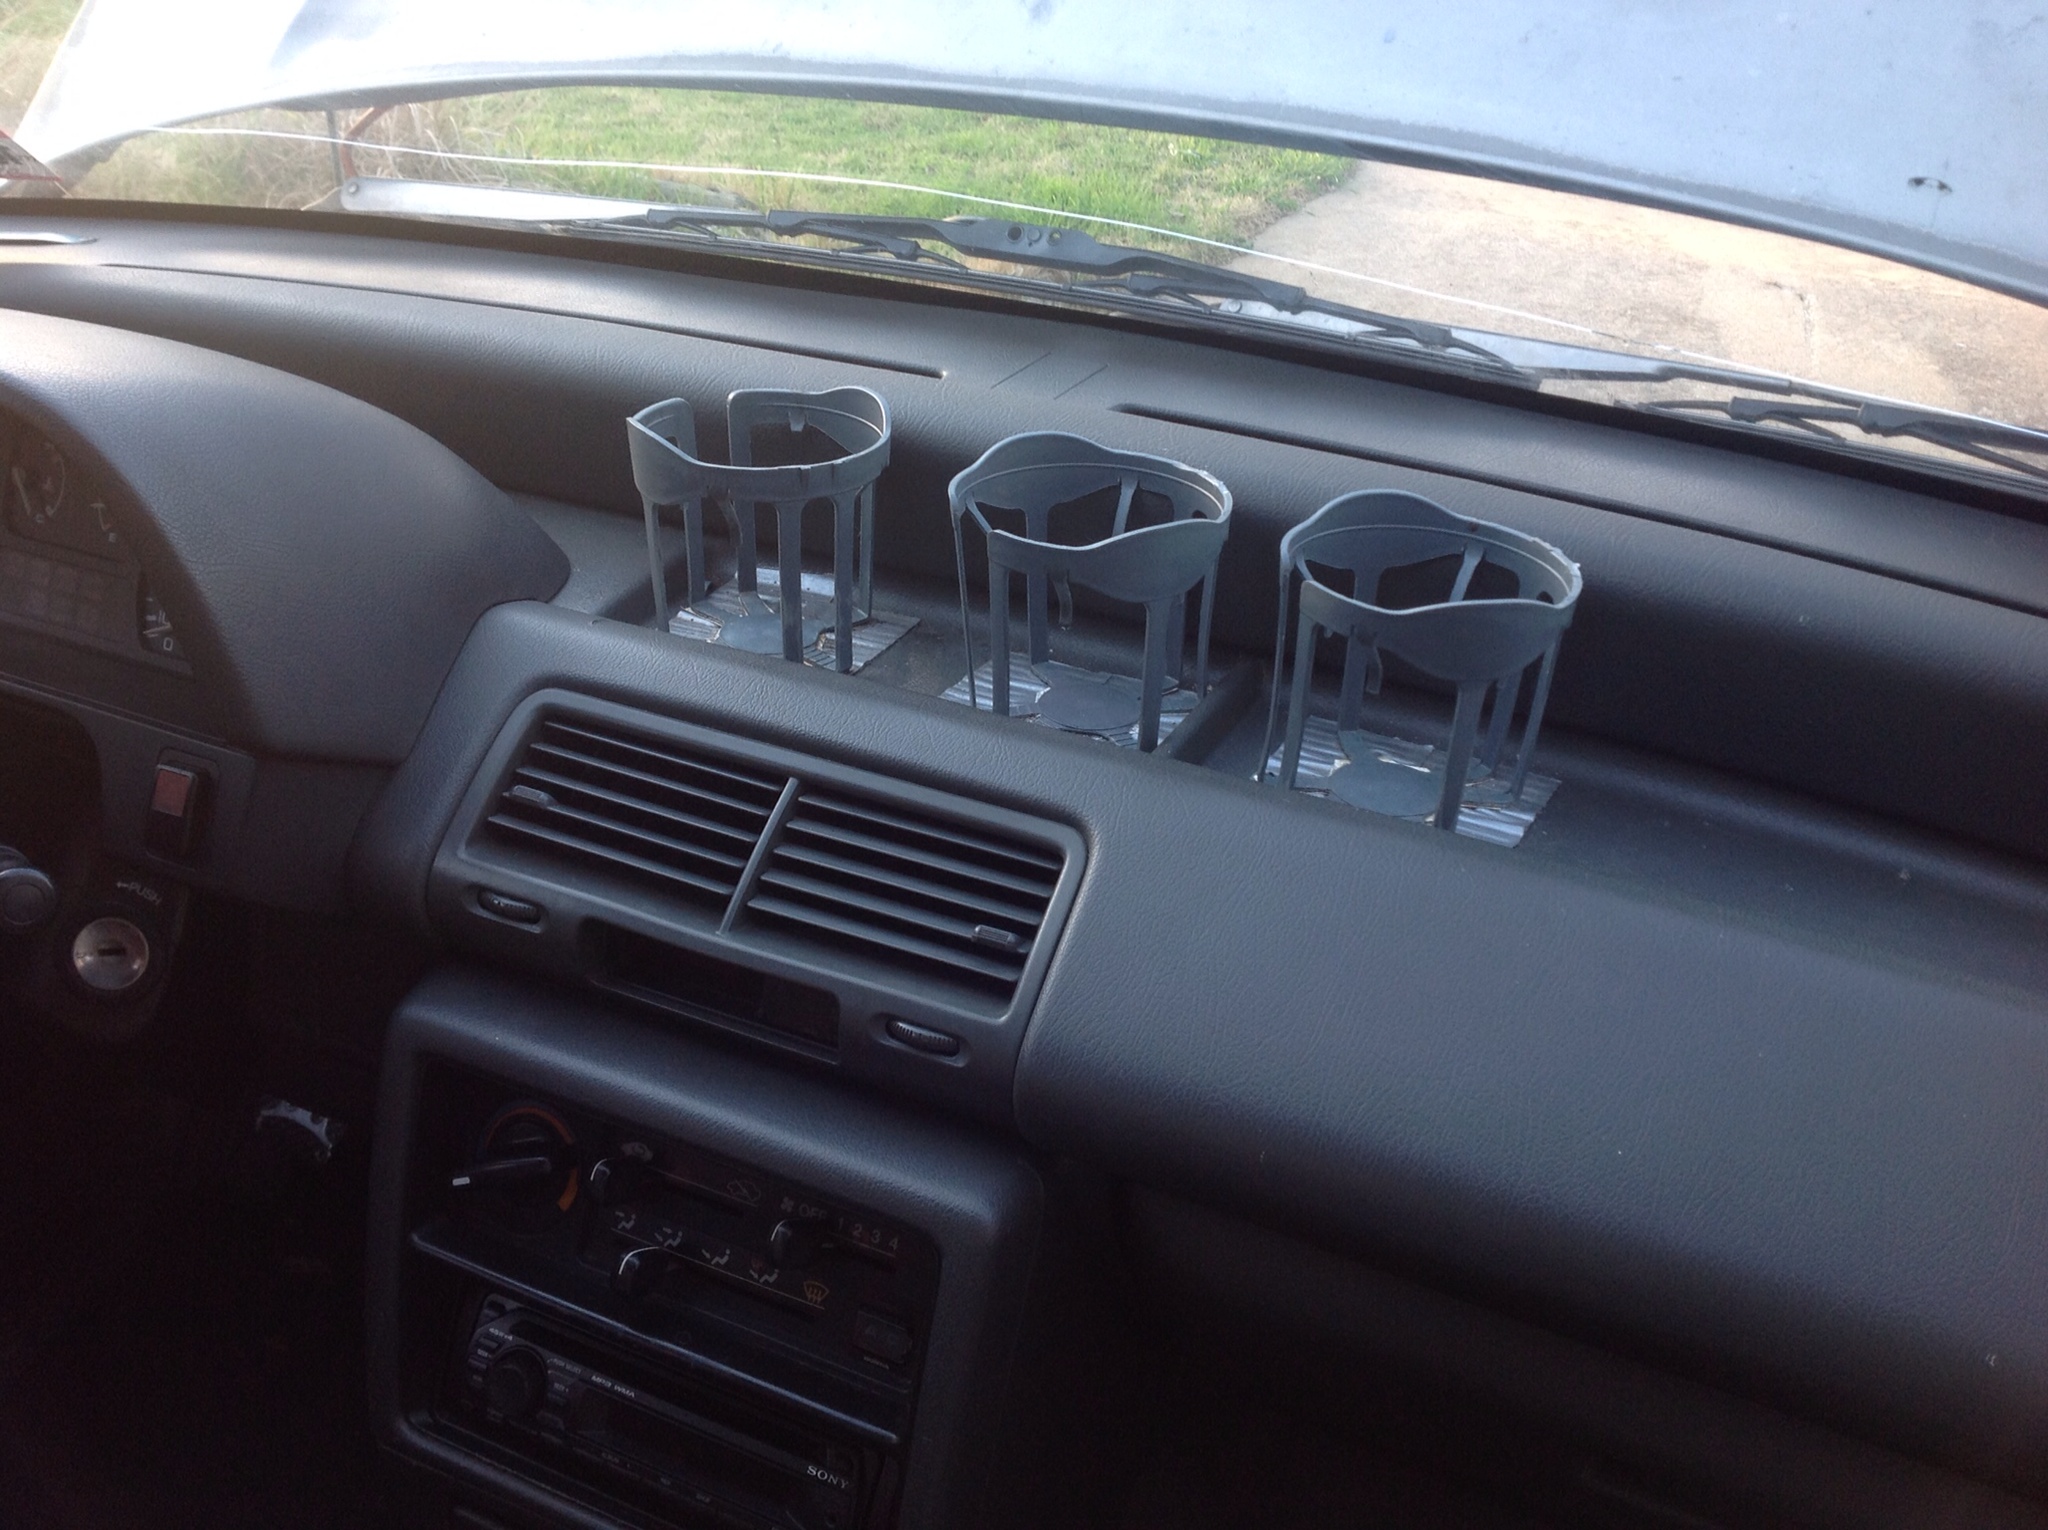
And a cupholder farm
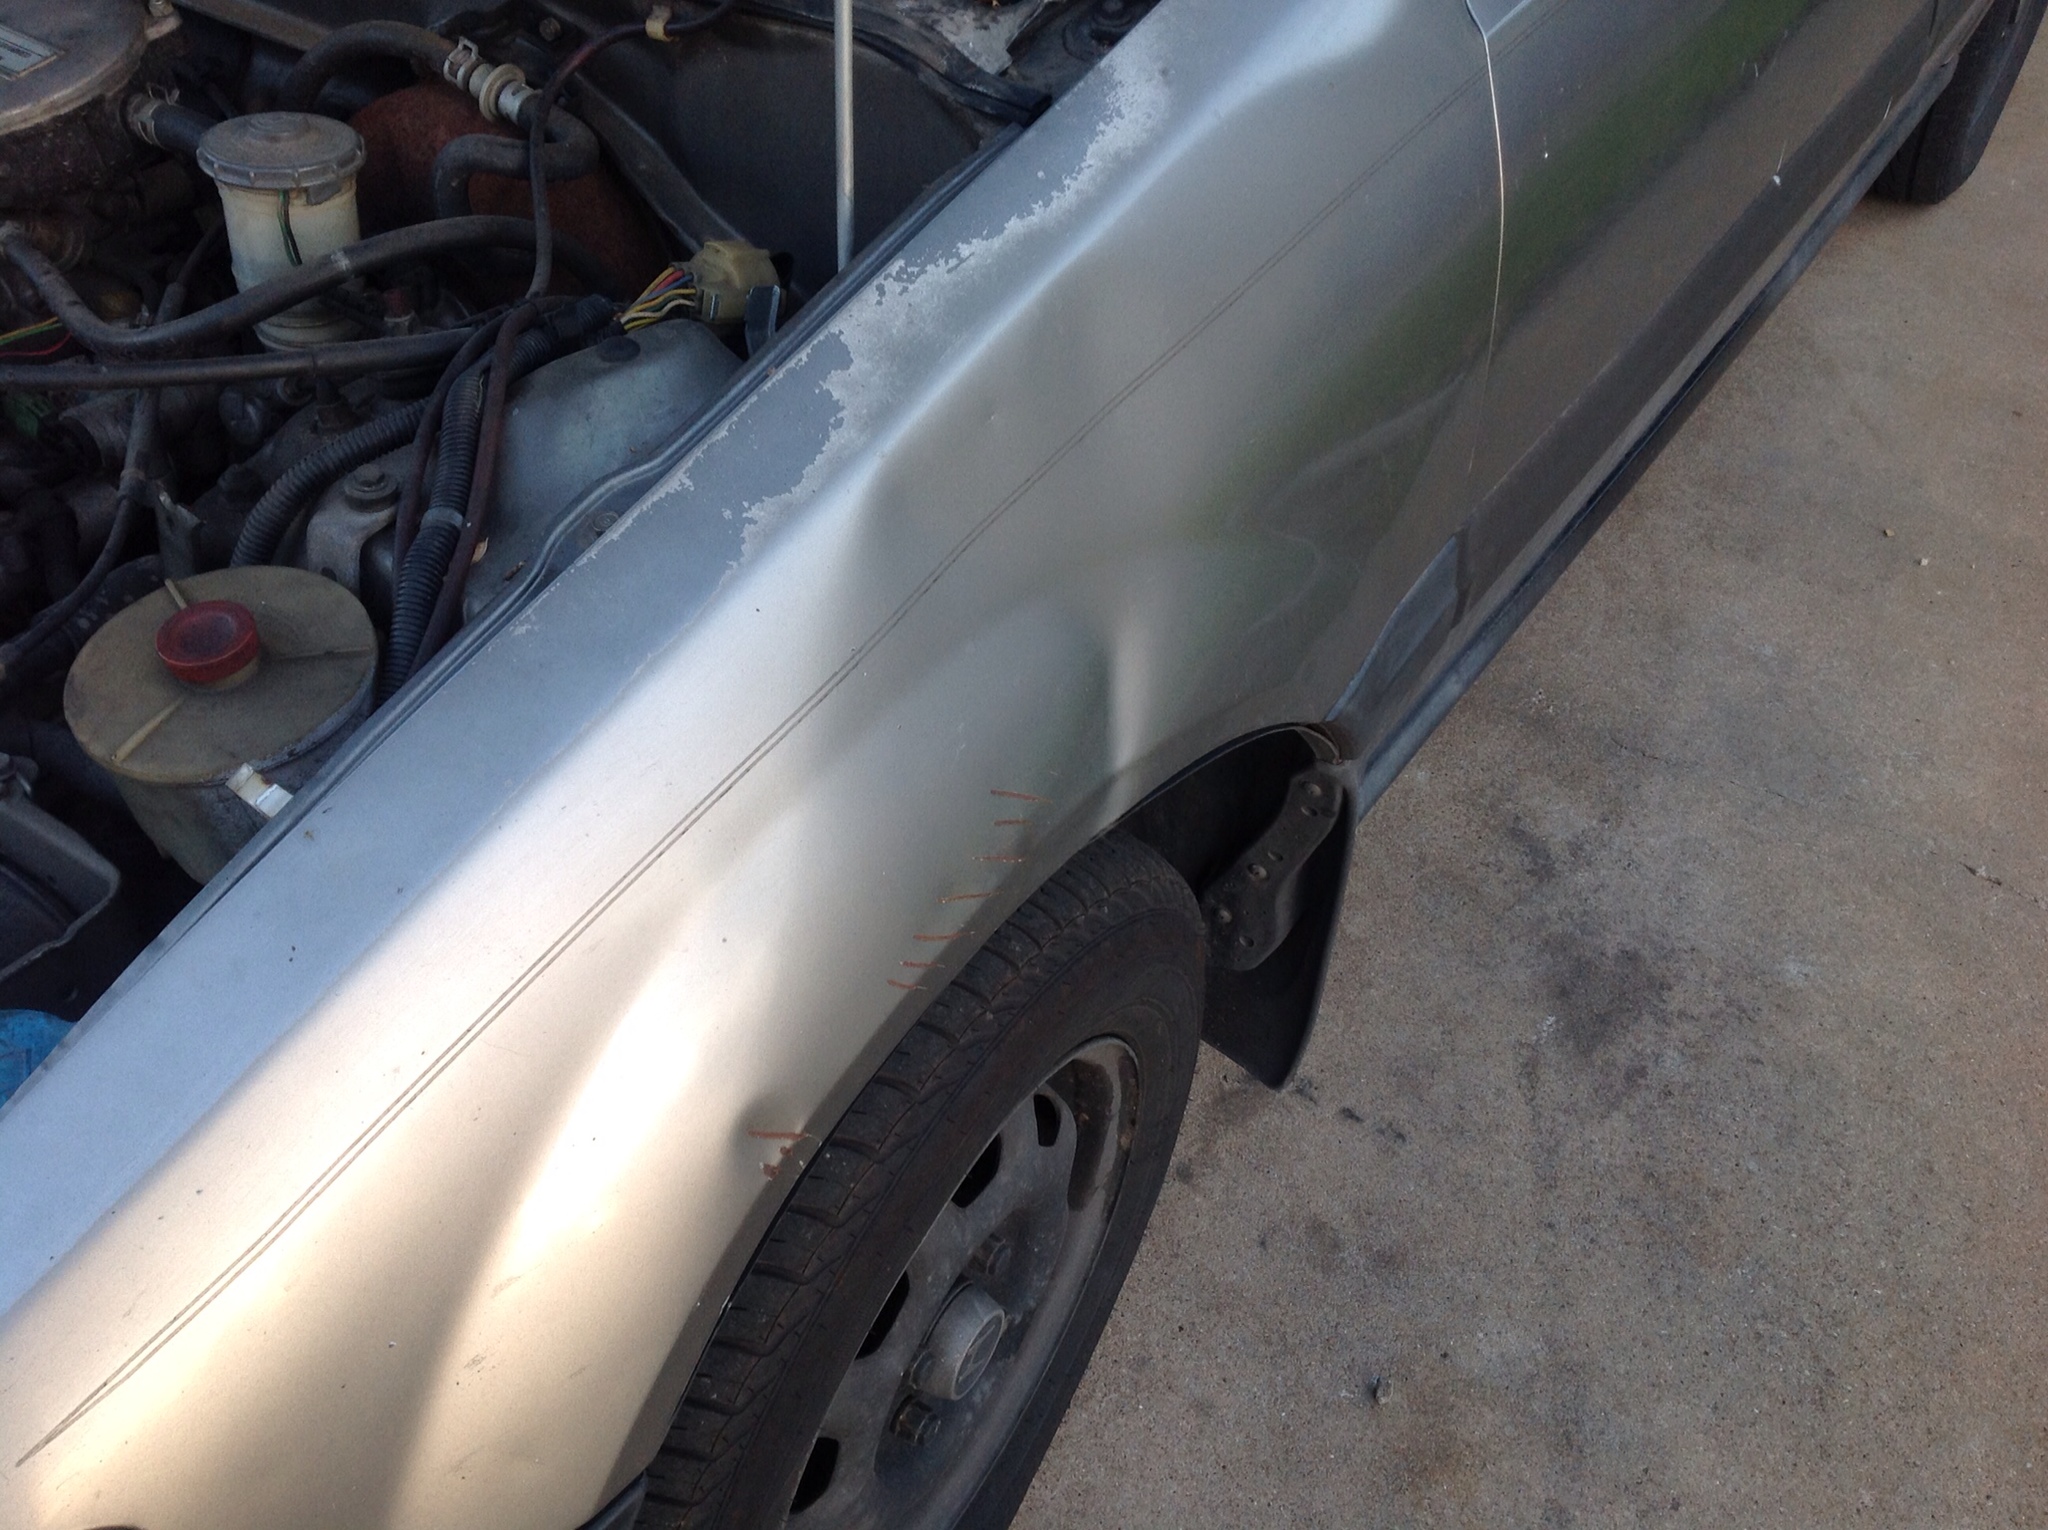
Anyone got a fender?
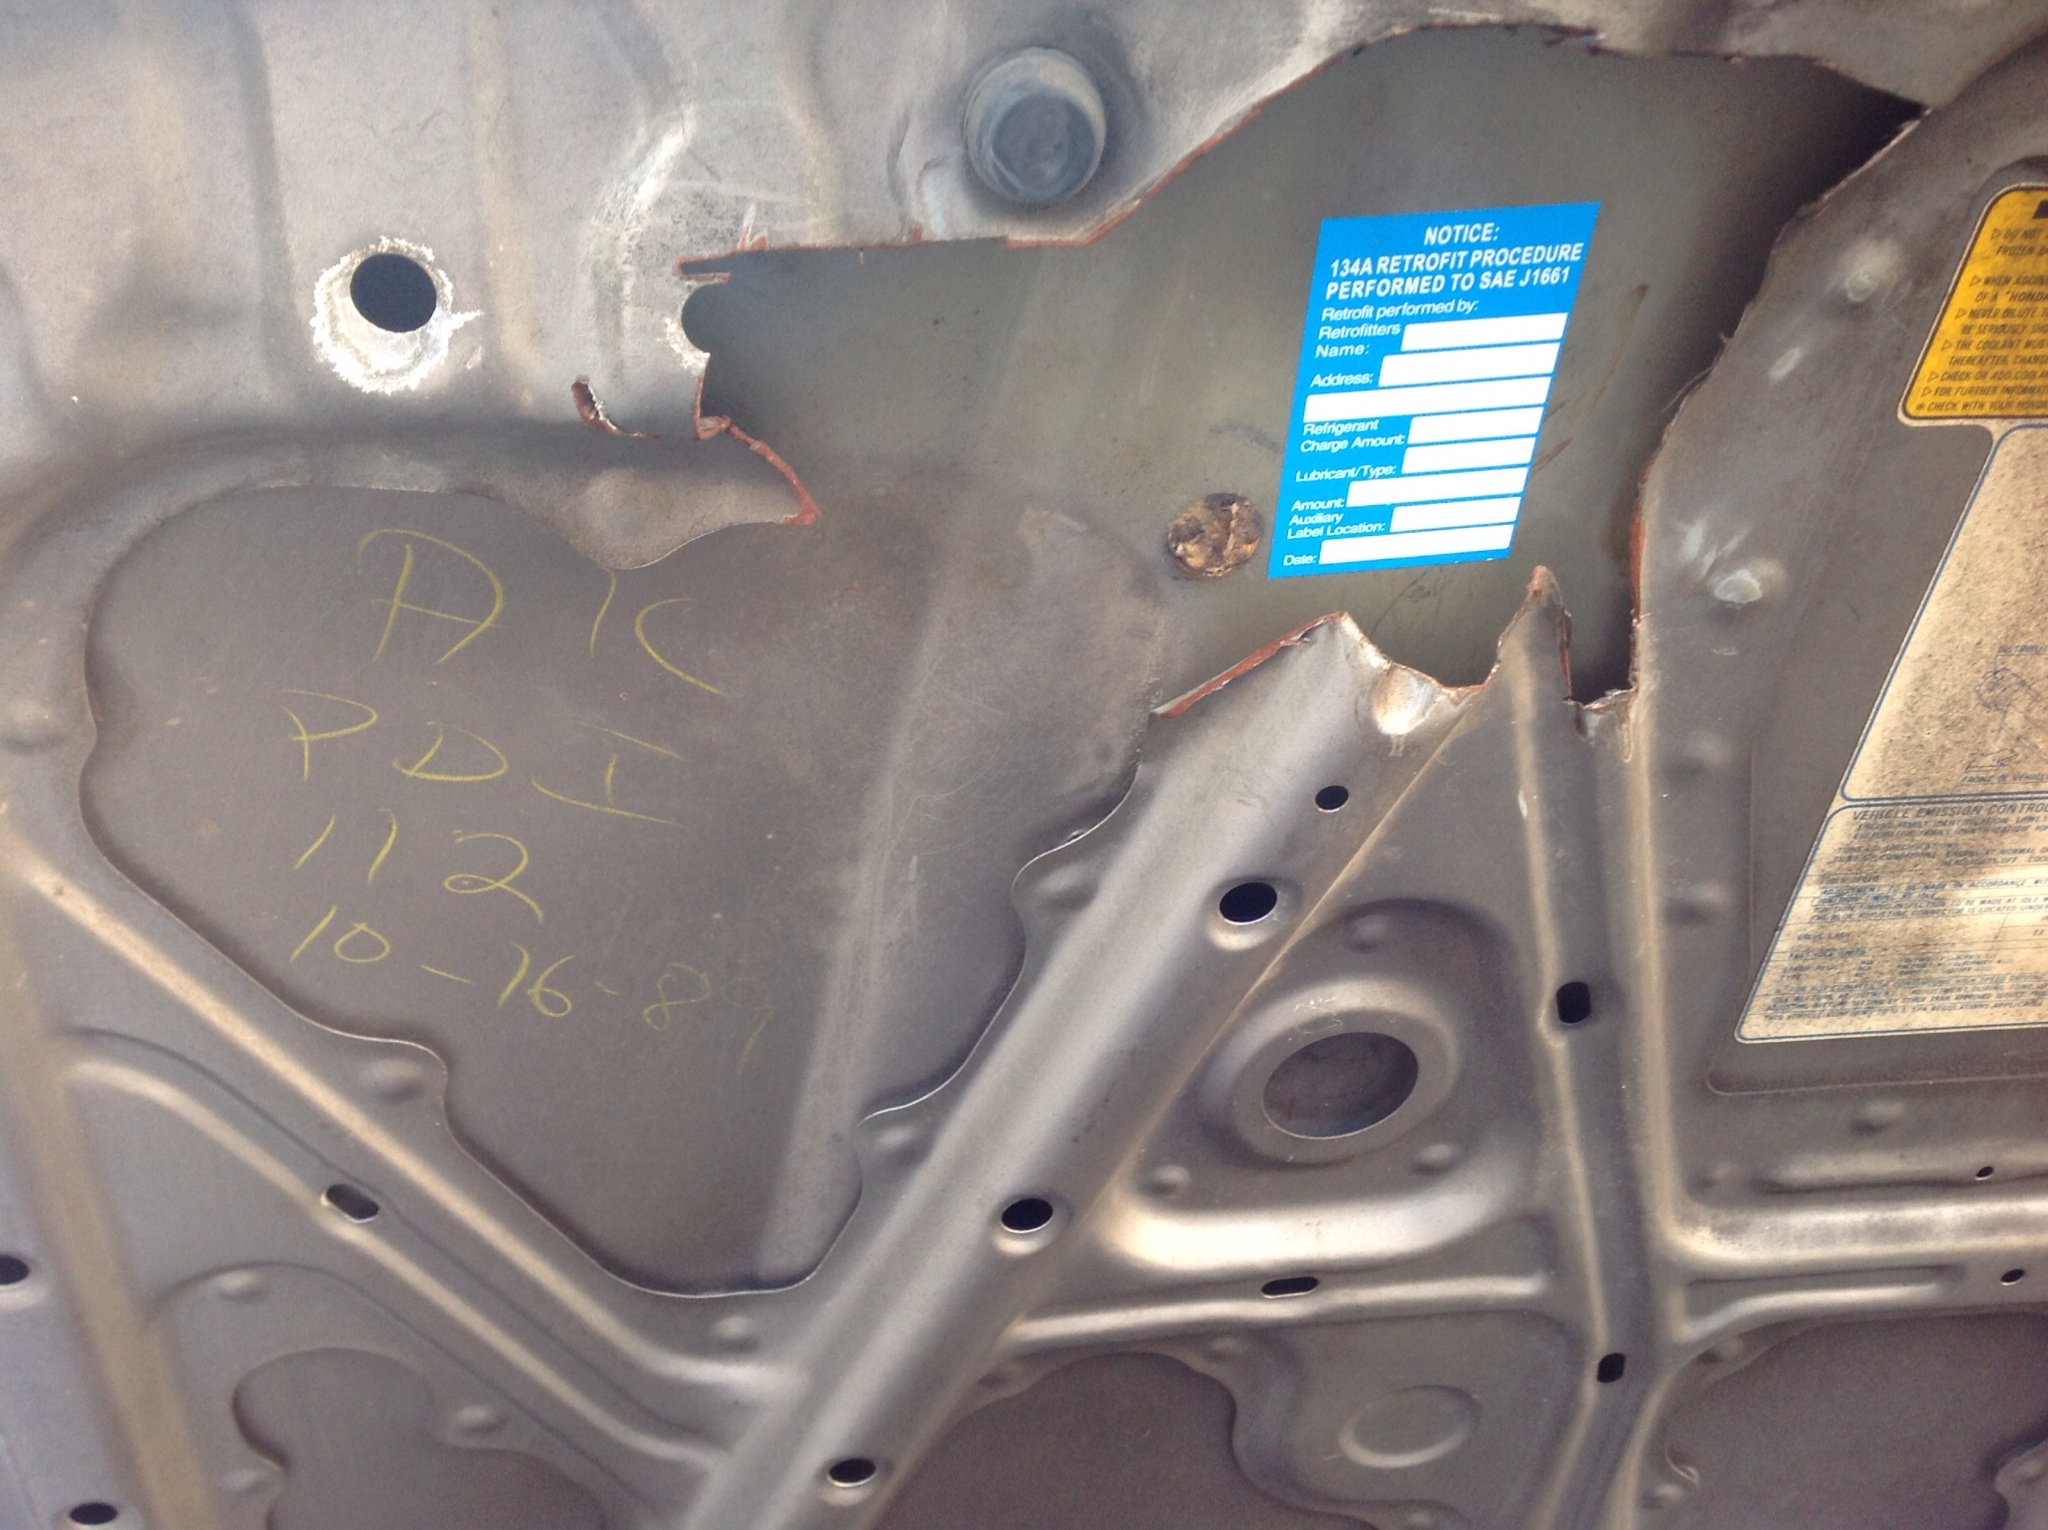
And what the hell, why was a section of the hood frame cut out?!
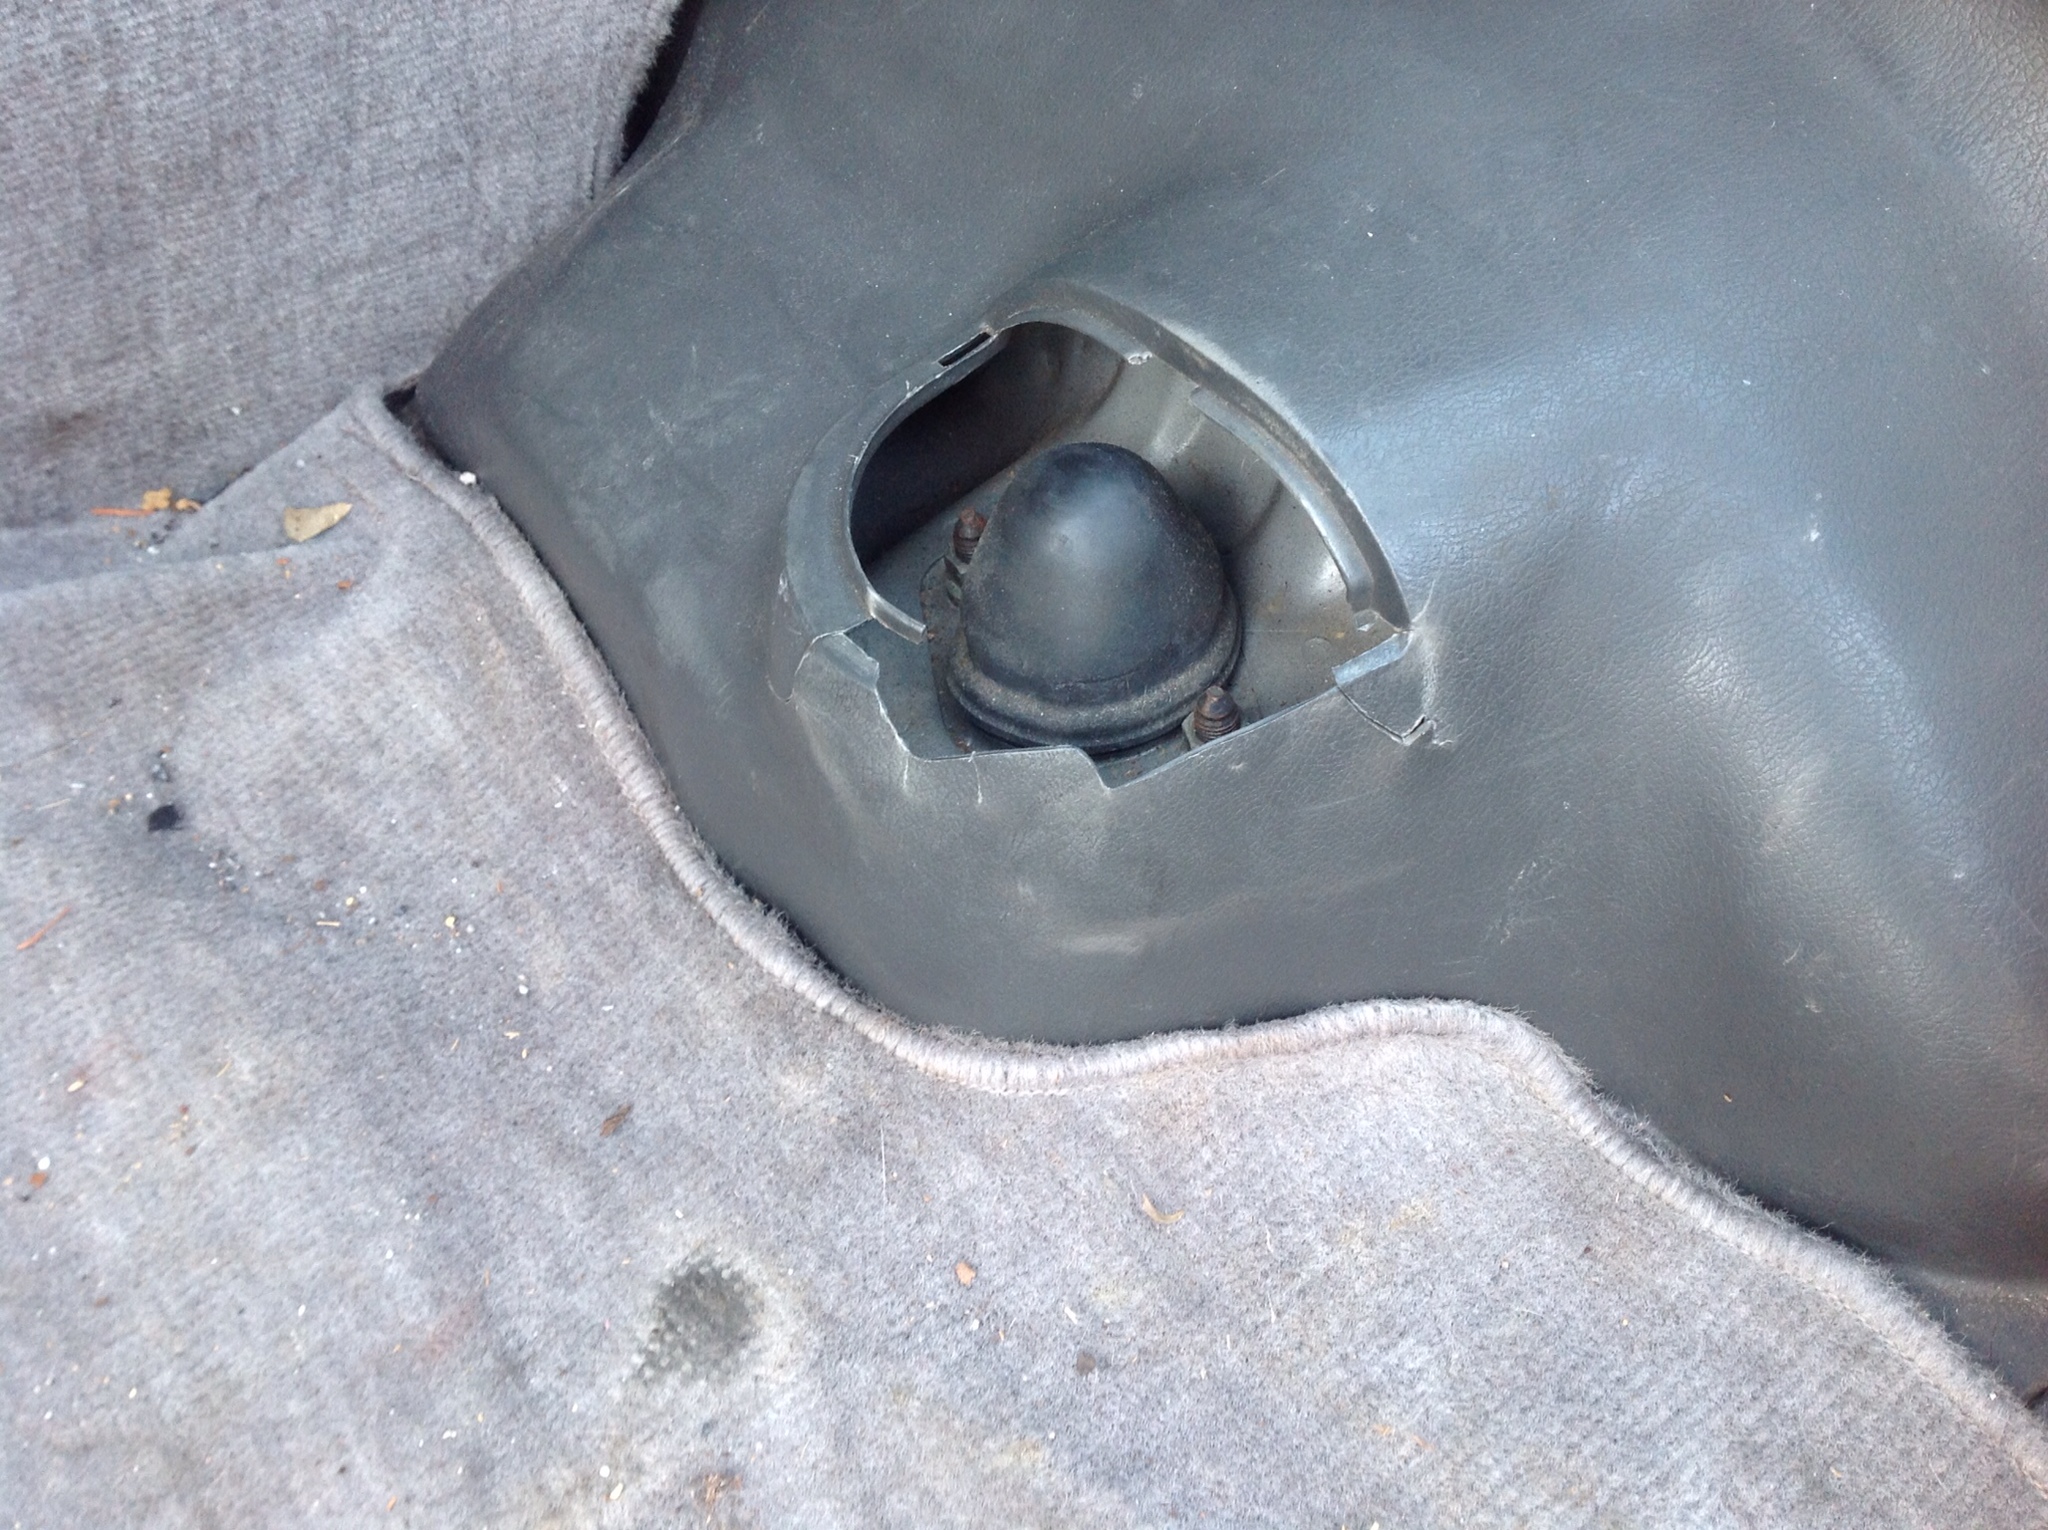
Busted panel in back. Would love to get those bigger ones that run the full sides and have the compartments. Those seem near impossible to track down though.
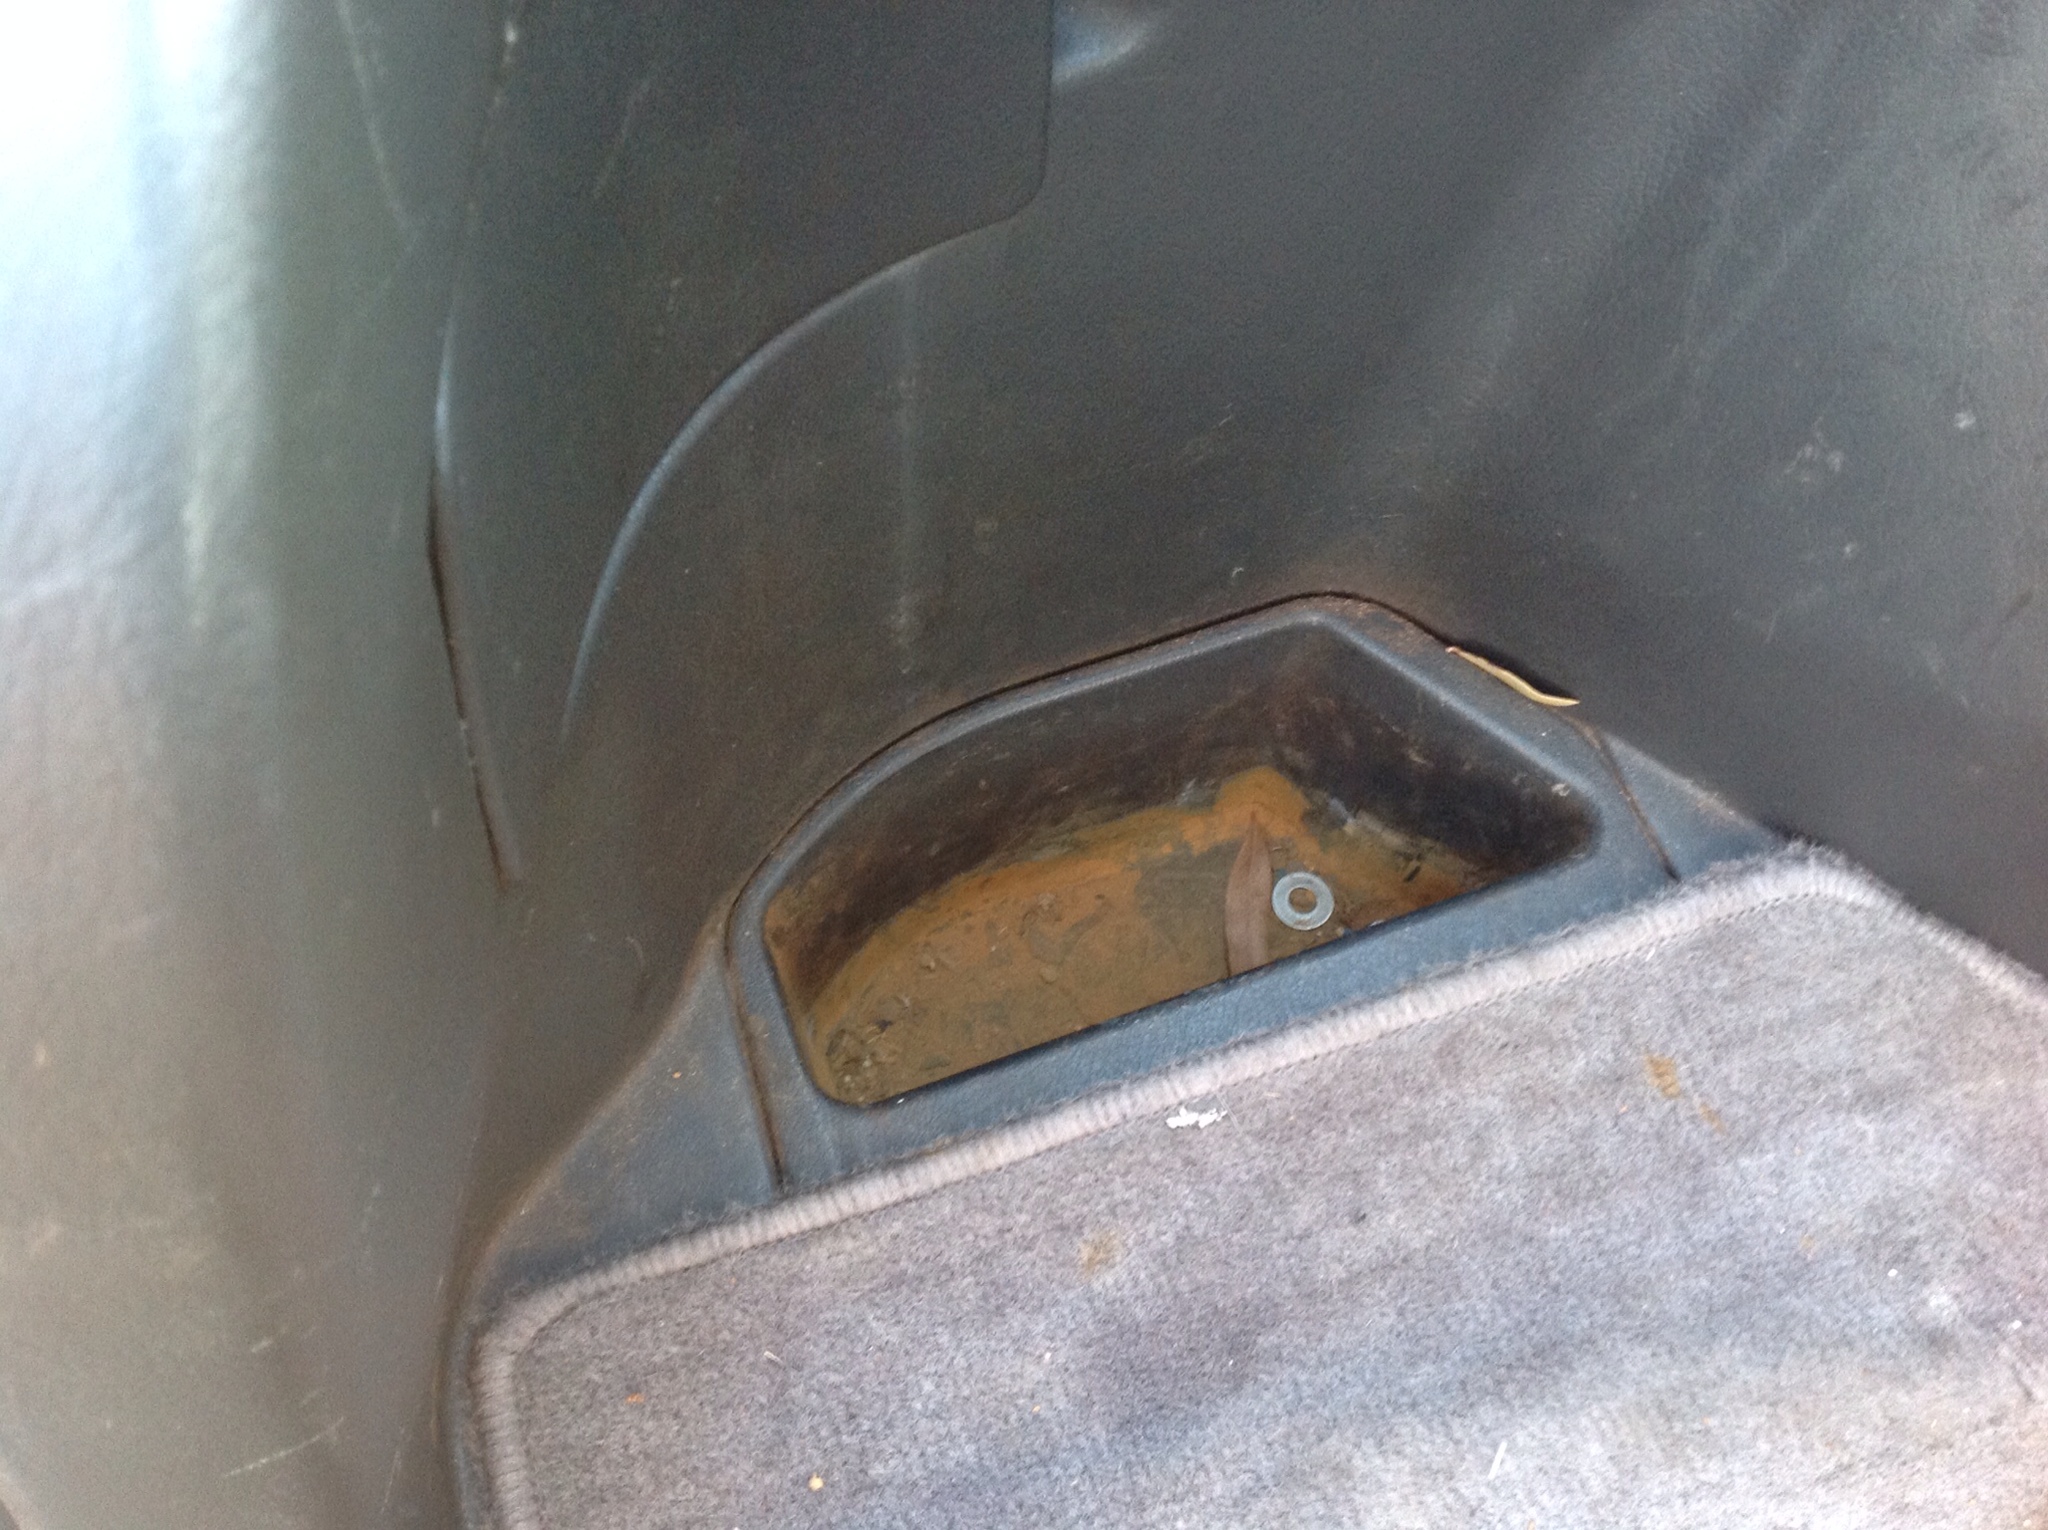
Water leak somewhere? Wondering where the rusty residue came from.
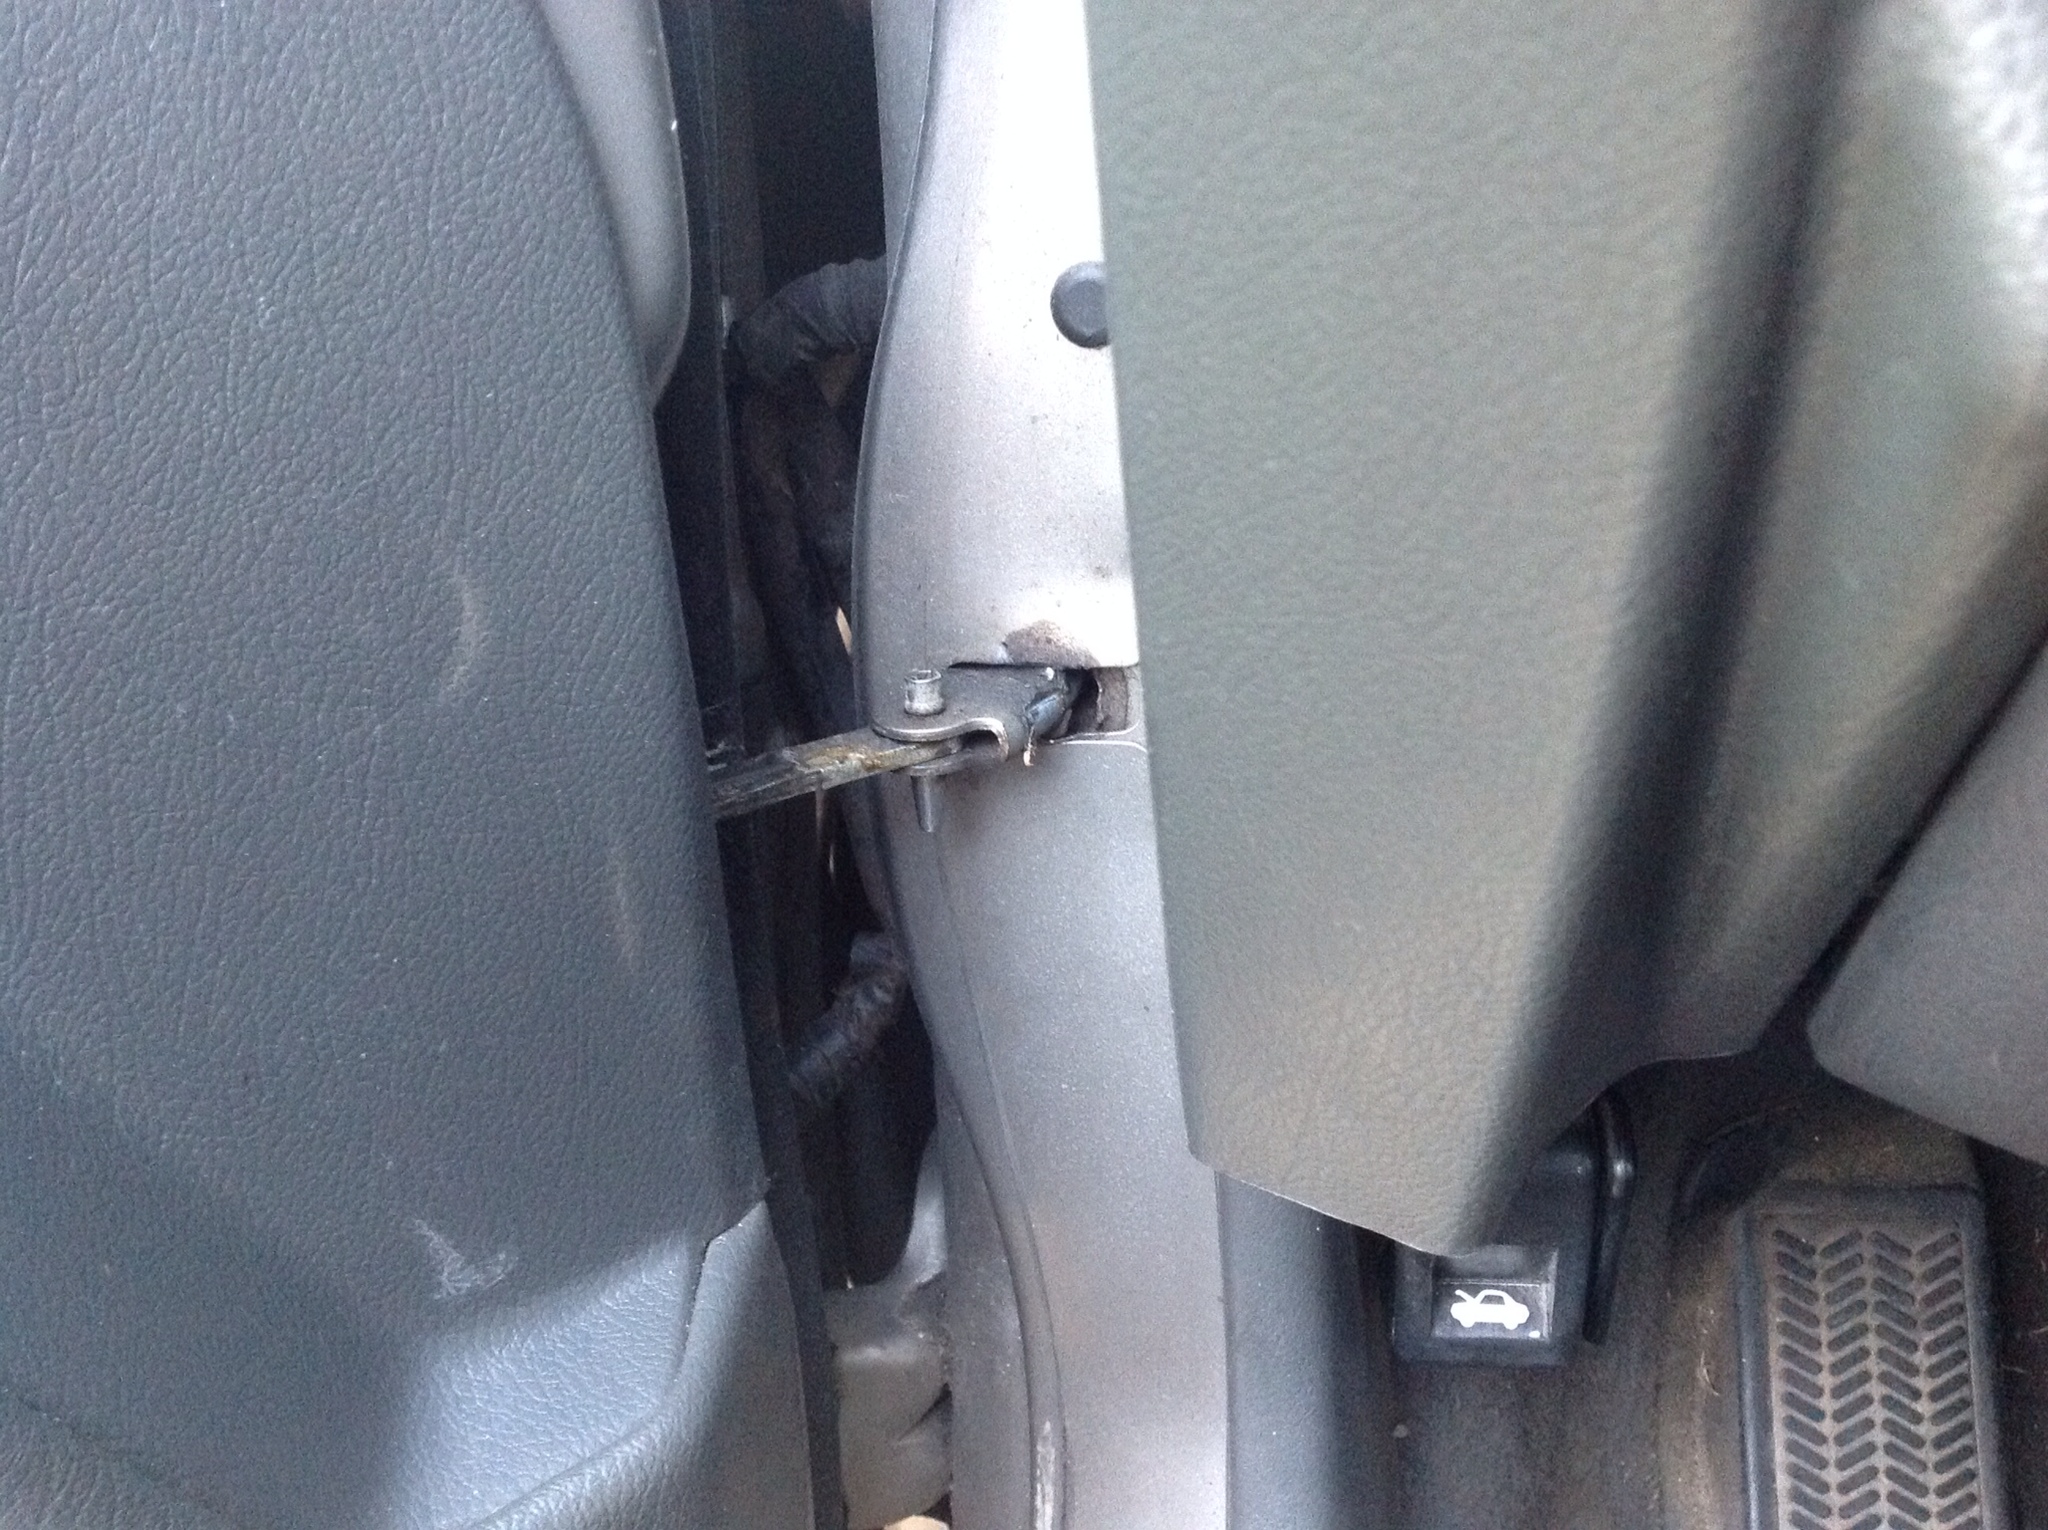
The door catch binds up and pops a bit, it seems it's pulling out too far. A bit of bent metal too. Not sure if I can hammer it back or get back there and replace this part or what.
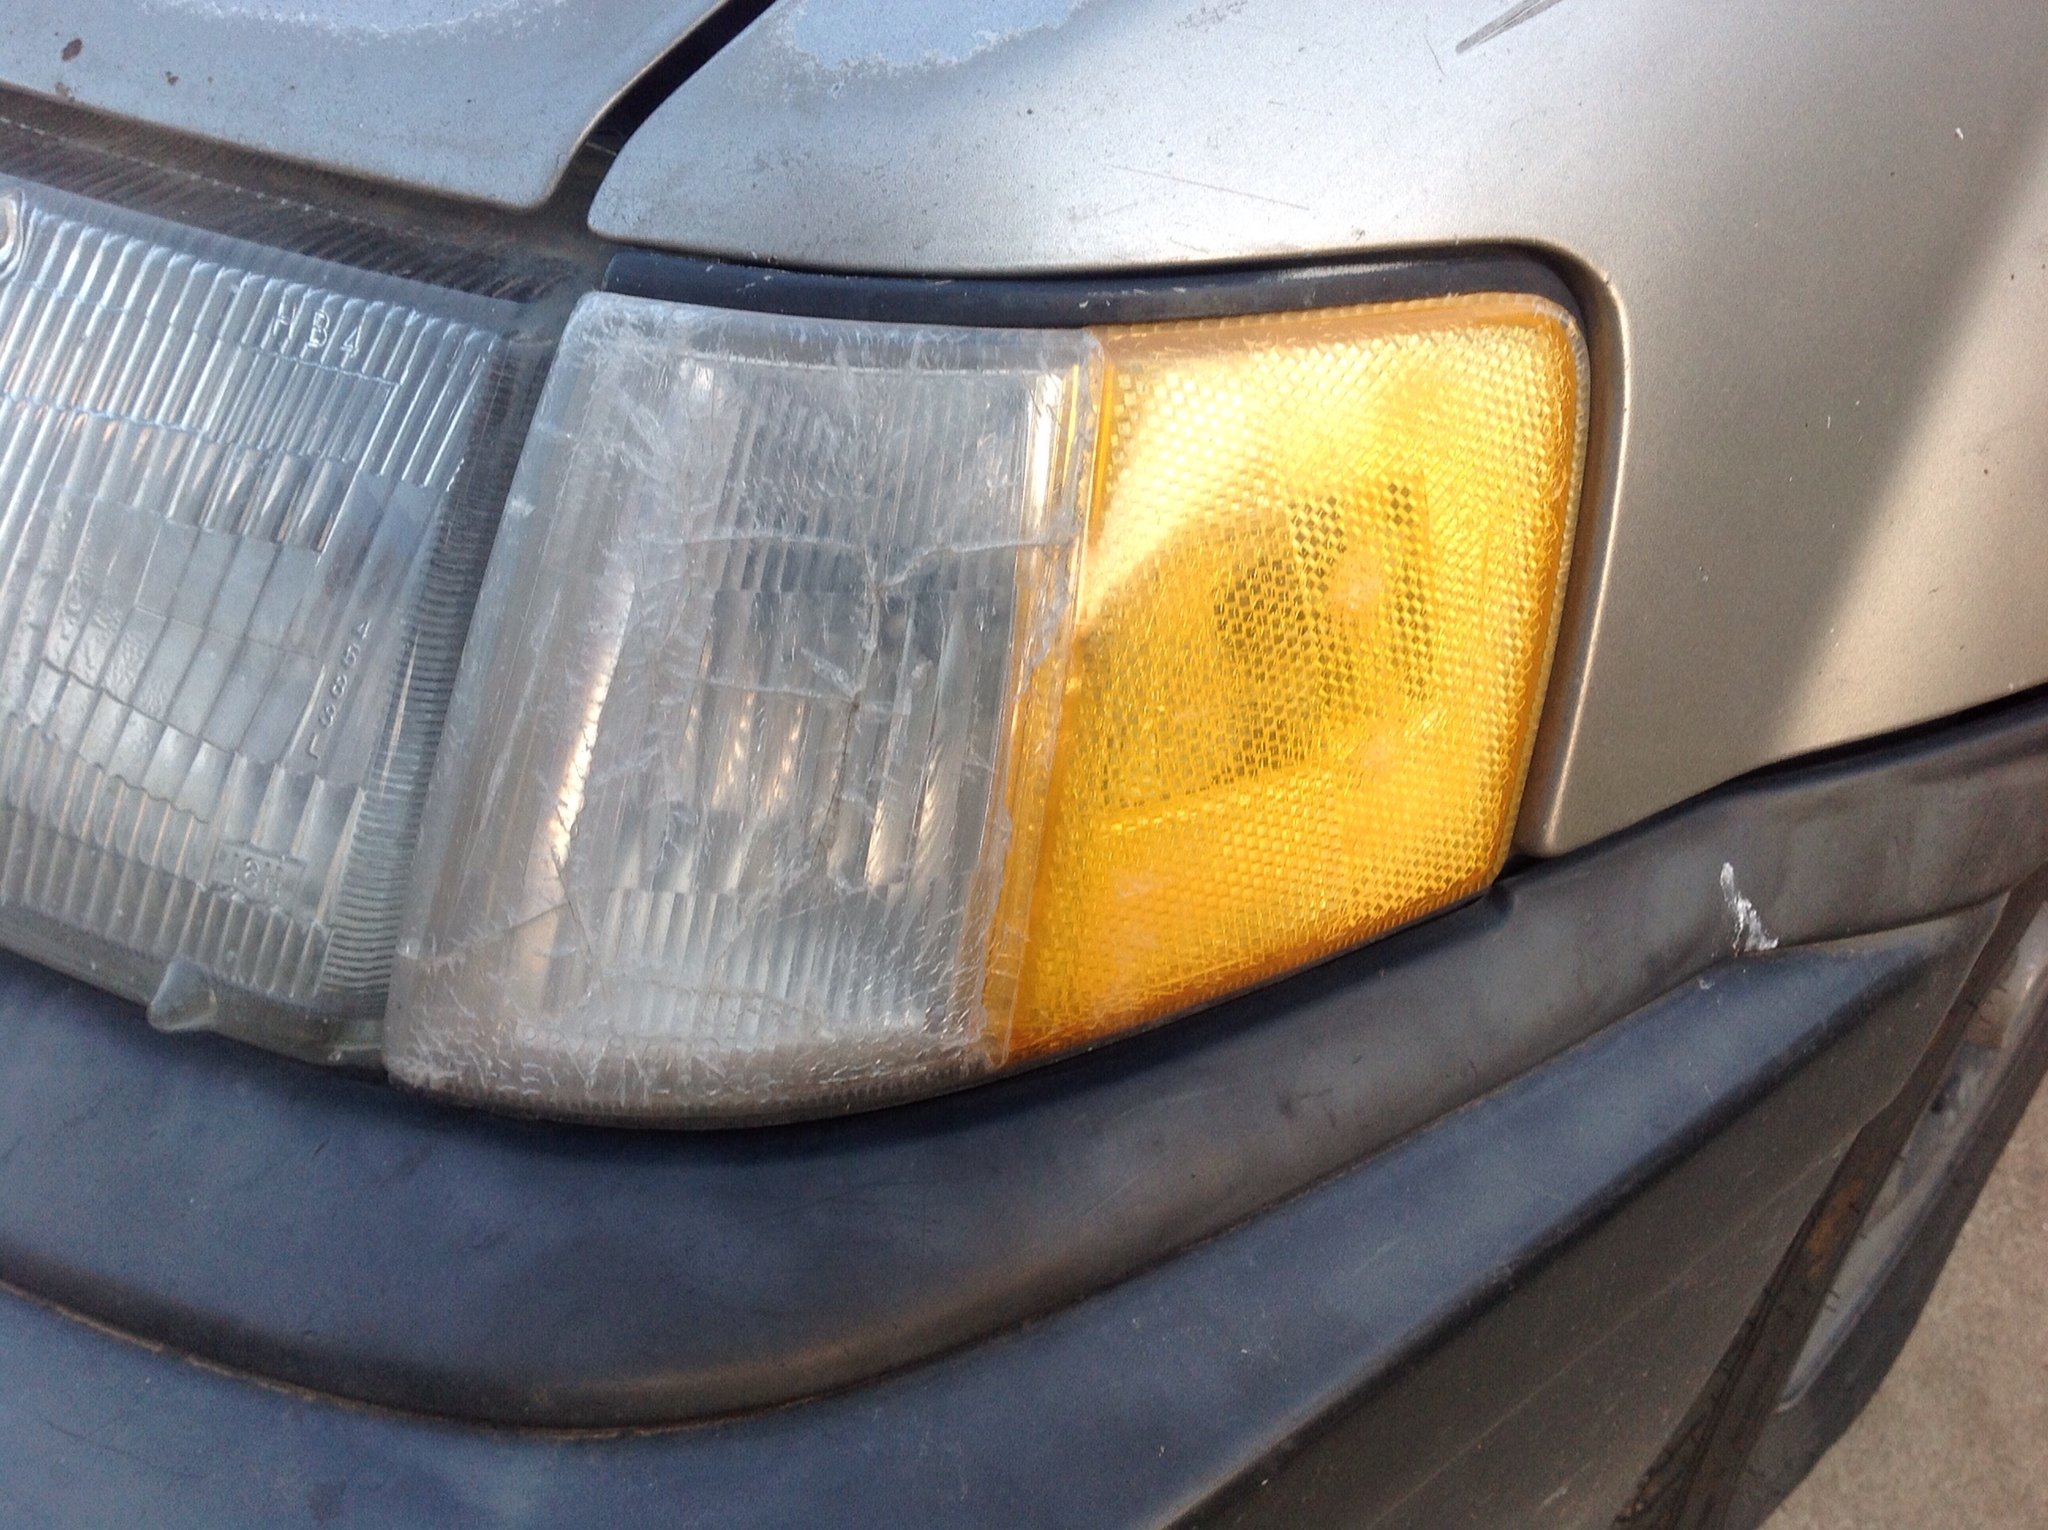
Yuck! Got some all amber ones coming in. (No I don't, I'm a dummy and ordered hatchback ones)
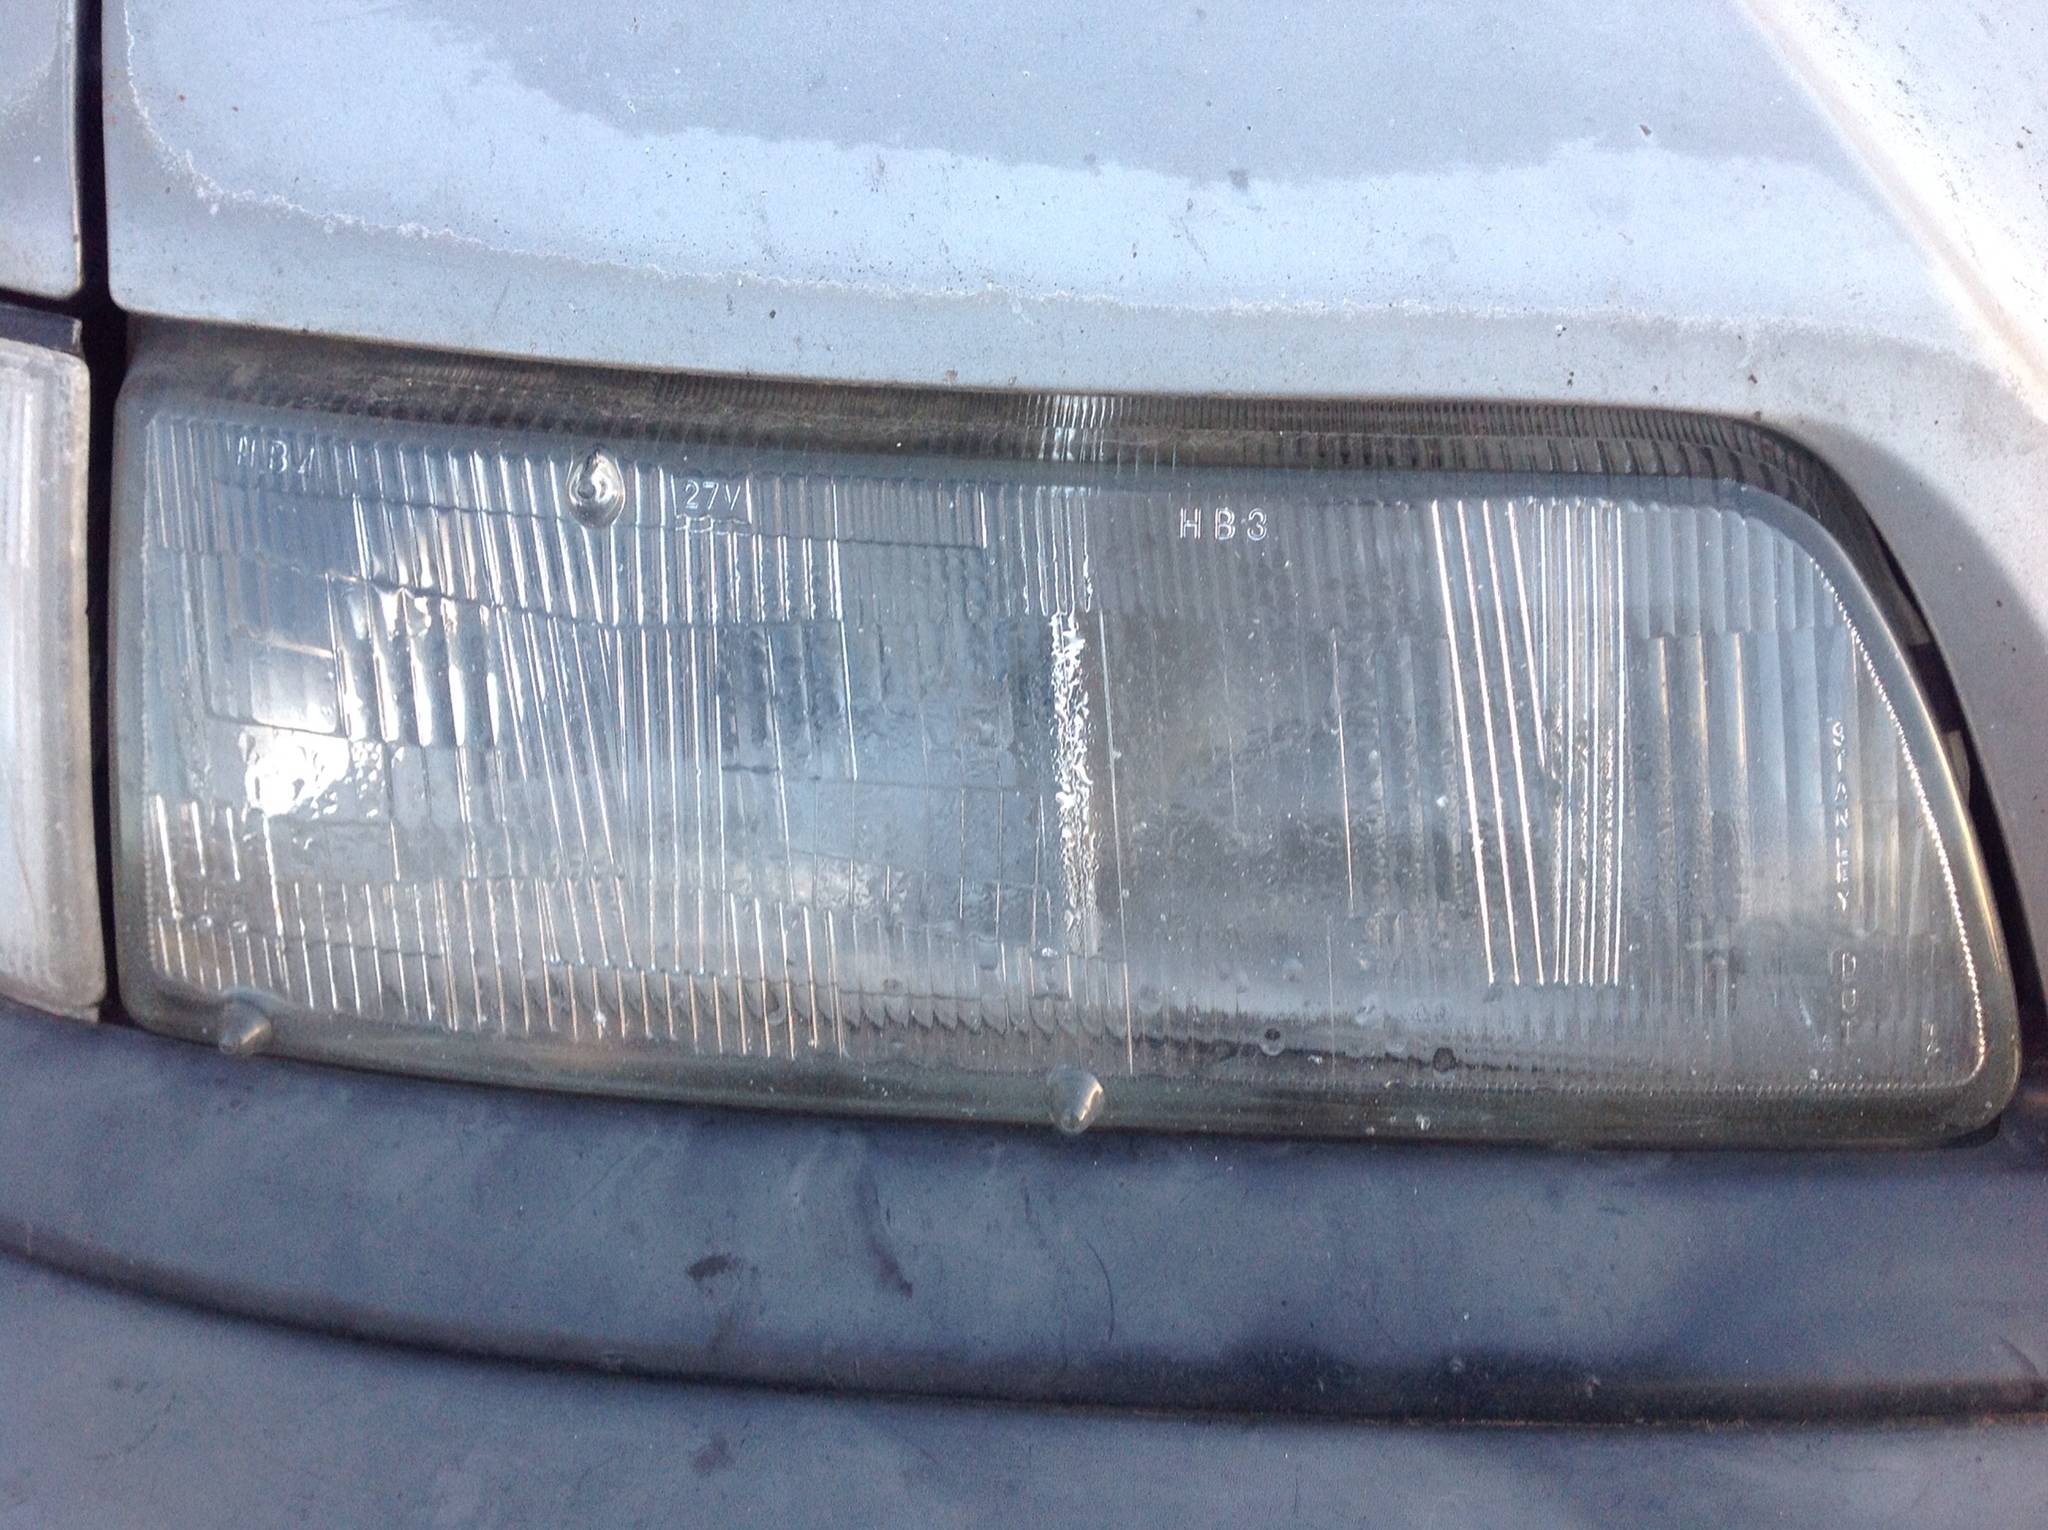
These look like they've gone for a swim as well. Have some new headlights coming in. I'll probably pop these apart at some later date and see if they can be cleaned up.
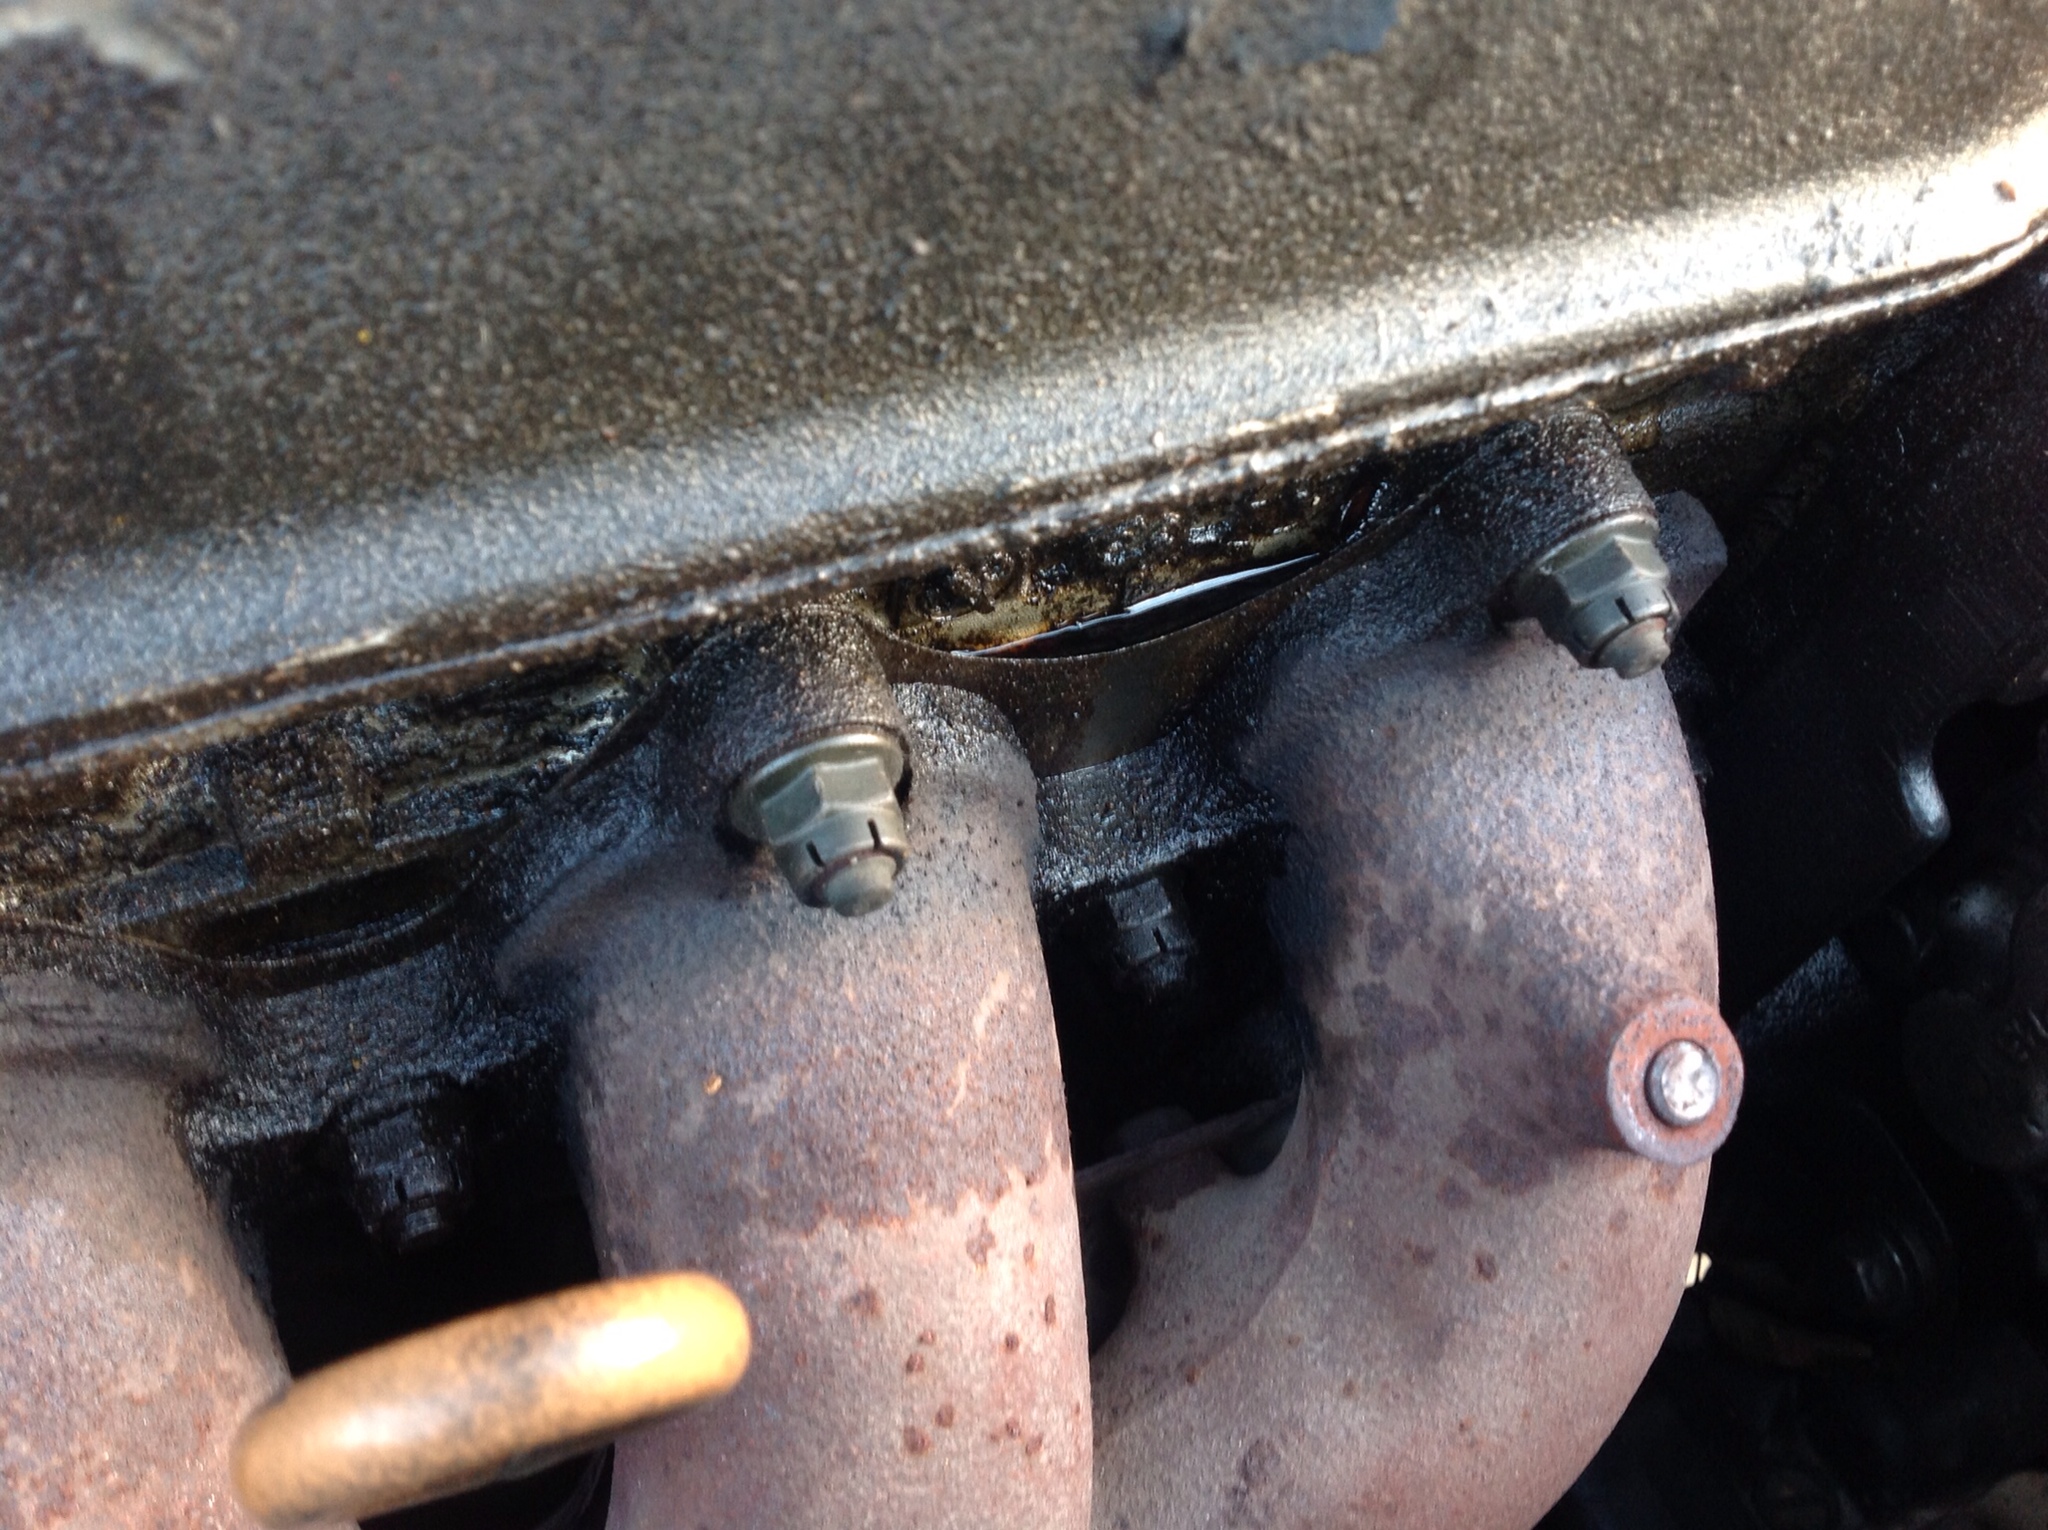
New Valve cover gasket is on the first things to do list.
It's got a sloppy shifter, I've got an Energy Suspension bushing kit coming in to take care of that. I was debating on whether or not to install a short shifter at the same time. But I'm not doing any racing in this and I've heard that they're bad on the synchros, so I'll leave that stock.
304k+ on it. Supposedly 50k on the engine and transmission. It does have a good amount of pep still. I'll do a compression test when I've got a spare moment.
One thing I would definitely like to do, as I've been reading up on it here, is a 5th gear swap. 3000+ rpm at mild highway speeds is not fun.
Anyway, on with the pics.
It's got a busted up driver's seat unfortunately, that has been covered by some gaudy ed hardy looking cover.
And a cupholder farm
Anyone got a fender?
And what the hell, why was a section of the hood frame cut out?!
Busted panel in back. Would love to get those bigger ones that run the full sides and have the compartments. Those seem near impossible to track down though.
Water leak somewhere? Wondering where the rusty residue came from.
The door catch binds up and pops a bit, it seems it's pulling out too far. A bit of bent metal too. Not sure if I can hammer it back or get back there and replace this part or what.
Yuck! Got some all amber ones coming in. (No I don't, I'm a dummy and ordered hatchback ones)
These look like they've gone for a swim as well. Have some new headlights coming in. I'll probably pop these apart at some later date and see if they can be cleaned up.
New Valve cover gasket is on the first things to do list.
Comments
Then I pulled the cover off and hand washed the majority of it with some good ol doctor bronners. Then tossed it in the washing machine and flipped on the steam cycle.
The drivers seat will need some serious reupholstering, but hopefully the rest of the seats turn out this well.
All that being said, looks like you're off to a nice start!
but nice wagon, a very good base to start with, nice job on the head rests, cant wait to see the whole interior done
It does look like the straps for later models are fairly beefier. I don't know if access to it is through the car or pull the fender. I'll have to see if there's a diagram somewhere.
I didn't think amber wagon corners were available anywhere. Some overseas markets had clear ones as OEM,.. The only way (that I'm aware of) to get amber corners is to paint a set or to custom fit a set of CRX corners.
Update: Ha! you're right, totally got the wrong lenses. Oh well.
Regarding the hood, absolutely nothing is under it. I don't know if the guys were just jackasses and cut out the whole damn R12 info panel or what. But there's nothing at all right under that location that would caused that piece of metal to need to be removed.
According to the VIN it's supposed to be a manual. So maybe a dealer option? It's originally from Orlando. Unfortunately I have almost no documentation on it other than the word of mouth that the engine and tranny were swapped 50k ago, but who knows if that's true. On a side note. Mine is a relatively low number off the assembly line for 1990. It's number 000277. I thought that was cool
In other news, since the valve cover gasket was hard as a rock, I'm replacing that. In doing so I decided I might as well actually repaint the valve cover itself.
Stripped it down with some kleen strip from home depot. The kind in the orange can. It does a really good job. I'm tempted to get a few gallons of it and keep a bucket handy just for dunking parts whole.
Masked it all off.
And painted
Then waited
I'll trim up the lettering tomorrow when it's had more time to dry.
Had push the upper layer back into place and hit it with a bit more wrinkle to try to cover up my boo boo. Lesson learned =D
Nope.
I see no pics up top.
If I can cobble this armrest thing in there I'll do the cover of it in this stuff as well. 10 yards of it coming in. So I'll have plenty to spare. I was going to do the drivers head rest but it cleaned up so nicely. I'm gonna keep it original.
Also got a new headlight installed. Took a while to find out how to get to that 4th bolt underneath, but finally did.
Before:
After:
I'm probably gonna pop the originals apart and clean them up to keep handy as a spare pair. The glass is still good on them.
How much was the bushing kit?
Actually haven't done it yet because it turns out it's the U-joint in the other linkage that's causing the problem. I'm waiting for one of those to arrive, then I'll do them both at the same time. Then I'll see about rebuilding the joint on the old one just to have a spare or to see how it can be done. I'll be sure to post pics when I get on that.
Also managed to sort out those crap hole carbon fiber pedals.
Now rockin em as they should be.
Love how there's the bit of old hanger to the left, like what the hell was even going on there?
Also did a fender mirror install with some help from killa_ef_uat. Will post some pics of that later.
Knocked some holes in there with a unibit. Got em lined up pretty well using the calipers. Yay for busted calipers!
Doing a little test fitting
Took a little grinding on the reenforcing bracket that bolts underneath, but nothing too terrible. Then fit it on up. Also did a mirror delete along with it.
Aww yeah, frog tape reflection, sweetness!