Haggard's DONE (Pics on page 2)
 doitdub
familEE
doitdub
familEE
I figured this would be a good place to keep updated for the progress....
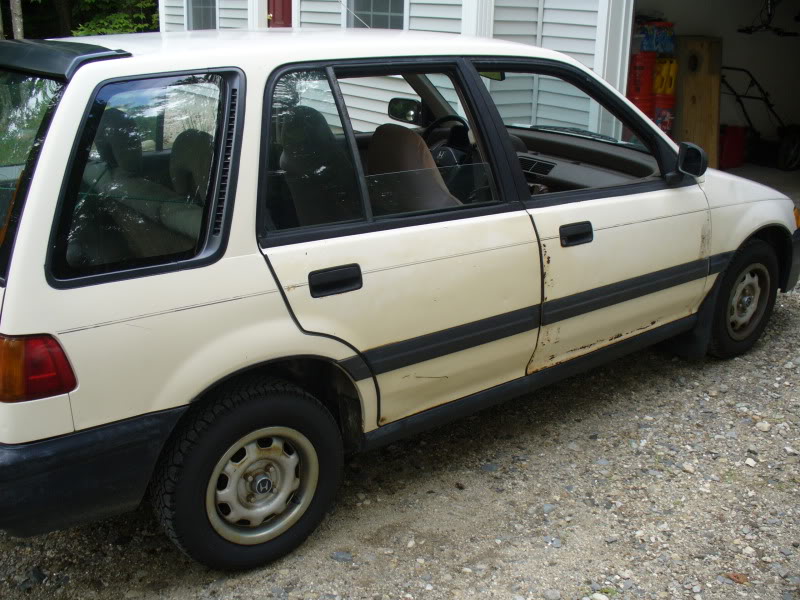
doitdub wrote:Well after being on the prowl again for some quite some time, I finally found one up here worth picking up. I mainly got this as a hauler and may replace the wife's Civic down the road to get rid of car payment/full coverage. We'll see if we get to that point.
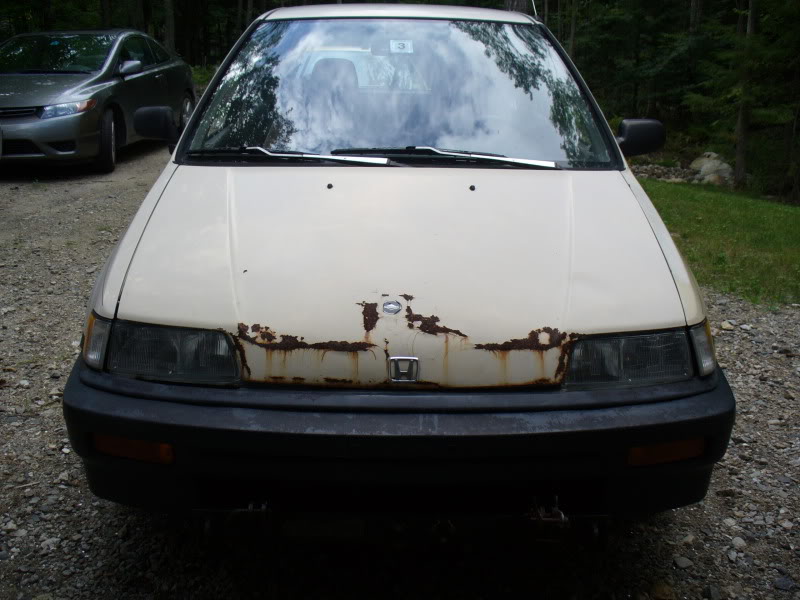
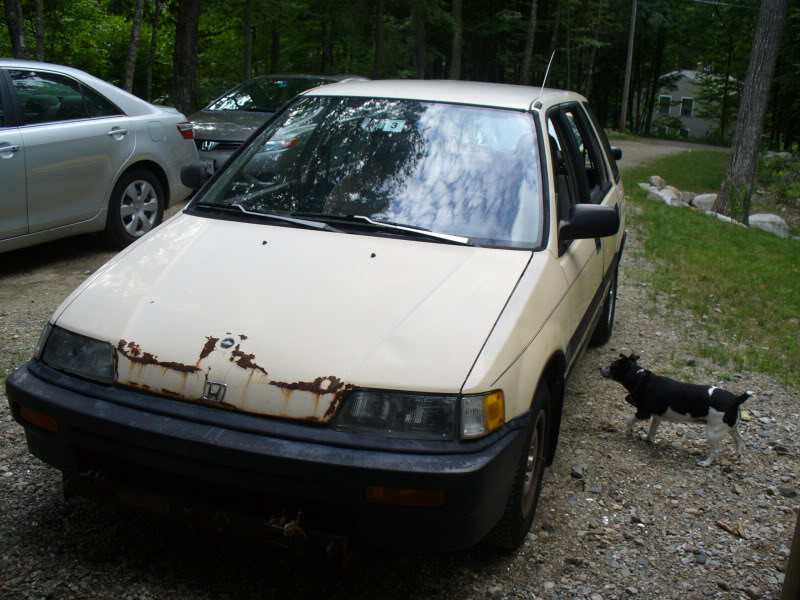
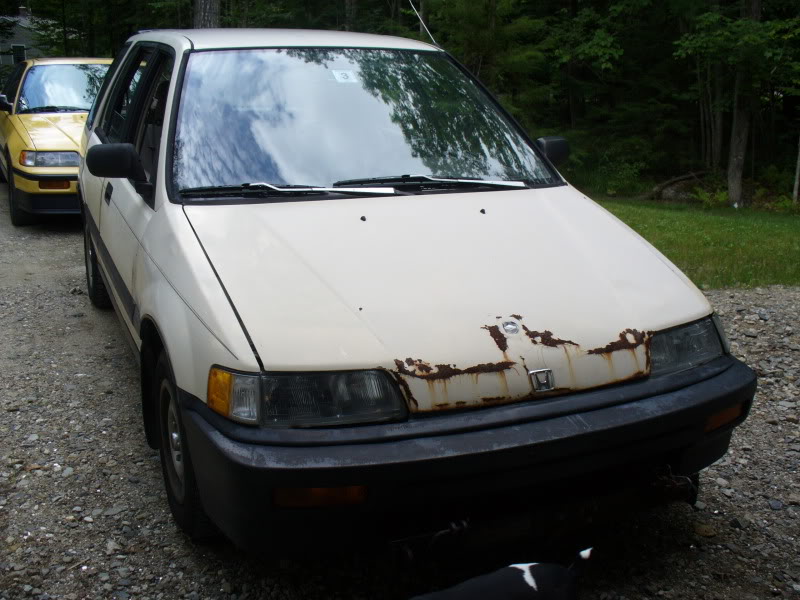
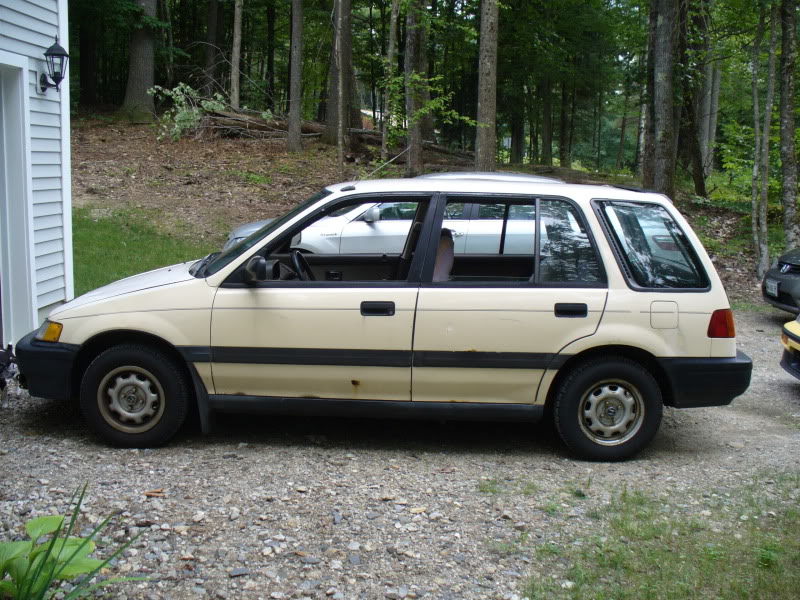
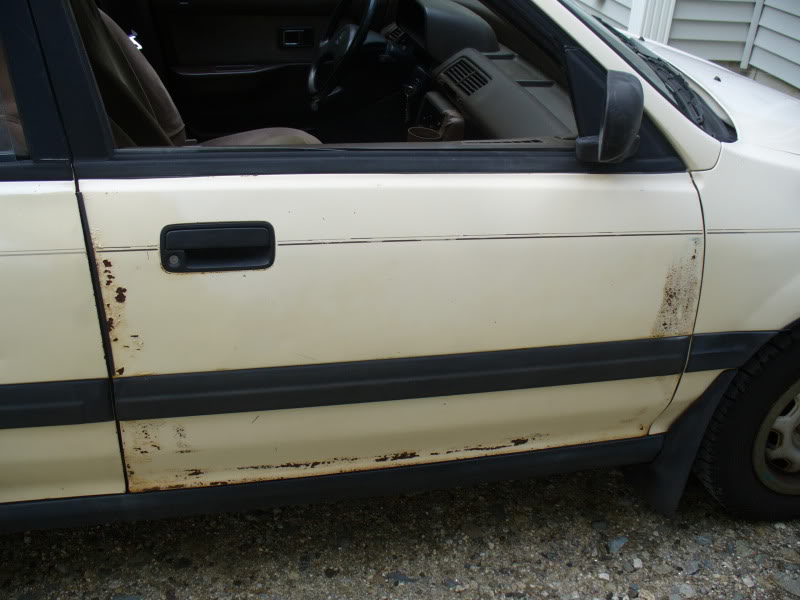
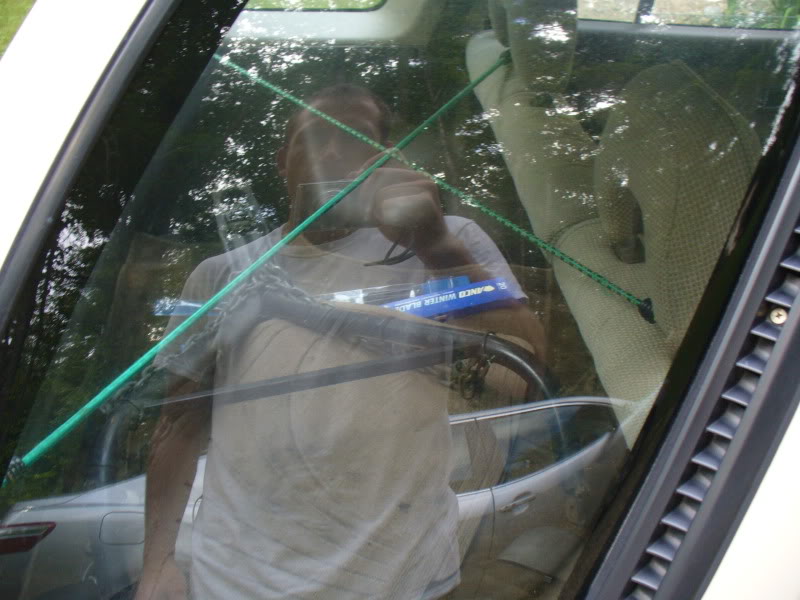
Took the CRX for a nice cruise yesterday about 2 hours each and picked her up. She's got 170k miles, and has been pulled behind an RV the majority of it's life. For the most part it's solid with plenty of surface rust. Lindsay drove it back and we had no issues...it drives great! This should be good for what we're looking for and should be a good excuse to learn body work. There is one thing I'm worried about that occurred then I got home though...
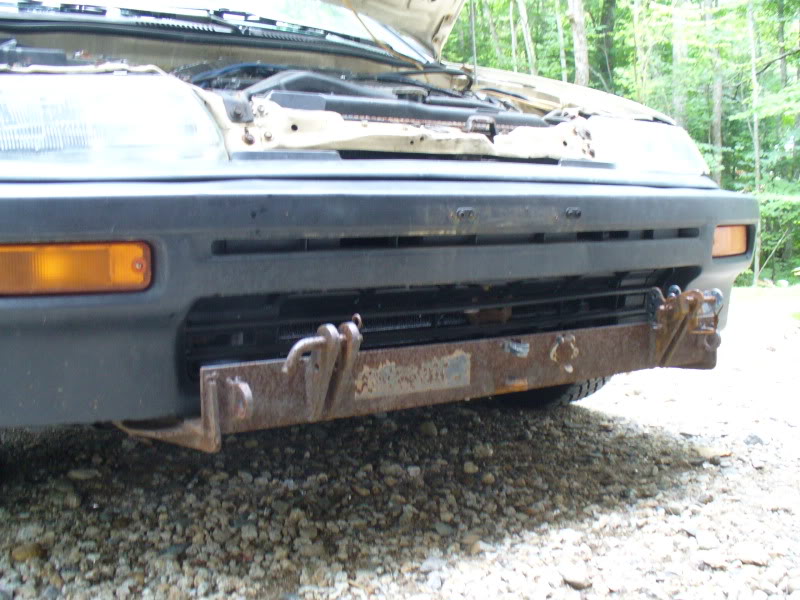
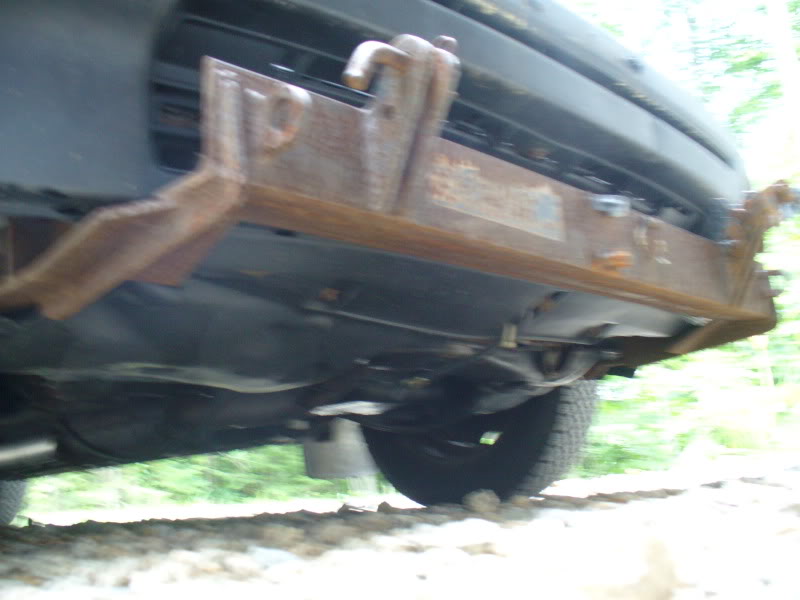
I've since washed the engine back, removed the front tow package after blasting my shins on it 5 times, resoldered the brake light wires (tons of splicing due to the tow harness), resoldered the fuel pump sender unit as it had wire buts which I hate, I'm in the middle of taking out all the interior to clean it and underneath as it smells.
Anyway, definitely needs some work, but it's a start!

Comments
The main reason I got this was because we sold Lindsays Element, got a Civic and couldn't take our damn trash to the dump (yes, we live in the sticks and have to take our own trash in :rolleyes1: ), not to mention couldn't haul any sweet crap around. So... problem solved.
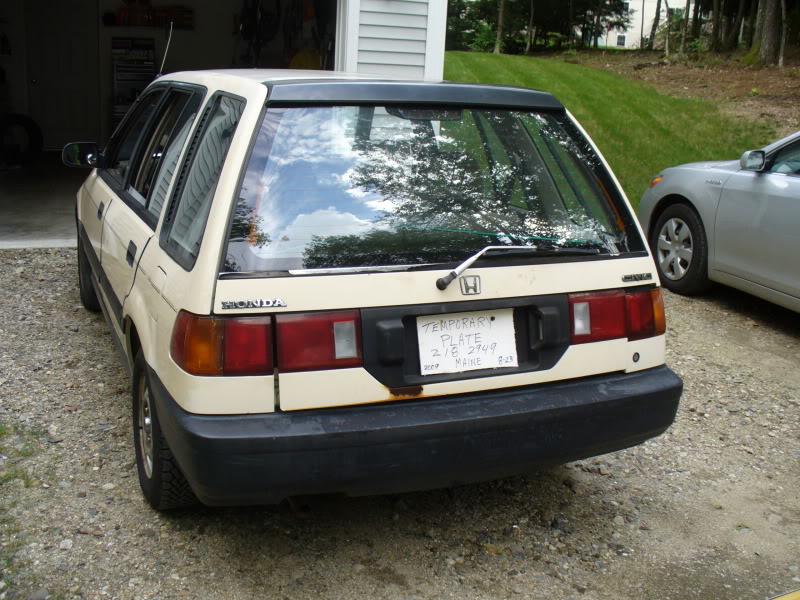
Off to the dump! (custom tail gate doood)
Back from the dump with sweet crap (yard sales rock!)
Plans: Take care of rust, and do a rustoleum $50 paint job. 8)
Paint trim and bumpers with trim paint
Replace headlight buckets and try to align bumper/headlights
Replace passenger axles (on it's way)
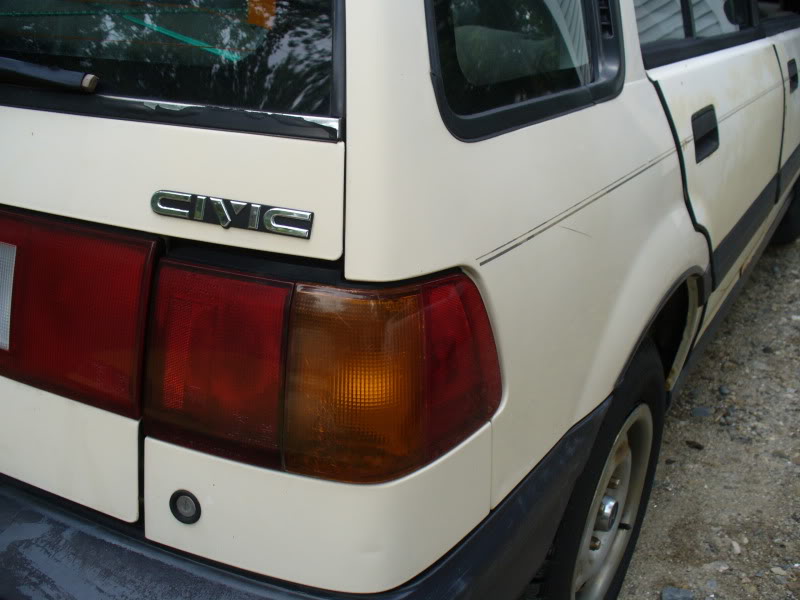
Replace tail lights (cracked)
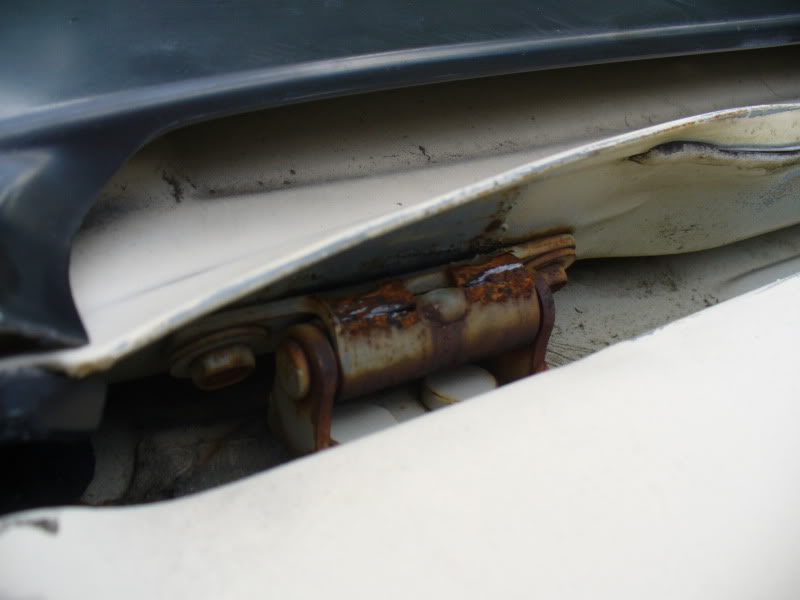
Replace tailgate hinges
New wheels/tires - currently on steelies with winter tires
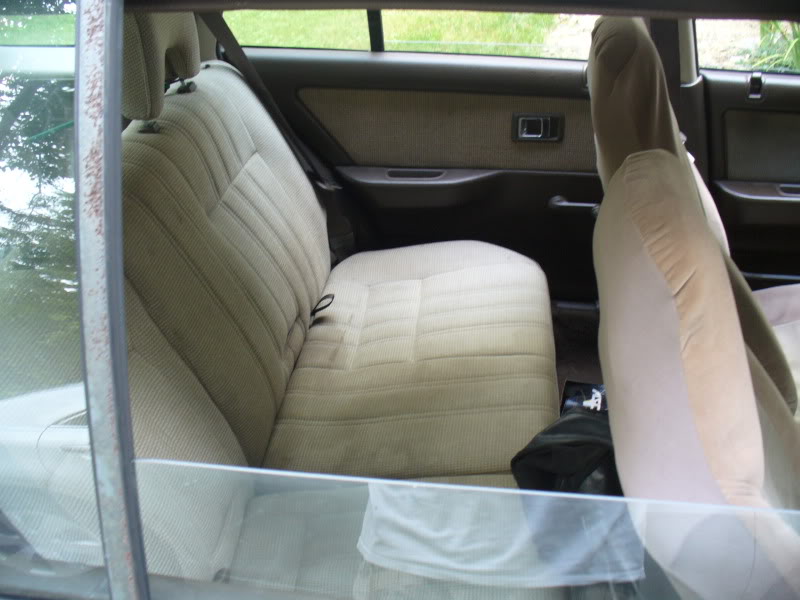
Clean rear seats
Replace front seats or get new covers
Get rid of the junk tape deck, replace with cd player and new speakers
Future plans:
MPFI swap
Mini-me swap unless I find another cheap swap between now and then
All I can think of for now!
I think a better version could be done. Especially on a wagon. Props for at least for trying it. I've got something different in mind, though I'll never ever do it. I'm sure bam-bam will beat us all...
Took me three times to get the headliner to stick, but I'm pretty damn happy with how this turned out...
BTW I picked up the cloth at the fabric store, I used Loctite Heavy Duty spray adhesive and followed the directions on the can. Looks like it should hold alright.
I'm also going to pick up the new wheels tonight. May be a little while til I get them on the car though as I'm going to have machine the center bore, get some special lug nuts, oh, and get tires. Buttttt...they were only $25!
love the CRX Si
there is a guy in the UK not far from me with a USDM Si crx. look very 8) in yellow
Thanks man...that's my baby. Almost sold her to fund a wagon build though...luckily I found this one for cheap so I can have both. The guy imported a USDM CRX over there? Weird!
Thanks judebert. I was thinking about doing something completely out there, but at the last minute went with a middle of way...matching but still different.
I just picked them up a little bit ago and they're in pretty good shape. Now I just need to get the center bored out, get some different lug nuts, and get a good deal on some tires and she'll be set. I'm in no hurry though as the steelies it came with has some winter tires with plenty of tread...and unfortunately I can feel winter a brewin already.
shit yesssssssssssssss......
gives me an erection...
lets switch.
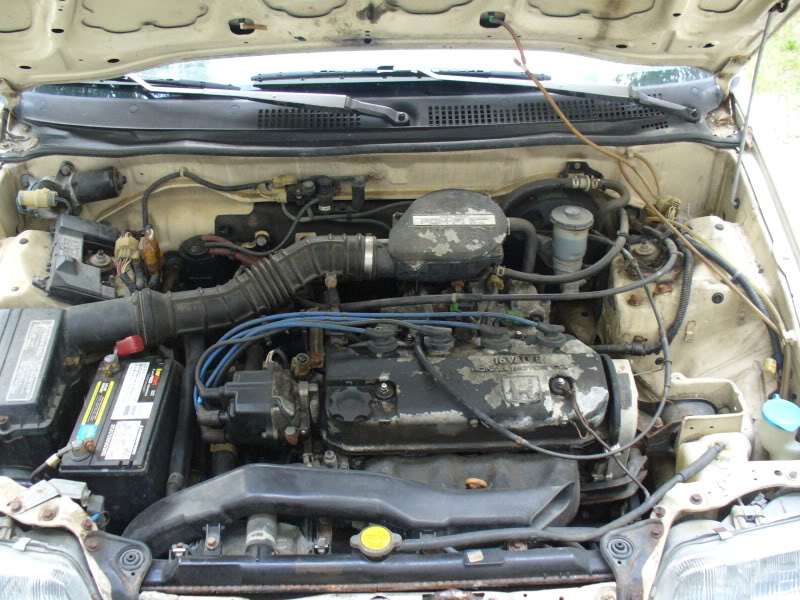
Cleaned up the engine bay (a little paint!), replaced the valve cover gasket and spark plug gaskets...
BEFORE
AFTER
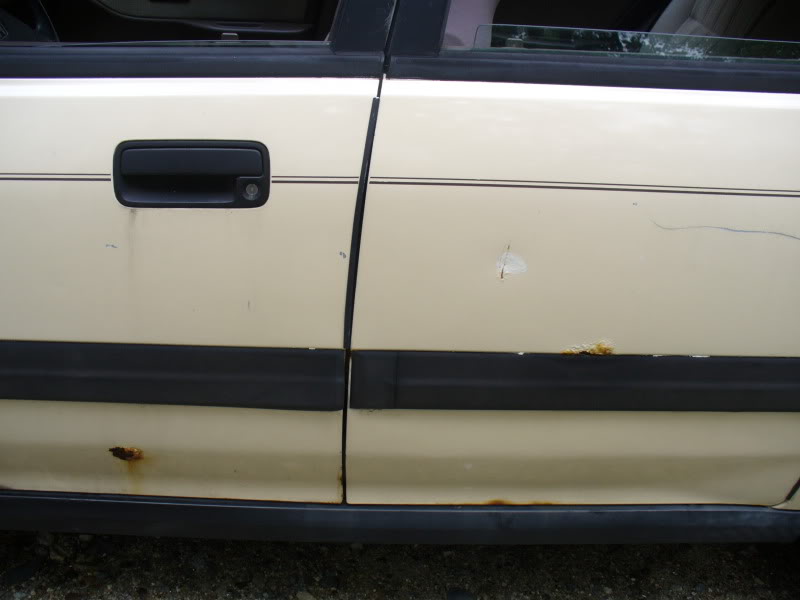
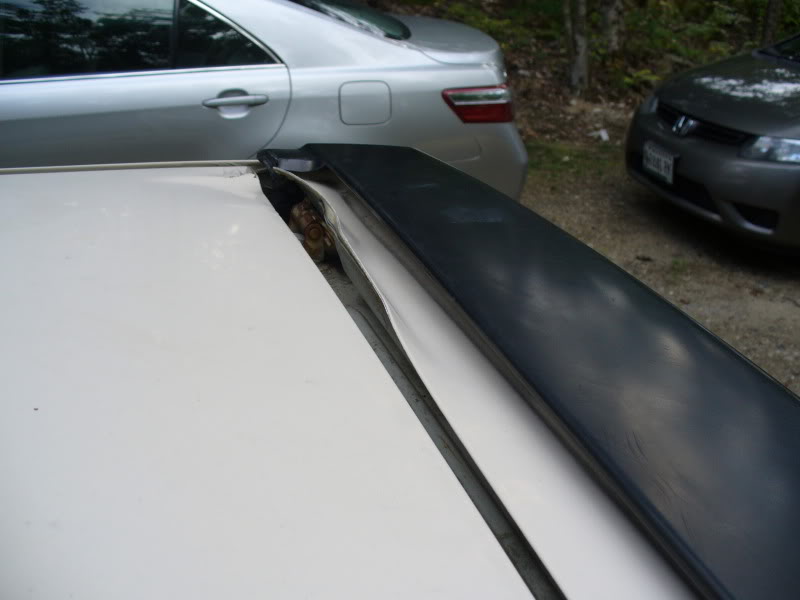
Started tackling the rust...
Worse then I thought...
Man I think I'd be better off with all new doors, hatch, and hood. :? But at least the frame's solid for the most part!
might have to bogart that when I build me one..
Amazing what a bit of a touching up can do to an engine bay.
btw...
when the headliners comes down...
you can use it as a bandana...
or make an eyepatch...
i could always use a spare...
haha yeah, just trying to tackle it before it gets any worse. I'm glad it's not any worse on the body/frame.
Paint added 5hp of pep.
Thanks man.
haha, deal. I've got extra so hopefully it stays up there and I can just send you the extra I've got. I really don't want to take out the headliner and do that again.
Well due to traveling for work for about the last two weeks straight, I haven't really done much. I recently got replacement 88-89 headlight buckets to replace the busted/caulked ones that were on there so we can get the light shining straight. Then I can get the bumper back on and drive a somewhat back together car. As she sits after sanding and priming...
MOOOOOOOOOOOOOOOOOOOOOOOOOO
Found a shit load of bondo on the hood (weird, I know) so I think I'm going to have to source another.
This is just a temporary fix for now. I plan to go full force this winter on the body, but I just wanted to get rid of the majority of the rust and protect it so it doesn't get any worse until then.
megaphoneydork or something...
great pix btw...
Ah dang...I guess they all get the disease eventually, huh?
Yup. I plan to sand it back down though and cut a few sections out and fill in, and do it right this winter. I thought this would keep it from getting any deeper for now.
engine bay came out great as well as the headliner
Yup...for now it's called duct tape.
Mainly to keep water out for now. When I get back at it again, I'll be cutting it out and either welding in new metal (need a welder first) or bondo (which I'd rather not). I understand if you want to retract your being impressed statement.
Sanding around the contours was a huge pain for me, which is why I was thinking you must have some special tool, like a sandblaster or something. But welding skill is still impressive.