Jeremy's Okie Wagon #1 (Turbo Edition)
 Okiewagon1
Wagonist
Okiewagon1
Wagonist
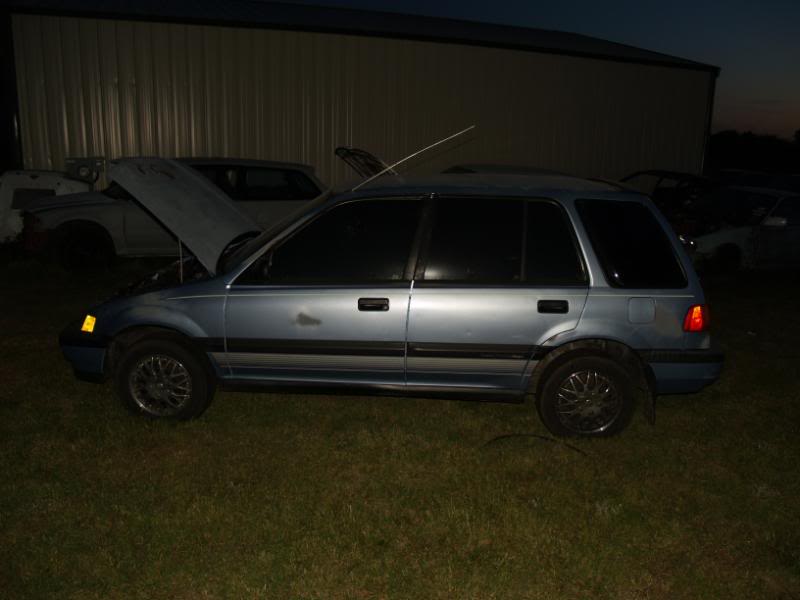
After finding this site several years ago I liked the look of the wagon and decided to purchase one for myself. That began the long, long, long search for a RT4wd wagon. I looked high and low search the internet local and long distance car lots even made a trip to california to find one. It was while on this trip to california when I received a call from a friend back home who had found on not more than 30 minutes from my house. I bought it sight unseen while in California I could not wait to get back. Here is what I found waiting for me when I got home.
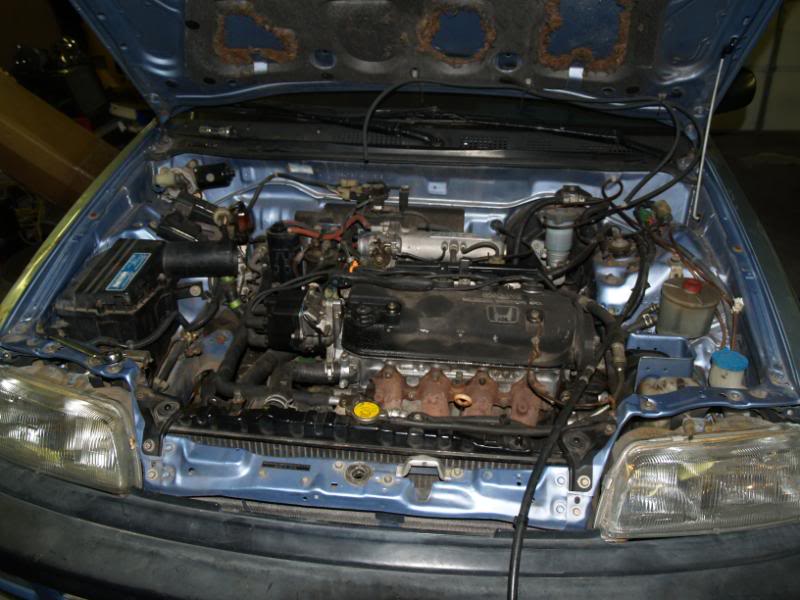
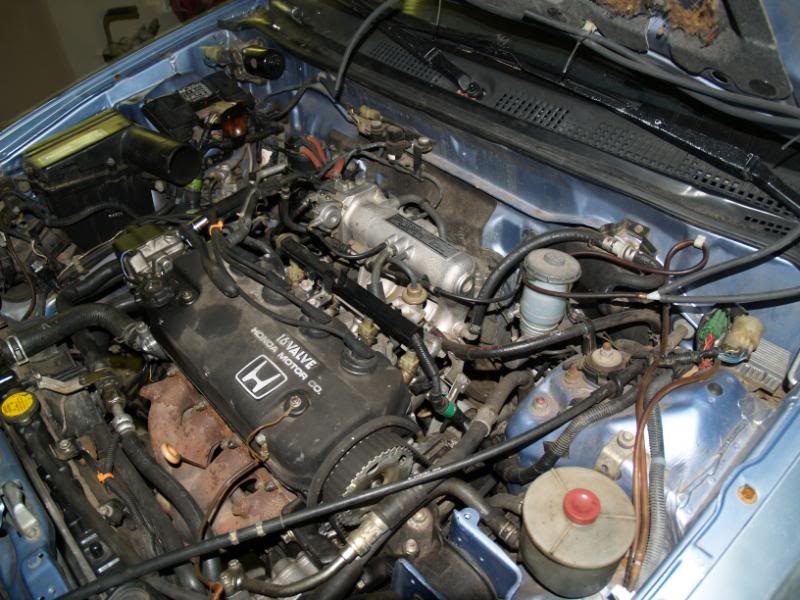

Cleaned up engine bay
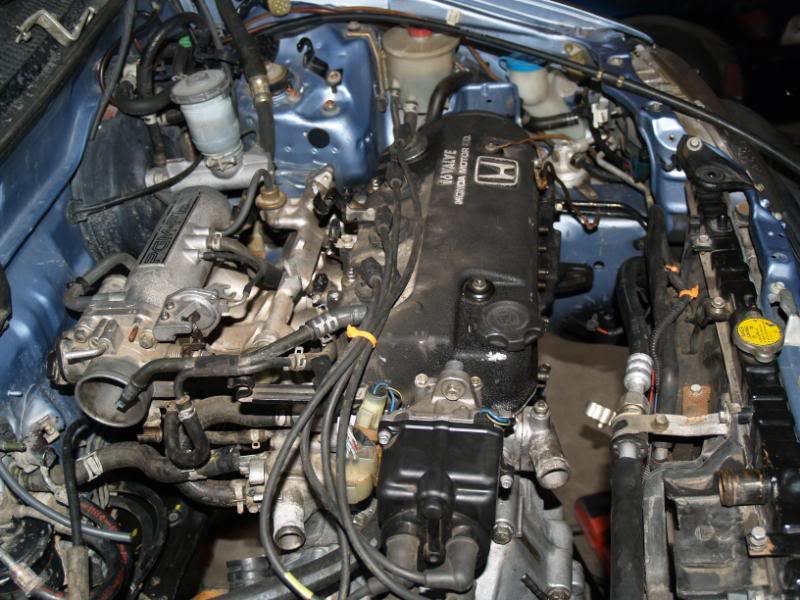
Cleaned up the engine bay
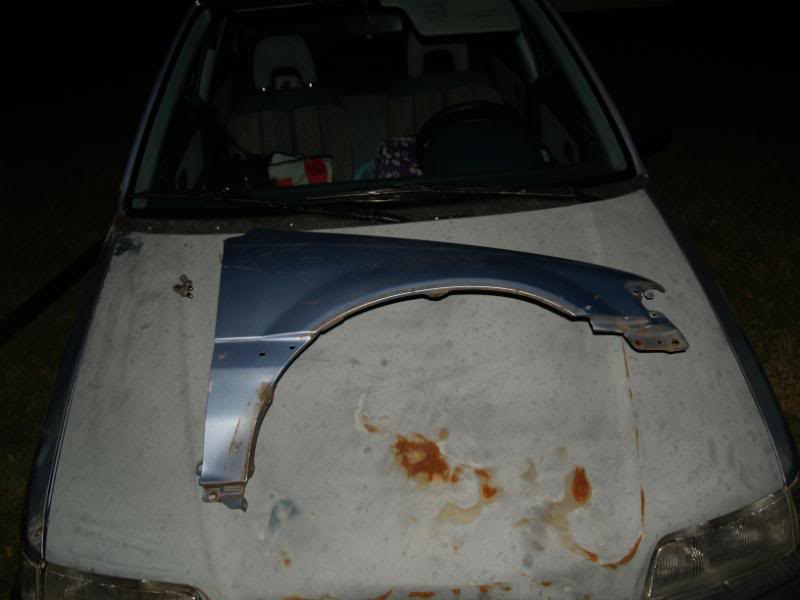
Used Fender from Salvage Yard
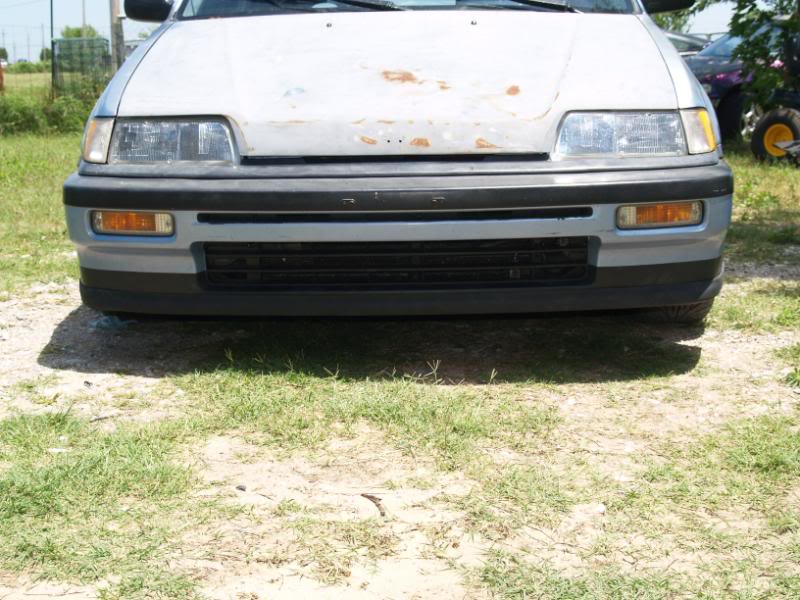
Installed a EF Hatch Back Lip.
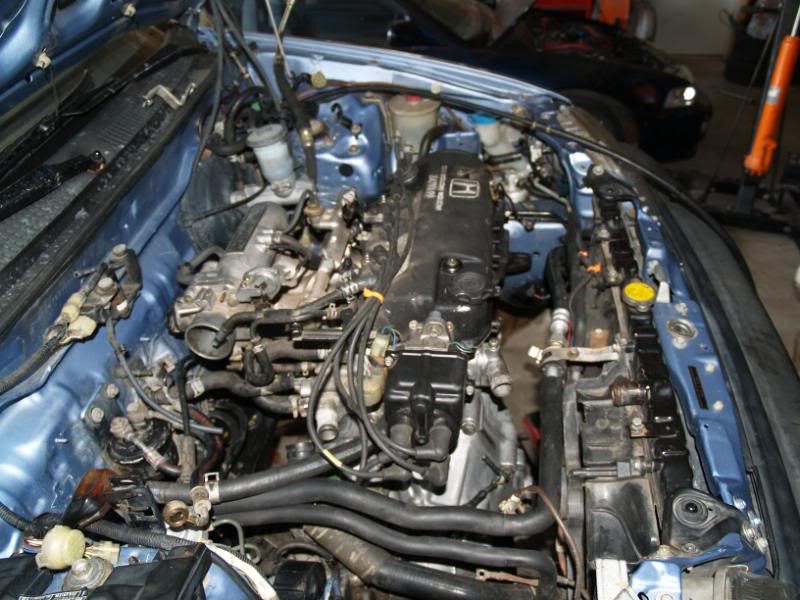
Cleaned up engine bay
Cleaned up the engine bay
Used Fender from Salvage Yard
Installed a EF Hatch Back Lip.
Comments
love the progress already...
: )
New Pass mirror as mine did not come with one
New parts not installed
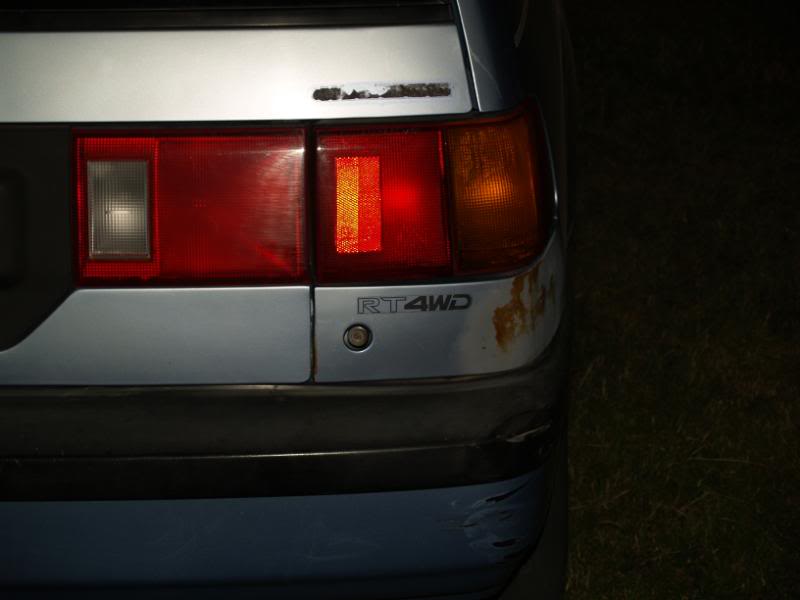
Yakima Roof Rack, EDM Side Markers and rear taillights
Wagon on 16inch Rotas and lowered on EF Springs and no name coilovers. It sits way to low.
EDM Rear Tails
Roof Rack Installed with Bike
Cleaned bay with AEM intake
Fixing some of the Body work. Had a major dent on the pillar and door.
Turbo coming next here is a mock up of a down pipe. I am going to be using an RB5 from a Mazda 626 and a BMC adaptar bracket.
Forgot to mention that I also swapped out the A6 in favor of a low mileage Z6. Before I turbo'd. Also painted the block cast iron color and intake, valve cover is black. I also did a brake line tuck and wire tuck as well.
Finished down pipe
I drove it like this at 5psi for about a month. I origianally wanted to keep the ac with this setup but this would have taking another custom plate to space out the manifold from the block and turn the turbo. After doing some research I decided to save the money and buy the greddy kit made for the z6 that allows you to keep the ac and power steering. However as you may know these kits are made for the eg's so I new their would be some fabing involved. I also want to car to look like it is not turbo'd from the outside and once you pop the hood I also wanted to keep the stock raditator and condenser. All this without cutting the hard to find RT bumper. Posted below is how I put all of this together.
Once installed the car had great power. I was very impressed with this little turbo. I started making boost quickly and reached full boost by 2300 RPMS. Car made 168hp and 161tq. I didnt not get to run this setup and the track so I am not sure what times it could have put down. I am guessing high 14's low 15's. Here is more of the setup.
Now my goal was to keep this car as comfortable as possible which would mean keeping the ac and power steering. This turbo manifold setup would not allow me to do this. So here comes the Greddy Kit.
i love home-made turbo kits.
welcome to the site EERT.
Great work and again very nice progress.
I hated this part cutting into my wagon but there really was no better way to route the as I wanted to keep the piping as short and direct as possible.
Working on getting the ac condensor to fit
To make everything fit like stock I had to move to a traction bar. Usually I would just make on of these as we do this inhouse however I happen to have a off brand one that I want to test out. I cut off the original radiator brackets off the car and moved new ones to the traction bar. I moved the radiator reward 2 inches and tilted it forward to match the original top mounting points. Now for the AC Condensor. I moved the condensor back 2 inches from its original mounting point and tilted it forward just like the rad. I also had to cut out a hole in the front cross member on the core support so the fitting for the line out would fit. This actually droped it quite a bit.
Here you can see the condensor before I dropped it and cut the hole.
Here you can see the fitting that I wanted to drop down.
Fitting everything together
Pic of the rad mount. You can see how it is tilted forward
I prefer to make my own oil lines it is much cheaper. Here is a pic of the line.
I seemed to be missing some pics so I am going to go retake some. I will post more latter.
yes it is...
Notice the AC compressor. In trying to keep the AC it became apparent that stock A6 compressor and bracket were to big. So I decided to use the Z6 units however i did keep the A6 Wagon condensor. This would mean that I am going to have to fab a few of the ac lines.
Here is the AC Condensor. I decided it would be a good ideal to put foam on both sides just incase anything rubs.
I then painted the whole thing with flat black.
Here is the traction bar that I am using. It will work for now but I do have a new one I am building.
You may have noticed from some of the pics that I decided to go with a different fuel setup. I did this to clean up the firewall alittle. Lines are stainless with AN fittings and a Earls 85micron fuel filter on the rail. The rail is AEM. I also decided to replace some of my water lines with stainless as well. The injectors are DSM 450's
I am also running a Skunk2 manifold. Now for anyone that is thinking of buying this manifold for your wagon think again. I am not sure if it fits with the A6 but I had to use small head bolts on the IVAC so as not to hit the firewall. I am somewhat worried about engine movement and the manifold hitting the firewall so I will need to figure out what to do about that but as of now it clears.
I also had to cut into the core support some.
I also move the horns to the outside of the core support.
I moved the power steering cooler to sit on top of the intercooler.
Installed on car. Is that car turbo'd???????
Instead I decided to install del sol seats. They are so comfortable and the keep you well positioned.
Here is a detailed list of what it took to get this done.
What you will need.
12mm and 14mm socket
Welder
Grinder/Cuttoff tool
Drill and bit
Marker
Del Sol seats with sliders
Start by removing your wagon seats. Then remove your sliders. The large/tall one that is closest to the door
you can set this one to the side. We will work on this one latter. Take the smaller one that is the one
closest to the ebrake. Remove the bracket from the slider. You can drill, grind, and use the cuttoff tool to
accomplish this. There is only one.
Finished product
ignore the bottom bracket as you have not gotten this far let.
Now take the corrsponding del sol slider and remove the brackets from it. There are two.
Here is the bigger bracket removed.
Here is the smaller one.
You are now going to weld these onto the wagon slider. Start with the bigger one. This will go onto the back of the
wagon slider. Just line it up to the back on the slider and use the holes that you drilled to get the slider
off to weld the bracket to the wagon slider.
Once Welded it should look like this.
Now bolt this onto the del sol seat. Take the smaller bracket and bolt it to the del sol seat. Get it to lay flat
on the wagon slider and mark it so that you can weld it to the wagon slider.
Weld it on. Once finished it should look like this.
Finished product bolted to Del Sol Seat.
Now lets move onto the larger wagon slider and bracket and the del sol seat. There is a large bracket on the del sol seat.
You can drill holes out on the bracket attached to the seat and bolt the wagon slider to it. Here are the holes I
drilled.
Then bolt wagon slider and bracket to del sol bracket
Finished and both sliders and brackets bolted on.
Installed in car. Dont worry I will take more detailed pics in the morning.
Thats it. Now just repeat steps for other seat. Total install time should be about 2-4 hours. It took me longer
to figure out just what I was going to do.
Have fun and enjoy you new seats.
Wagon loaded and getting ready to leave
Wagon at Eufaula
Back at the house with new head gasket that I didnt need
Way in to ARK
Arrived at Mount Ida around 11:00 AM.
Me fishing on the river
Bam and Me in the Kayak
My Wife and me
More fun in the river
Crossing the river
i miss my wagon
also diggin on ur buddies wagotrailer..
hopefull it wasnt a clean complete wagon when it got hacked up..