How I swapped my climate controls with stereo.
Notice the title. This is how I did it. Not saying its the right/only way to do this conversion, but it should give you enough info on how to get it done. If you find a better way, please post it up. Im always open to new/better ideas on how to do stuff that others havent tried yet.
I did this swap so I could relocate my dvd player high enough for the passengers in back to watch family guy on the way to the hill. Other than that, there really is no reason to do this swap. I had a few pm me and ask me questions so I told them I would do a writeup. Sorry it took so long guys.
Im sure I dont need to tell you guys how to remove the lower center console and all that crap, so Ill just post the info so you can see if its something you want to tackle or not.
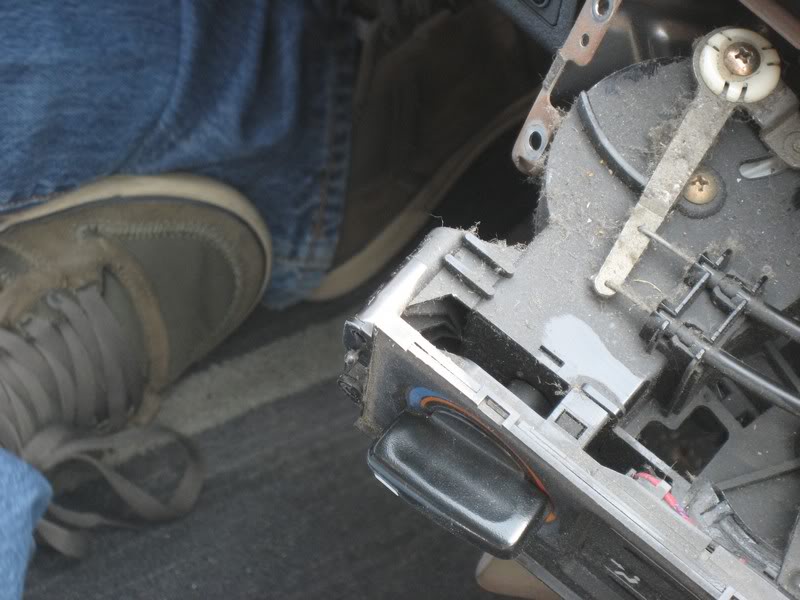
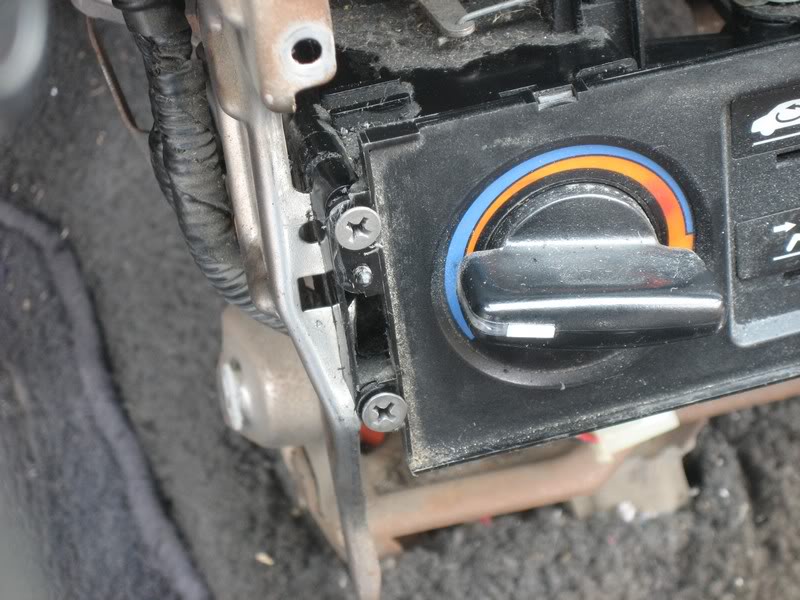
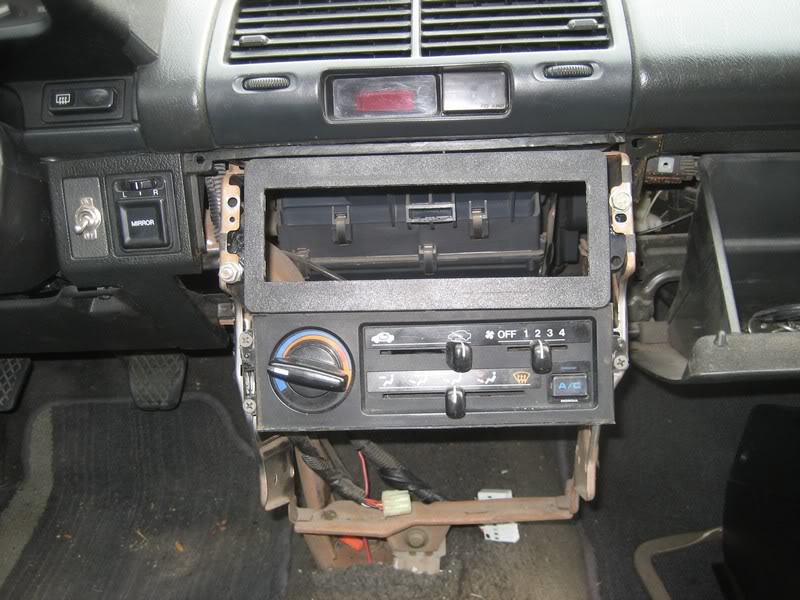
First pic. cage as is after removing lower console. Notice the non-honda stereo piece. It = garbage.
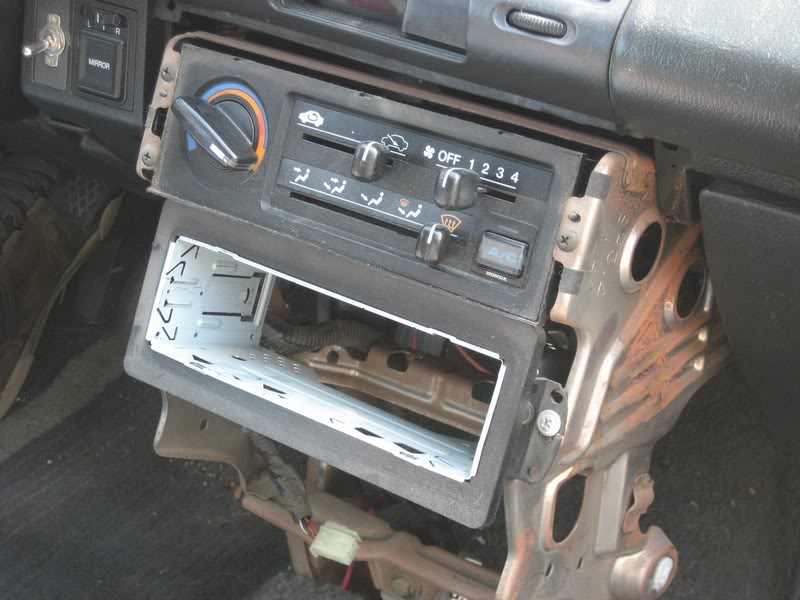
Move the piece around so you can access the end of it. Be carefull. These old pieces are brittle as hell. No need to disconnect the cables. Youll just break stuff if you try.
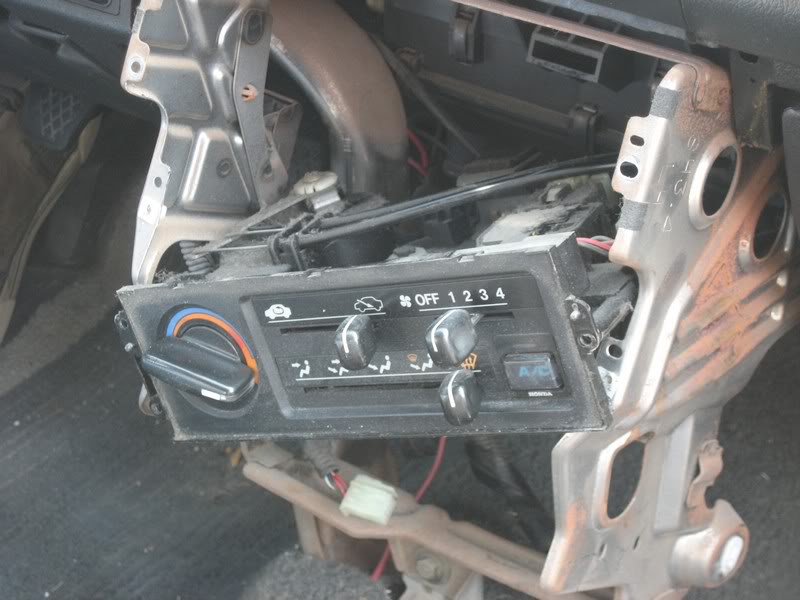
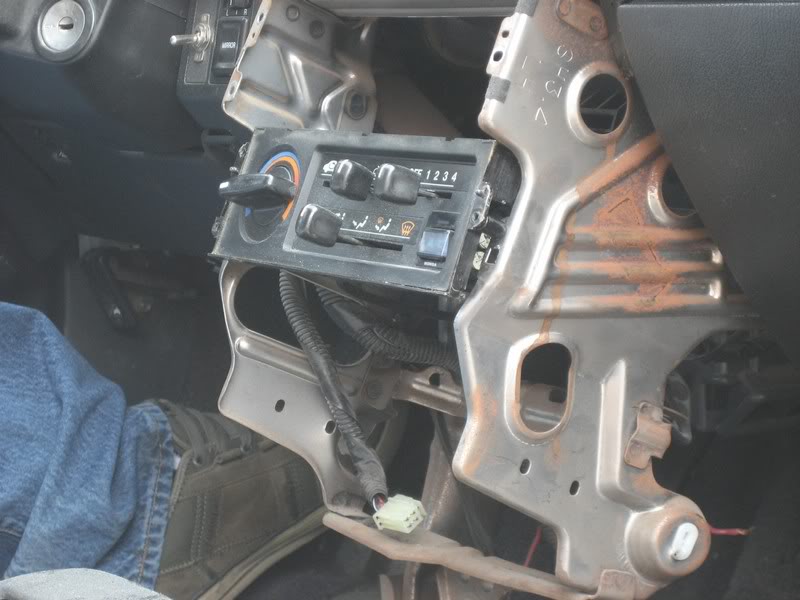
Youll want to make this measurement with the console installed. Youll measure from the metal cage to where the faceplate will sit. Ive noticed that the cars are slightly different, however they were both around 3/4". Now thats 3/4'' out on the heater controls, and 3/4'' in on the stereo.
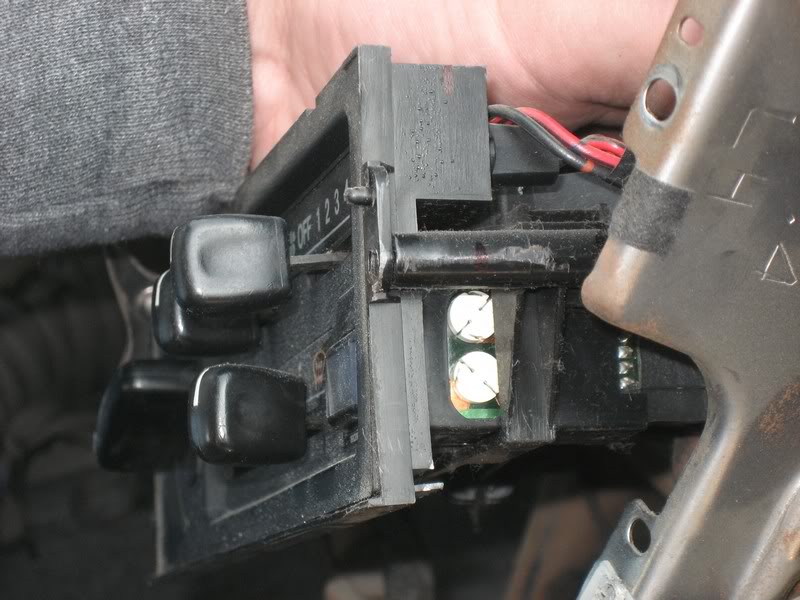
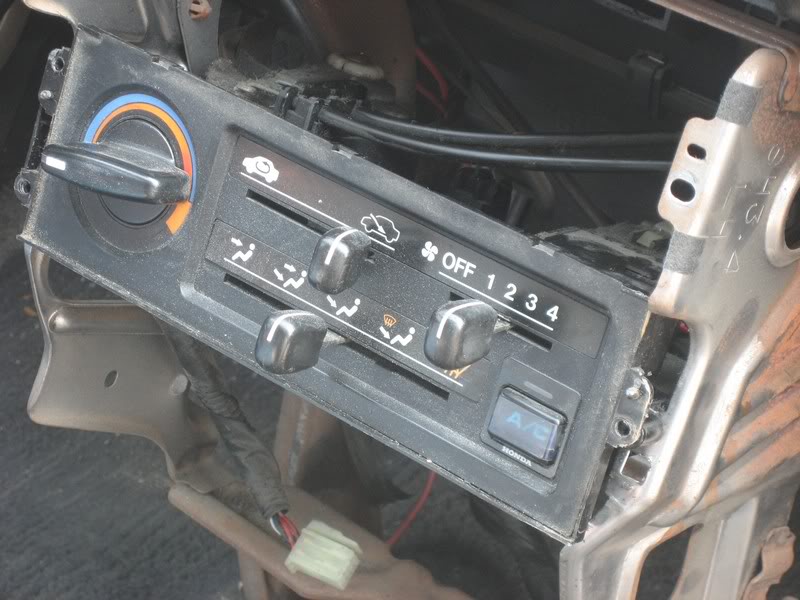
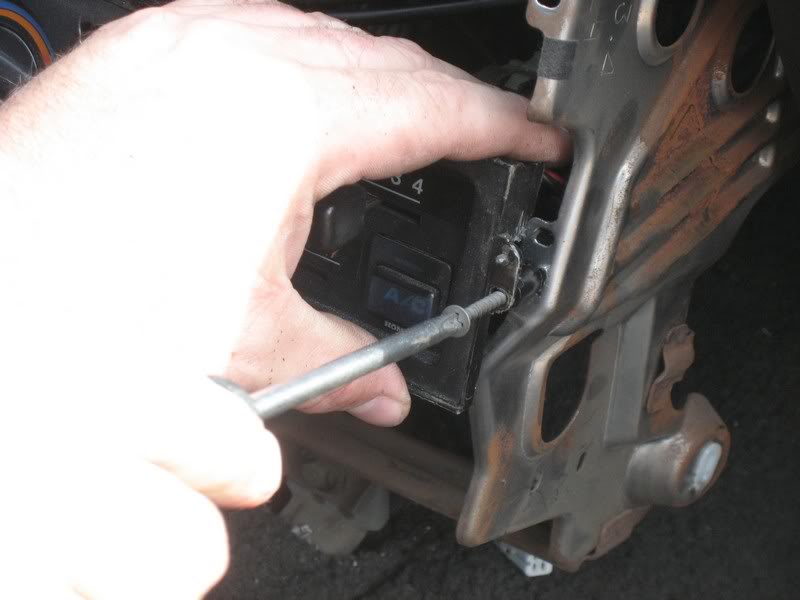
With the controls where you can access the end cut a groove in teh controls about a 1/4" with either a hacksaw, cutoff wheel, etc..
Then position other side for next cut.
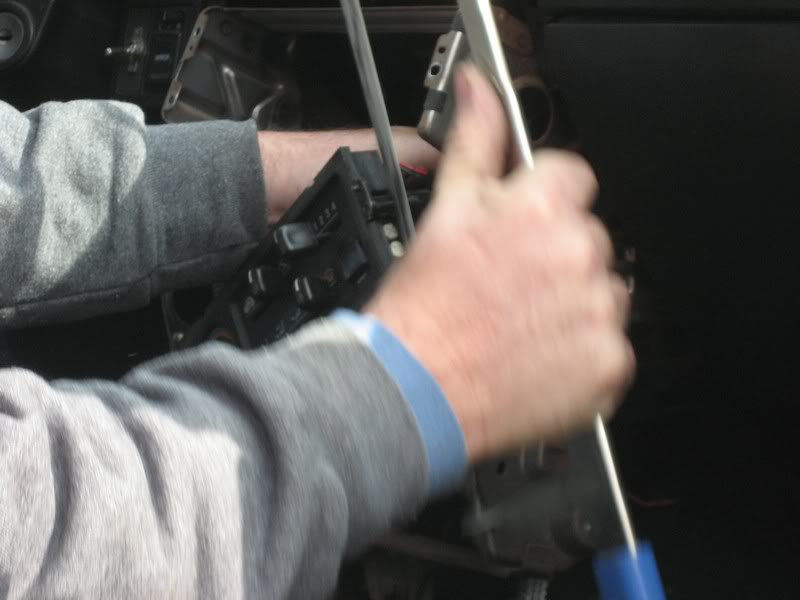
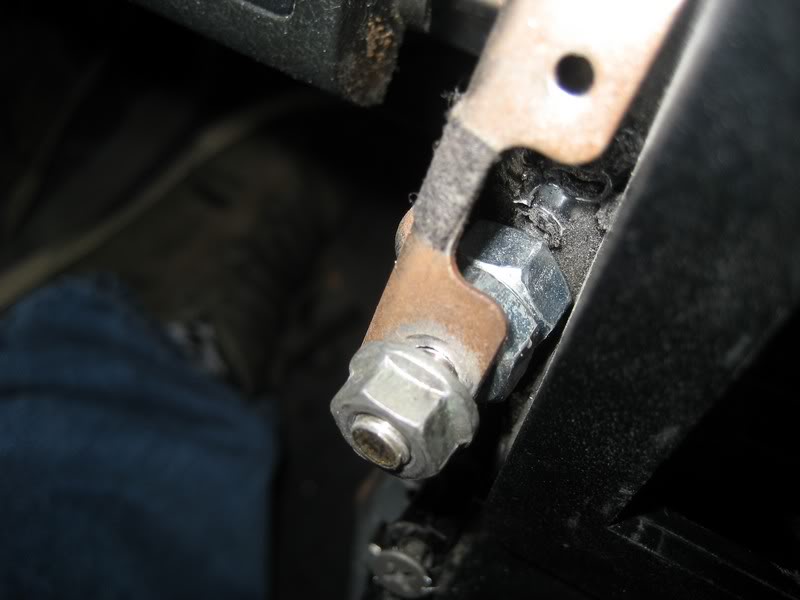
Then you slide the controls over the cage like so. Hardware that you use Im sure will differ, but I just used sheetrock screws as they were handy. I had to drill out the holes to accept the larger screw or the sides would have split out on me.
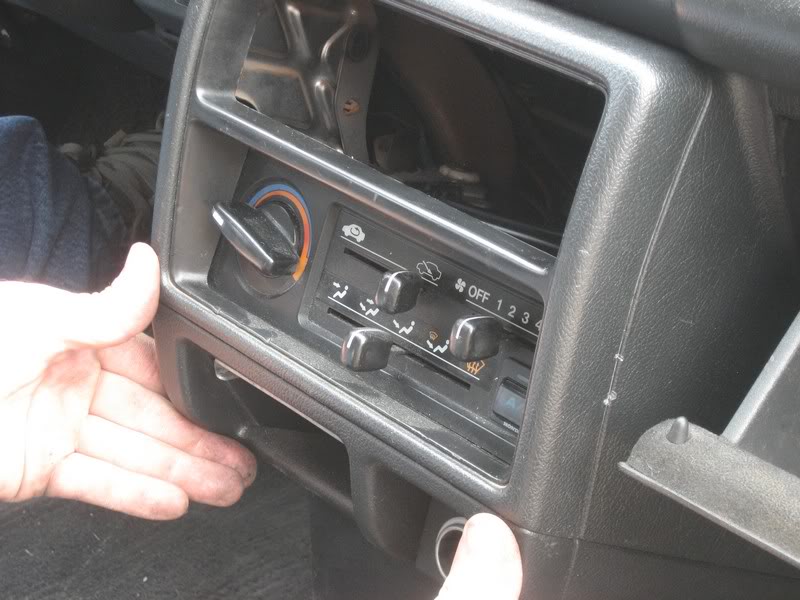
Place the console on to make sure the hvac is positioned properly before you do the stereo.
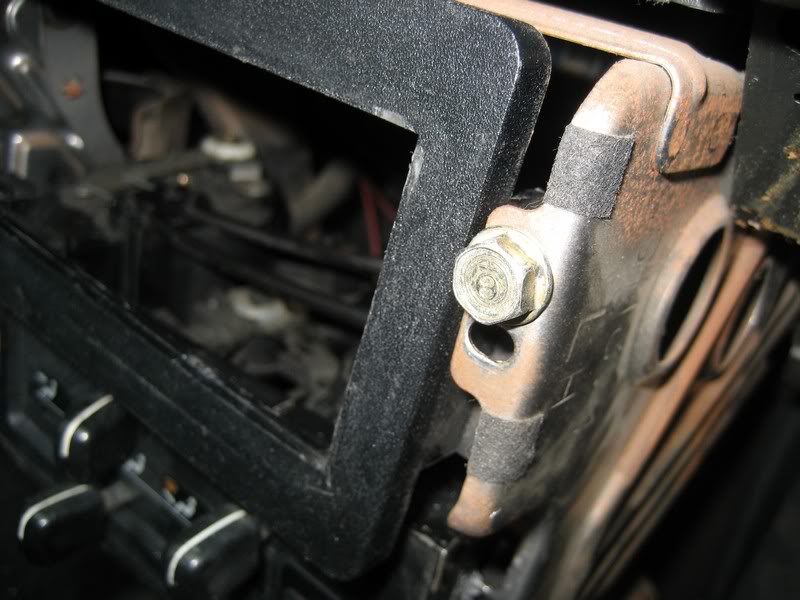
Now for the stereo your gonna space it out with either washers, nuts or actual spacers if you have the right stuff. I used what was available, shiney nuts, uh hu hu hu.
A pic of the part installed...kinda. This stereo faceplate needed around a 1/4' shaved off the bottom of it before it would let me bolt the console back on, so I dont have finished pix, but you get the idea. Please note that the little square (in pic below) you see where the climate controls slid into the back. That will have to be cut off for the stereo to seat all the way in. I didnt get a pic of it removed as I needed the same tool I didnt have to modify the faceplate.
I did this swap so I could relocate my dvd player high enough for the passengers in back to watch family guy on the way to the hill. Other than that, there really is no reason to do this swap. I had a few pm me and ask me questions so I told them I would do a writeup. Sorry it took so long guys.
Im sure I dont need to tell you guys how to remove the lower center console and all that crap, so Ill just post the info so you can see if its something you want to tackle or not.
First pic. cage as is after removing lower console. Notice the non-honda stereo piece. It = garbage.
Move the piece around so you can access the end of it. Be carefull. These old pieces are brittle as hell. No need to disconnect the cables. Youll just break stuff if you try.
Youll want to make this measurement with the console installed. Youll measure from the metal cage to where the faceplate will sit. Ive noticed that the cars are slightly different, however they were both around 3/4". Now thats 3/4'' out on the heater controls, and 3/4'' in on the stereo.
With the controls where you can access the end cut a groove in teh controls about a 1/4" with either a hacksaw, cutoff wheel, etc..
Then position other side for next cut.
Then you slide the controls over the cage like so. Hardware that you use Im sure will differ, but I just used sheetrock screws as they were handy. I had to drill out the holes to accept the larger screw or the sides would have split out on me.
Place the console on to make sure the hvac is positioned properly before you do the stereo.
Now for the stereo your gonna space it out with either washers, nuts or actual spacers if you have the right stuff. I used what was available, shiney nuts, uh hu hu hu.
A pic of the part installed...kinda. This stereo faceplate needed around a 1/4' shaved off the bottom of it before it would let me bolt the console back on, so I dont have finished pix, but you get the idea. Please note that the little square (in pic below) you see where the climate controls slid into the back. That will have to be cut off for the stereo to seat all the way in. I didnt get a pic of it removed as I needed the same tool I didnt have to modify the faceplate.
Comments
x3
Been a while since I did any kind of writeup. Glad its clear enough for everyone to understand. Oh, and sorry it took so long, lol. Im lazy.
Nice Write-up!!
this is a good write up and you seem to have messed with the climate controls a bit so i thought i would ask.
i did it after talking to shenrie.
i have been thinking about doing it and was worried it couldnt be done but it looks great and it works way better.
thinking twice, looks great however
less glare where it sits now
: )
somewhere first page
viewtopic.php?f=5&t=3848&start=0
owh yeah, i'm using a second gps/video-in system as the main screen nowadays,
so i dont have to activate the (touch)screen on the stereo...
hooray for remote-control
phone-cam-shot