My UK Shuttle (Elanor) RT4WD project
 Tog
New Wagonist
Tog
New Wagonist
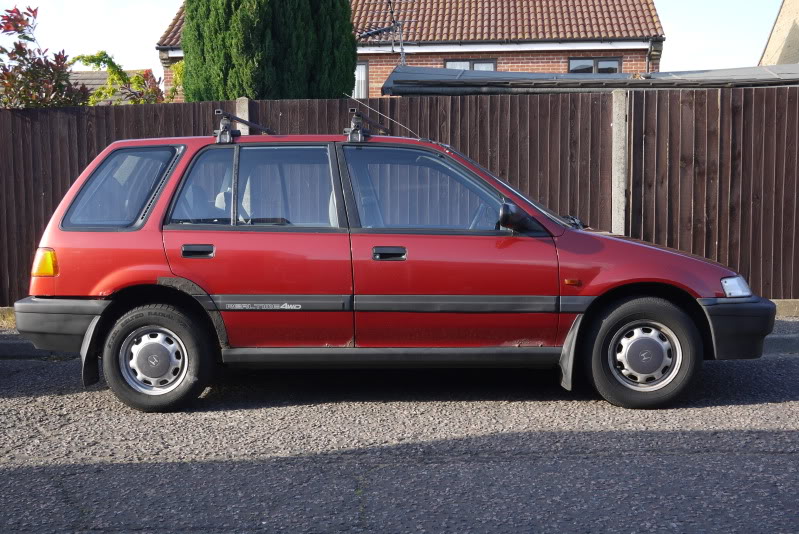
Well, picked up this today - long old drive from kent to Portsmouth and back!
Made it back safe but she did start to over head on the way back after awhile so had to limit it to 60mph, but about 2 - 2.5hrs each way. Well to say its 'in need to tlc' is a bit of an understatement. However it comes with a years MOT and a few months tax, 4 good tyres and only 82K on the clock! Most importantly it is the 4wd version with hondas AWD system. I have already taken it down some gravel roads and its pretty good! Fuel efficiency was not too shabby either. comes with a naff roof rack, but it will do until i get a replacement!
The interior is ok, no rips but needs a good clean, the boot needs work, has bits of paint on it as was used by a builder. - was thinking of stickerbombing that! anyway, some pics to whet the appetite
I have the factory fitted radio, electric windows, and original hand book and tags on how to change the seats and the AWD bits. more pics to come!
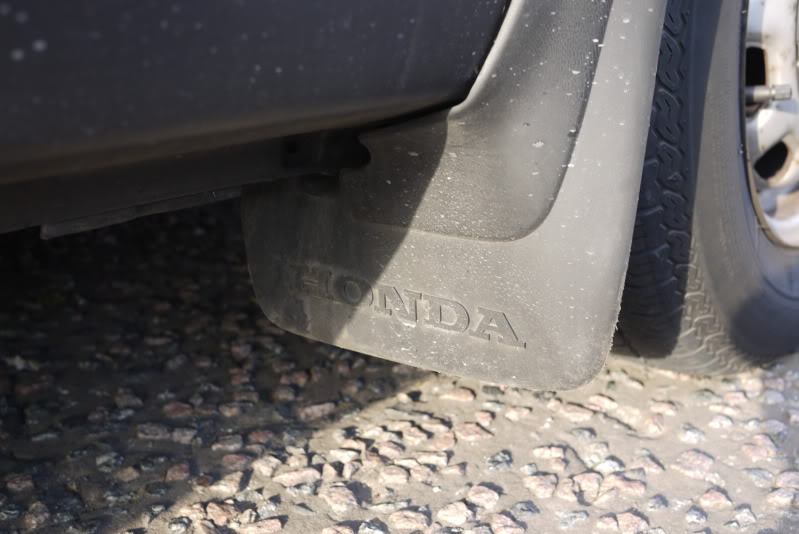
Came with OEM mud flaps")
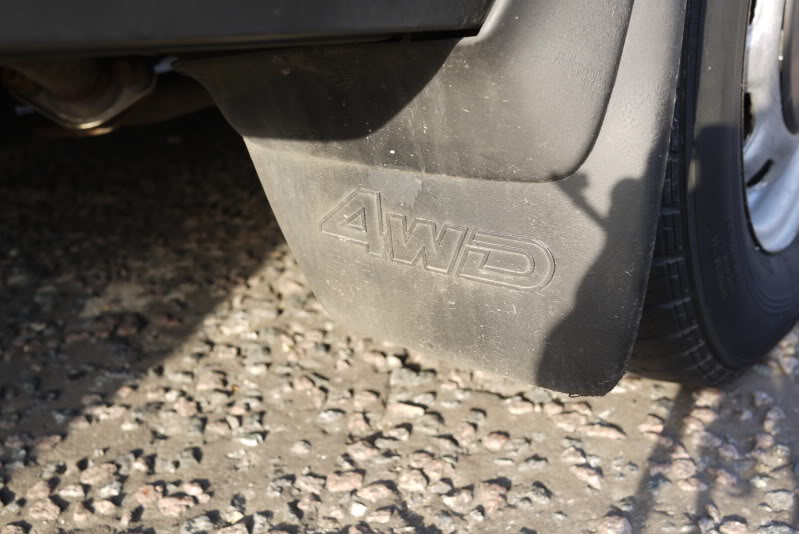
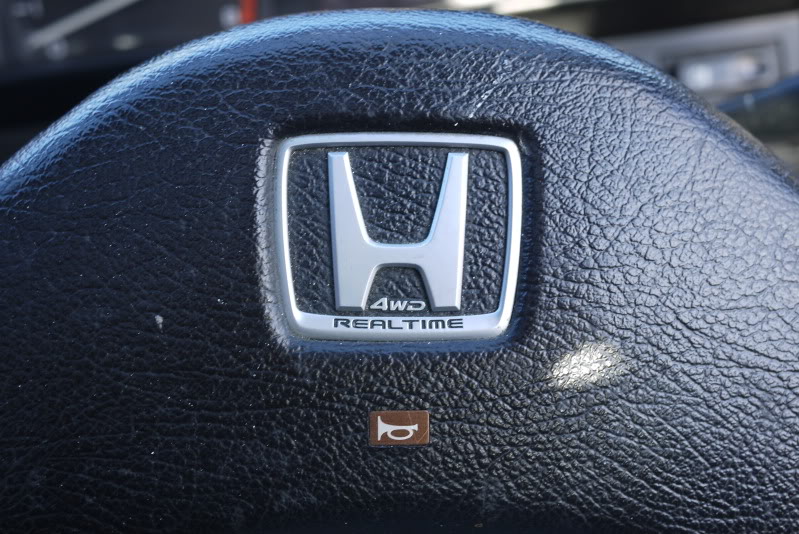
AWD
cool horn button
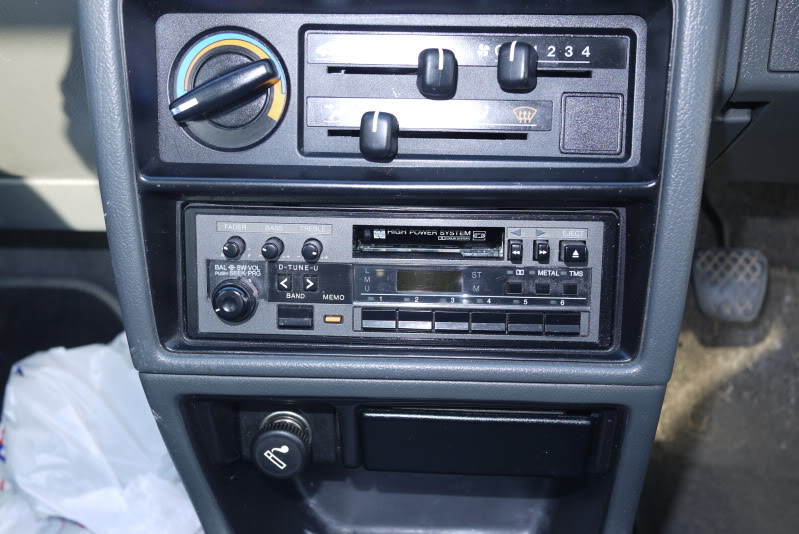
Factory standard radio - with tape!!
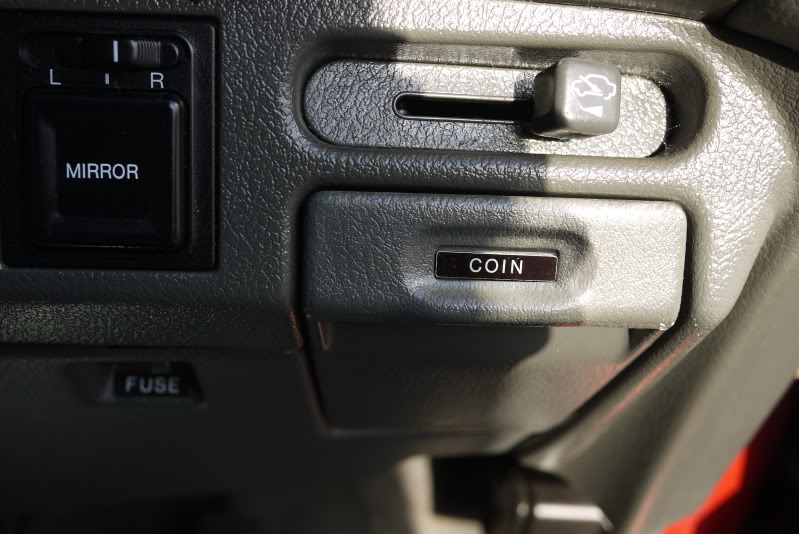
coin draw
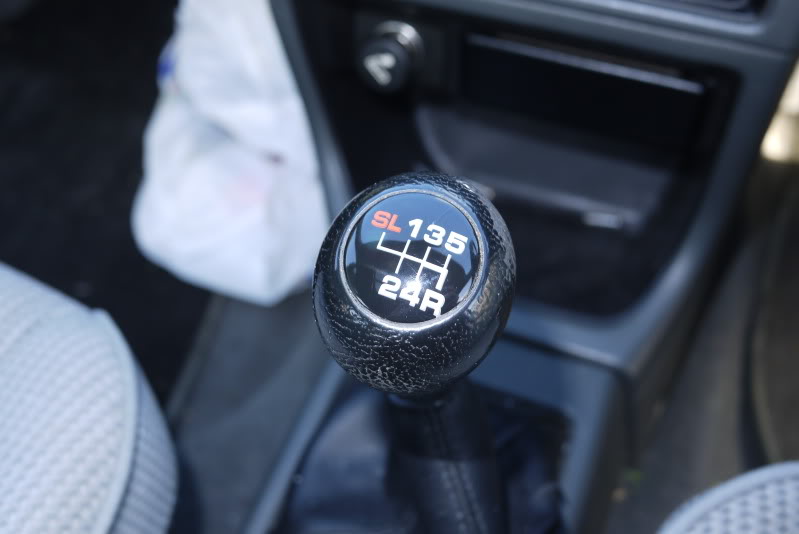
Gear stick - note the super low gear
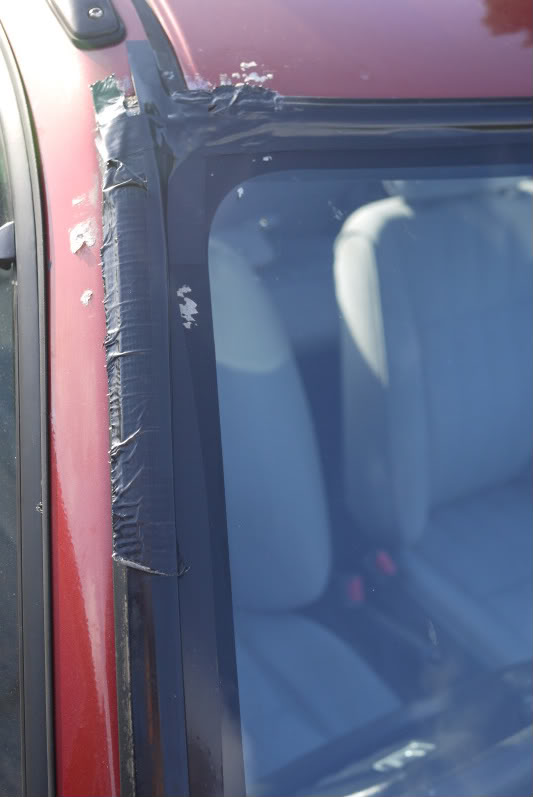
super cool windscreen fixing (by me, on the side of the motorway with electrical tape!)
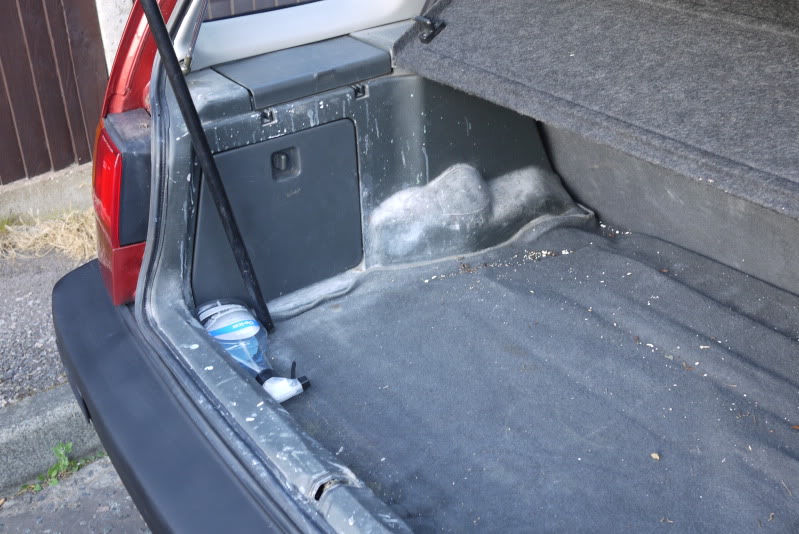
Paint splattered boot area
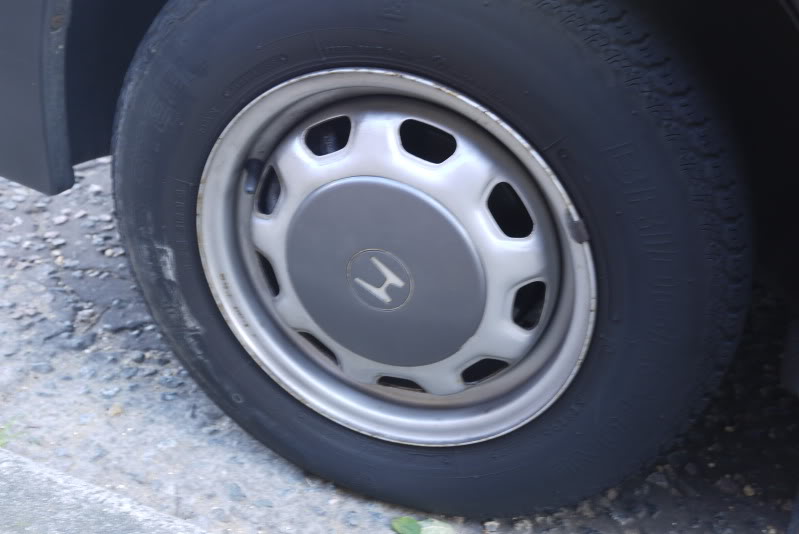
super awesome steelies
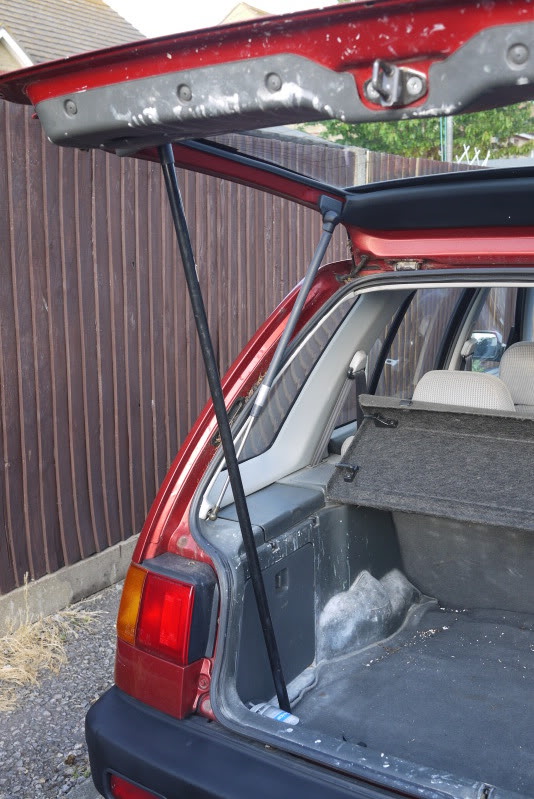
Awesome UKDM broom pole to hold the tail gate up!!
Made it back safe but she did start to over head on the way back after awhile so had to limit it to 60mph, but about 2 - 2.5hrs each way. Well to say its 'in need to tlc' is a bit of an understatement. However it comes with a years MOT and a few months tax, 4 good tyres and only 82K on the clock! Most importantly it is the 4wd version with hondas AWD system. I have already taken it down some gravel roads and its pretty good! Fuel efficiency was not too shabby either. comes with a naff roof rack, but it will do until i get a replacement!
The interior is ok, no rips but needs a good clean, the boot needs work, has bits of paint on it as was used by a builder. - was thinking of stickerbombing that! anyway, some pics to whet the appetite
I have the factory fitted radio, electric windows, and original hand book and tags on how to change the seats and the AWD bits. more pics to come!
Came with OEM mud flaps
AWD
cool horn button
Factory standard radio - with tape!!
coin draw
Gear stick - note the super low gear
super cool windscreen fixing (by me, on the side of the motorway with electrical tape!)
Paint splattered boot area
super awesome steelies
Awesome UKDM broom pole to hold the tail gate up!!
Comments
Does anyone know if a regular D series radiator would be ok?
So i started wandering round the car making a mental list of the jobs to do - its a bit one! Ill do a proper one soon!
Anyway, thought you would enjoy some of my paperwork
and the original tags for the seats and AWD system
i began buy inspecting the filth!
Began cleaning - little comparison for you
the boot
and started working some autoglym into the bumpers, to give them some more life. It looks like some may have had some kind of paint/other black treatment applied
nah...sorry, joke
hahaha
Anyway - to my day today. I brought a new roof rack as the one on it was such a state, bar was rusted through, and had been painted (on the car!) to hide its poor state! Anyway, it was sealed on at all the bolts, so had to bend it to get it off the roof!
So, i clean the car and notice the rear fog lights are a bit lose, so i take the bumper off to crew them back into the bracket properly......and this is the point my 'quick' tinker becomes a 7 hour nightmare! In short the rear arches dissolve in a pile on my drive
dear god, now fortunately i have a load of body work bits from my last project (del sol) so i get cracking on trying to build some arches - bearing in mind the car has to be put on the road at night
what i was faced with
rebuilt arches as best as i could in the time allowed
SO anyway, the light went, but i got the bumper back on (but not properly) hopefully will survive the night! I will be drilling into the fibreglass to fix the bumper to it with screws (but cable ties for now!)
So.......yeah what a day!!
do you own a 3rd Gen?
well, time for a mini update. because the boot plastics had so much paint on them from its working days i have decided to follow on the USDM influence and sticker bomb the rear plastics. One part done just to try it out! I do have a time lapse video of me doing it, but will edit that up later! for now a naff pic of it installed!
obviously got a bit more to do. trying to decide how much to do. dont want to over kill it.
also got a new part ordered from the states.....should be here in a week or 2! Not very exciting for you US guys, but exciting for us lot (or me anyway) over here
Next on the list is to sand down and repaint the wheels. Im open to suggestions Silver (current), black, MAYBE white (but i would have to clean them more!!!) or maybe gold. What are your thoughts?
So, finally worked out a solution and after some modding and bodging got the yakima roof rack fitted!
Now, the dilemma of the fog light. Where to put it!
Where it should be under the lights
Or, where its a bit easier.
I'm in for pics
As far as your fogs.How about modifying the fog into the amber bumper lites for a combo lite.A bit of work though.
Yeah, i had to briefly swap it over to fit with the fairing, but ill swap it back. And its not halfords, not that it really matters, does the job.
Ok, so some updates today, finally got round to fitting the fogs i got. Were only some cheapo aftermarket ones, but thought they looked nice. Anyway, while the bumper was off, i got some plastic filler and filled in the big gashes and scuffs as best i could. Painted the bumper in plastic paint, black as this is a 'not spend a fortune on daily driver!'
Anyway, my mate gave me a wiring diagram and a shopping list, and off i went. I made my own wiring loom for it with fuse and relay. Slowly plumbed it all in and tucked bits away. Too far longer than i thought, but am pleased with it as its my first, its tidy and it works!
To the pics!
What you think? clearly not a wire tuck, but not bad for a beginner
I also fixed the front indicators that had overspray on them from the previous owners 'efforts' to tart the bumper up!
+1 for night shots!!
Thanks, yeah im really pleased with the look of them. Install was.......slow. I can post up the wiring if people want, along with pics of my wiring route
Thanks