1988 Honda Civic Shuttle 55X
 Haydz
Moderator
Haydz
Moderator
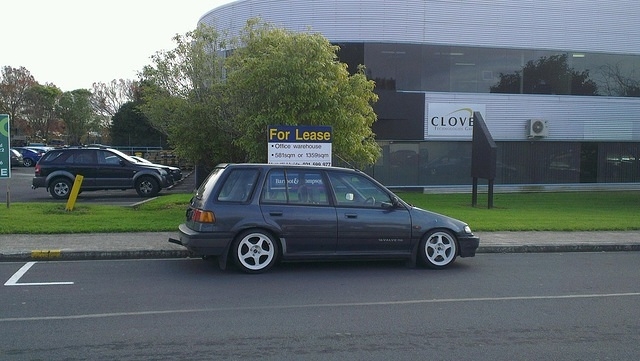
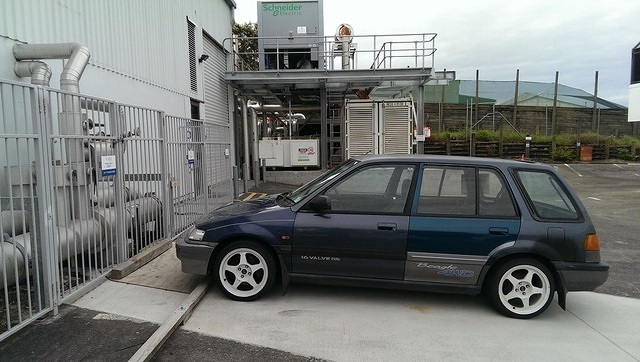
So after not having a Wagon for a long time I got a replacement in 2013. It's been a fair bit of work getting it where I wanted it to be and there's been plenty of pauses in progress along the way. My old thread was pretty messy so I've made a new one and updated everything.
1988 Honda Civic Shuttle 55X
Engine: D15B4 (dual carb)
Colour: B37M
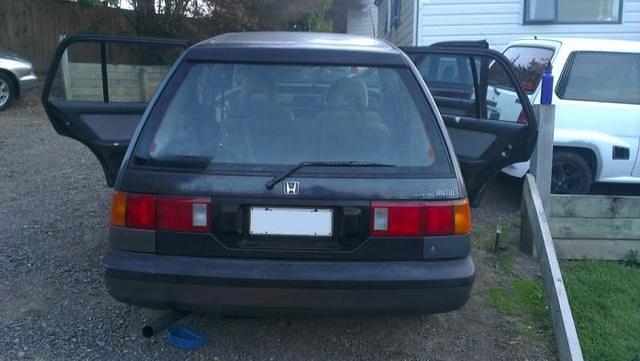
Here are some pics of when I first got it... pretty rough and stock apart from the stupid exhaust.

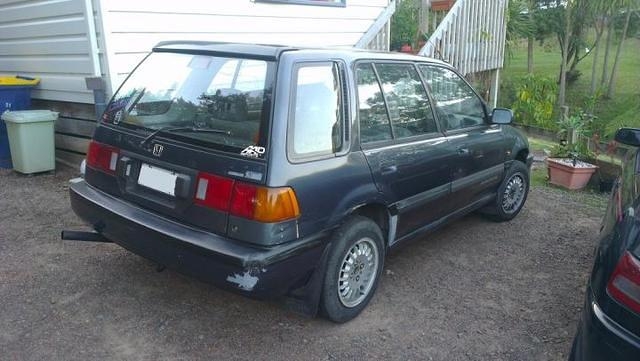
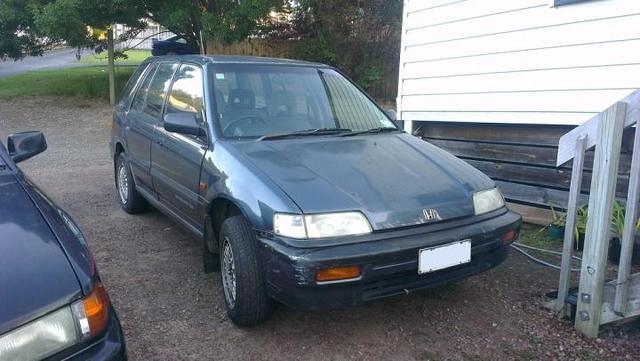
OK it was really rough...
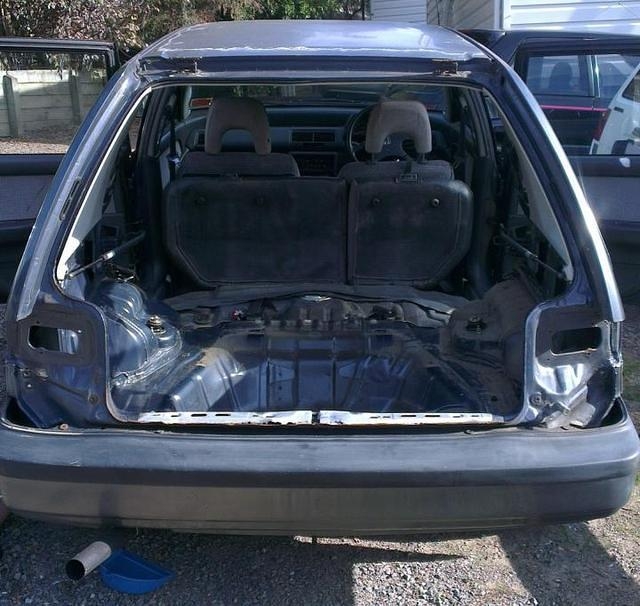
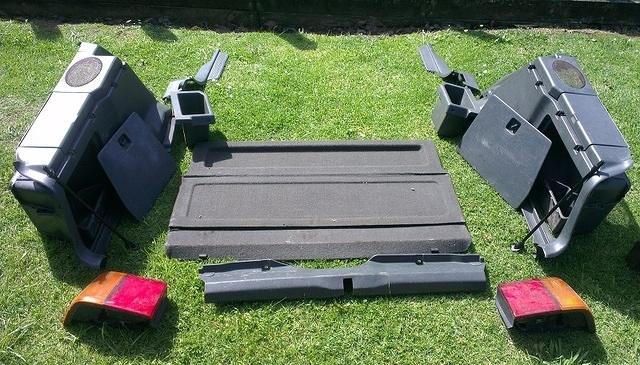
So the first thing I wanted to do was strip down the interior and clean everything.

Yuck.
Much better.
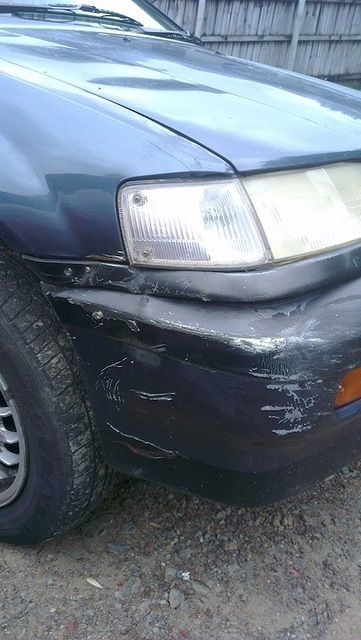
Then I needed to replace a bunch of parts that wre pretty munted.
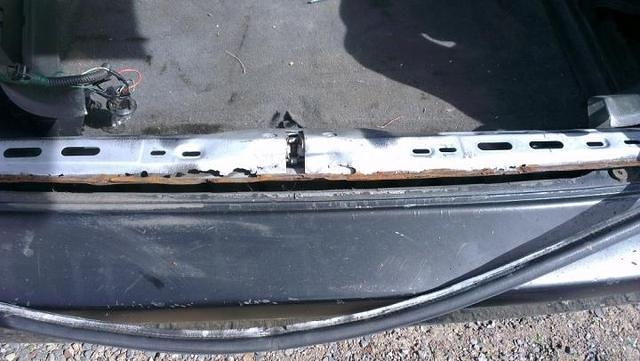
First came the hatch.. we removed that, the tail lights and the fillers panels to clean in behind everything.
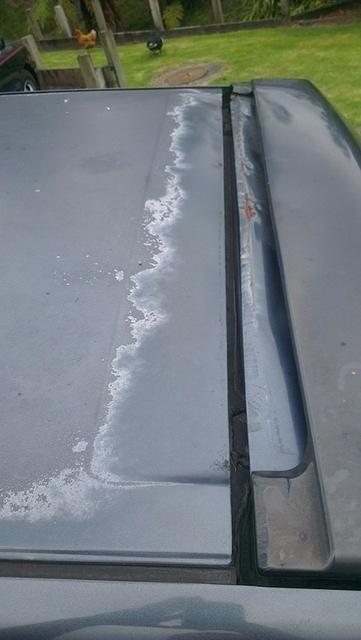
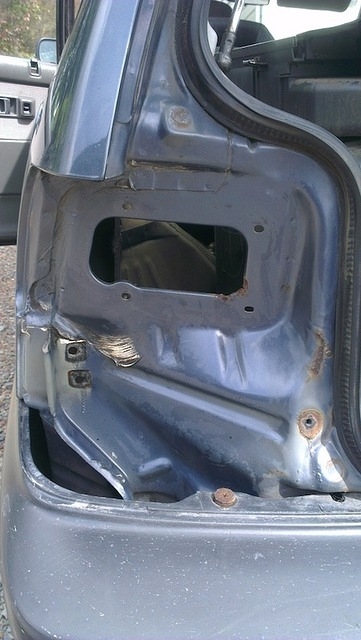
Which let me find a few bits of rust... nothing too major.
Replacement hatch from the wrecker
Later I also replaced the rear bumper with a gray one from a Beagle.
I put aside some stuff for Charb. He'll get it. One day...
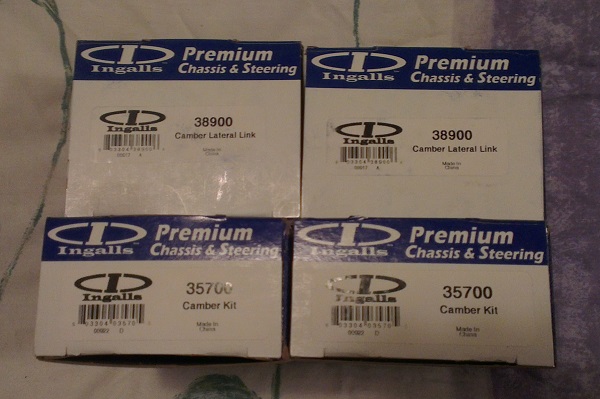
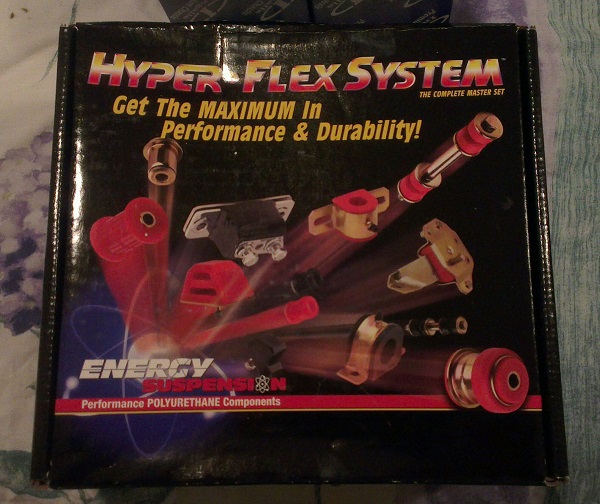
Then the parts hording started...
And somehow through the installation of the brakes, suspension, wheels and tyres I took no pics. WTF! :mad:
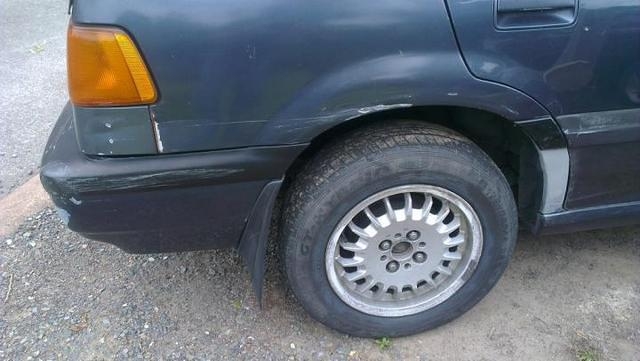
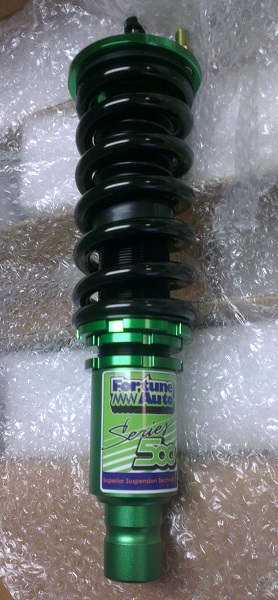
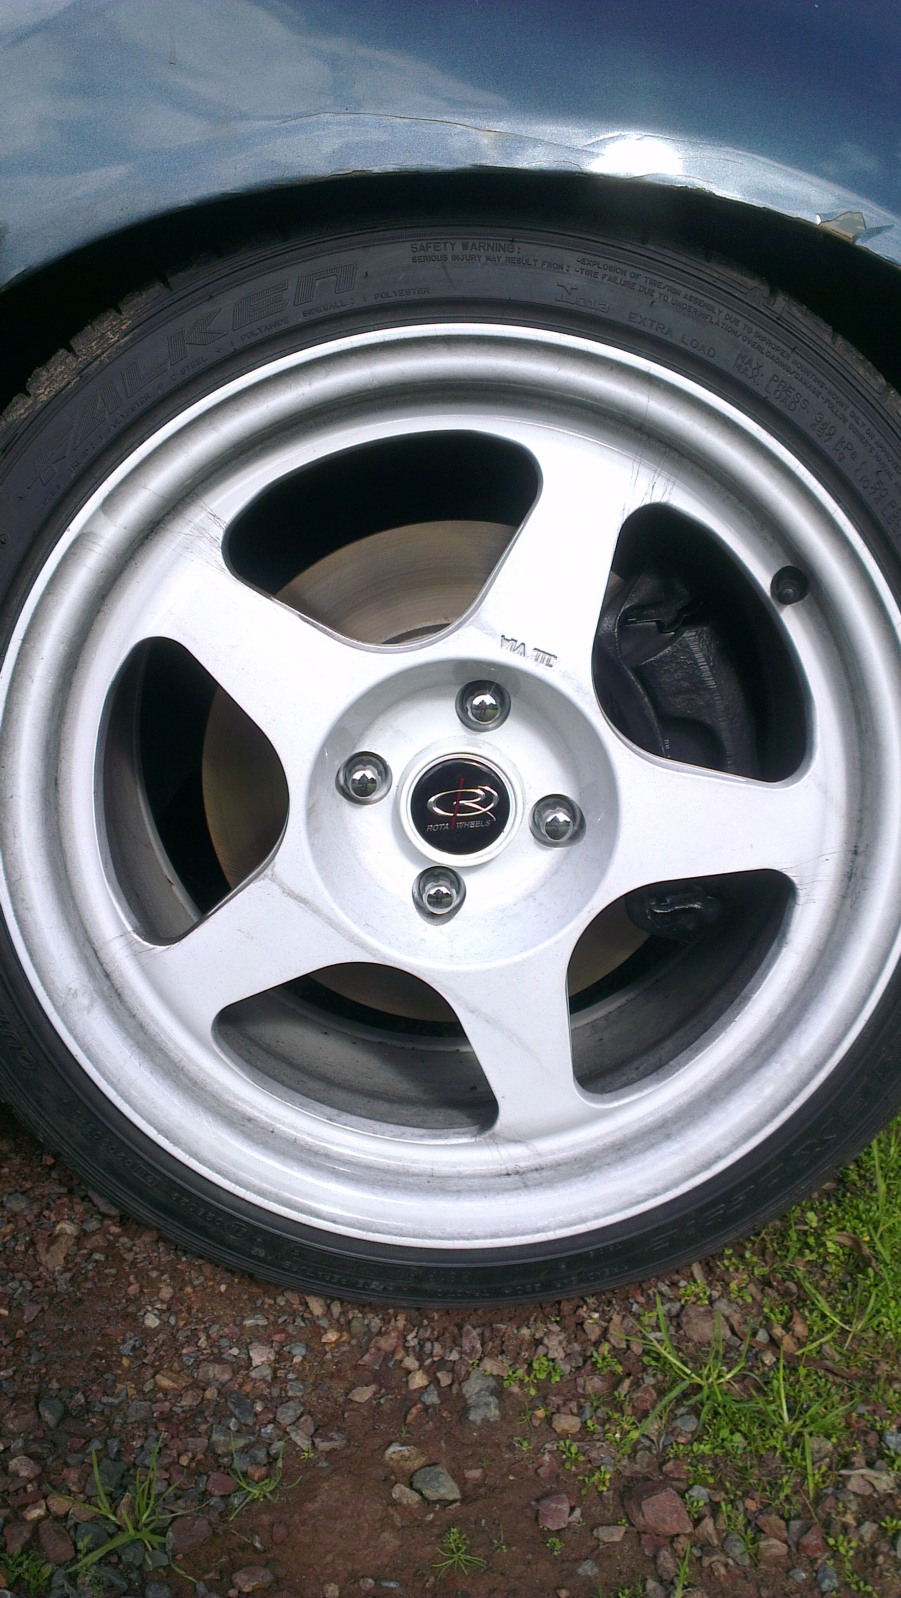
Installed coilovers, ingalls camber kits front and rear, front LCA bushes, DA6 knuckles, BB1 calipers, ferodo pads, 280MM 2007 Mini rotors, Rota slipstreams (16x8 +38) and Falken ZEIX ZE912 in 205/40/16
All I can say about the improvement is that it is beyond lightyears different from the original handling and braking. :smug:
Then I decided it was swap time... it handles and brakes, so why not accellerate faster than a tuk tuk?
More parts hording...
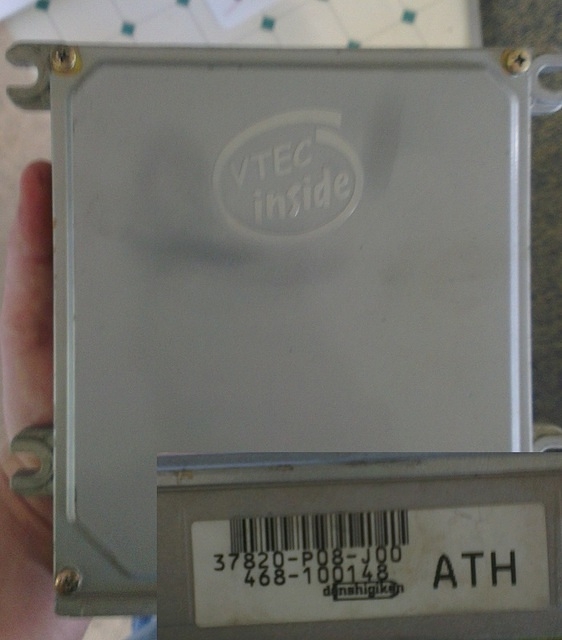
Chipped P08 ecu
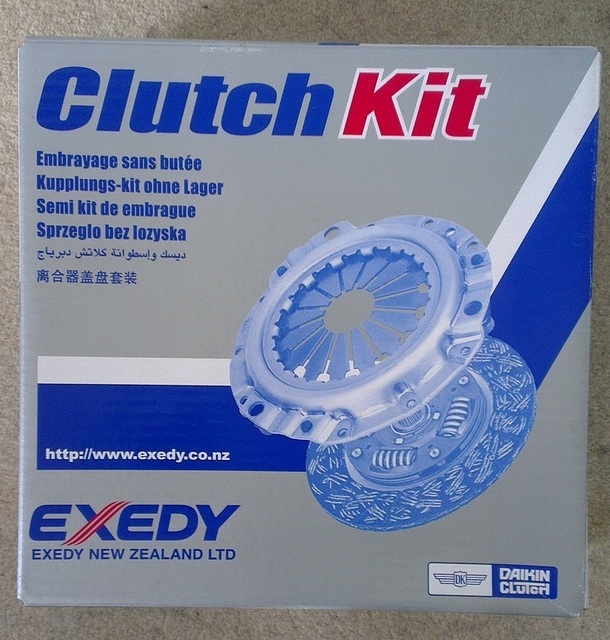
Exedy standard clutch kit
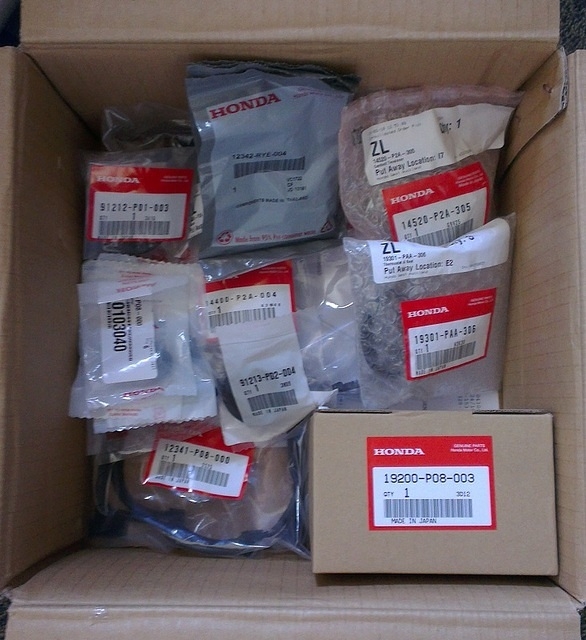
A whole bunch of OEM parts
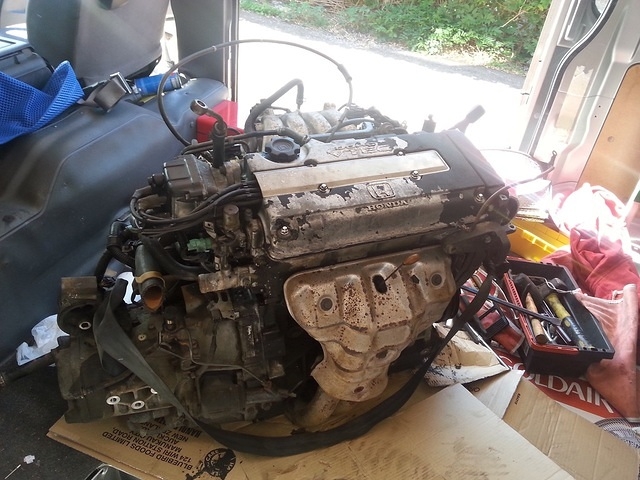
I got an OBD1 D15B to swap in but I don't have any before photos of the engine

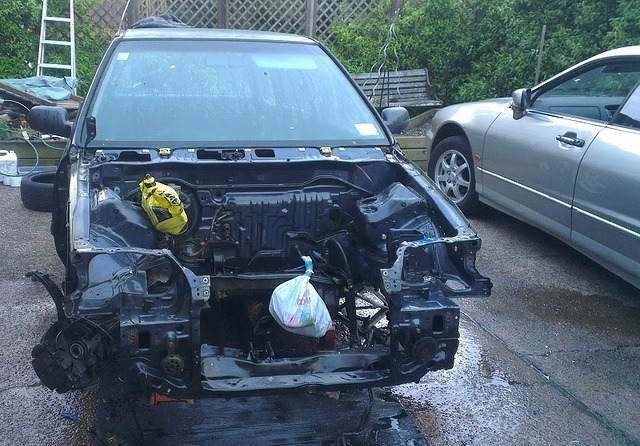
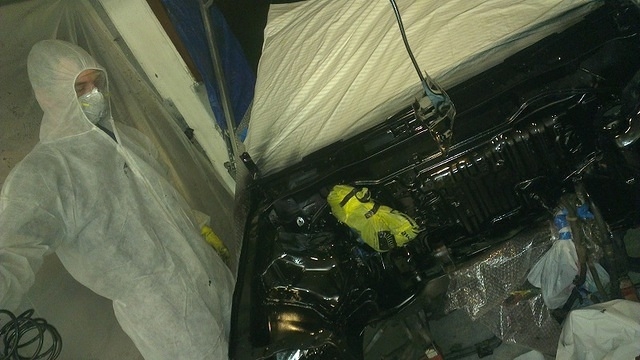
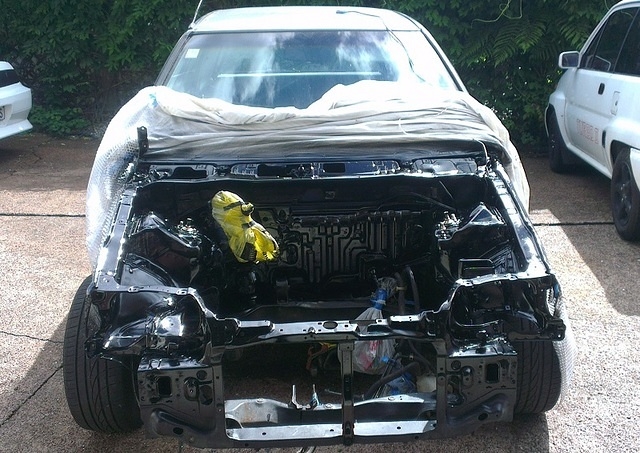
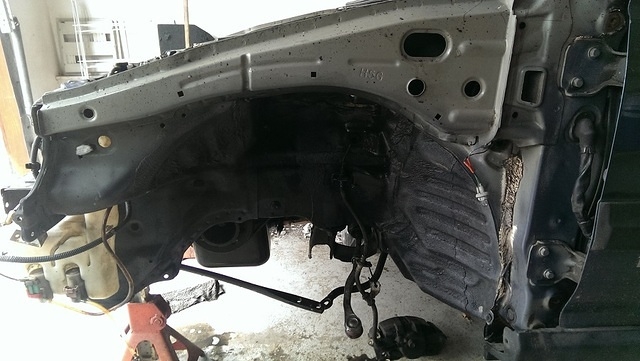
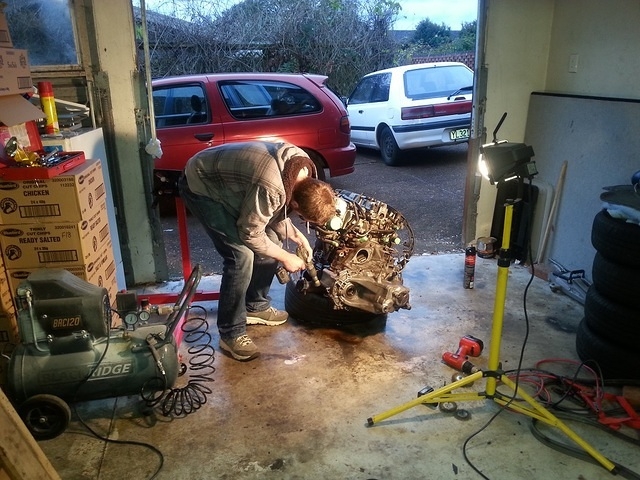
We stripped the front end down as I wanted to paint the engine bay before swapping anything into it
Getting ready for paint. To clean we used degreaser in a compressor gun to blast into tight spaces. Then we went over the paint with green scotch brite pads to make a nice bonding surface, while using wax and grease remover at the same time to pull away any built up grime. We did this several times over while washing down between each scuff with the wax and grease remover.
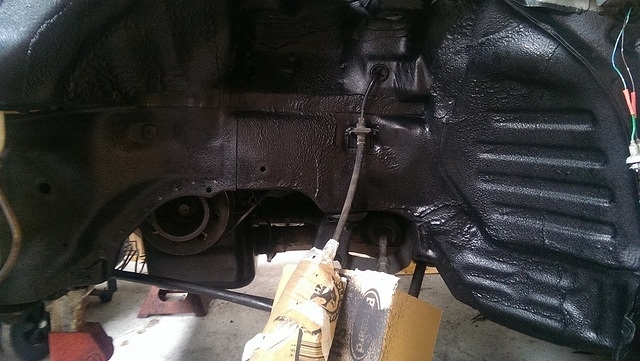
After the cleaning we wiped down the engine bay and dried everything out. Any bare metal spots (after rust removal) were sprayed with primer and then we went over the entire bay with satin black.
I promise I'm not a meth cook.
Then it was time to get to work on the actual swap...
Which naturally, I forgot to take progress pics of.
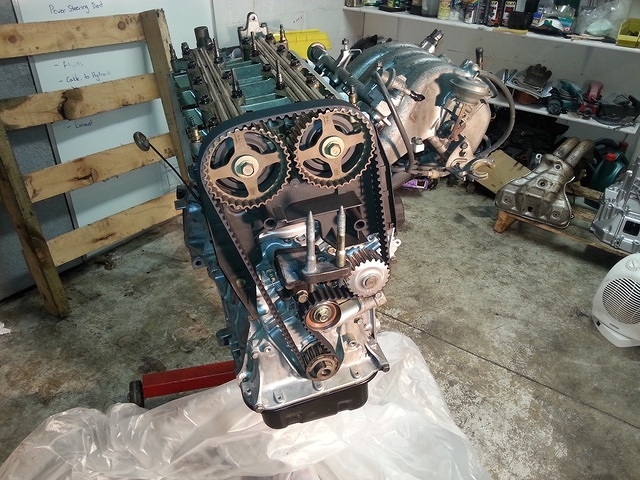
Cambelt, tensioner, waterpump, valve cover seals and spark plug tube seals fitted, flywheel skimmed, exedy clutch fitted...
Full OBD1 conversion. As in... pretty much the entire wiring loom from an EG4 VTi. There's not much left of the original wiring loom - only the part that goes to the rear.
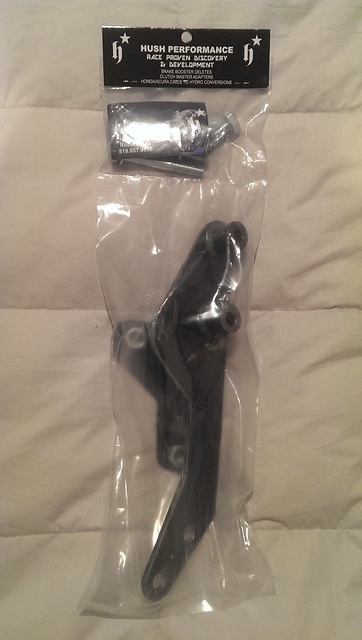
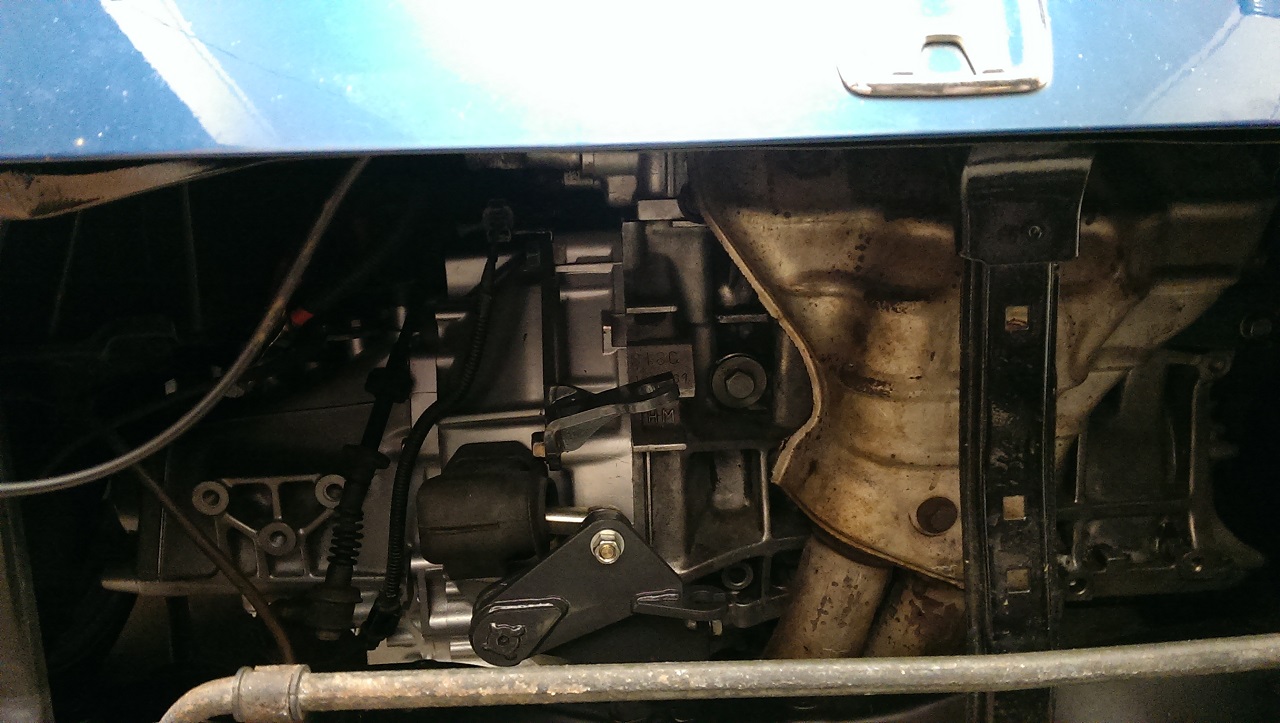
This is the hush performance adapter I ended up using to make the L3 and 'ZC' axles work with the D15B.
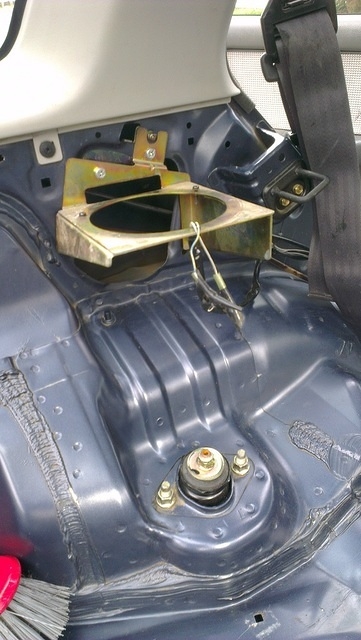
I also needed to sort out the fuel tank and lines as the car was originally carburettored.
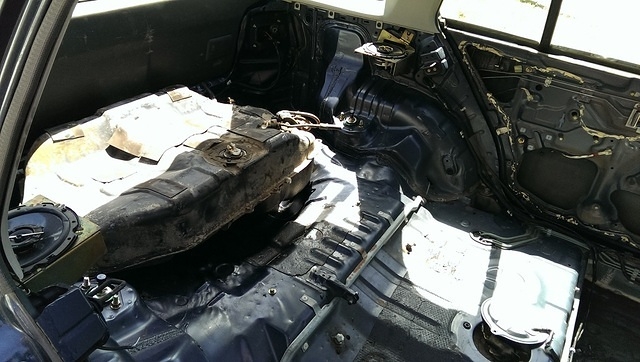
Tank from a 56i... no that is not where I installed it.
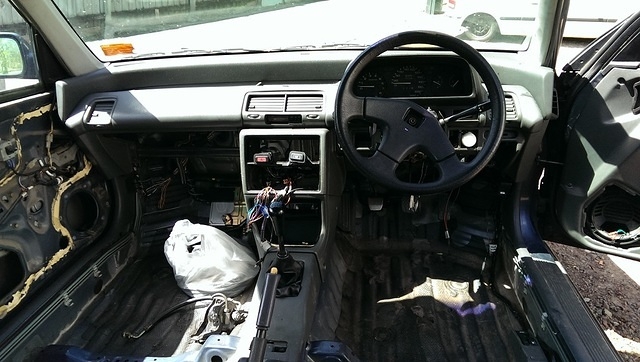
Loom installed and mocking up switch locations

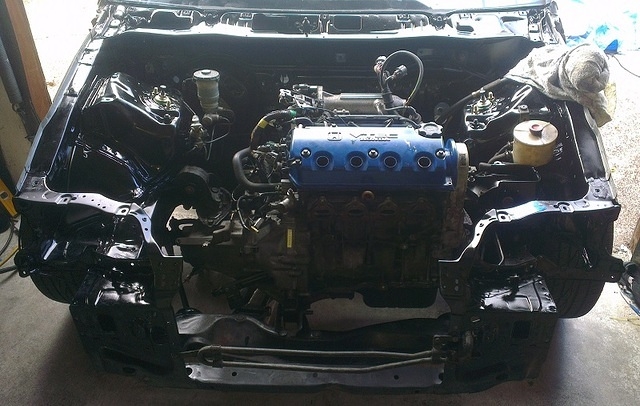
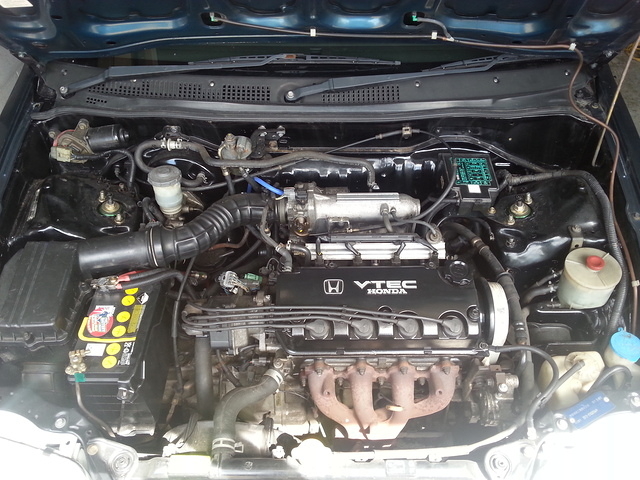
Engine bay complete! With the exception of the blue valve cover, it looks stock.
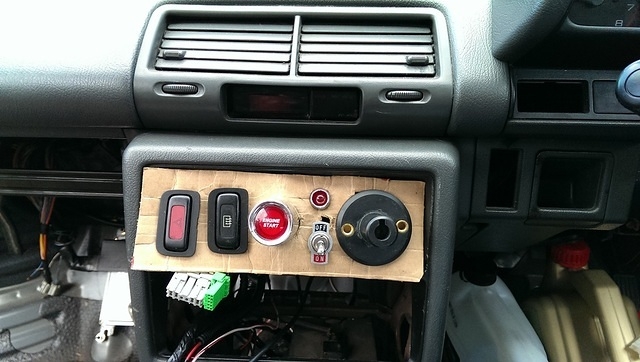
More work mocking up switches...
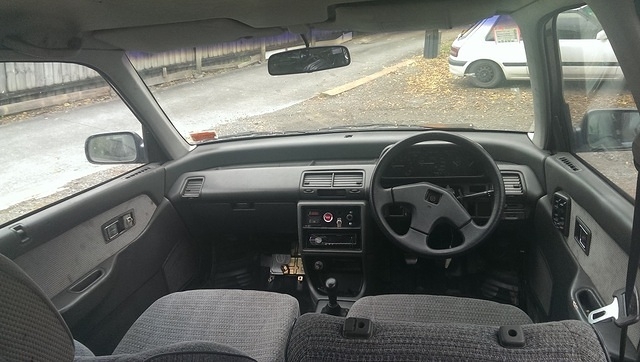
Switch panel completed, interior back in the car, everything mounted - ready for action!
I wanted to make sure the wheel wells were going to be solid and durable from rocks etc so I got some bed armor.
Stripping it down to make it easy...
Tah dahh!
Next I needed to tackle some rust otherwise there wouldn't be a car left to go fast in.
I'm no panel worker or rust repairer so I paid to get the work done. THankfully not that much as the job was pretty shit.
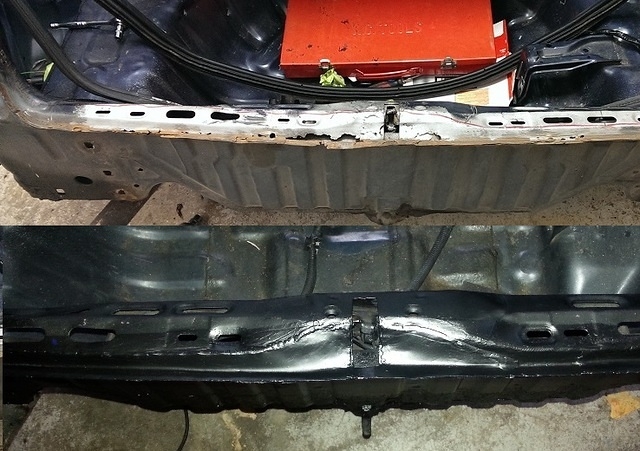
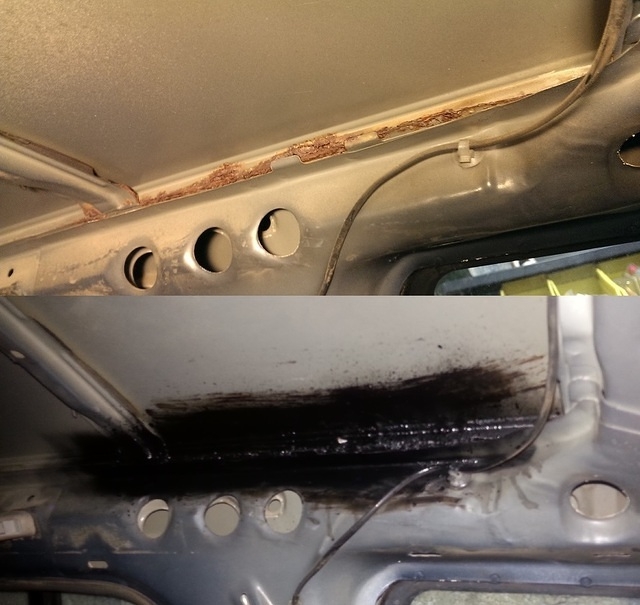
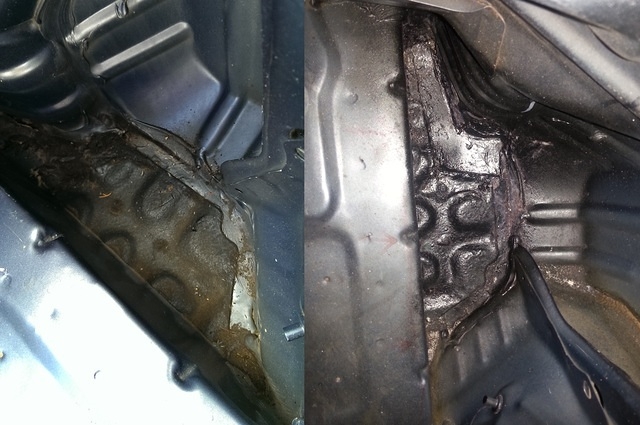
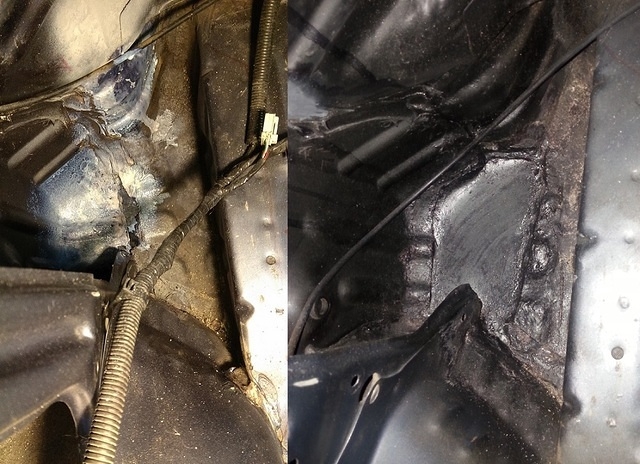
After getting it back from rust repair I decided to tidy a few things up and sort out the undercoat in the rear.
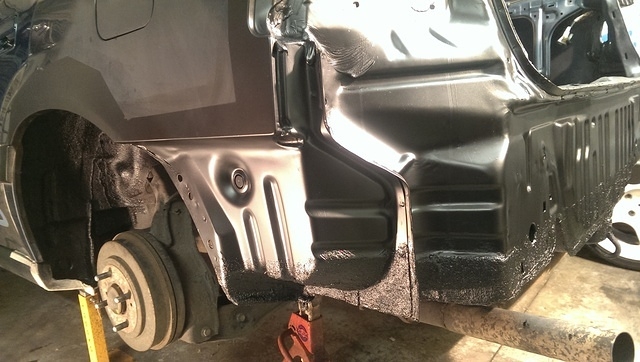
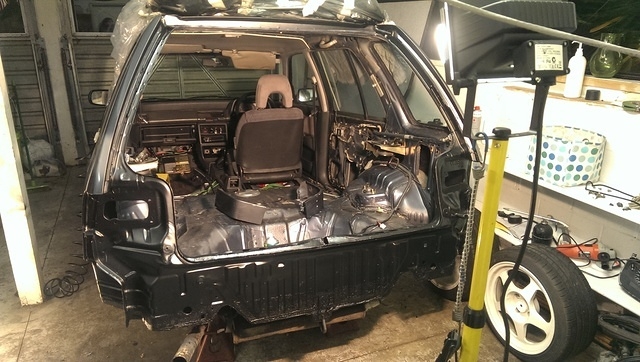
Note the interior is only present in the front... law requires me to keep the plastic panels around passengers in case I throw a baby into the cabin and crash.
Mate got me a birthday present to finish the 'factory' look. New valve cover in black.
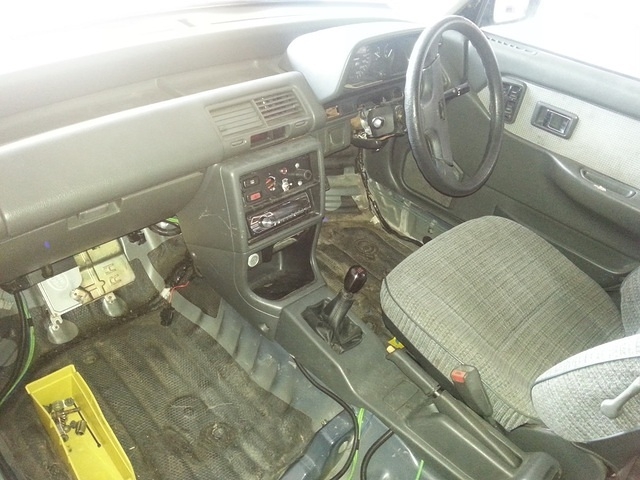
Blox short shifter and gear knob installed.
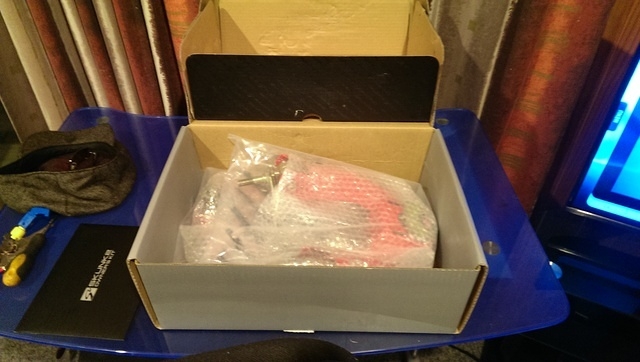
I didn't like the ingalls front camber kit so I got some skunk2 pro series upper camber arms for the front
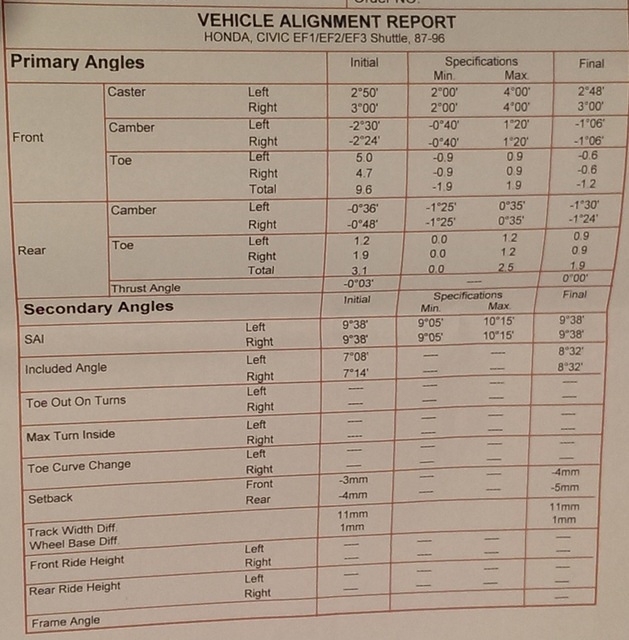
After installing and getting an alignment
Then I got a new front bumper, rear bumper, front fenders, bonnet, left rear door and headlights
It really is a blast to drive with the new swap but.... after about 1500KM on the new setup I wanted to go faster.
So one night I saw a DC2 Integra show up in the pick-a-part yard list.
So I scored the complete swap out of that - B18C + S80
Queue more parts hording!
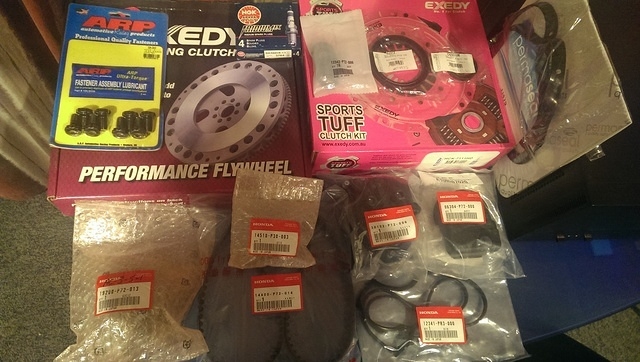
Exedy Lightweight Flywheel (3.9KG)
Exedy Heavy Duty Clutch
ARP Flywheel Bolts
Main End Seal
Crank End Seal
Valve Cover Gasket
Spark Plug tube Gaskets
NGK Iridium Spark plugs
Dizzy Cap
Dizzy Rotor
Dizzy o-ring
Transmission Axle Seals
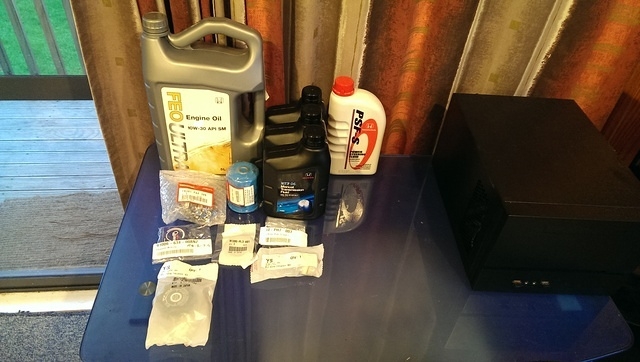
MTF x3
PSF
FEO Oil 5L
Cambelt
Waterpump
Tensioner
Water Pipe o-rings
Flywheel bearing
Sump Gasket
Oil Filter
Oil Cap
Thermostat
Radiator Switch
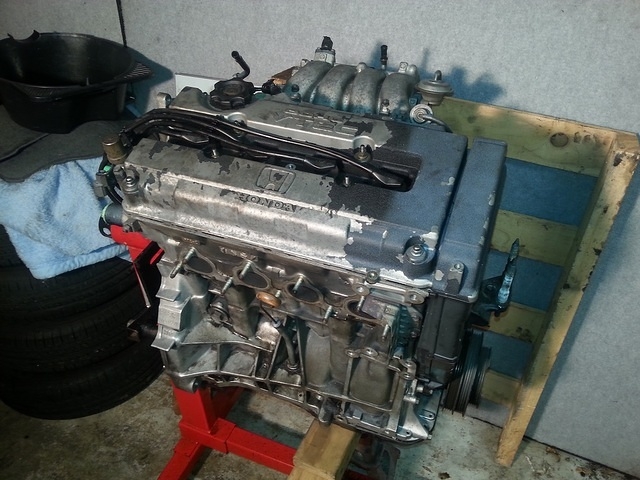
Cleaning all the old grime off the new swap...
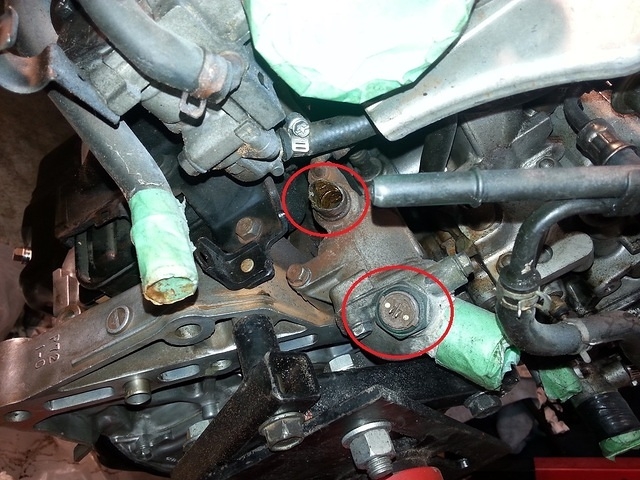
Couple of broken bits... ended up getting a new sensor and housing.
Continueing the cleanup and then the refresh.
Installed and getting the clutch side of things sorted.
Alrighty... Almost up to date with 2016! More to come soon...
1988 Honda Civic Shuttle 55X
Engine: D15B4 (dual carb)
Colour: B37M
Here are some pics of when I first got it... pretty rough and stock apart from the stupid exhaust.
OK it was really rough...
So the first thing I wanted to do was strip down the interior and clean everything.
Yuck.
Much better.
Then I needed to replace a bunch of parts that wre pretty munted.
First came the hatch.. we removed that, the tail lights and the fillers panels to clean in behind everything.
Which let me find a few bits of rust... nothing too major.
Replacement hatch from the wrecker
Later I also replaced the rear bumper with a gray one from a Beagle.
I put aside some stuff for Charb. He'll get it. One day...
Then the parts hording started...
And somehow through the installation of the brakes, suspension, wheels and tyres I took no pics. WTF! :mad:
Installed coilovers, ingalls camber kits front and rear, front LCA bushes, DA6 knuckles, BB1 calipers, ferodo pads, 280MM 2007 Mini rotors, Rota slipstreams (16x8 +38) and Falken ZEIX ZE912 in 205/40/16
All I can say about the improvement is that it is beyond lightyears different from the original handling and braking. :smug:
Then I decided it was swap time... it handles and brakes, so why not accellerate faster than a tuk tuk?
More parts hording...
Chipped P08 ecu
Exedy standard clutch kit
A whole bunch of OEM parts
I got an OBD1 D15B to swap in but I don't have any before photos of the engine
We stripped the front end down as I wanted to paint the engine bay before swapping anything into it
Getting ready for paint. To clean we used degreaser in a compressor gun to blast into tight spaces. Then we went over the paint with green scotch brite pads to make a nice bonding surface, while using wax and grease remover at the same time to pull away any built up grime. We did this several times over while washing down between each scuff with the wax and grease remover.
After the cleaning we wiped down the engine bay and dried everything out. Any bare metal spots (after rust removal) were sprayed with primer and then we went over the entire bay with satin black.
I promise I'm not a meth cook.
Then it was time to get to work on the actual swap...
Which naturally, I forgot to take progress pics of.
Cambelt, tensioner, waterpump, valve cover seals and spark plug tube seals fitted, flywheel skimmed, exedy clutch fitted...
Full OBD1 conversion. As in... pretty much the entire wiring loom from an EG4 VTi. There's not much left of the original wiring loom - only the part that goes to the rear.
This is the hush performance adapter I ended up using to make the L3 and 'ZC' axles work with the D15B.
I also needed to sort out the fuel tank and lines as the car was originally carburettored.
Tank from a 56i... no that is not where I installed it.
Loom installed and mocking up switch locations
Engine bay complete! With the exception of the blue valve cover, it looks stock.
More work mocking up switches...
Switch panel completed, interior back in the car, everything mounted - ready for action!
I wanted to make sure the wheel wells were going to be solid and durable from rocks etc so I got some bed armor.
Stripping it down to make it easy...
Tah dahh!
Next I needed to tackle some rust otherwise there wouldn't be a car left to go fast in.
I'm no panel worker or rust repairer so I paid to get the work done. THankfully not that much as the job was pretty shit.
After getting it back from rust repair I decided to tidy a few things up and sort out the undercoat in the rear.
Note the interior is only present in the front... law requires me to keep the plastic panels around passengers in case I throw a baby into the cabin and crash.
Mate got me a birthday present to finish the 'factory' look. New valve cover in black.
Blox short shifter and gear knob installed.
I didn't like the ingalls front camber kit so I got some skunk2 pro series upper camber arms for the front
After installing and getting an alignment
Then I got a new front bumper, rear bumper, front fenders, bonnet, left rear door and headlights
It really is a blast to drive with the new swap but.... after about 1500KM on the new setup I wanted to go faster.
So one night I saw a DC2 Integra show up in the pick-a-part yard list.
So I scored the complete swap out of that - B18C + S80
Queue more parts hording!
Exedy Lightweight Flywheel (3.9KG)
Exedy Heavy Duty Clutch
ARP Flywheel Bolts
Main End Seal
Crank End Seal
Valve Cover Gasket
Spark Plug tube Gaskets
NGK Iridium Spark plugs
Dizzy Cap
Dizzy Rotor
Dizzy o-ring
Transmission Axle Seals
MTF x3
PSF
FEO Oil 5L
Cambelt
Waterpump
Tensioner
Water Pipe o-rings
Flywheel bearing
Sump Gasket
Oil Filter
Oil Cap
Thermostat
Radiator Switch
Cleaning all the old grime off the new swap...
Couple of broken bits... ended up getting a new sensor and housing.
Continueing the cleanup and then the refresh.
Installed and getting the clutch side of things sorted.
Alrighty... Almost up to date with 2016! More to come soon...
Comments
The whole system is stainless steel 304 grade @ 2.5" diametre. PLM headers, generic summit racing flexi, vibrant race cat, generic v-bands, vibrant resonator, vibrant muffler...
PLM 'toda style' headers installed
The end of the headers were chopped off and a flexi + v-band were fitted to make for easy system removal
The resonator. Initially I thought it wouldn't be enough but it is surprisingly quiet.
v-band at the rear section before it passes the lower control arm
The muffler tucked up and no annoying stainless reflection
I'm stoked with the finished product.
For those of you that don't know who Ronnie Lim is, his Integra was doing 9.88 on the 1/4 mile in the early 00's and is a local fab legend.
RTi Limited Edition front bumper installed. It's pretty rough but will get the treatment.
Some new parts for the front - Innovative traction bar, Ultra Racing lower tie bar, upper strut brace and front sway bar
Traction bar installed.
Skunk2 intake manifold, PLM 70mm throttle body and ultra racing strut brace installed.
Overall the car is running much better with the new intake setup. Next up, certification.
Thanks!
Please note I am running a hydraulic shifted S80 so if you are running a cable box then there won't be a comparison.
Once that's done it will be time to get final certification and have some fun with it.