Ken's Bagged Civic WAGON 4WD. House Of Stance
 keniirox
Band Wagon
keniirox
Band Wagon
Hey guys my names Kennedy from Sydney Australia, long time lurker on this forum, i thought id give back and post my build thread and give you guys some insight of my build.
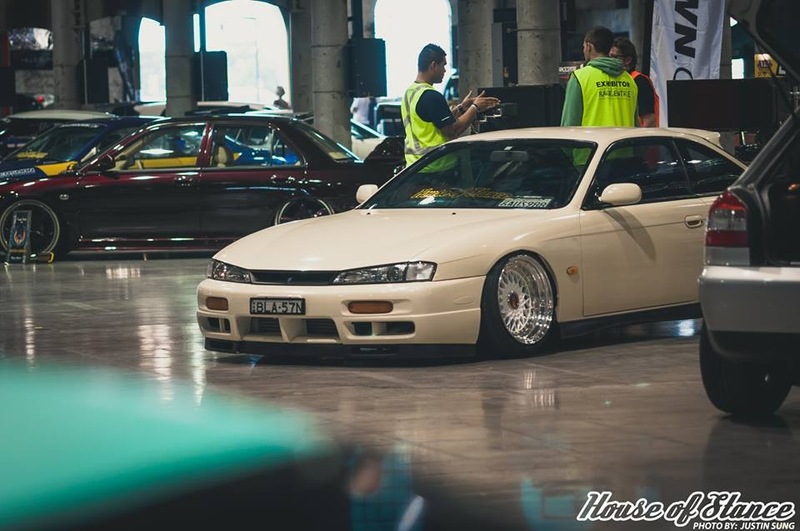
i used to own a static Nissan S14 only drove it back and forth to work hardly on the weekends as ive copped so much defect notices.
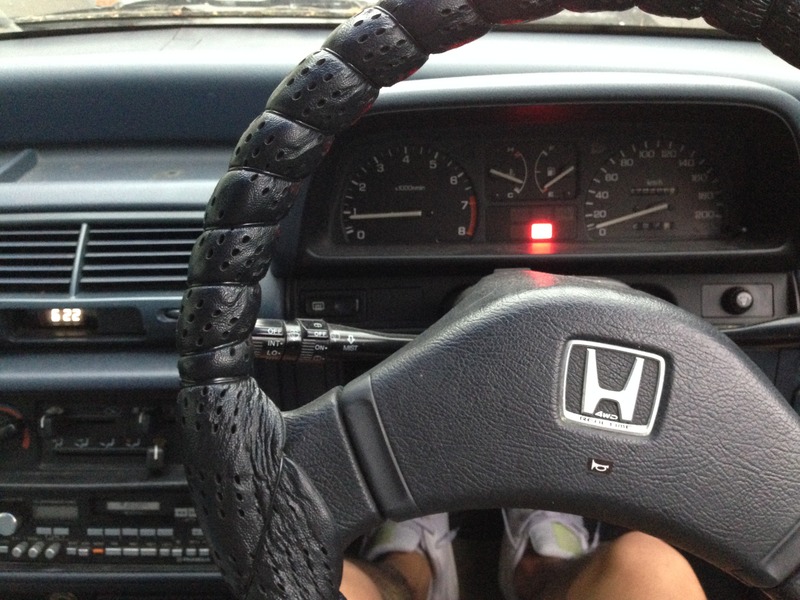
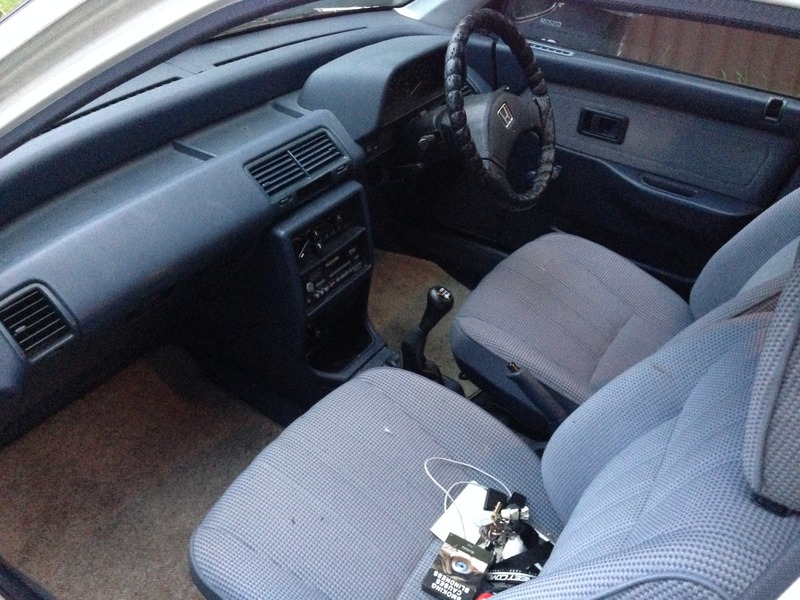
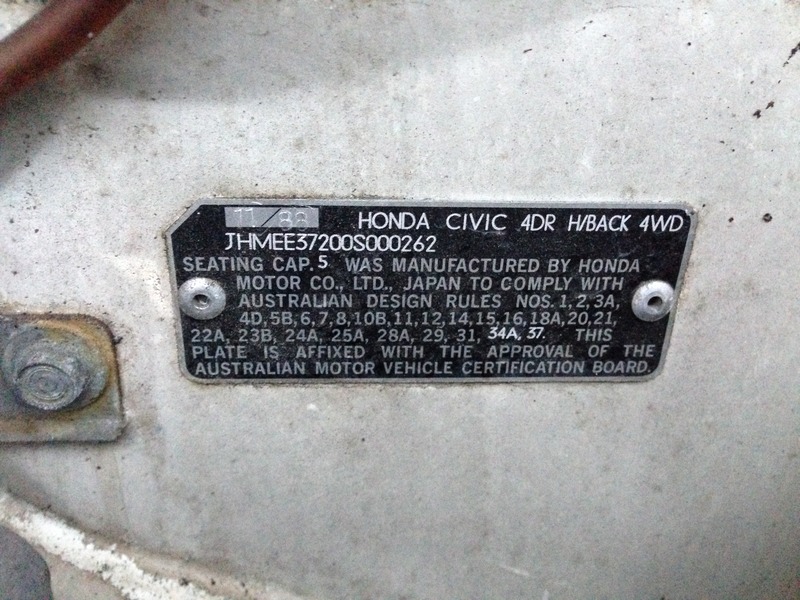
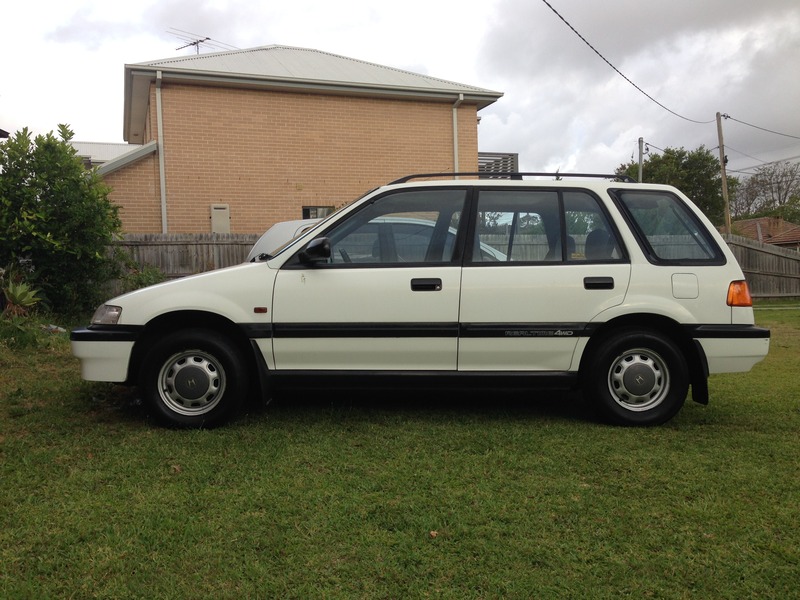
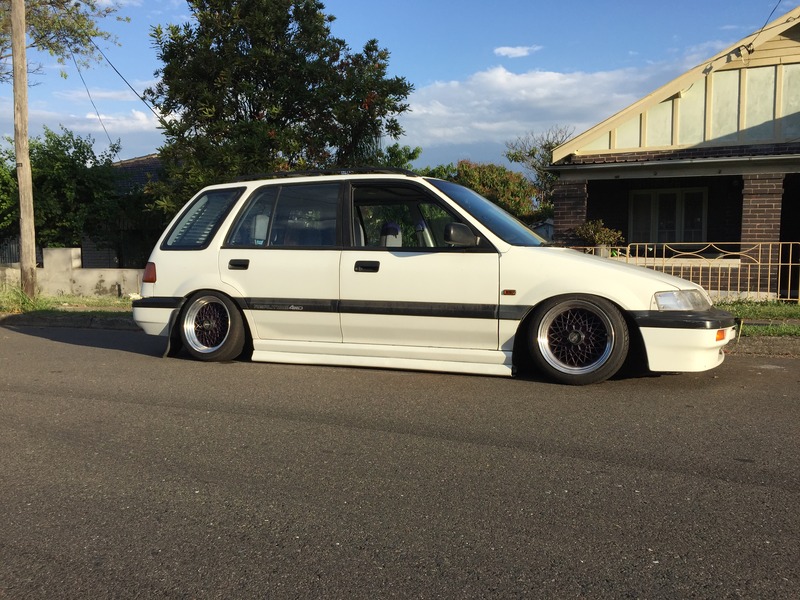
This civic wagon came up for sale, it was a 1988 honda civic wagon 4WD Manual i knew i had to get it, ive always had a thing for this generation of civics always wanted one. when i picked it up it had everything original. so basically im going to try to fit 2 years of owning the vehicle in 1 post i might leave out things ill try my best to fit as much info as possible.

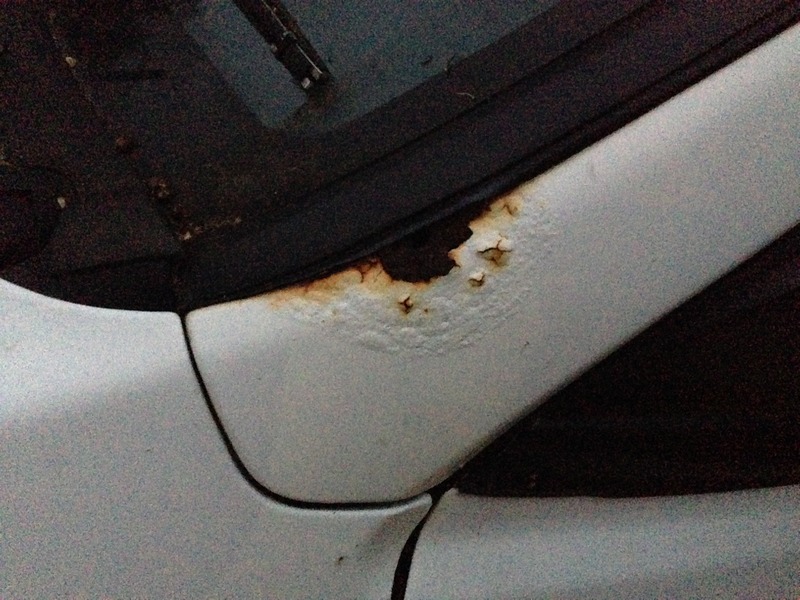
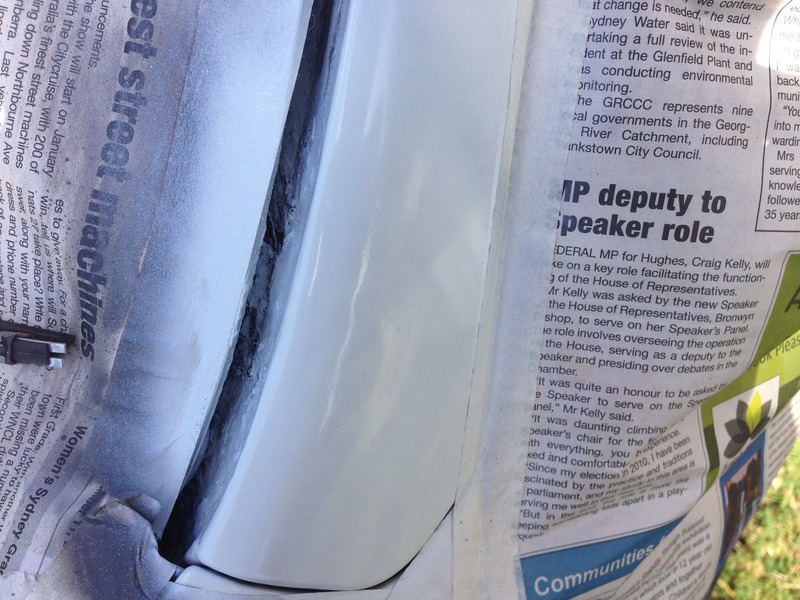
after taking owner ship i started repairing the small things the rust spots. it doesnt surprise me it has some surface rust as it is a 1988 model. so first things first remove the rust.
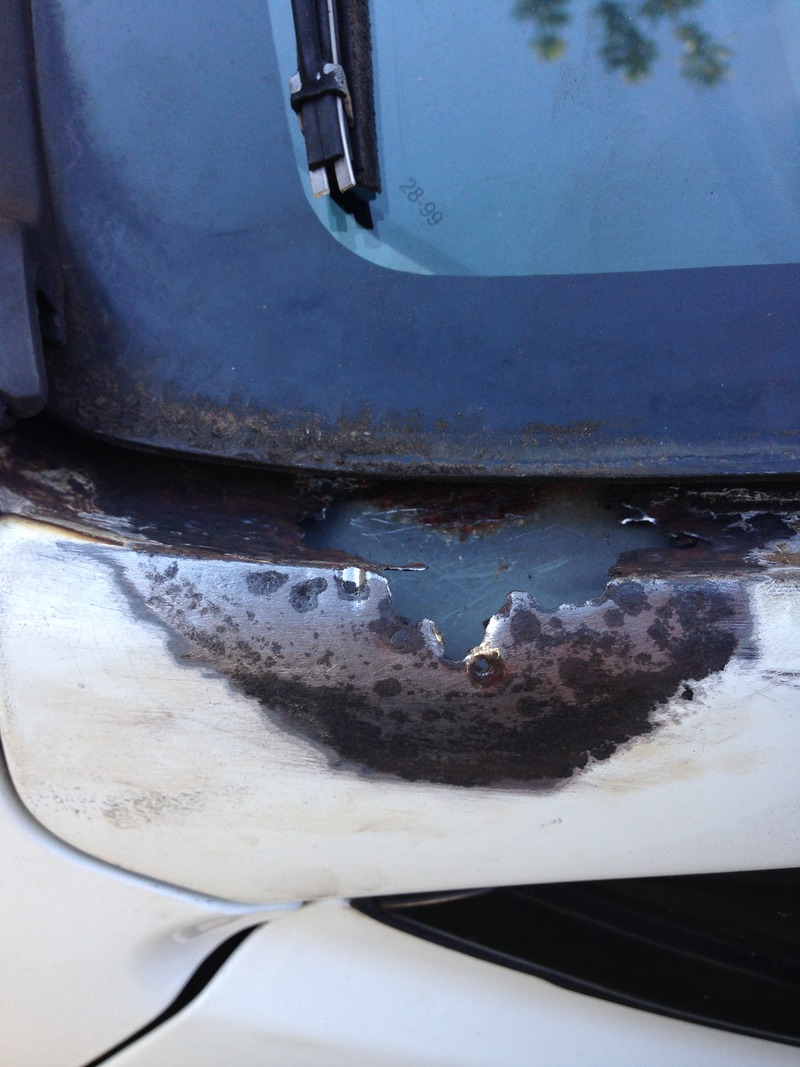
came out quite good.")
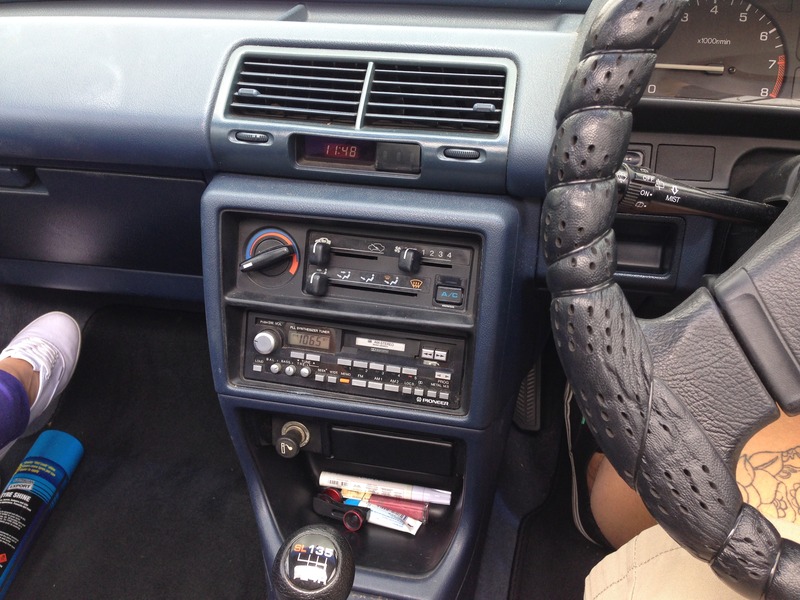
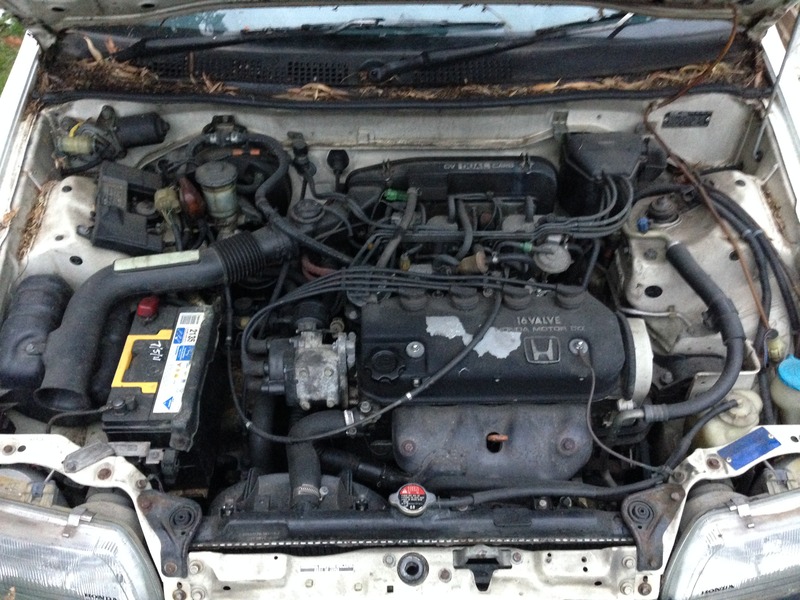
it did however come with the original head deck, hahah that needed to be changed.
the condistion of the car overall was still in good condition as i was the second owner.
busted cv joint
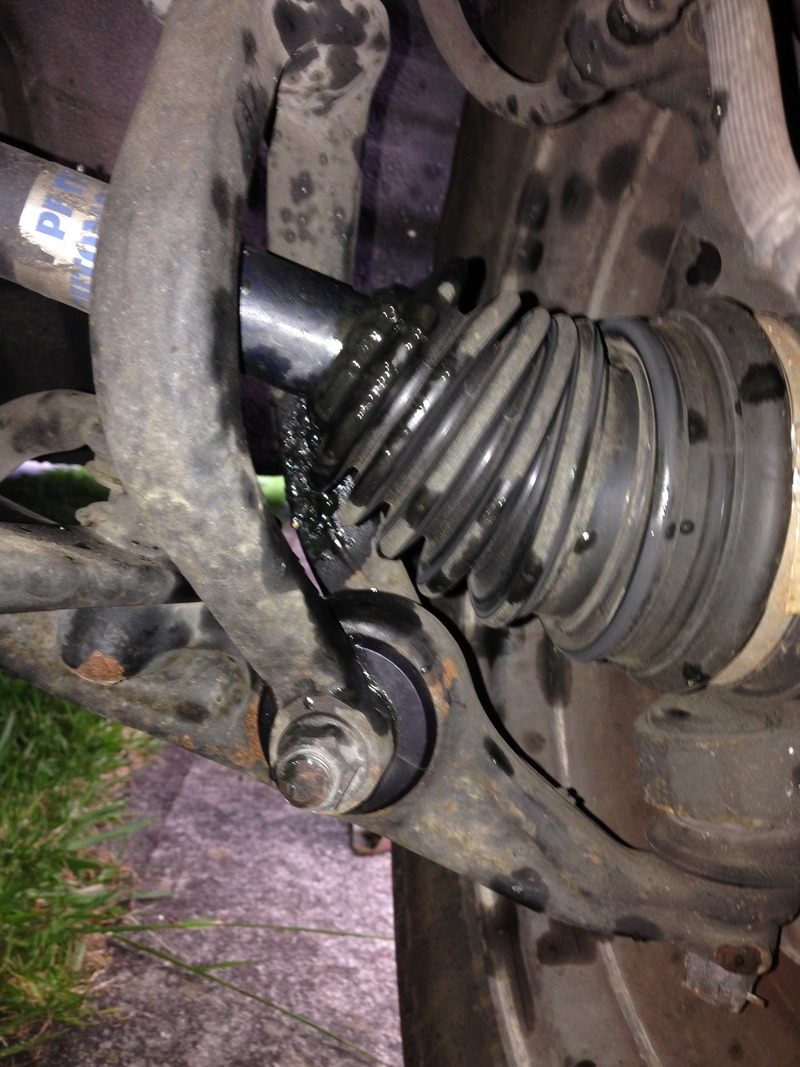
so ive hit a rough patch trying to sort out my registration i needed new tyres only 2 needed to be changed and when i hit up the tyre shop they didnt have the same size tyres they suggested me to get something a little bigger but wont be a problem with the 4wd system, so i follwed their lead and changed it 2 days later car started to clunk noises started coming and i didnt know what it was. until the car stopped working
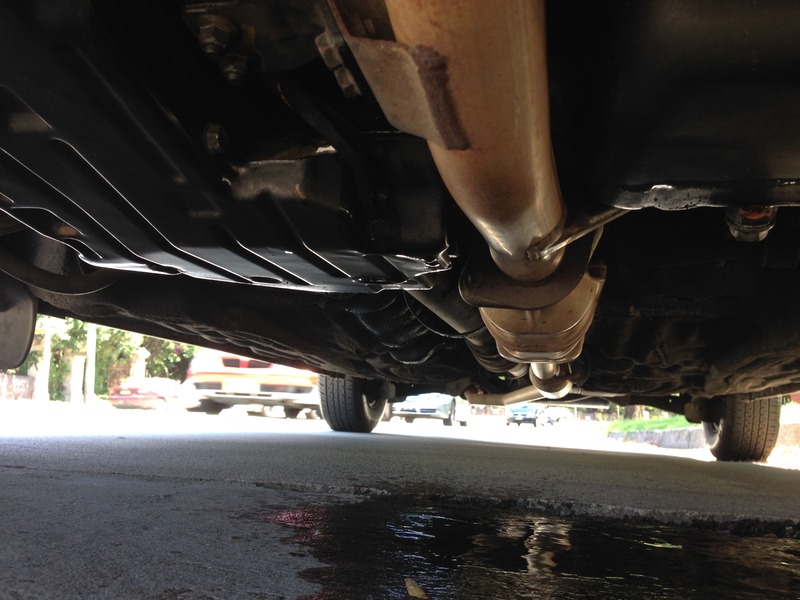
i thought the engine let go.
but it was the gearbox.
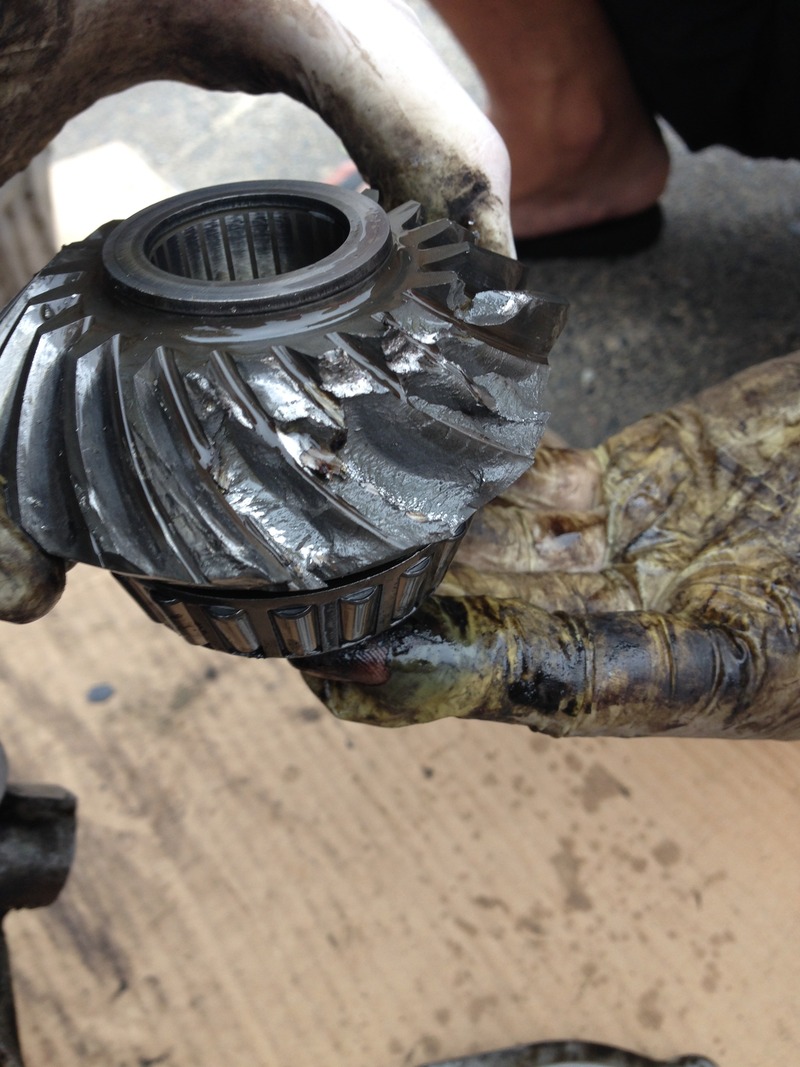
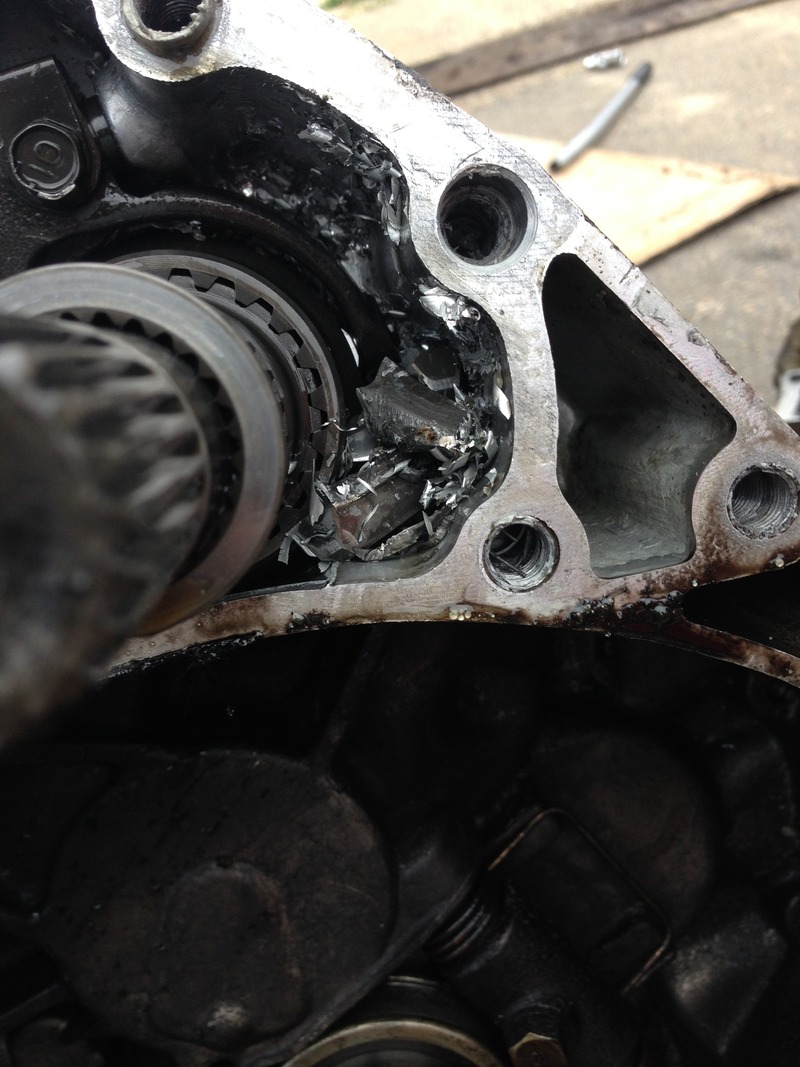
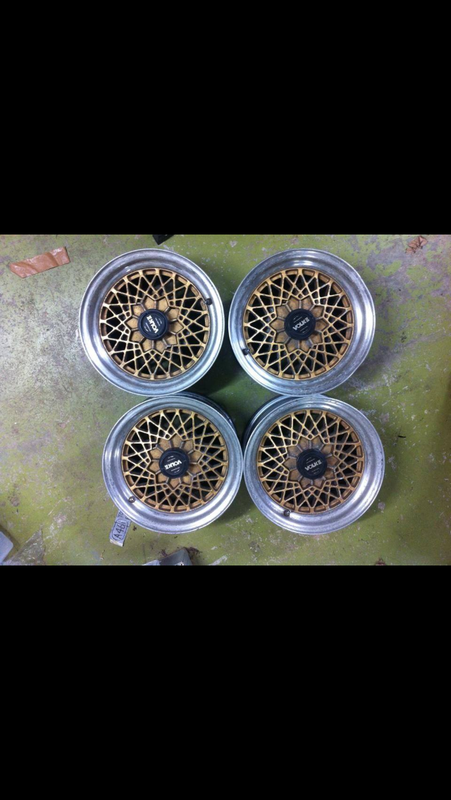
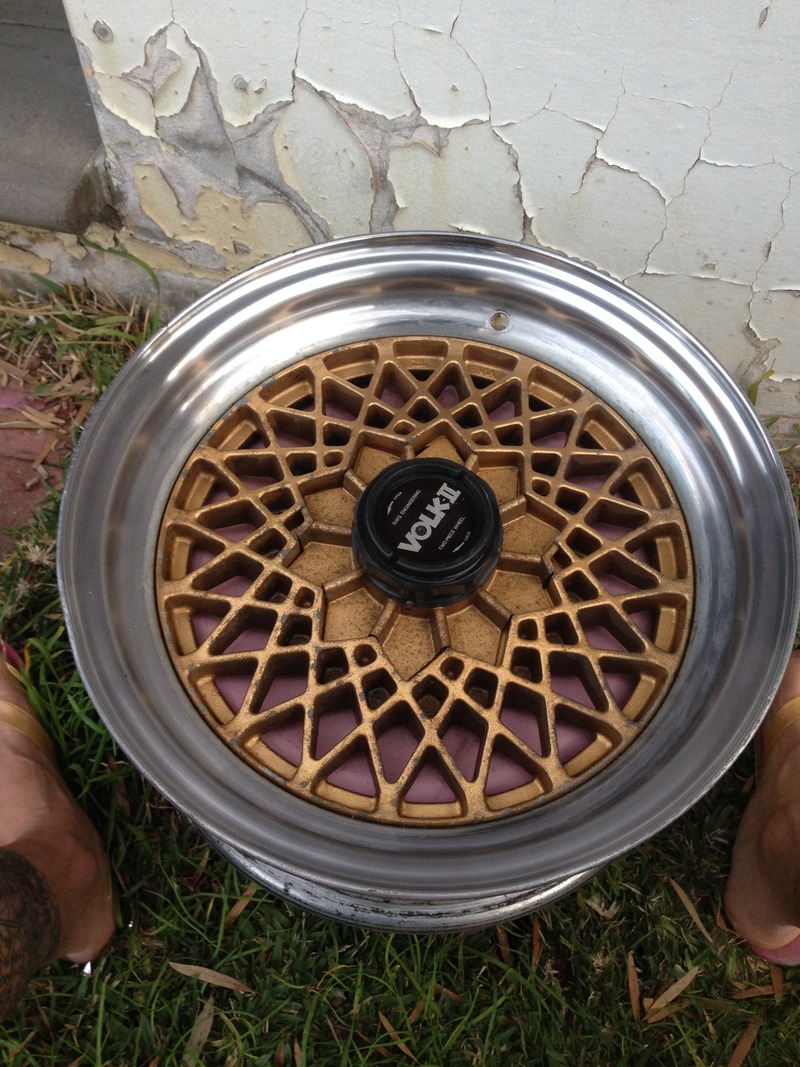
the rolling diameter was off and cause the gears to shit itself. luckily i was able to find myself a replacement 4wd gear box after the car was fixed i found myself some cheap wheels to run around in Volk rays mesh with centre caps first ive ever seen of them.
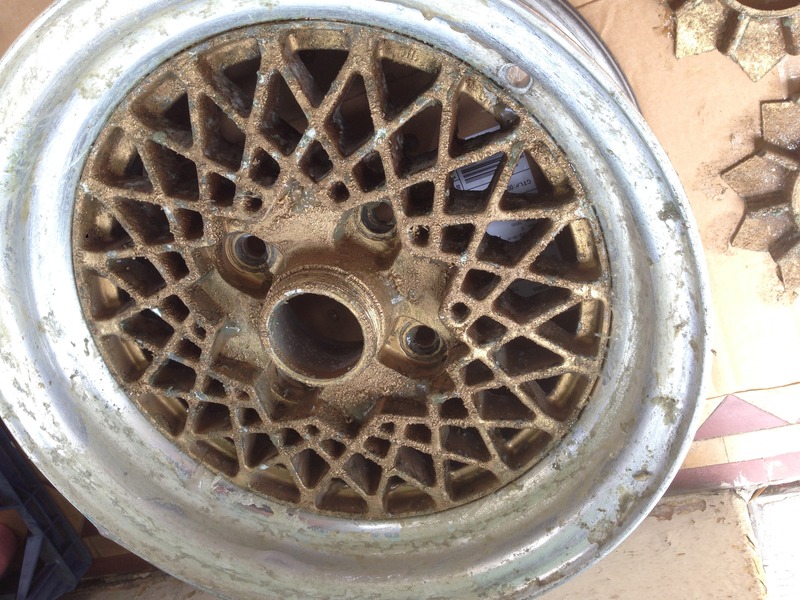
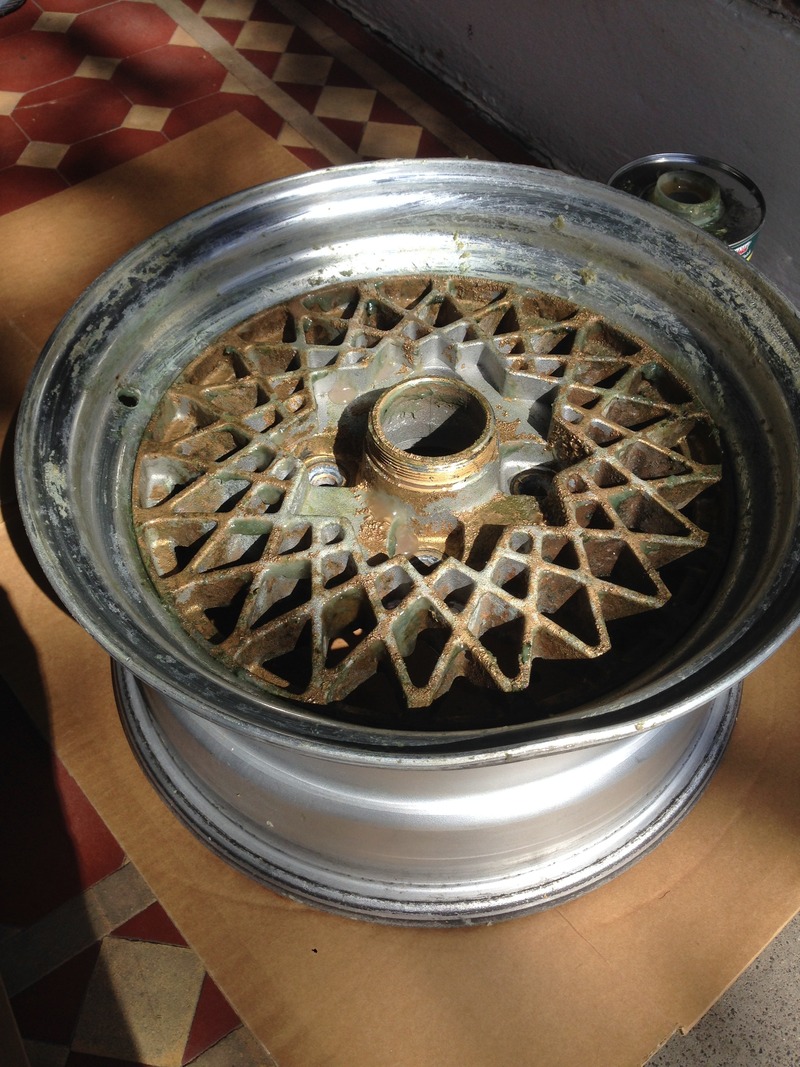
small buckle in rims
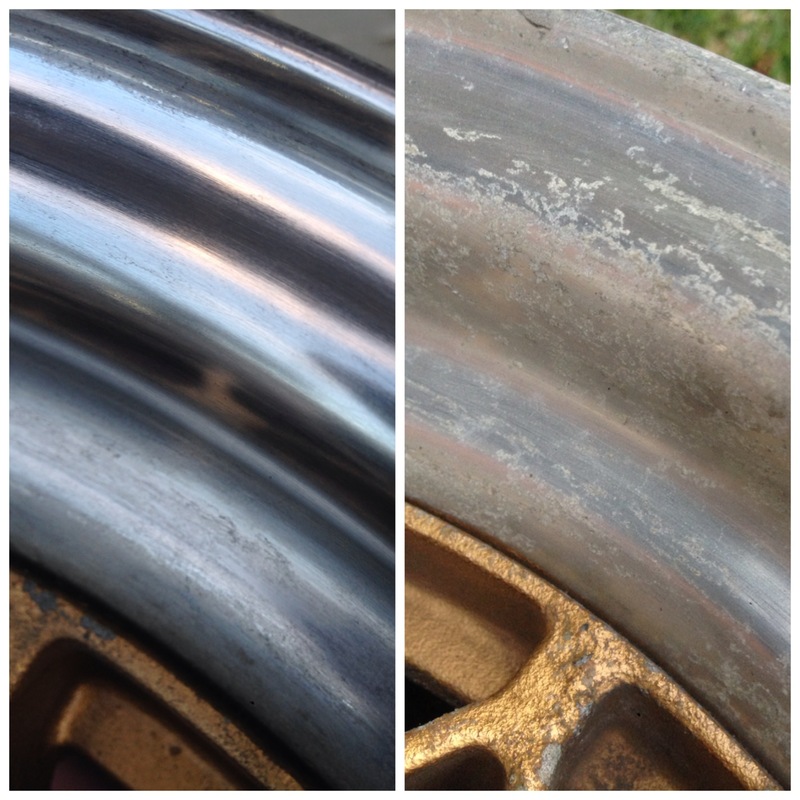
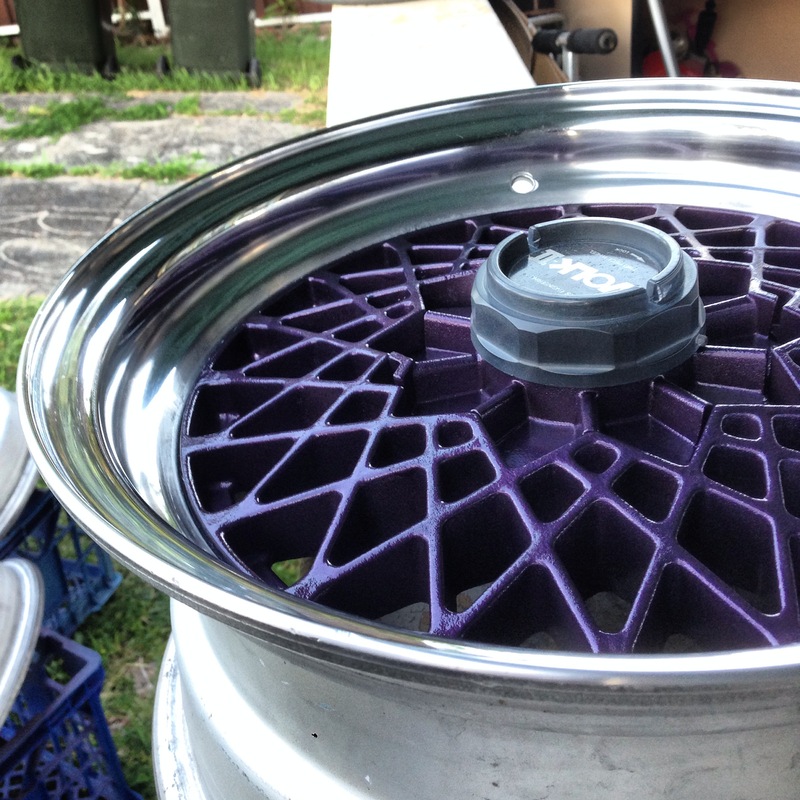
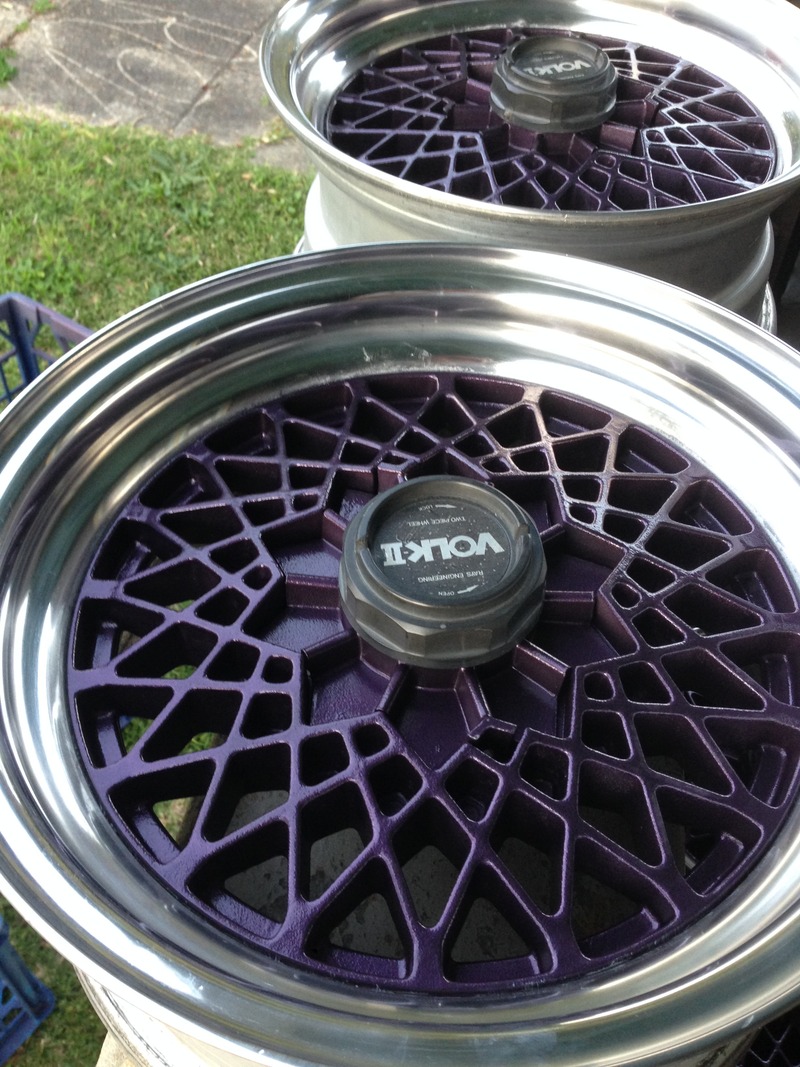
the lips after a polish came up real nice,
new coat of paint it turned out real good happy with the finish of the purple
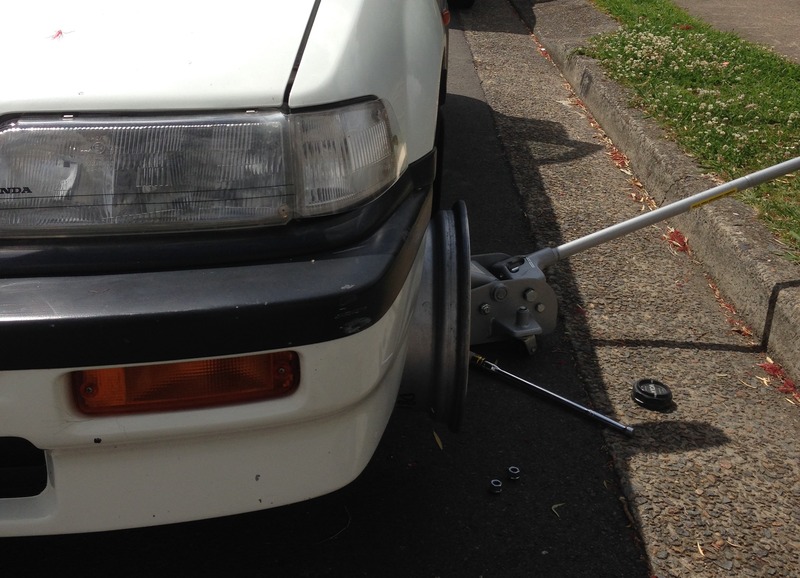
wheel fitment test.
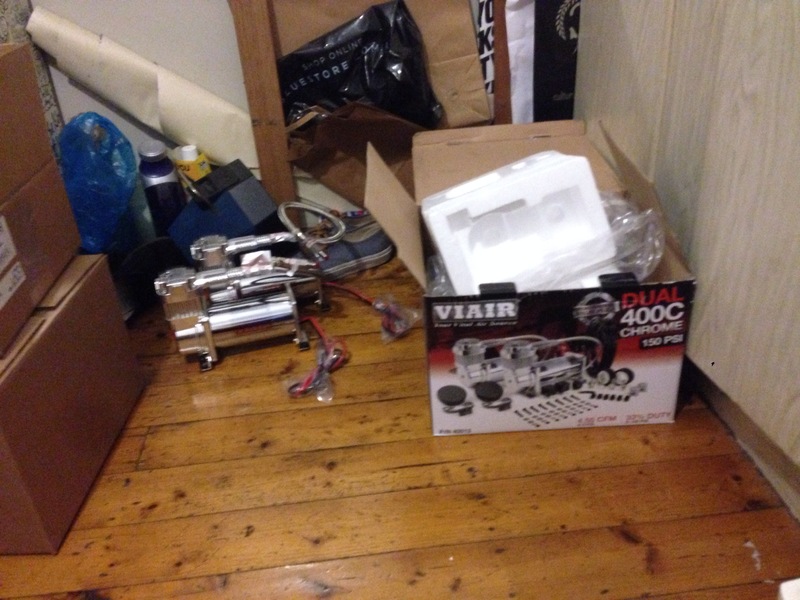
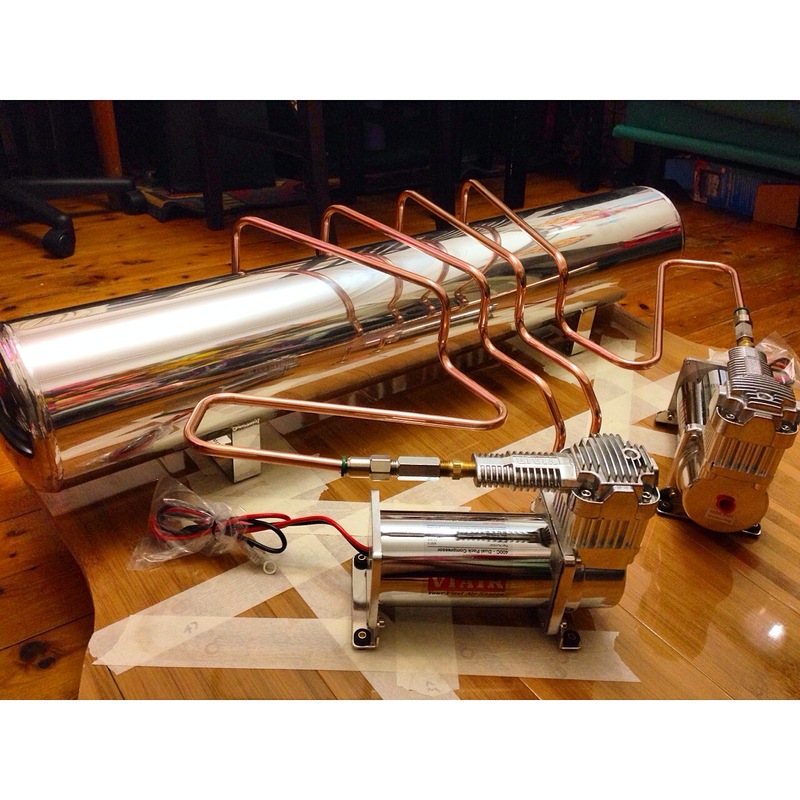
after doing the wheels it was time to get some suspension work done. i didnt want to go back to static this time round, i picked out some air suspension parts
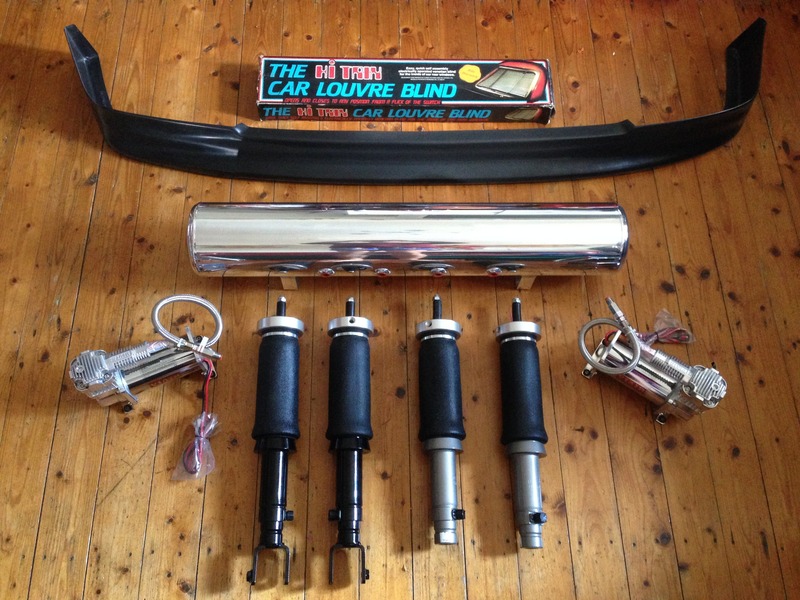
Air lift DC/EG struts
dual Vi air compressors
5 Gallon tank
Air lift auto pilot V2 ( easiest management with digital psi gauge )

also picked up a Charge speed front lip Rep and rear venetian blinds.
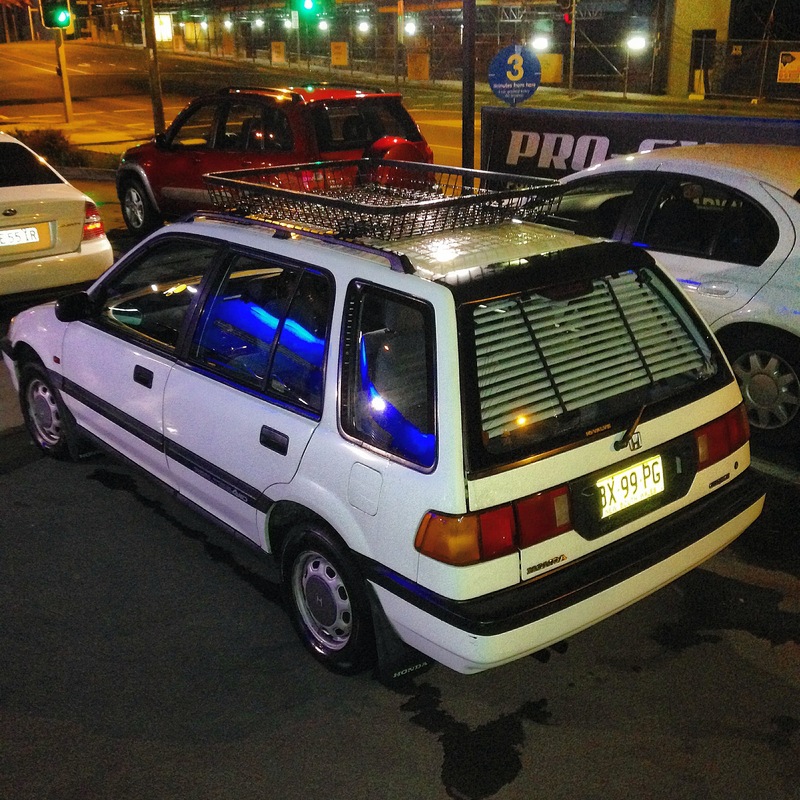
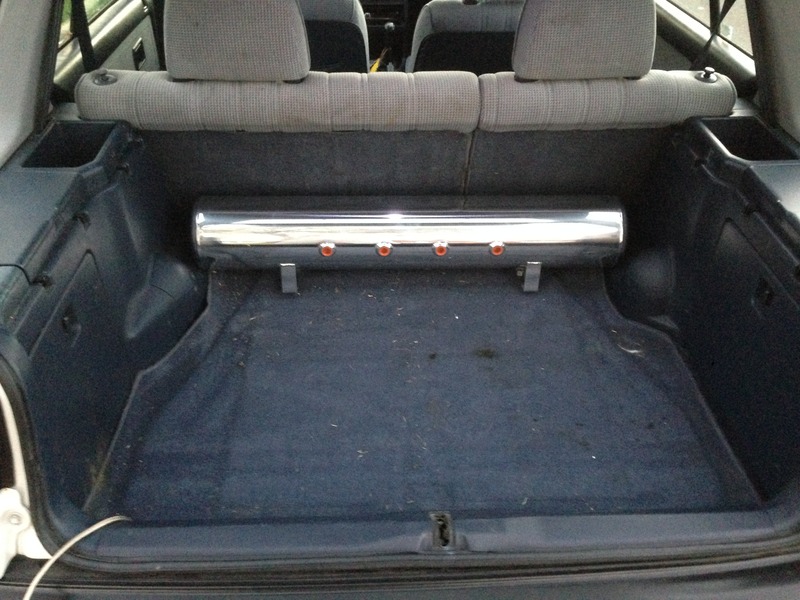
rear blinds installed and also picked up a roof basket
installing the bags it took me about 2 days to get everything working
so this is the wagon raised.

slammed

i wish it could of went lower but considering it was shocks to suit a DC/EG they are abit longer than the ED/EF shocks, and how high the car was originally i understand. hahahha
i drove like this for about 3 weeks and then hit into some problems with the bag rubbing the arm,
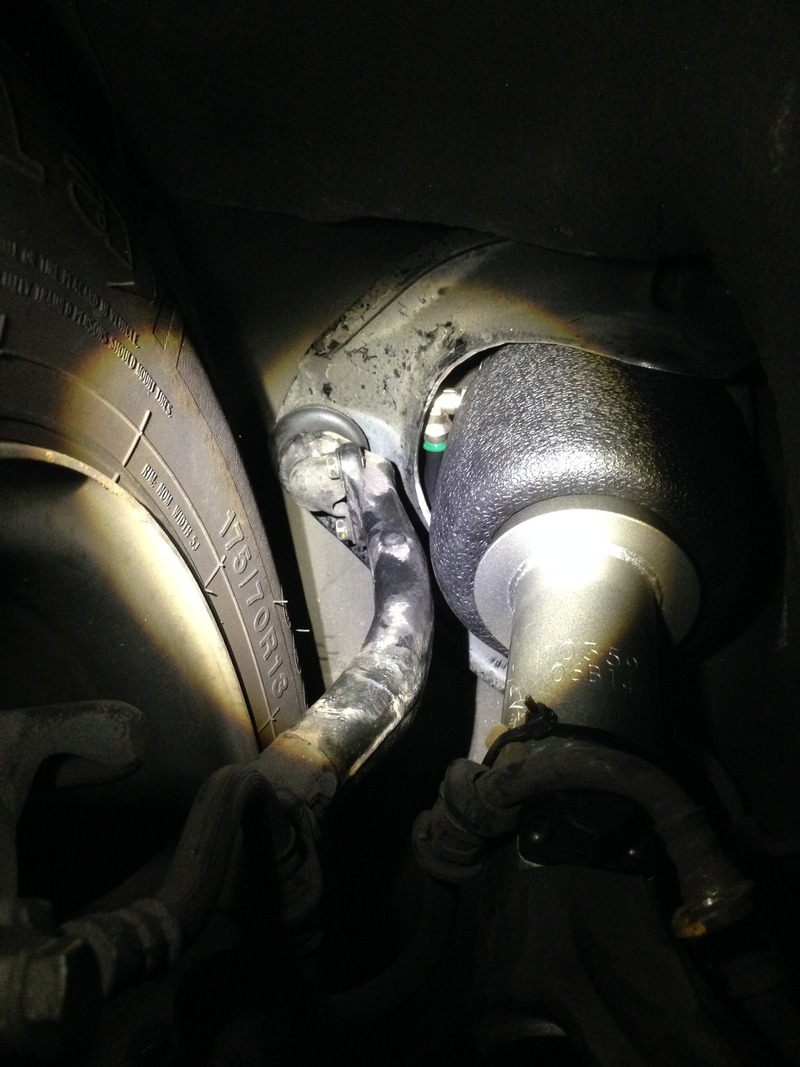
and then 1 of the bags finally poped. i didnt know what to do after this, searched long and hard as no one really did bags for the ed i could only think of 1 thing to do shave the arm as much as possible.
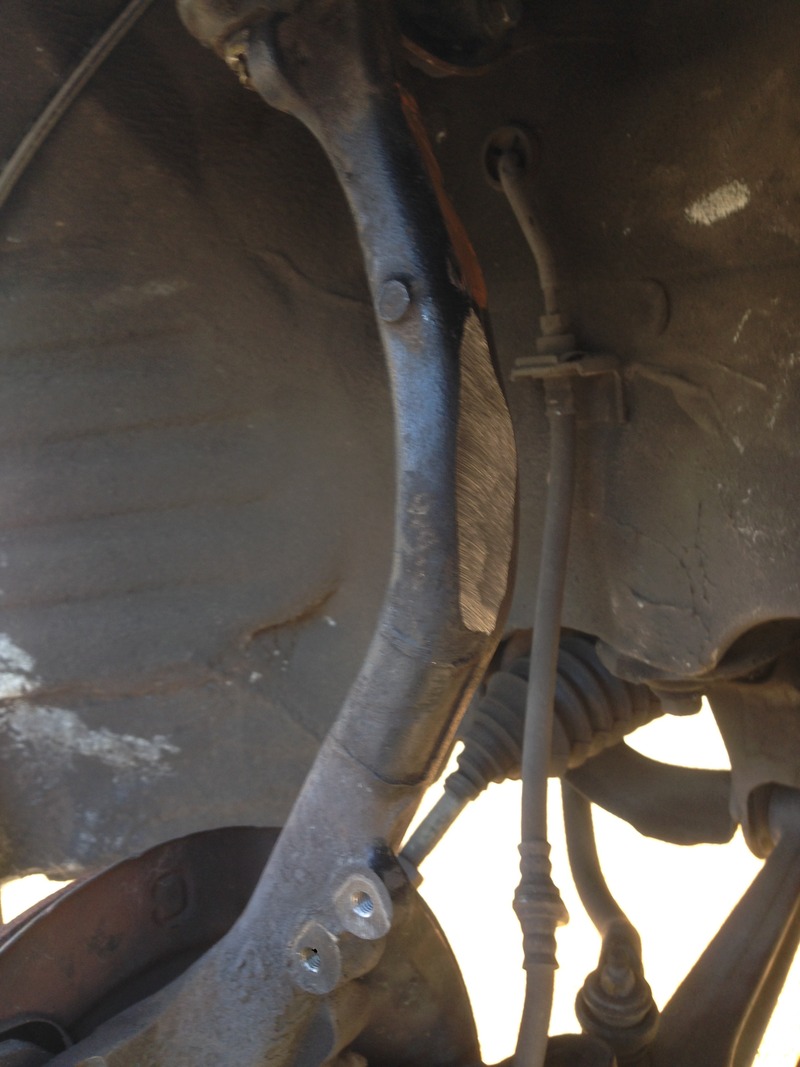
angle grinder out and started cutting as much as i could. re-ordered another set of fronts and the project continues. problem solved.
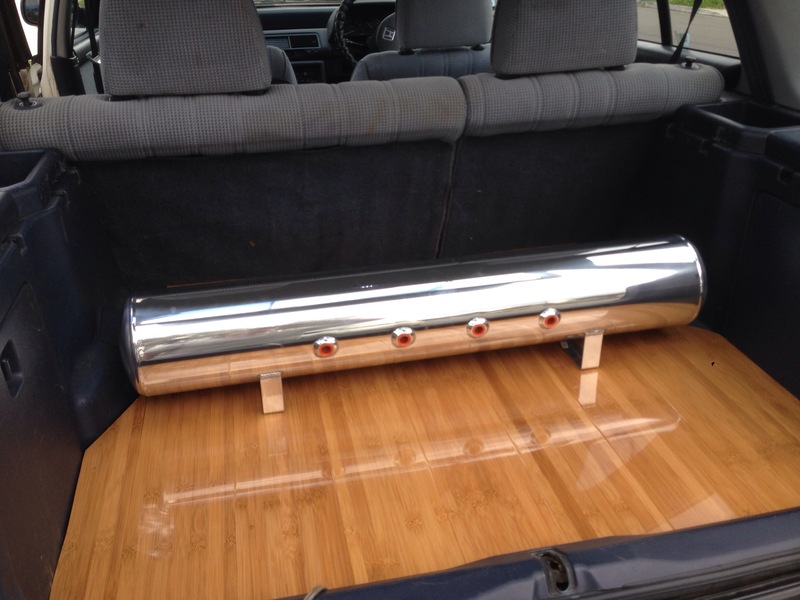
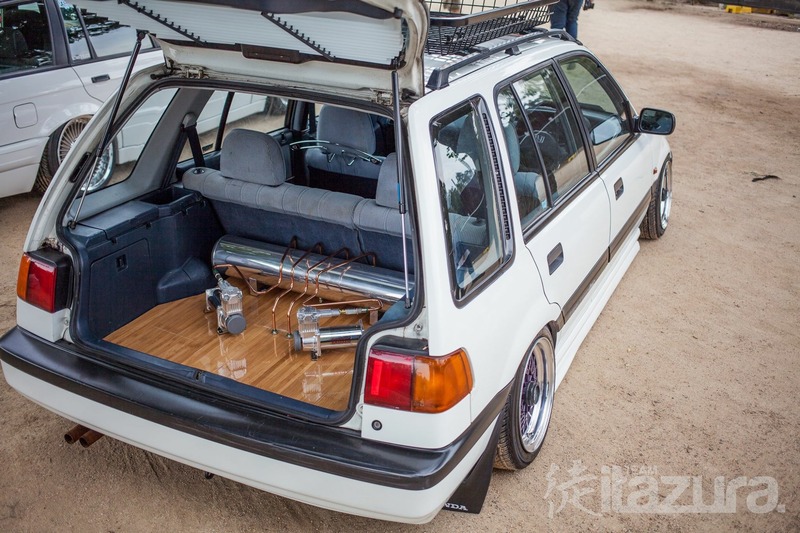
so once everything was running smooth again i planned to do my boot setup for the air system, i really had no idea how i wanted everthing to be setup.
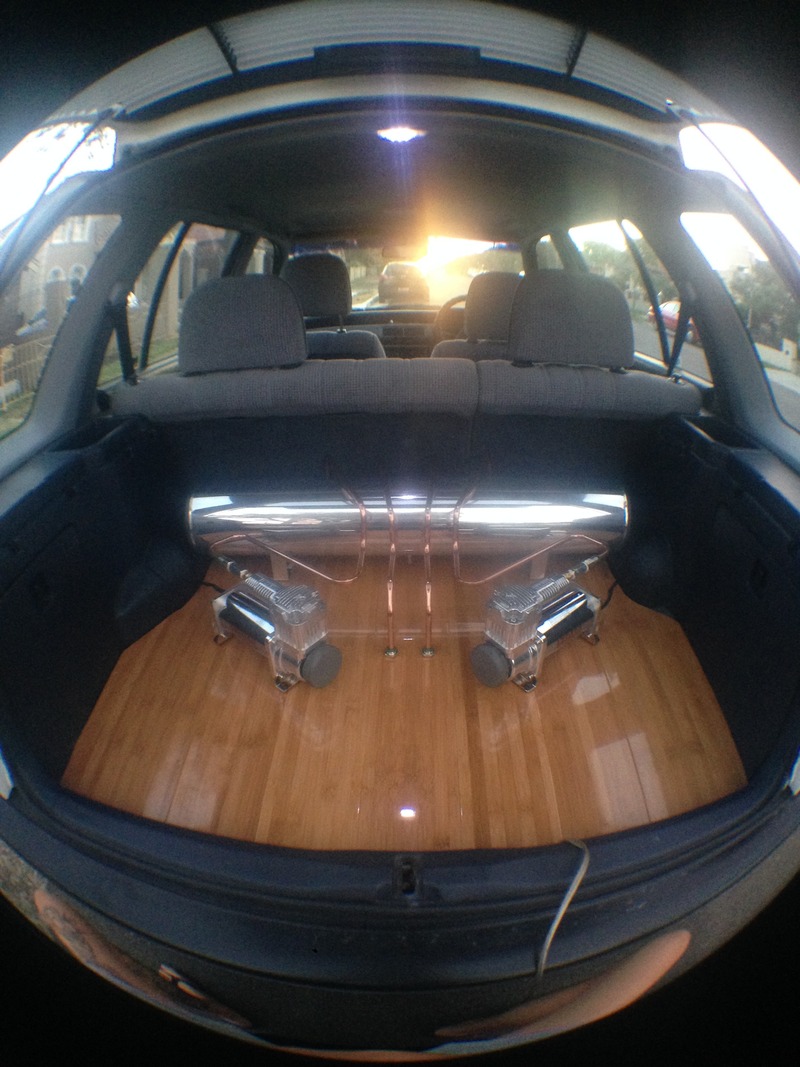
always wanted a clean exposed boot setup with floor boards, so thats what i did.
cardboard template.
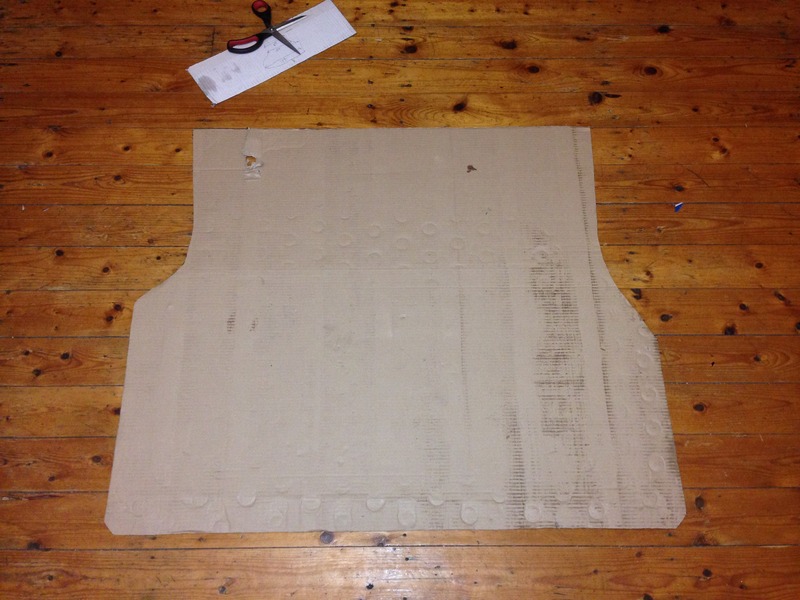
and then the magic happens
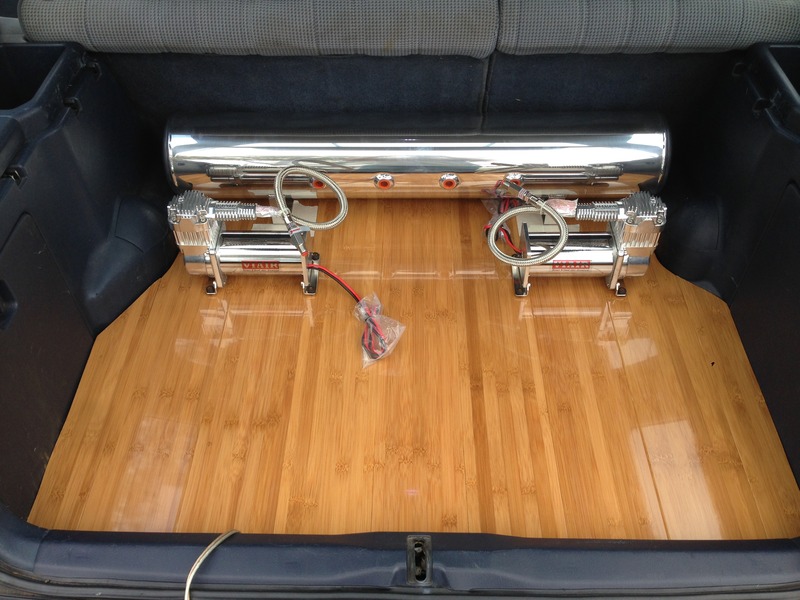
this was the first time doing all this so everything was new to me luckily some of the boys helped me out in getting the parts i needed to make it all happen.
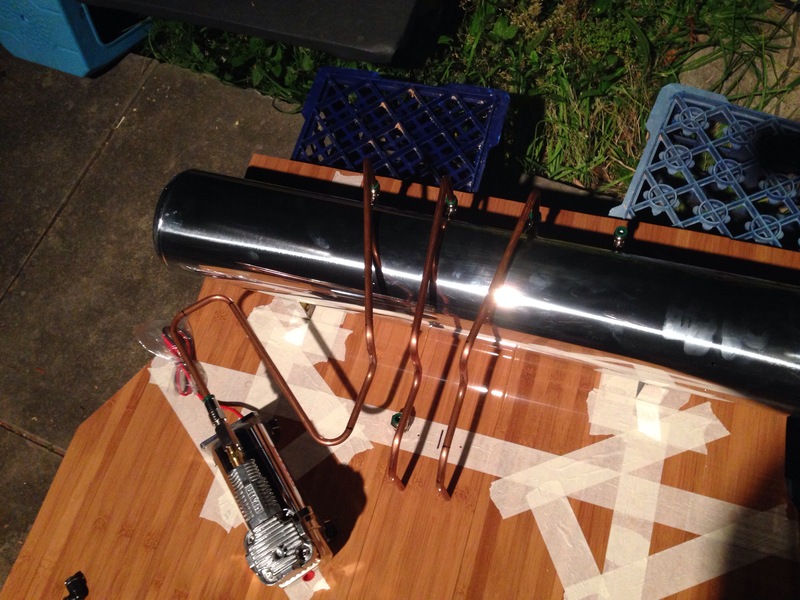
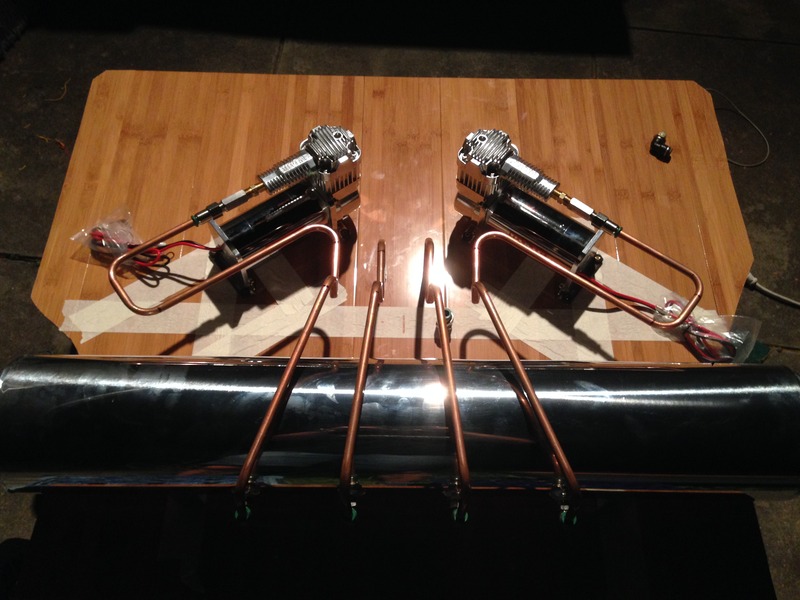
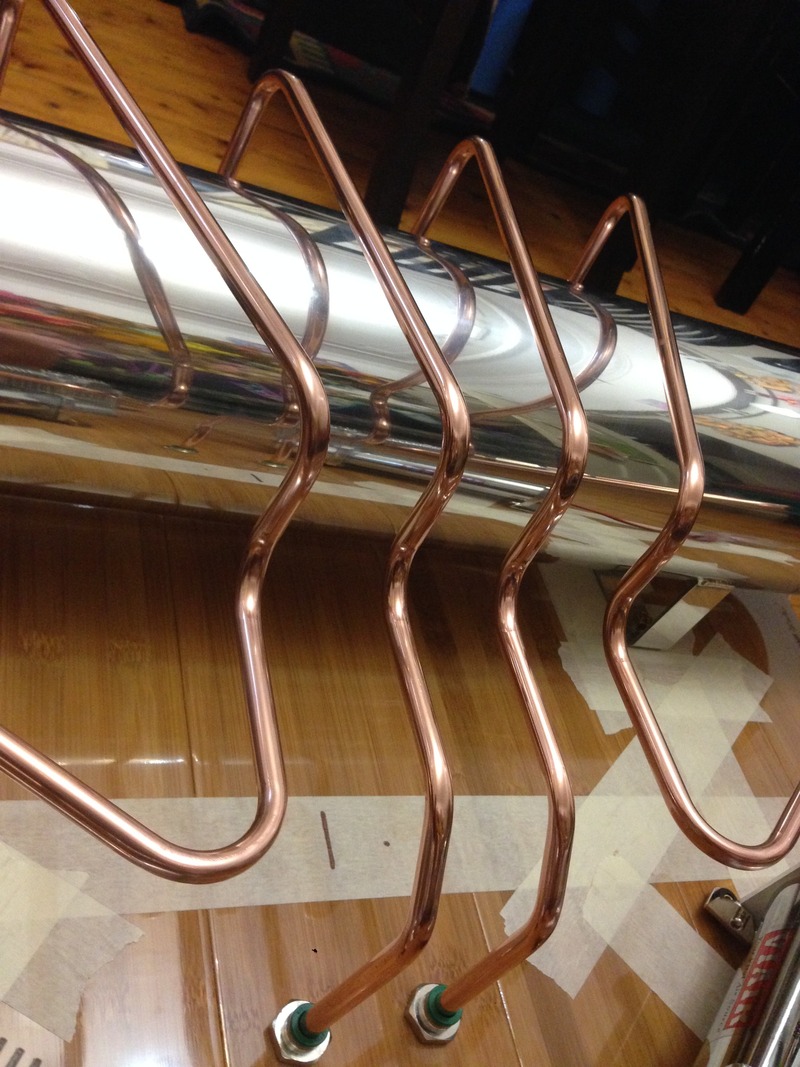
so hard copper lines, wood floors and exposed air setup was the way to go.
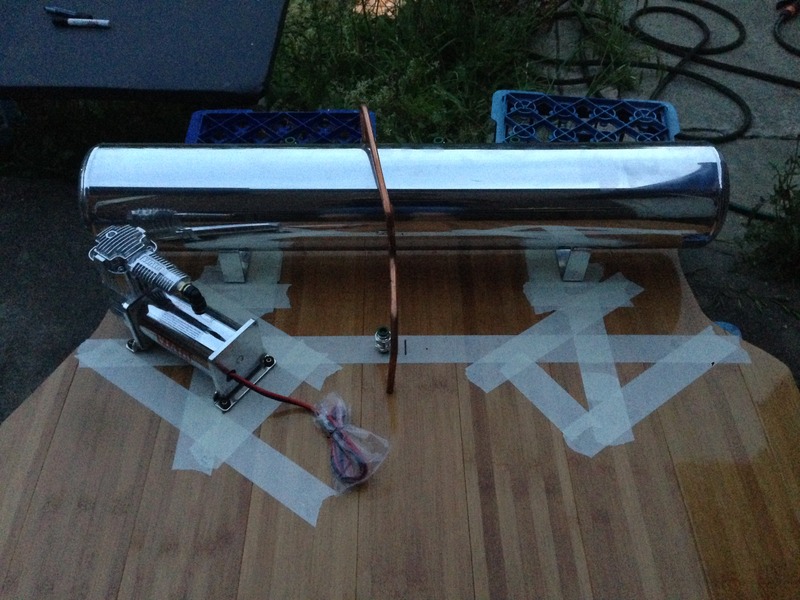
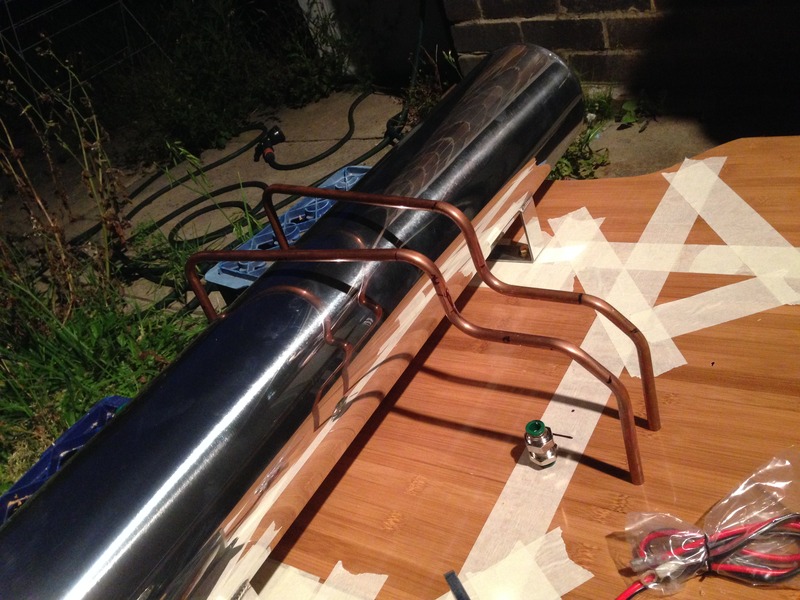
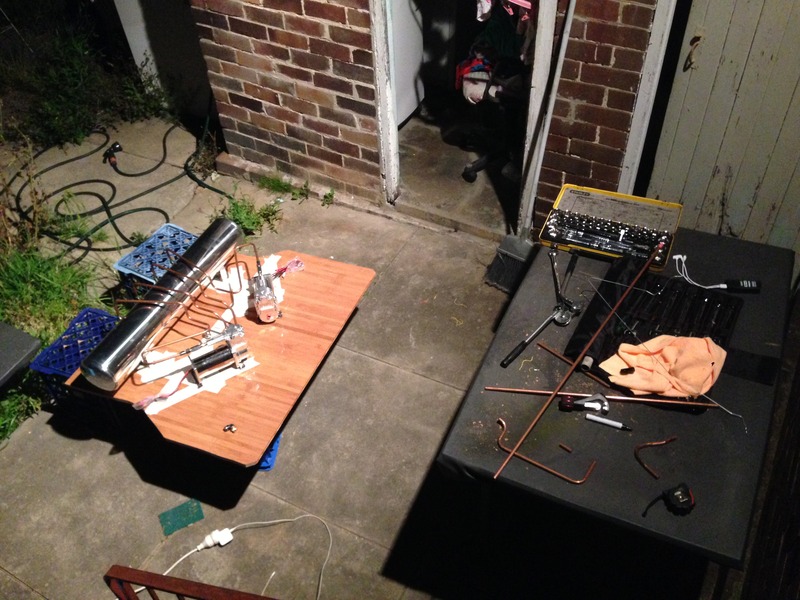
it wasnt as hard as i thought it would be copper piping was easy to mould using a clothes hanger and a pipe bender was all i needed to do all the lines
so this was the finished piece

installed.
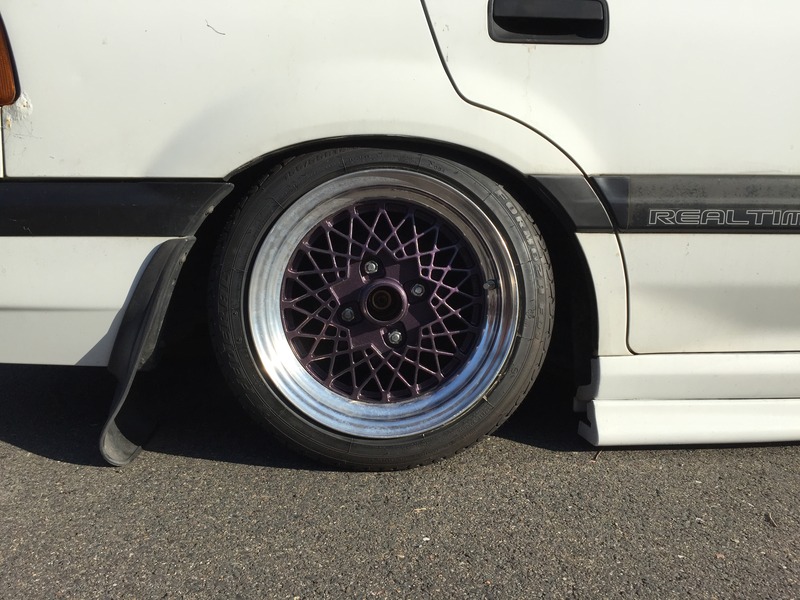
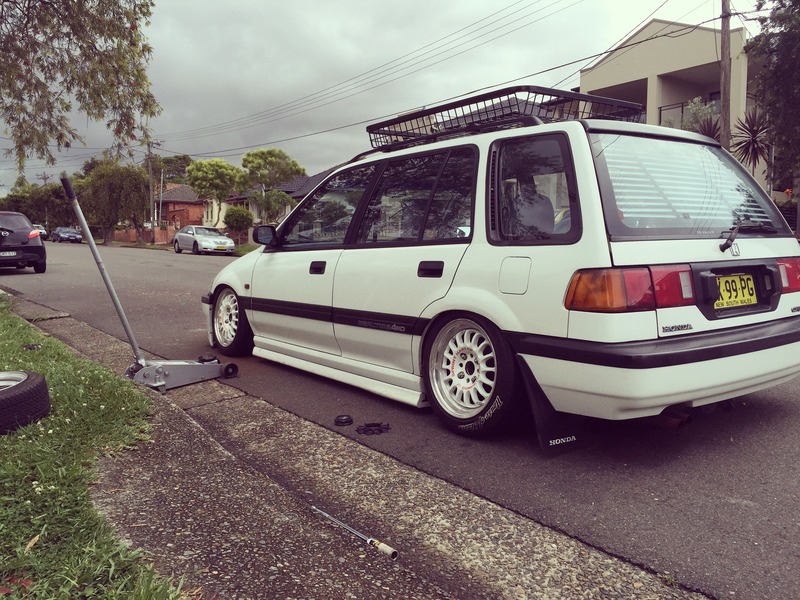
after the whole boot was installed i finally got around to putting on those wheels i had lying around for while
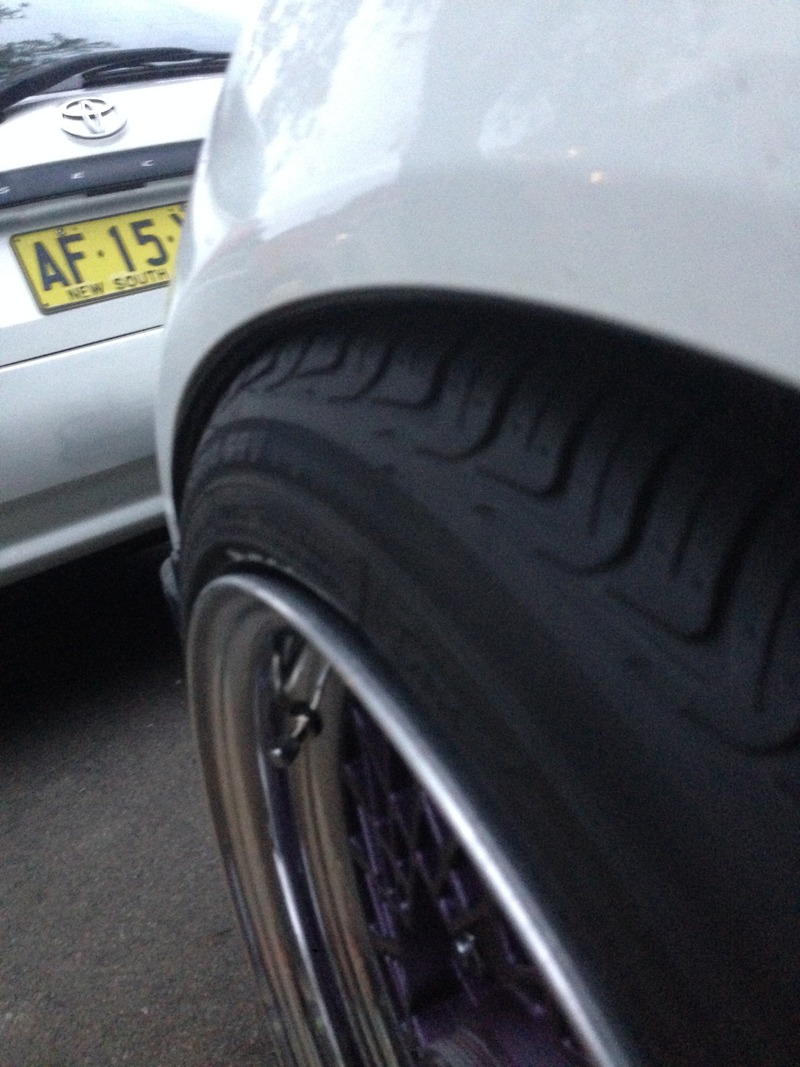
that was test fitting. i really thought it would of got alot lower considering they were 14", i was stuck felt like i wasted all this time and the car didnt even go low enough .... sigh, after browsing the internet for hours and hours i finally found something that might help me get lower.
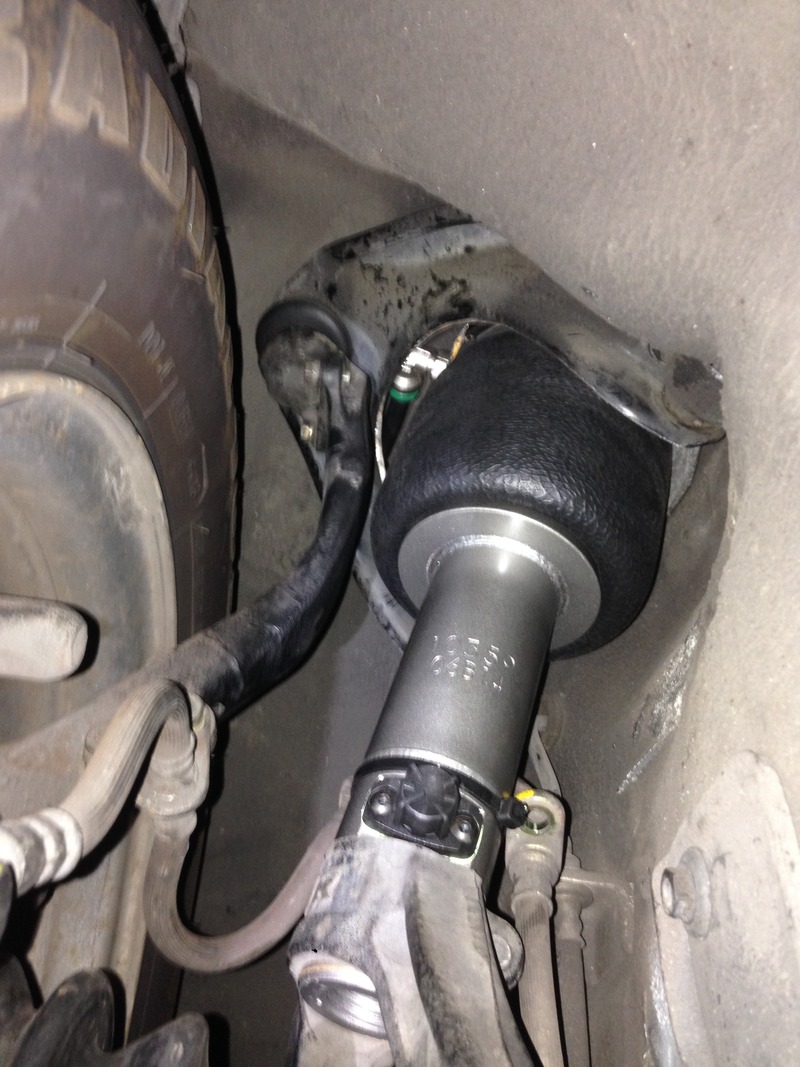
MPC motorsport LCA and drop FORKS.
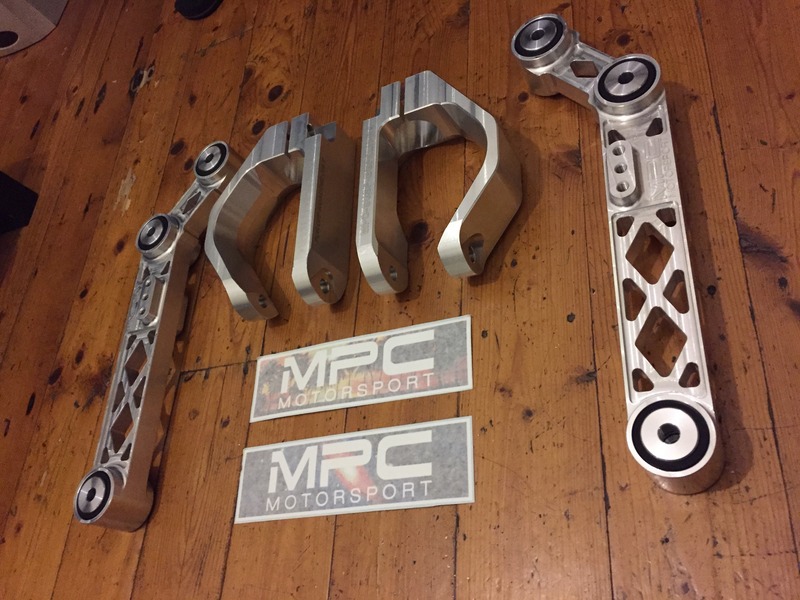
installing was piss easy.
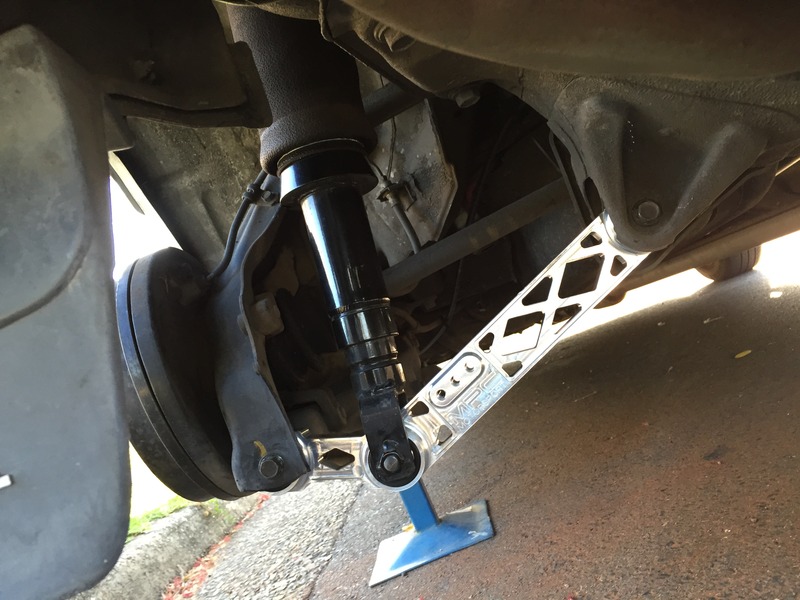
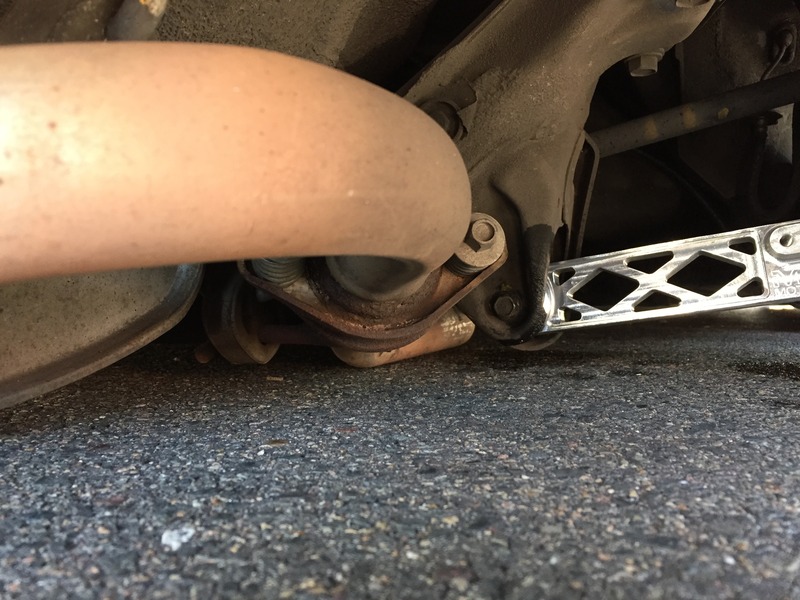
and the result was so good
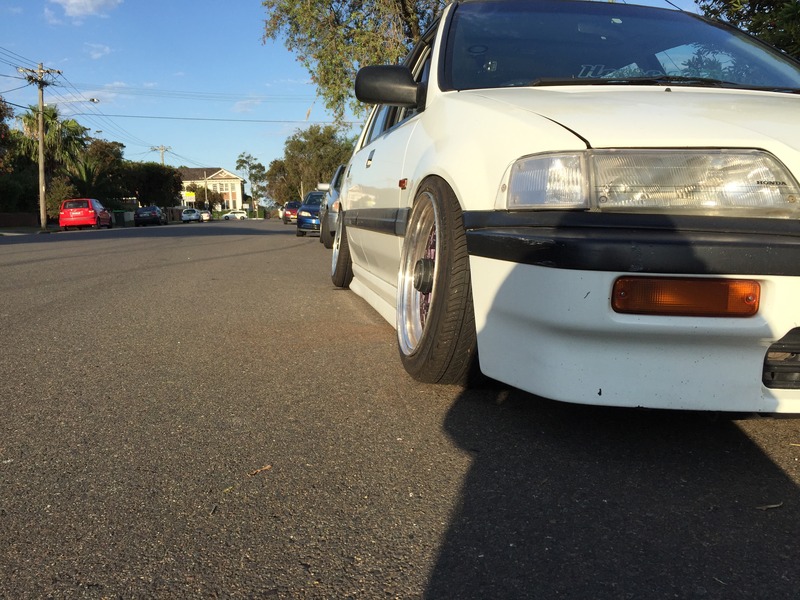
forgot to mention i had the lip chargespeed lip on for ahile and i broke it 2 times and then threw it in the bin and also put ek sideskirts on.
the puzzle was almost finished. just ordered a new front lip Mk3 lip and then ...........
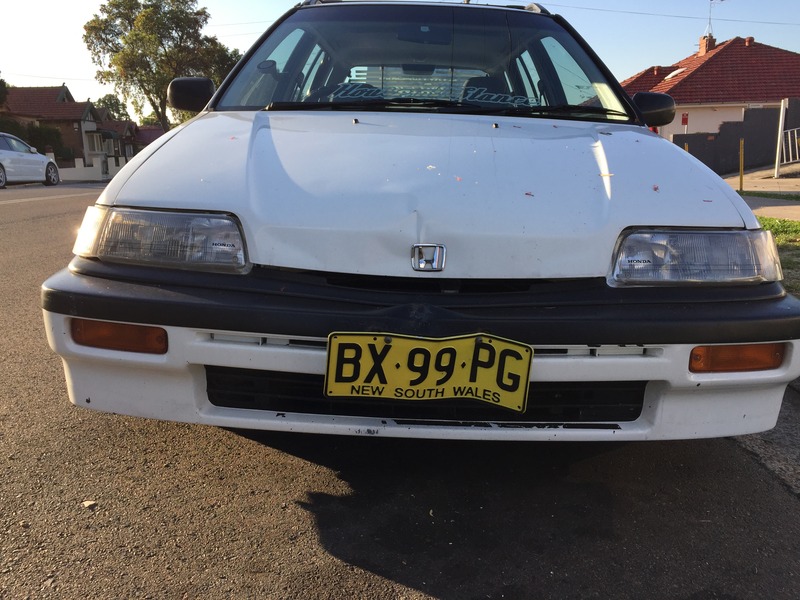
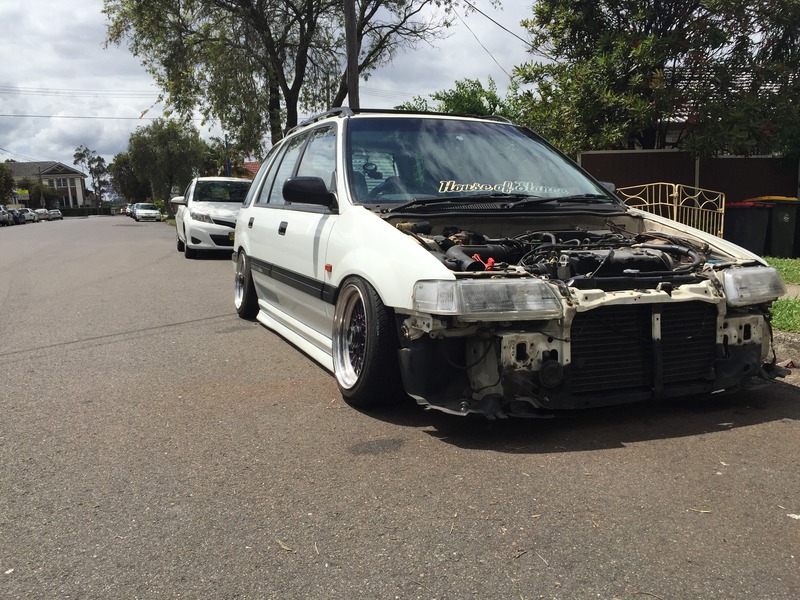
some asshole reversed into me at this point i was gonna give up on everything as i know it so hard to get parts for this car here in australia and i had a show in Melbourne coming up in 1 months time.
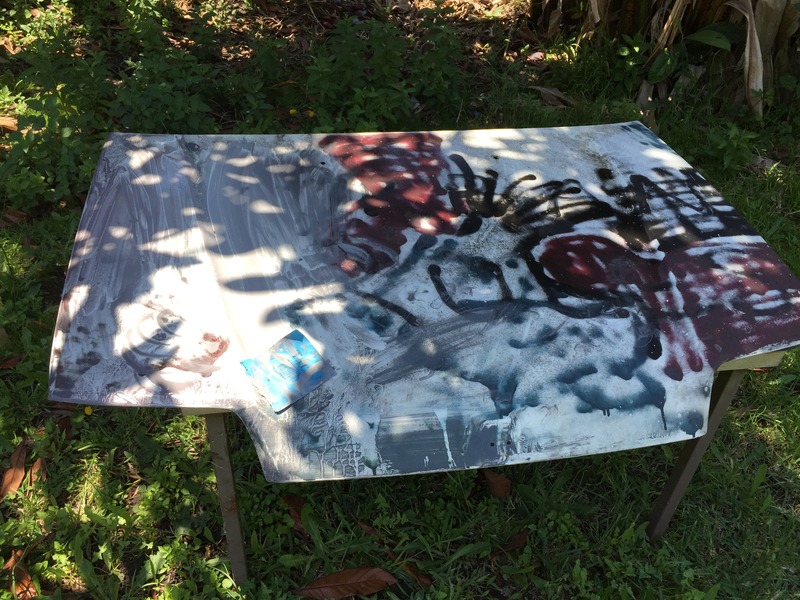
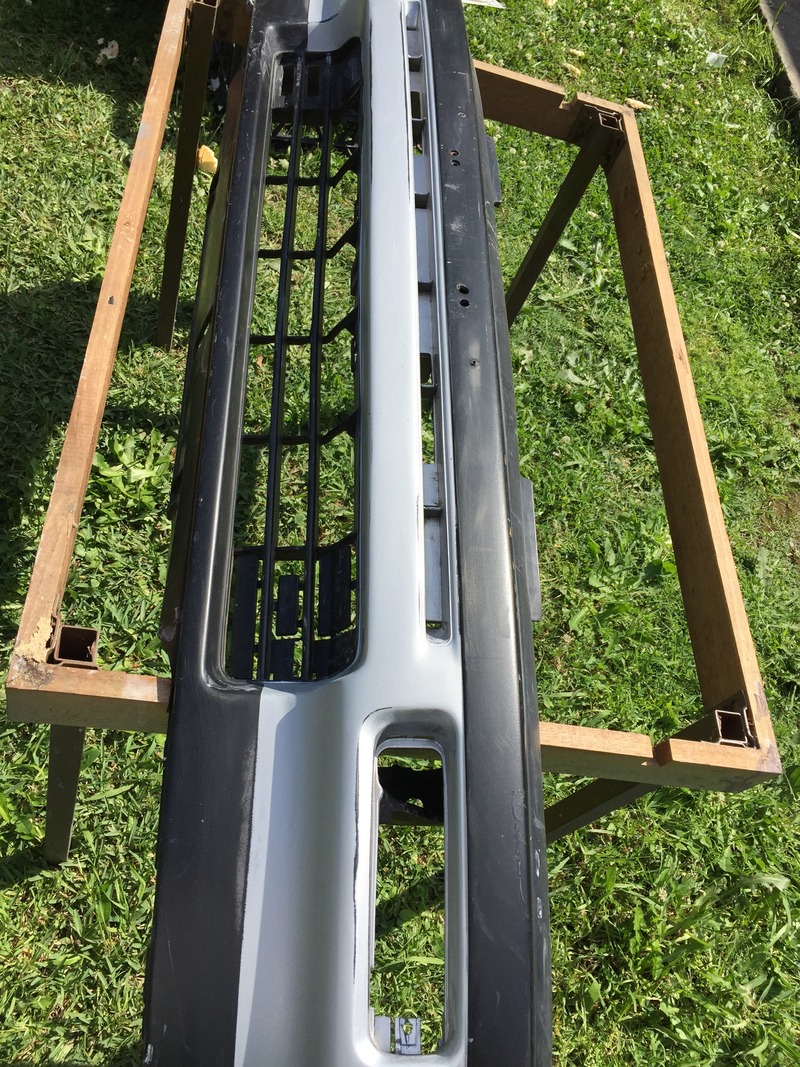
it took me about 2 weeks to source out a bonnet and also bumper bar, good thing i had heaps of info here to help me out telling me that the ED have different bonnets.
luckily it was only cosmetic damages as the guy that reveresed into me had a towbar.
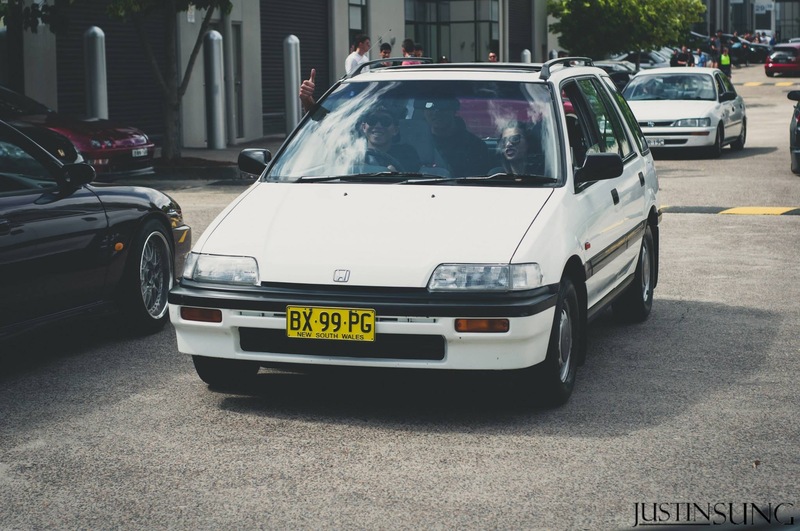
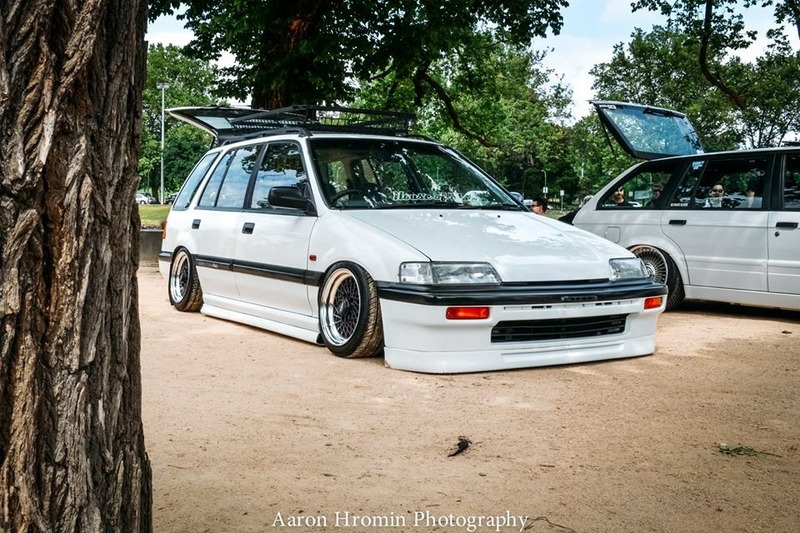
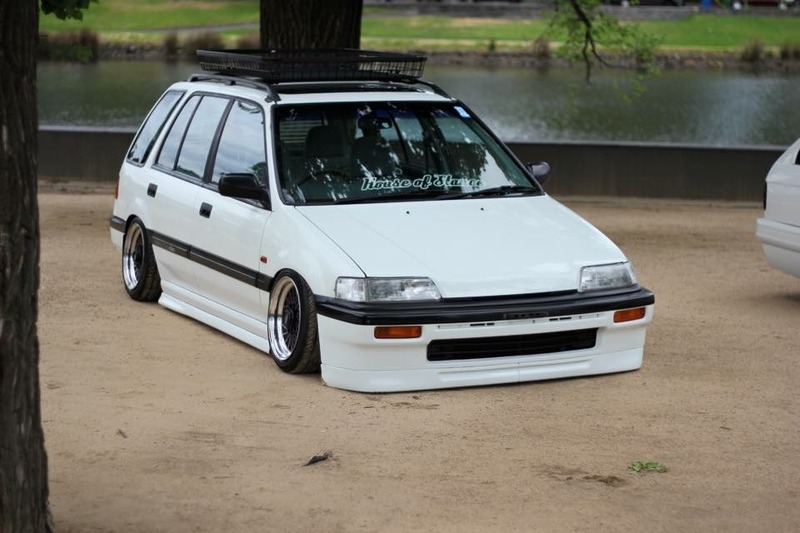
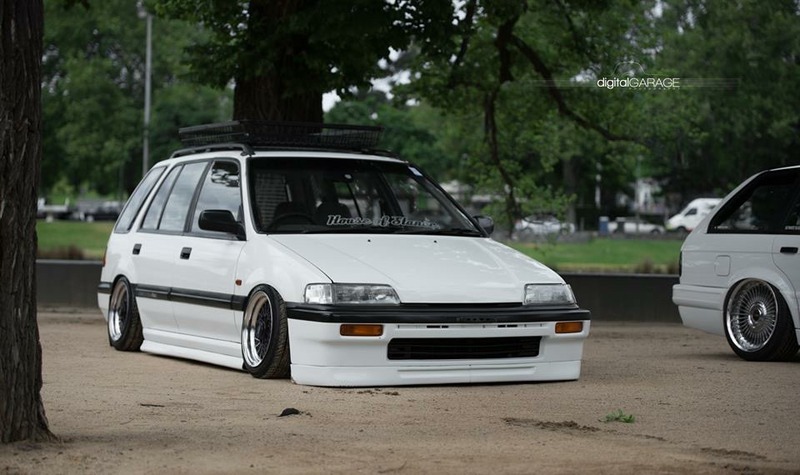
got everything painted and got everything finished for the show in melbourne that just passed.

900km from syd to melbourne
hope you guys enjoyed it.
this is how it currently sits, can never go wrong with Sprint hart CPRS.
i used to own a static Nissan S14 only drove it back and forth to work hardly on the weekends as ive copped so much defect notices.

This civic wagon came up for sale, it was a 1988 honda civic wagon 4WD Manual i knew i had to get it, ive always had a thing for this generation of civics always wanted one. when i picked it up it had everything original. so basically im going to try to fit 2 years of owning the vehicle in 1 post i might leave out things ill try my best to fit as much info as possible.


after taking owner ship i started repairing the small things the rust spots. it doesnt surprise me it has some surface rust as it is a 1988 model. so first things first remove the rust.


came out quite good.

it did however come with the original head deck, hahah that needed to be changed.


the condistion of the car overall was still in good condition as i was the second owner.
busted cv joint

so ive hit a rough patch trying to sort out my registration i needed new tyres only 2 needed to be changed and when i hit up the tyre shop they didnt have the same size tyres they suggested me to get something a little bigger but wont be a problem with the 4wd system, so i follwed their lead and changed it 2 days later car started to clunk noises started coming and i didnt know what it was. until the car stopped working

i thought the engine let go.
but it was the gearbox.


the rolling diameter was off and cause the gears to shit itself. luckily i was able to find myself a replacement 4wd gear box after the car was fixed i found myself some cheap wheels to run around in Volk rays mesh with centre caps first ive ever seen of them.


small buckle in rims

the lips after a polish came up real nice,

new coat of paint it turned out real good


wheel fitment test.

after doing the wheels it was time to get some suspension work done. i didnt want to go back to static this time round, i picked out some air suspension parts
Air lift DC/EG struts
dual Vi air compressors
5 Gallon tank
Air lift auto pilot V2 ( easiest management with digital psi gauge )


also picked up a Charge speed front lip Rep and rear venetian blinds.

rear blinds installed and also picked up a roof basket

installing the bags it took me about 2 days to get everything working
so this is the wagon raised.

slammed

i wish it could of went lower but considering it was shocks to suit a DC/EG they are abit longer than the ED/EF shocks, and how high the car was originally i understand. hahahha
i drove like this for about 3 weeks and then hit into some problems with the bag rubbing the arm,

and then 1 of the bags finally poped.

angle grinder out and started cutting as much as i could. re-ordered another set of fronts and the project continues. problem solved.

so once everything was running smooth again i planned to do my boot setup for the air system, i really had no idea how i wanted everthing to be setup.

always wanted a clean exposed boot setup with floor boards, so thats what i did.
cardboard template.

and then the magic happens


this was the first time doing all this so everything was new to me luckily some of the boys helped me out in getting the parts i needed to make it all happen.
so hard copper lines, wood floors and exposed air setup was the way to go.


it wasnt as hard as i thought it would be copper piping was easy to mould using a clothes hanger and a pipe bender was all i needed to do all the lines


so this was the finished piece


installed.

after the whole boot was installed i finally got around to putting on those wheels i had lying around for while

that was test fitting. i really thought it would of got alot lower considering they were 14", i was stuck felt like i wasted all this time and the car didnt even go low enough .... sigh, after browsing the internet for hours and hours i finally found something that might help me get lower.
MPC motorsport LCA and drop FORKS.

installing was piss easy.


and the result was so good


forgot to mention i had the lip chargespeed lip on for ahile and i broke it 2 times and then threw it in the bin and also put ek sideskirts on.
the puzzle was almost finished. just ordered a new front lip Mk3 lip and then ...........

some asshole reversed into me at this point i was gonna give up on everything as i know it so hard to get parts for this car here in australia and i had a show in Melbourne coming up in 1 months time.
it took me about 2 weeks to source out a bonnet and also bumper bar, good thing i had heaps of info here to help me out telling me that the ED have different bonnets.


luckily it was only cosmetic damages as the guy that reveresed into me had a towbar.

got everything painted and got everything finished for the show in melbourne that just passed.

900km from syd to melbourne


hope you guys enjoyed it.
this is how it currently sits, can never go wrong with Sprint hart CPRS.

Comments
and yes my instagram "Keniirox"
after the whole boot was installed i finally got around to putting on those wheels i had lying around for while
that was test fitting. i really thought it would of got alot lower considering they were 14", i was stuck felt like i wasted all this time and the car didnt even go low enough .... sigh, after browsing the internet for hours and hours i finally found something that might help me get lower.
MPC motorsport LCA and drop FORKS.
installing was piss easy.
and the result was so good
forgot to mention i had the lip chargespeed lip on for ahile and i broke it 2 times and then threw it in the bin and also put ek sideskirts on.
the puzzle was almost finished. just ordered a new front lip Mk3 lip and then ...........
some asshole reversed into me at this point i was gonna give up on everything as i know it so hard to get parts for this car here in australia and i had a show in Melbourne coming up in 1 months time.
it took me about 2 weeks to source out a bonnet and also bumper bar, good thing i had heaps of info here to help me out telling me that the ED have different bonnets.
luckily it was only cosmetic damages as the guy that reveresed into me had a towbar.
got everything painted and got everything finished for the show in melbourne that just passed.
900km from syd to melbourne
hope you guys enjoyed it.
this is how it currently sits, can never go wrong with Sprint hart CPRS.