Rivnut/Pop nut tool + ANL fuse holder install
 greenteagod
Moderator
greenteagod
Moderator

So I'm putting an ANL fuse holder and a fused power block in the car and I needed a good way to mount them on the firewall. To accomplish this I got a rivnut/pop nut tool kit. I've used pop rivets before but not pop threaded inserts so this is a bit of a tool review here.
I picked the kit up off eBay for around $100. That was the cheapest price I found in a brief search. The kit I got is metric and comes with a pack of inserts for each size its capable of handling. The case is decent construction as well.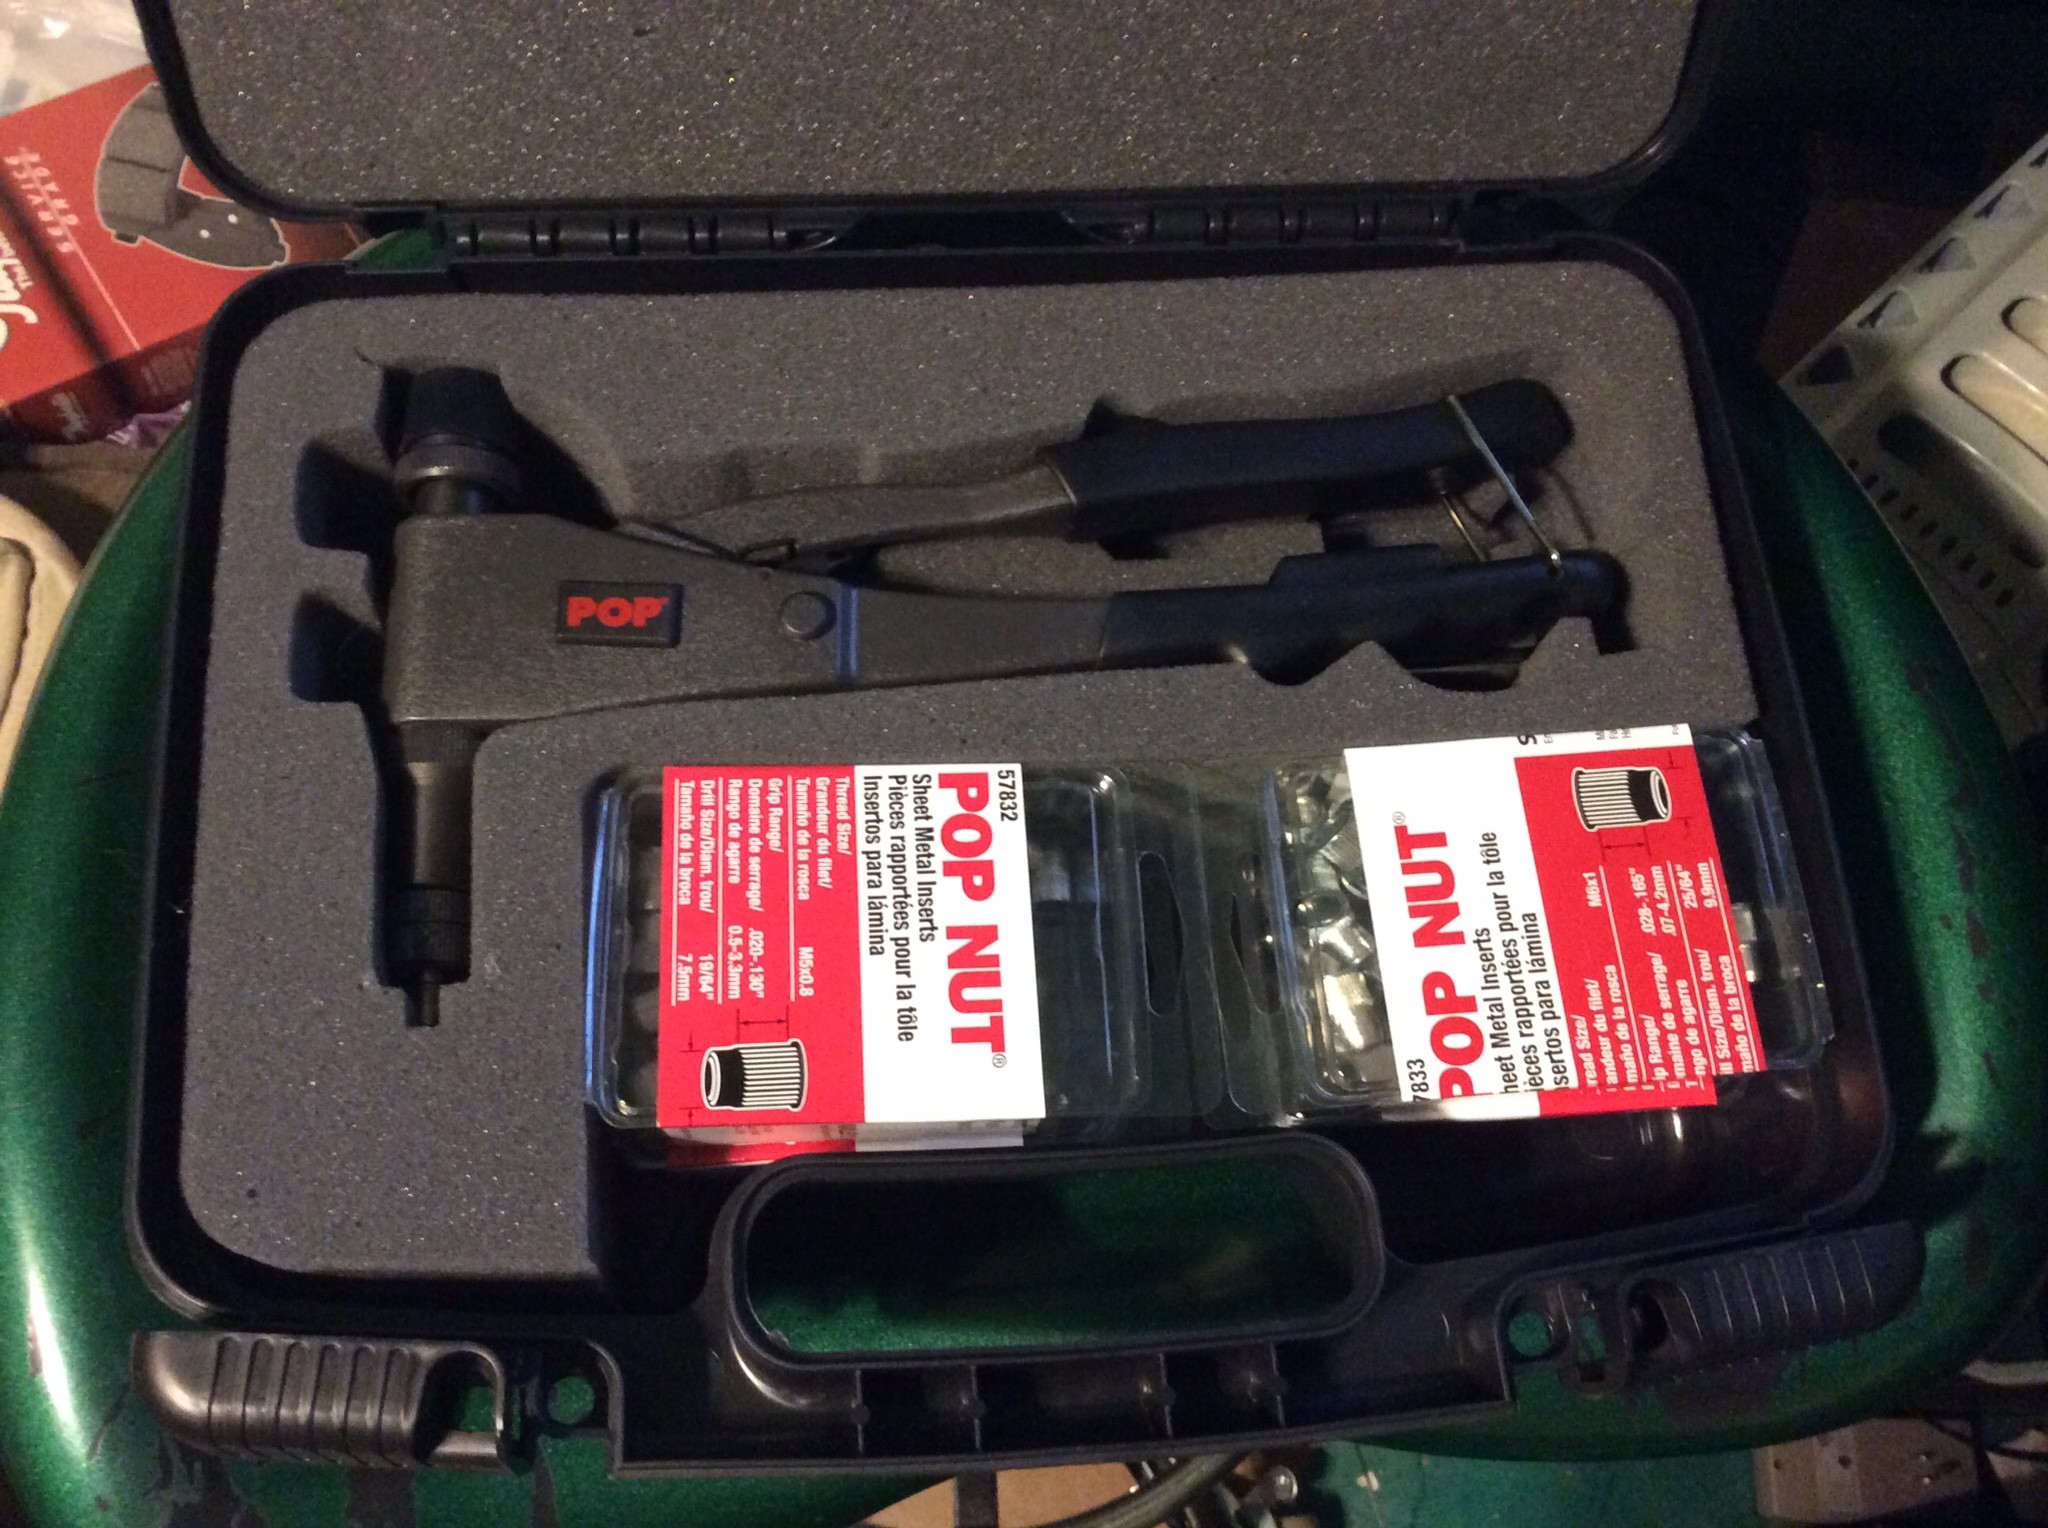
Changing out the threaded rods is an easy task. You just unscrew the rivet end and then the whole rod pops out of the top.

There are adjustments on the top and bottom, the top ring controls how far you have to pull the handle. This allows you to test compress a fitting and get it to just the right travel distance. The bottom ring controls how much threaded rod is exposed that can fully engage the insert. Rule of thumb is to have the end of the threaded rod just at the end of the insert.

Then you just drill a hole of appropriate size for the insert. I chose a place that the fuse is easy to get at, but with a strut tower brace and the intake manifold it was a bit of a pain in the ass to get the right angle. Had I had some stubby drill bits that would have been a different story.
Here is the location I'm installing it. I had to deburr the holes because it was getting a bit cockeyed with the length of the drill bit. Also the bit was grabbing the thin metal hard and I didn't want to drill into anything behind there.

Then it's just a matter of inserting the rivnut and compressing the tool. I can tell you if you don't have big hands this is a bit of a bitch. I ended up having to dial the compression distance down just so it was more closed and I could squeeze it shut. This meant I had to do it a couple times before each insert was set. They have other tools that aren't right angle like this, but there would not have been clearance to get them in here.

Be careful to not twist the tool, especially on the thin sheet metal as it's easy to deform. I had this happen and had to drill out and redo one of the inserts.
So with one installed I put the fuse holder in place and used it to help me line up the rest of the holes. Depending on the size bolt you use, you might need to embiggen the holes on the fuse holder, I know I did. This was because the firewall is not dead flat where I put the fuse, it has a bit of a curve to it.

Once the rest of the holes are drilled and the inserts in place it's about like so. Hopefully without so much of a need for touch up paint due to deburring. This was my first time using this and the tight space definitely sucked, but all in all it's decent.

Then just install the bolts and blammo, securely mounted ANL fuse block.

Next up is finishing the big wire & fused power block install to implement this fuse.