Write up: Clear Tail Lights for us wagoneers
 klum
Senior Wagonist
klum
Senior Wagonist
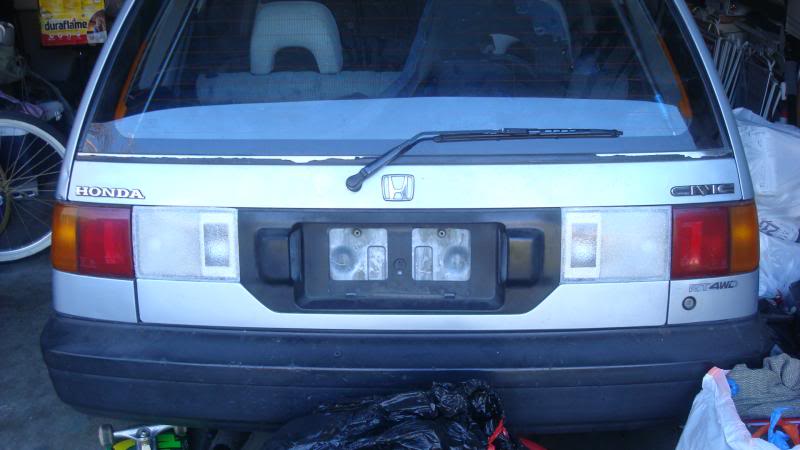
Its been a good amount of time since i updated this build i guess i didnt like keeping track of the money i spent just keeping this bitch on the road...
I recently lost my license again and i have been out of a job for over a year now its hard to find reasons to work on the car when i cant drive it legally lol but i decided id rather keep doing things here and there as much as i can until then so ill have a brand new car in a sense next time i get to mobb around. I have been acquiring information from numerous sources trying to find out how to DIY the clear taillights and I finally embarked on tackling the job.
there are other ways to do this, this is how i did it...:encouragement:
Clear Tail light Inners DIY :
Materials:
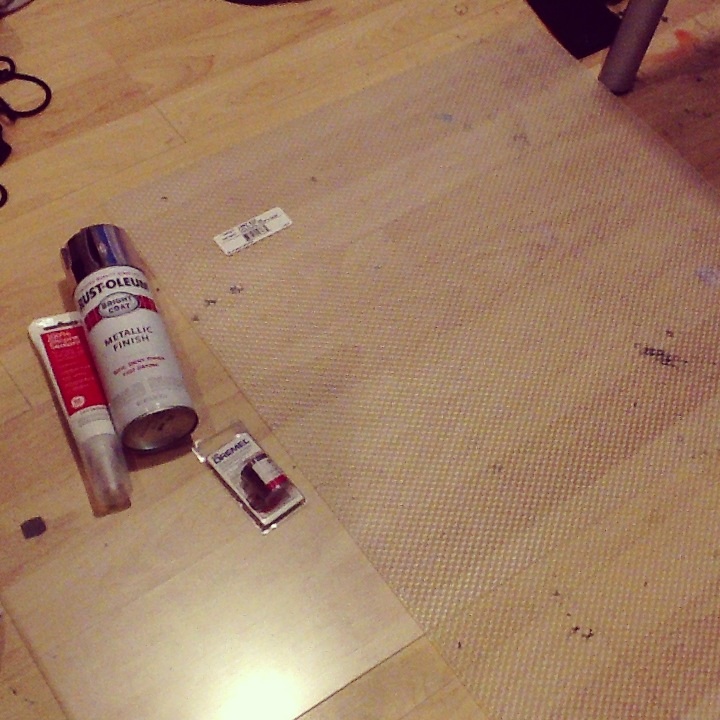
I used Rustoleum Metallic Silver or Chrome spray paint- $5
Clear Silicone $4
newspaper
Plastonik Acrylic Ceiling Light cover ( cracked Ice ) -$10
And i Also purchased the prismatic version as well ( i plan to make a set of those down the road after i source another pair of inner housings $10)
Blue painters Tape-$4
Aluminum foil ( had already )
Metal cookie sheet ( had already )
A Dremel or a fine tooth saw attachment for a drill or something to that effect ( it needs to be a relitivly high rpm spinning tool as the material is brittle and cracks I just had to buy a $4 saw attacxhment kit from harbor frieght which can just be returned at the end of the job since it will probably break any way. -gotta love harbor frieghts lifetime warrently no questions asked policy.
marker to draw lines with
8mm socket and wrench ( to take off the taillights and license panel )
knfie or flat head screw driver
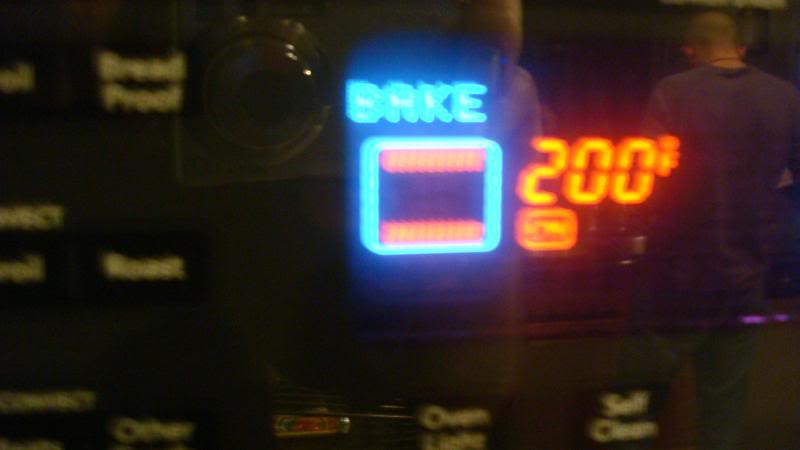
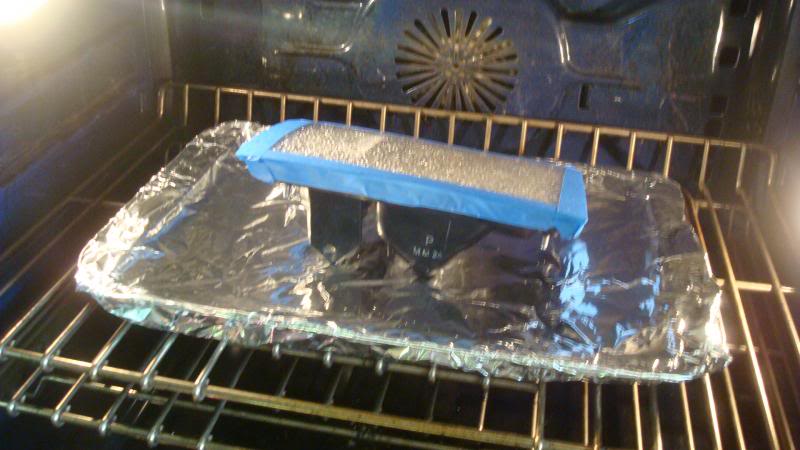
::before you start you might as well get your cookie sheet and wrap it with aluminum foil and preheat the oven to 190-210 fahrenheit you will need to cook the tailights to seperate the red lenses
Step 1: take off rear hatch plastic panel its just held in by those plastic snap cones what i do is i creep along and pop them individually to avoid and breakage
Step 2: there are 12 8mm nuts you need to take off 4x taillight and 4x for the license panel
after you get those out the way theres this really stubborn slide clip thing in the very center of the panel i just broke mine because i didnt like the design and purpose for that matter...
Step 3: by the time your done with that your oven should be ready
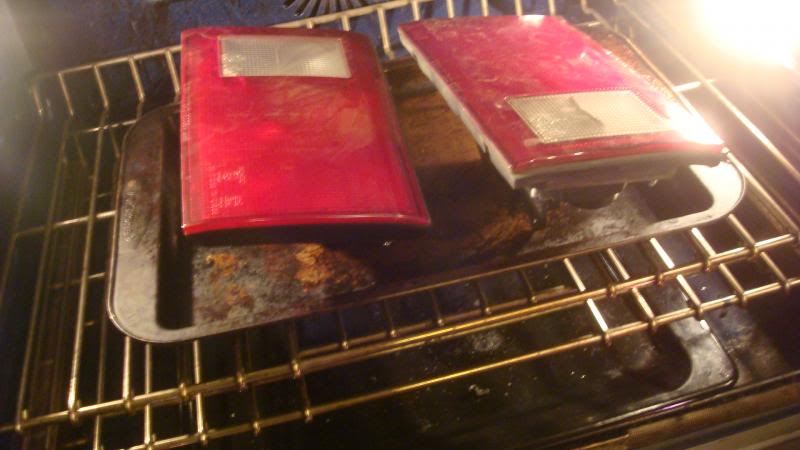
i left my taillights in for about 10-15 minutes,
grab your knife and wedge it btwn the lens and the housing of the taillight once it starts to seperate use your flat head and press against where the tail light secures and youll see the lens popping out.
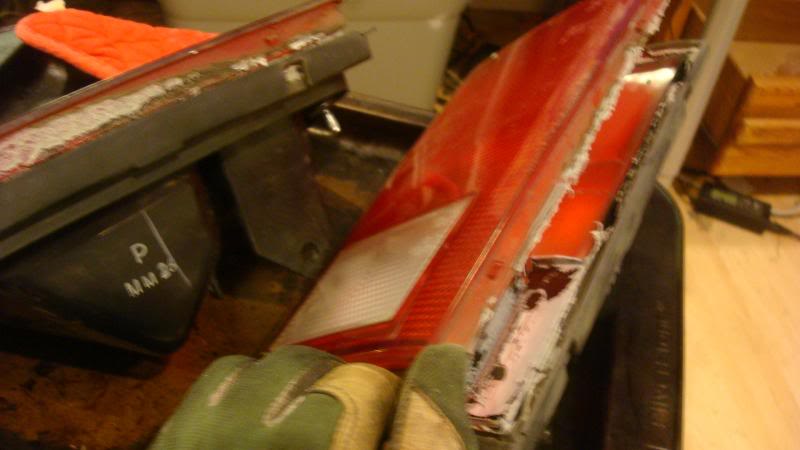
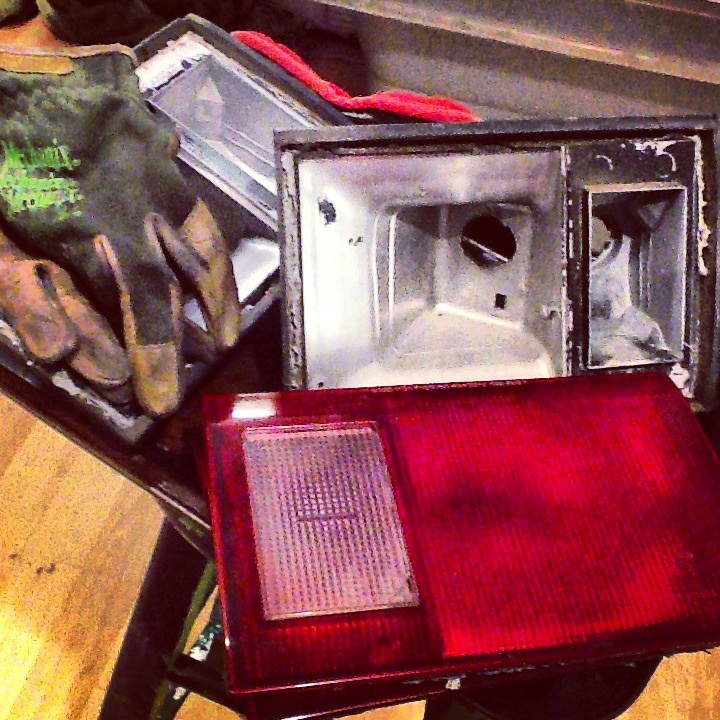
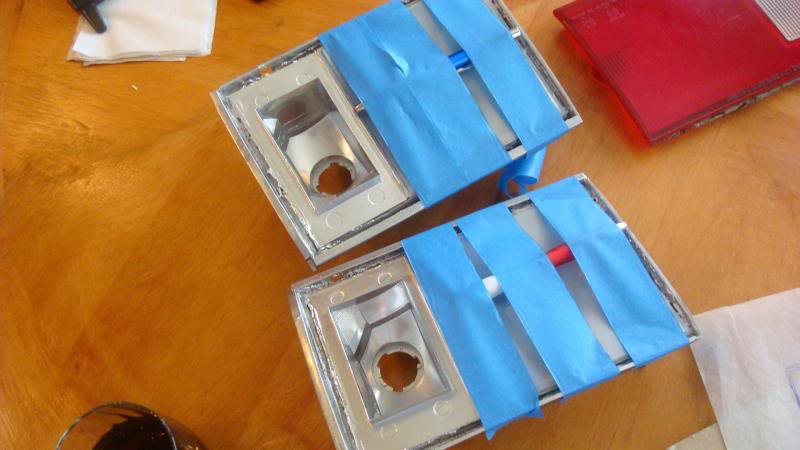
youll notice the square diffuser lens connected to the red lense ( in the next picture notice top right has the square piece out and the left has it still in ) i opted to keep it for mine its up to you i dont think police officials will be to kind if your taillights are blinding them
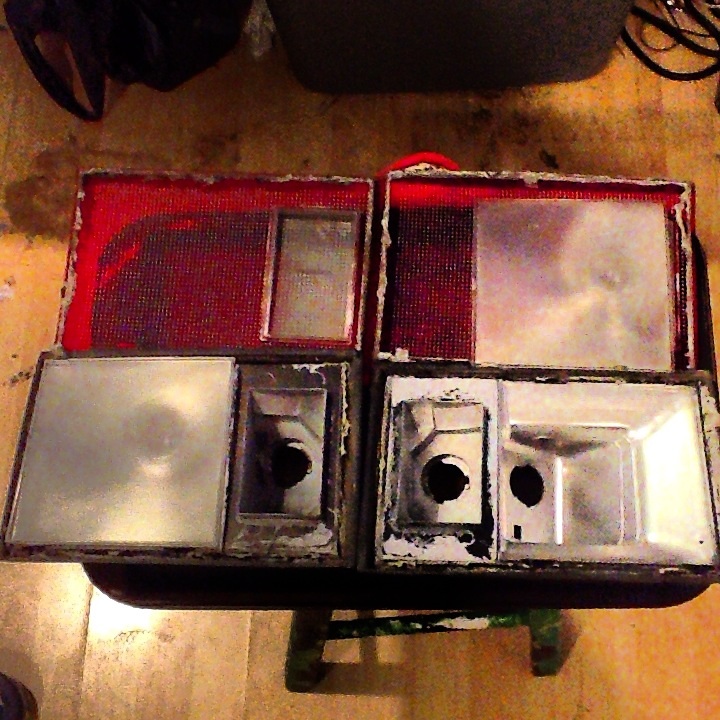
all three pieces to our taillights
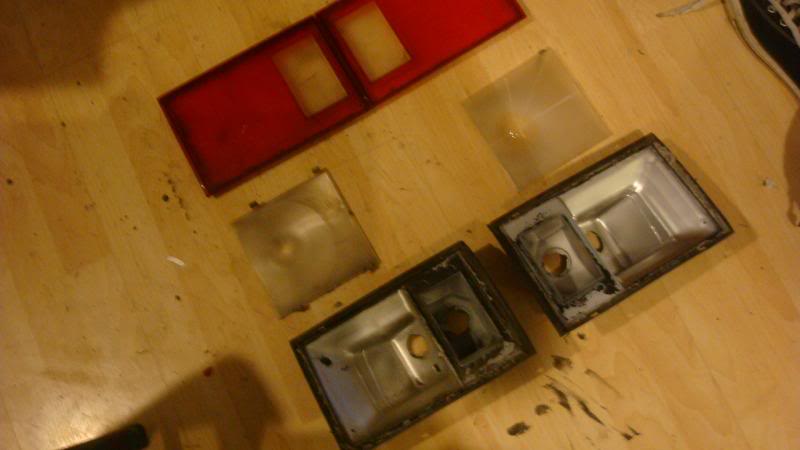
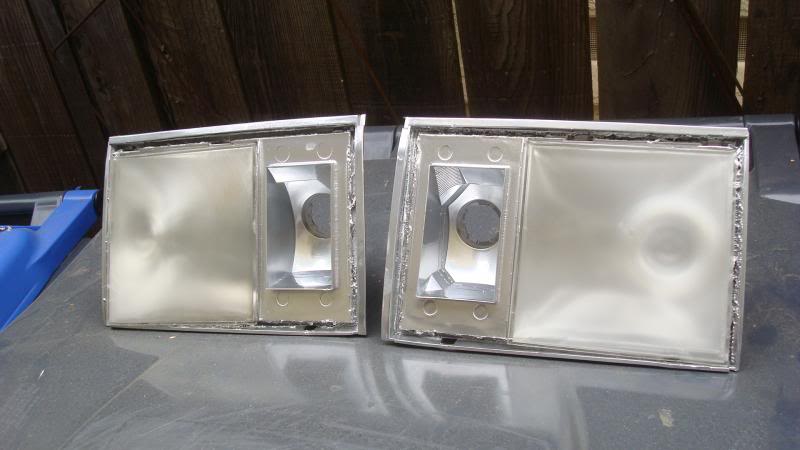
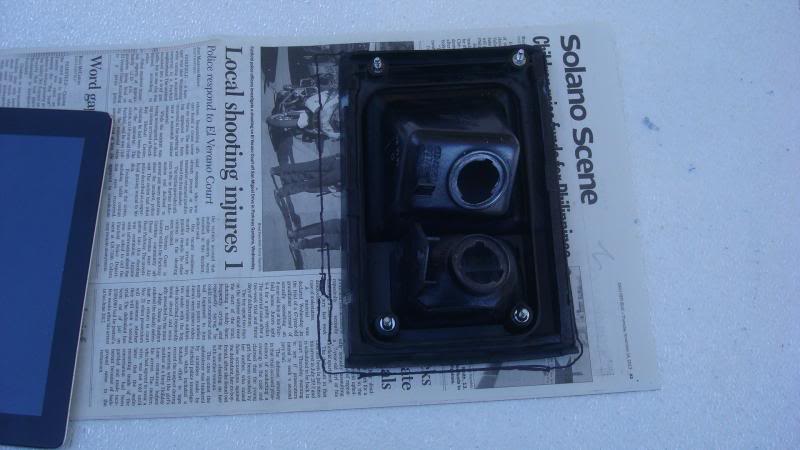
Step 4: you will want to keep the square diffuser i just mentioned out so when you spray paint the housing you dont get it on the plastic piece. igave my housings a thorough cleaning with hot water and some soap to get all the loose pieces of dirt and silicone out
heres the end result ( i think it would look cleaner if you taped off the edges of the housing so it will be black as oppose to silver but again its up to you )
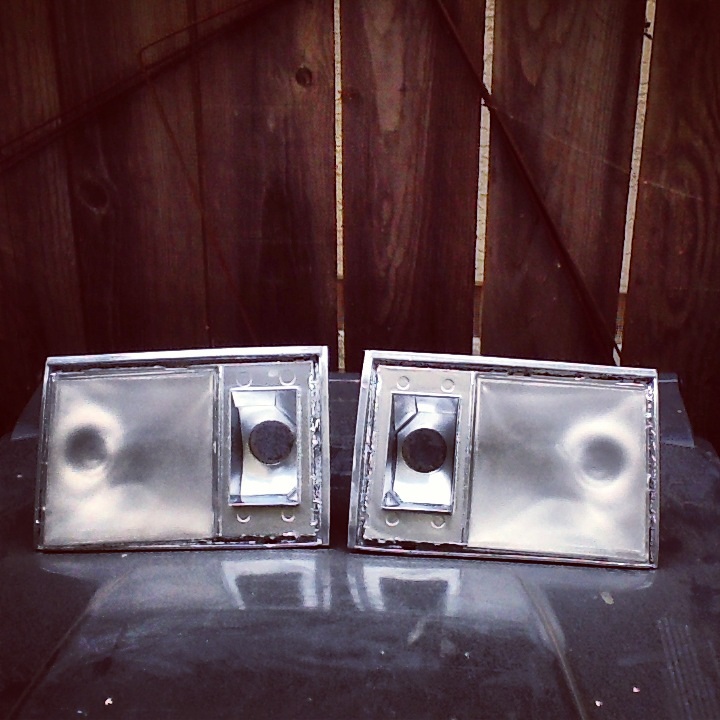
Bling bling
..
now that you have a couple coats of metallic on the housing you can take that square diffuser and line the sides with silicone to keep it secured
i wrapped it with tape and put a pen in the center for pressure this will take a little while to cure
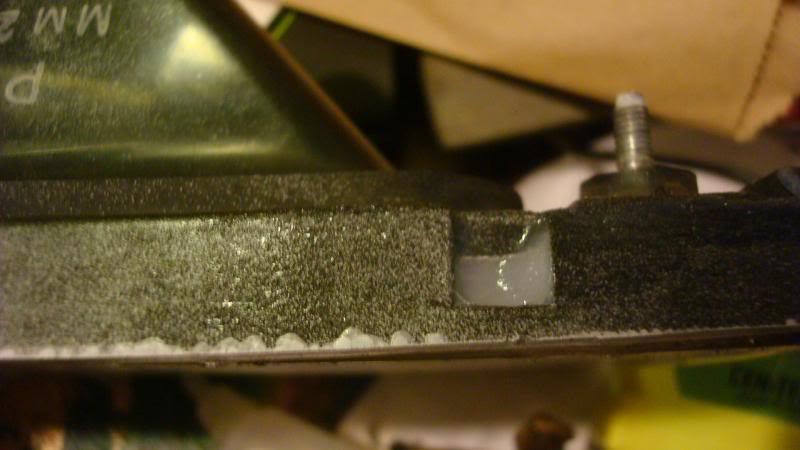
I filled these holes as well so it will be water tight (you can do this last if you want )
after everything is dried up get your taillight housing and some newspaper and trace the outline of the housing
my camera erased the next two pictures so use your imagination
take the trace you made and lay it underneath the cieling light cover you chose
i utilized the perfect squared end so id only have to make two cuts one vertical one horizontal
and i layed duct tape down and traced my rectangle onto the tape so it wouldnt break or crack , its smart to saw on top a piece of soft wood so you have some play with the saw.
after you have your two pieces cut out i got some painters tape and wrapped the lens over the housing and put it back in the overn at 210'f this is neccessary to get the proper bend in the material to clear your reverse light housing i left it in there for about 15 minutes.
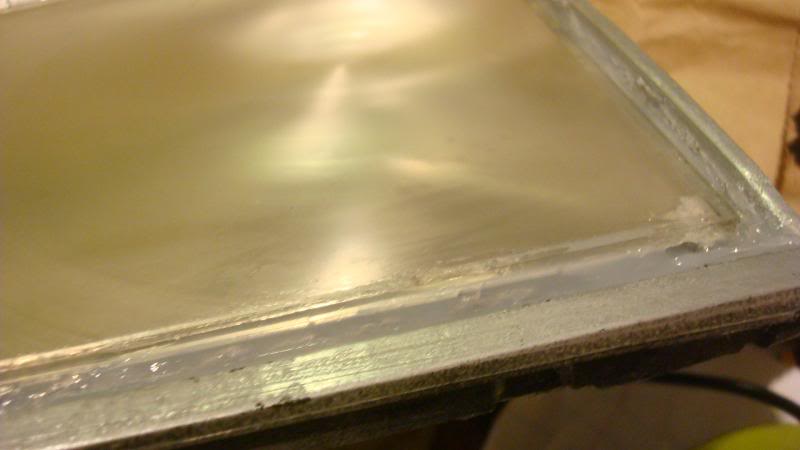
after you got the right bends
put some silicone along the outline of the housing and wrap that up with tape making sure to have as much pressure as possible for a tighter seal.
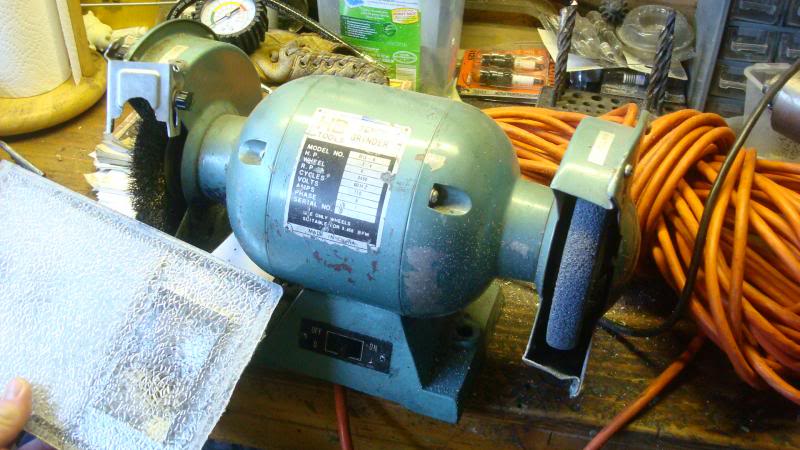
after that dries up i used this table grinder and the brush wheel to get a flush lens and applied more silicone to areas that needed it, id reccomemnd when putting the silicone on the lens to use a very small amount as you will end up with silicone on the inside of the lens and it just looks tacky i learned this the hard way!
overall the process took about 5 hours ( i could do it in less than 3 hours now that i got the science down )
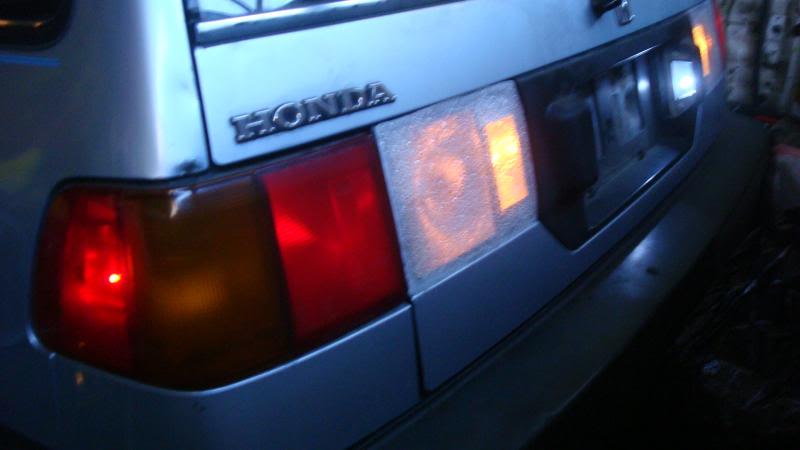
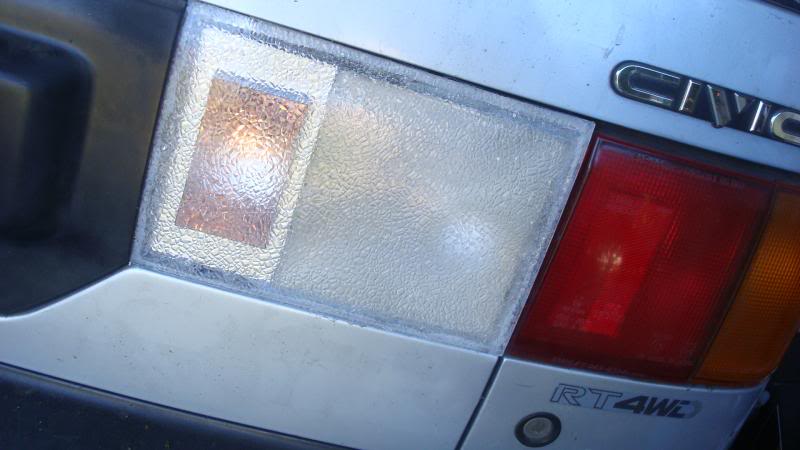
end result
the whole process took about 10 hours the first time but i tihnk i can do it a little faster next time plus like 50 in parts
Ive recieved a ton of comments on my instagram and messages on here asking if i can do this for people and have been offered $200-250 to do it for people and they were willing to ship me their existing taillights or a bad set for me to use i am curious if anyone on here would support me offering the service with your choice of lens style and if there was anyone in support of that if the mods could help direct me as to how to become a approved vender or if id even need to do that and can just make a thread in the parts section.
https://www.youtube.com/watch?v=KD62IkU6tXk
regardless this is a write up i thought i posted but it was just in my build so i decided to SHARE my knowledge so anyone can do it .
its extremely tedious and time consuming and the plastic tends to break so it can be nerve wracking to say the least.
thanks for lookin.:encouragement:
I recently lost my license again and i have been out of a job for over a year now its hard to find reasons to work on the car when i cant drive it legally lol but i decided id rather keep doing things here and there as much as i can until then so ill have a brand new car in a sense next time i get to mobb around. I have been acquiring information from numerous sources trying to find out how to DIY the clear taillights and I finally embarked on tackling the job.
there are other ways to do this, this is how i did it...:encouragement:
Clear Tail light Inners DIY :
Materials:

I used Rustoleum Metallic Silver or Chrome spray paint- $5
Clear Silicone $4
newspaper
Plastonik Acrylic Ceiling Light cover ( cracked Ice ) -$10
And i Also purchased the prismatic version as well ( i plan to make a set of those down the road after i source another pair of inner housings $10)

Blue painters Tape-$4
Aluminum foil ( had already )
Metal cookie sheet ( had already )
A Dremel or a fine tooth saw attachment for a drill or something to that effect ( it needs to be a relitivly high rpm spinning tool as the material is brittle and cracks I just had to buy a $4 saw attacxhment kit from harbor frieght which can just be returned at the end of the job since it will probably break any way. -gotta love harbor frieghts lifetime warrently no questions asked policy.
marker to draw lines with
8mm socket and wrench ( to take off the taillights and license panel )
knfie or flat head screw driver
::before you start you might as well get your cookie sheet and wrap it with aluminum foil and preheat the oven to 190-210 fahrenheit you will need to cook the tailights to seperate the red lenses

Step 1: take off rear hatch plastic panel its just held in by those plastic snap cones what i do is i creep along and pop them individually to avoid and breakage
Step 2: there are 12 8mm nuts you need to take off 4x taillight and 4x for the license panel
after you get those out the way theres this really stubborn slide clip thing in the very center of the panel i just broke mine because i didnt like the design and purpose for that matter...
Step 3: by the time your done with that your oven should be ready

i left my taillights in for about 10-15 minutes,
grab your knife and wedge it btwn the lens and the housing of the taillight once it starts to seperate use your flat head and press against where the tail light secures and youll see the lens popping out.


youll notice the square diffuser lens connected to the red lense ( in the next picture notice top right has the square piece out and the left has it still in ) i opted to keep it for mine its up to you i dont think police officials will be to kind if your taillights are blinding them

all three pieces to our taillights


Step 4: you will want to keep the square diffuser i just mentioned out so when you spray paint the housing you dont get it on the plastic piece. igave my housings a thorough cleaning with hot water and some soap to get all the loose pieces of dirt and silicone out
heres the end result ( i think it would look cleaner if you taped off the edges of the housing so it will be black as oppose to silver but again its up to you )

Bling bling

..
now that you have a couple coats of metallic on the housing you can take that square diffuser and line the sides with silicone to keep it secured
i wrapped it with tape and put a pen in the center for pressure this will take a little while to cure


I filled these holes as well so it will be water tight (you can do this last if you want )

after everything is dried up get your taillight housing and some newspaper and trace the outline of the housing

my camera erased the next two pictures so use your imagination
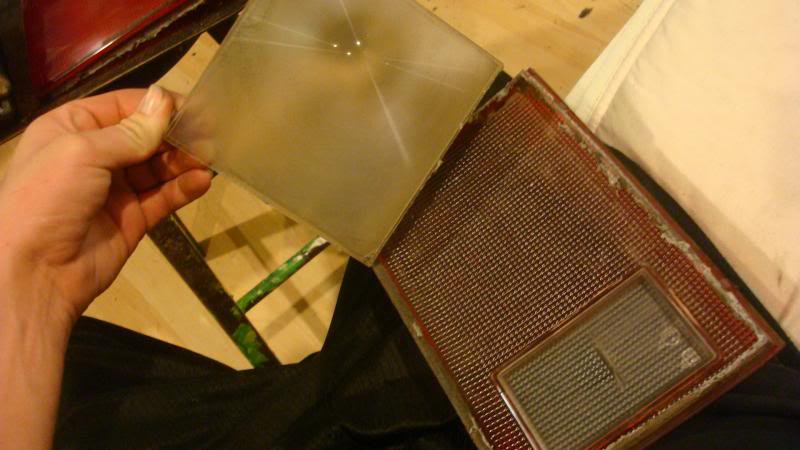
take the trace you made and lay it underneath the cieling light cover you chose
i utilized the perfect squared end so id only have to make two cuts one vertical one horizontal
and i layed duct tape down and traced my rectangle onto the tape so it wouldnt break or crack , its smart to saw on top a piece of soft wood so you have some play with the saw.
after you have your two pieces cut out i got some painters tape and wrapped the lens over the housing and put it back in the overn at 210'f this is neccessary to get the proper bend in the material to clear your reverse light housing i left it in there for about 15 minutes.

after you got the right bends
put some silicone along the outline of the housing and wrap that up with tape making sure to have as much pressure as possible for a tighter seal.

after that dries up i used this table grinder and the brush wheel to get a flush lens and applied more silicone to areas that needed it, id reccomemnd when putting the silicone on the lens to use a very small amount as you will end up with silicone on the inside of the lens and it just looks tacky i learned this the hard way!
overall the process took about 5 hours ( i could do it in less than 3 hours now that i got the science down )

end result


the whole process took about 10 hours the first time but i tihnk i can do it a little faster next time plus like 50 in parts
Ive recieved a ton of comments on my instagram and messages on here asking if i can do this for people and have been offered $200-250 to do it for people and they were willing to ship me their existing taillights or a bad set for me to use i am curious if anyone on here would support me offering the service with your choice of lens style and if there was anyone in support of that if the mods could help direct me as to how to become a approved vender or if id even need to do that and can just make a thread in the parts section.
https://www.youtube.com/watch?v=KD62IkU6tXk
regardless this is a write up i thought i posted but it was just in my build so i decided to SHARE my knowledge so anyone can do it .
its extremely tedious and time consuming and the plastic tends to break so it can be nerve wracking to say the least.
thanks for lookin.:encouragement:
Comments
A reeded diffuser panel would be awesome too, since it would just be straight lines, I think that would lend itself quite well to the overall look of our vehicles. But there's also diffuser panels that are actual mini fresnel lenses, which would really help get an even light to things.
In the picture where you show it lit, that cracked ice texture makes it look like it's cutting down on the light output quite a bit, at least from off angles, though that's probably just the photo more than anything, especially if there were a flash involved.
Either way, fun mod and major patience involved. If I ever decide to torture myself I'll probably take a crack at it as well.
i went with red LED bulbs i dont see much difference at night time with the lighting at all.
i only had the prismatic and cracked ice to choose from as well
Nice write-up and an A+ job getting this done!
Always nice to see a member go out and do something creative. Turned out nice.