How-To: Wire Bullbar Fog Lights w/ OEM Switch
Hello all. This is a ‘how-to’ guide to wire up the OEM PIAA fog lights from the JDM Bullbar and OEM Honda switch. You could probably use this same information on aftermarket ones, but please follow their instructions if it is different.
BTW… for my ‘how-to’ guide on the Bullbar installation, please see the link below:
http://www.hondacivicwagon.com/bb/viewtopic.php?f=9&t=16782
I would definitely recommend doing the wiring before the Bullbar installation.
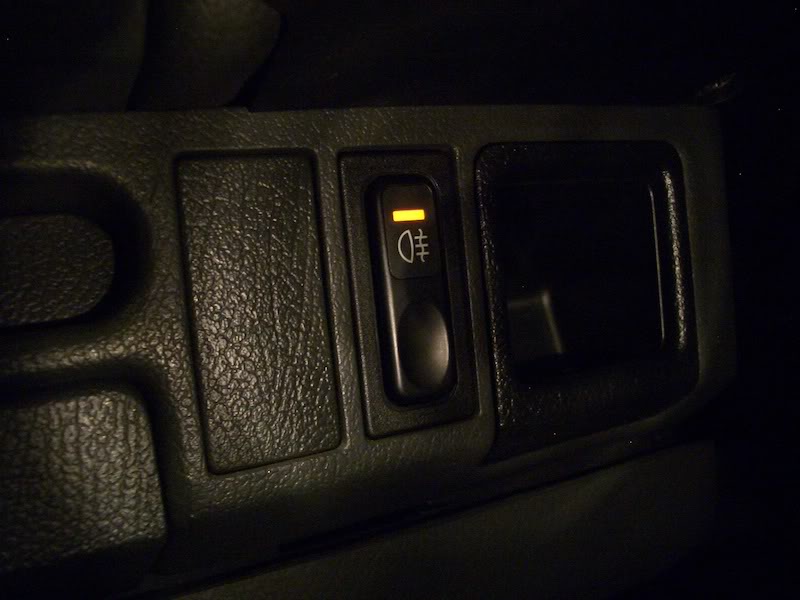
Step 1: Wire up the OEM Honda factory switch.
If you don’t know how to solder, now is a good time to learn. There are many good ‘how-to’ guides online and solder is a much more reliable way of connecting wires versus butt connectors and the old twist method. I would also recommend some good heat shrink tubing.
On the factory Honda OEM switch, be sure to get the wire pigtail so that you will be able to connect the new wire. The colors of the factory switch are:
Red/White: Power
-I soldered an inline fuse holder from an old radio and ran it to an open block on the fuse holder under the dash.
Black: Ground
-I found a group of common ground wire near the drivers side kick panel and attached it there.
Red/Yellow: Relay (see Step 2)
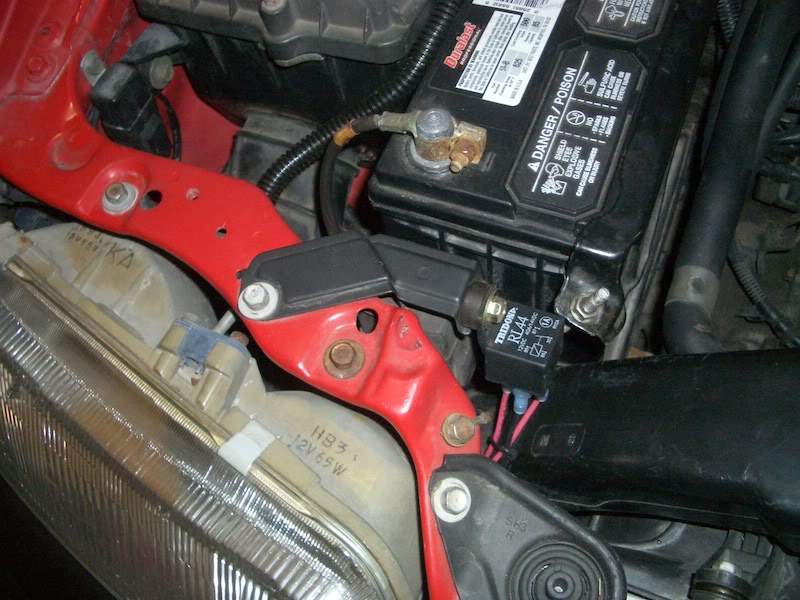
-This wire I ran from the switch to the aftermarket relay I mounted near the battery on a bracket on the upper radiator support.
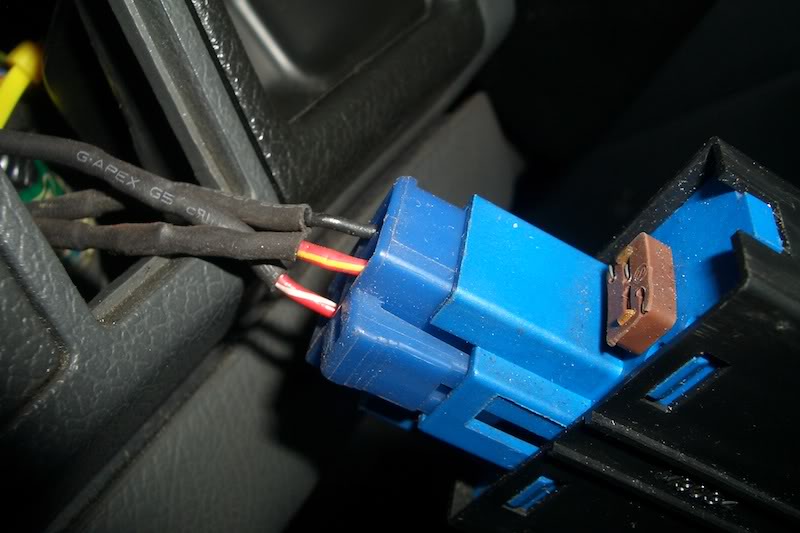
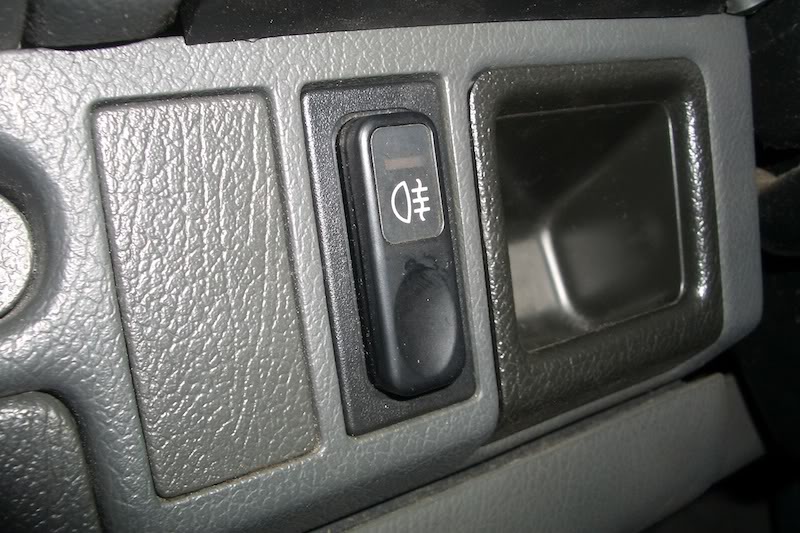
I found an unused grommet next to the hood release cable in the drivers side kick panel to run the ‘Red/Yellow: Relay’ wire. I poked a small hole in the grommet and pushed the wire through
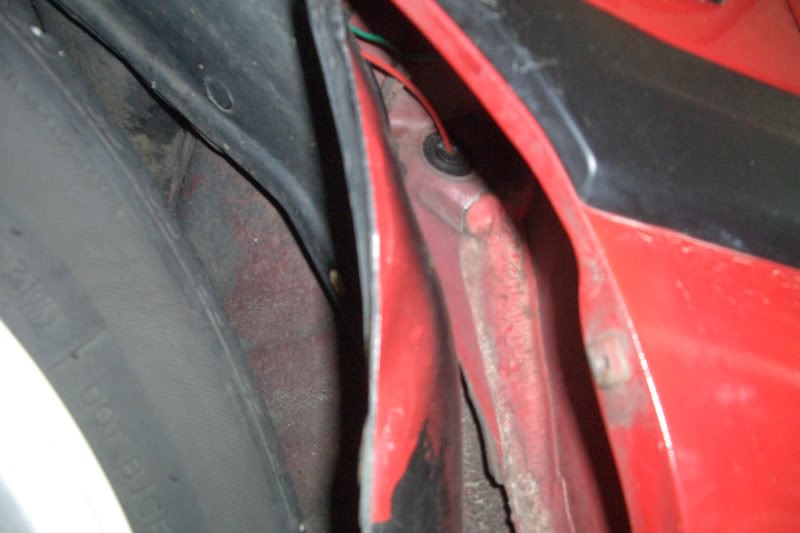
Step 2: Wire up the aftermarket relay switch.
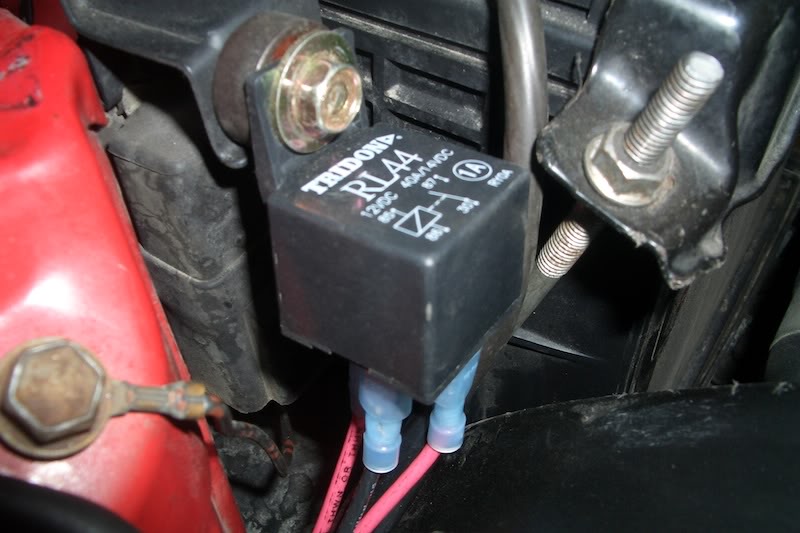
For the relay, I did not have the OEM Honda one, so I went down to Autozone and picked up one for ‘Auxiliary Lights’. The model number is RL44, 11-15v DC, 4 Terminal. The relay has 4 terminals:
Negative: Ground
-Found a group of common ground wire just behind the passenger side headlight.
Lamp: Power to the Fog Lights
-I ran a wire from this terminal to both power wires on the fog lights.
Switch: Power from the OEM Honda factory switch
-This is the wire (Red/Yellow) running from the interior switch from Step 1.
Positive: Power wire from the battery
-The wire for this I ran to the positive terminal on the battery.
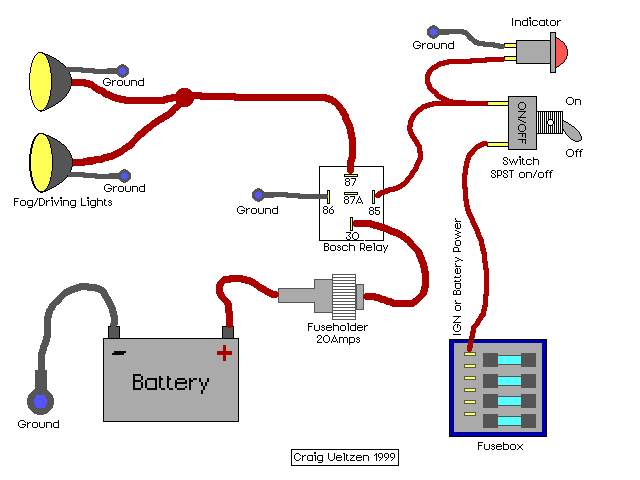
Check out this basic diagram below I used for better understanding:
Step 3: Wire up the factory fog lights.
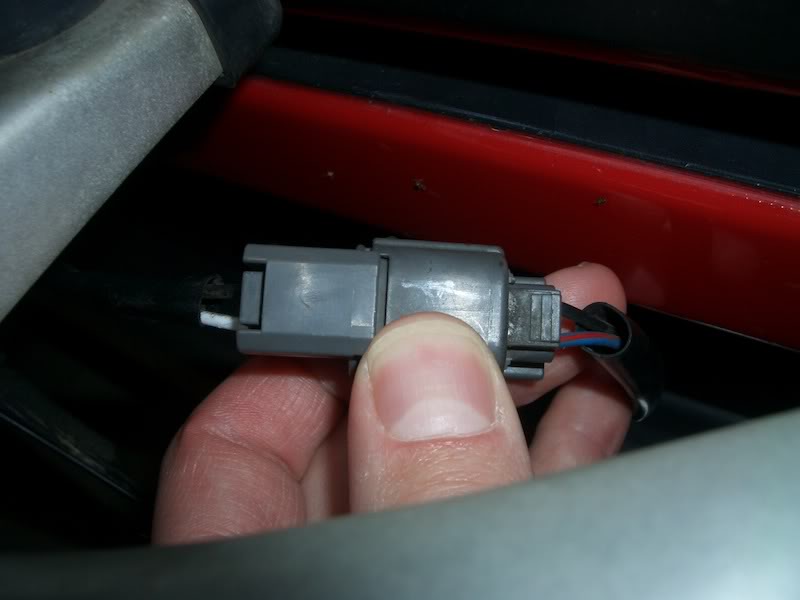
There are two wires on each fog light and I wired them in parallel like the diagram above. Here are the colors of the wires:
Blue/Red: This becomes a Solid White wire on the fog light side of the harness.
-This is the wire that is connected to the ‘Lamp’ terminal on the relay in Step 2.
Black: Stays black on both sides of the factory connectors.
-I used the same grounding location found in Step 2 for the relay, behind the passenger side headlight.
Step 4: Button everything up, route all the wires and zip tie any excess out of the way.
Make sure to tuck everything out of the way and ensure you have allowed yourself enough slack for any clearance issues. I went along all the wires and zip tied them so they would not get caught in anything.
Step 5: Enjoy your new fog lights.
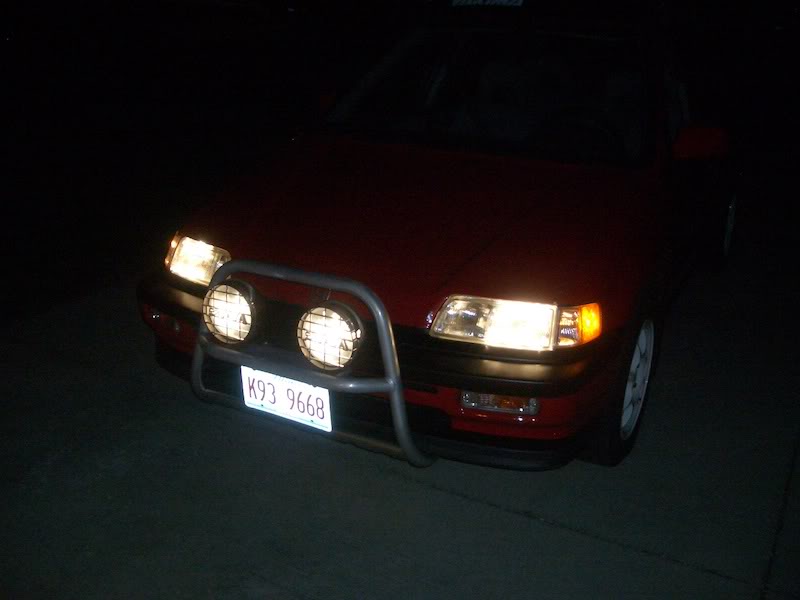
I haven’t had a chance to see how these lights fair in bad weather, snow or foggy conditions yet, but they work. For now, I can enjoy the new goodie on the car and listen to all my co-workers say… ‘What in the world did you put on your car?’ Some people will never understand. ☺

Thanks for looking,
Brad
BTW… for my ‘how-to’ guide on the Bullbar installation, please see the link below:
http://www.hondacivicwagon.com/bb/viewtopic.php?f=9&t=16782
I would definitely recommend doing the wiring before the Bullbar installation.
Step 1: Wire up the OEM Honda factory switch.
If you don’t know how to solder, now is a good time to learn. There are many good ‘how-to’ guides online and solder is a much more reliable way of connecting wires versus butt connectors and the old twist method. I would also recommend some good heat shrink tubing.
On the factory Honda OEM switch, be sure to get the wire pigtail so that you will be able to connect the new wire. The colors of the factory switch are:
Red/White: Power
-I soldered an inline fuse holder from an old radio and ran it to an open block on the fuse holder under the dash.
Black: Ground
-I found a group of common ground wire near the drivers side kick panel and attached it there.
Red/Yellow: Relay (see Step 2)
-This wire I ran from the switch to the aftermarket relay I mounted near the battery on a bracket on the upper radiator support.


I found an unused grommet next to the hood release cable in the drivers side kick panel to run the ‘Red/Yellow: Relay’ wire. I poked a small hole in the grommet and pushed the wire through

Step 2: Wire up the aftermarket relay switch.
For the relay, I did not have the OEM Honda one, so I went down to Autozone and picked up one for ‘Auxiliary Lights’. The model number is RL44, 11-15v DC, 4 Terminal. The relay has 4 terminals:
Negative: Ground
-Found a group of common ground wire just behind the passenger side headlight.
Lamp: Power to the Fog Lights
-I ran a wire from this terminal to both power wires on the fog lights.
Switch: Power from the OEM Honda factory switch
-This is the wire (Red/Yellow) running from the interior switch from Step 1.
Positive: Power wire from the battery
-The wire for this I ran to the positive terminal on the battery.
Check out this basic diagram below I used for better understanding:


Step 3: Wire up the factory fog lights.
There are two wires on each fog light and I wired them in parallel like the diagram above. Here are the colors of the wires:
Blue/Red: This becomes a Solid White wire on the fog light side of the harness.
-This is the wire that is connected to the ‘Lamp’ terminal on the relay in Step 2.
Black: Stays black on both sides of the factory connectors.
-I used the same grounding location found in Step 2 for the relay, behind the passenger side headlight.

Step 4: Button everything up, route all the wires and zip tie any excess out of the way.
Make sure to tuck everything out of the way and ensure you have allowed yourself enough slack for any clearance issues. I went along all the wires and zip tied them so they would not get caught in anything.

Step 5: Enjoy your new fog lights.
I haven’t had a chance to see how these lights fair in bad weather, snow or foggy conditions yet, but they work. For now, I can enjoy the new goodie on the car and listen to all my co-workers say… ‘What in the world did you put on your car?’ Some people will never understand. ☺


Thanks for looking,
Brad
Comments
Relay refrence
87 and 87A are the two power outs for the relay.
example 87 is the power "red" for fog light #1 and 87A is the power "red" for fog light #2- this is so you dont have to wire the two together.