DIY: Amber Corner markers
As we all know (or should know) the aftermarket corner marker selection for our beloved wagons is rather... non-existent. So many of you have done the job of making "JDM Amber" markers yourselves. I went through the same process today and would like to share some pictures of the entire go around. First off we'll need to get the supplies gathered up, see below:
1) Dupli-color Metalcast Orange (MC-205 - main tinting agent: I found this in stock at my local O'Riley's autoparts stores. I'm not sure who else stocks it.
2) Clear coat - To protect the color
3) 2000 grit wet/dry sand paper - to scuff surfaces for proper application.
4) Some liquid soap and water - for sandpaper
4) A finishing/buffing compound - like Meguiars or Nu-finish for the final glassy shine.
Step 1) Remove corner markers from your car, if you can't do this then well you may want to have someone else attempt this job for you.
Step 2) Prep the corner markers for paint.
- You'll want to wash them in soapy water to remove any road grime from the markers.
- Get a small bowl with some water and soap
- Begin by taking the 2000 grit sand paper and lightly scuffing the surface of the marker. It should look slightly hazy when you're done scuffing.
- When done scuffing you'll need to re-wash the markers to remove any particulates/residue, then wipe clean with something like acetone or widex.
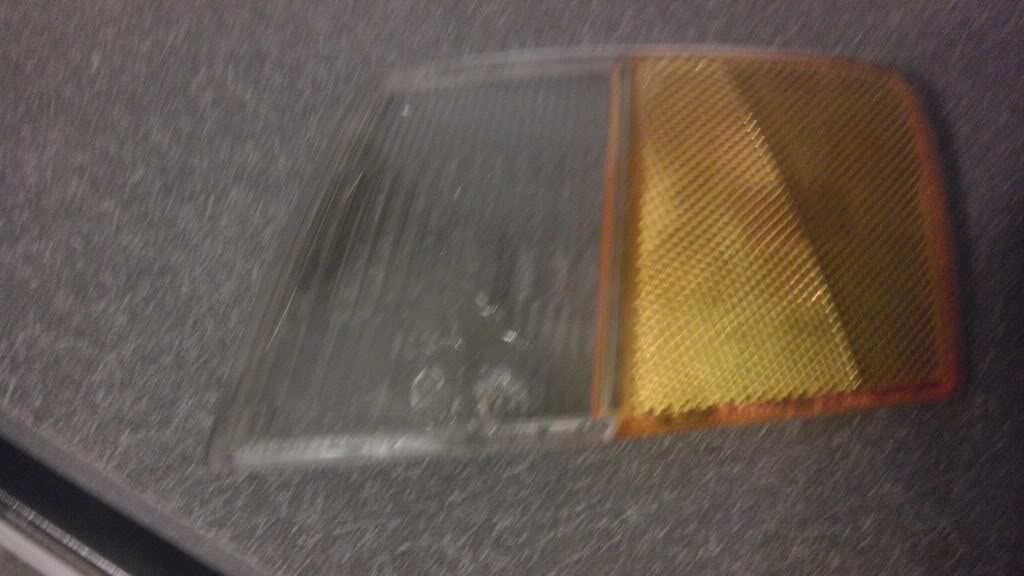
- When you're done you should have a clean and prepped similar to below:
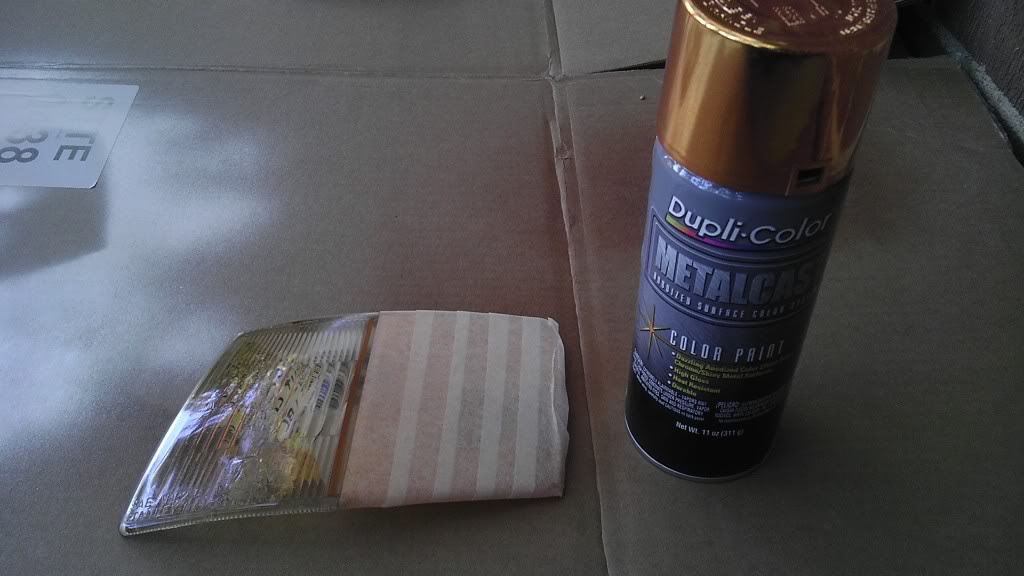
Step 3) To insure an even coloring we'll need to mask off the factory amber section of the marker:
Step 4) Begin applying light coats to the clear section of the marker. I typically start with the edges and work inward, making sure to apply even and consistent spray. If you have never spray painted anything with the intent on making it look good you may want to practice your technique first. Unfortunately "rattle canning" something isn't as straight forward as it sounds. A few Tips below:
- Always test spray your paint on another surface first to get a feel for the can's pattern, optimal distance from target, dry time, and the paint's tendency to cause a run.
- When painting your objects start spraying outside of the object and move across it in a steady smooth motion.
- Coat your edges first. Don't be worried about getting the whole spray pattern onto the object, it's ok to lean the can at a slight angle to achieve this.
- NEVER over spray an object. It's always better to make 1 or 2 more light coats than risk a run by going heavy with first the spray.
Just for reference, I applied 4 coats to the clear section before I noticed the color depth starting to reflect the factory amber section. Be sure to go slow and take time between coats (5~10mins is fine). The Metalcast dries surprisingly fast and is fairly run resistant in 60~70F temps.
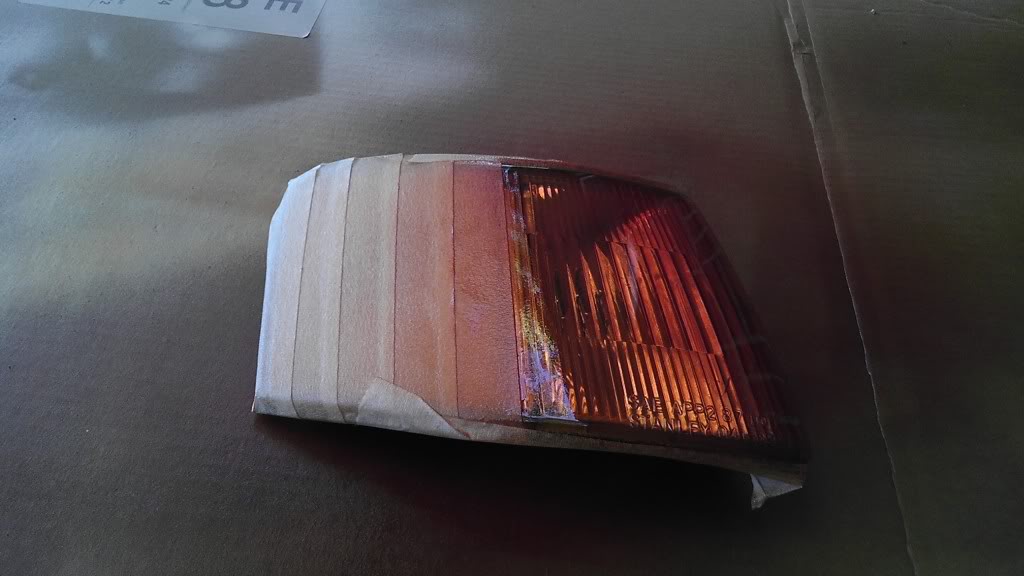
Step 5) Remove the masking tape.
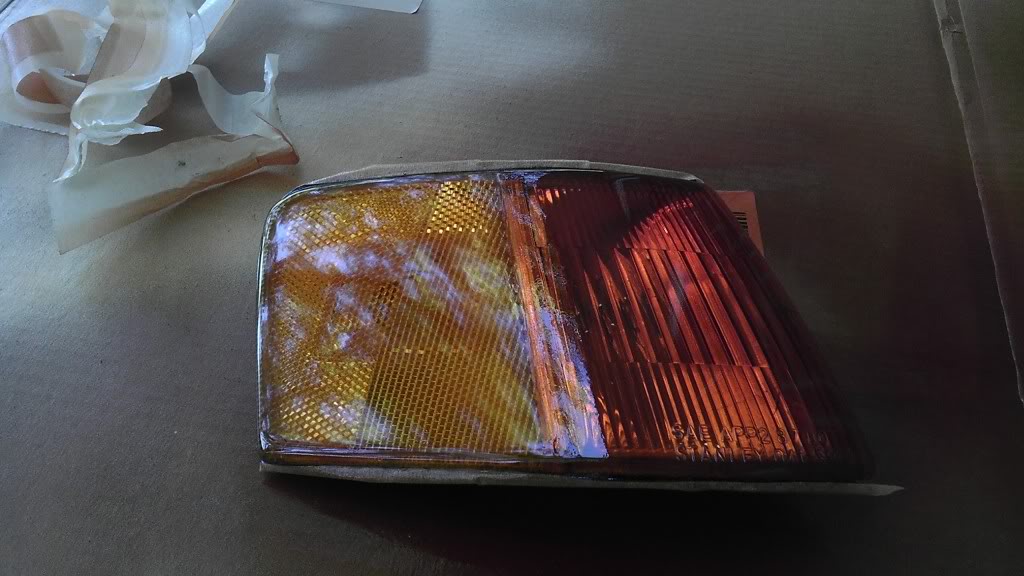
Step 6) Apply the same paint technique to the factory colored AND your previously painted section. Even and consistent strokes over the entire unit until the color starts to blend, for me this took about 3 solid coats. Be sure to go slow and take time between coats (5~10mins is fine). The end results should look similar to following.
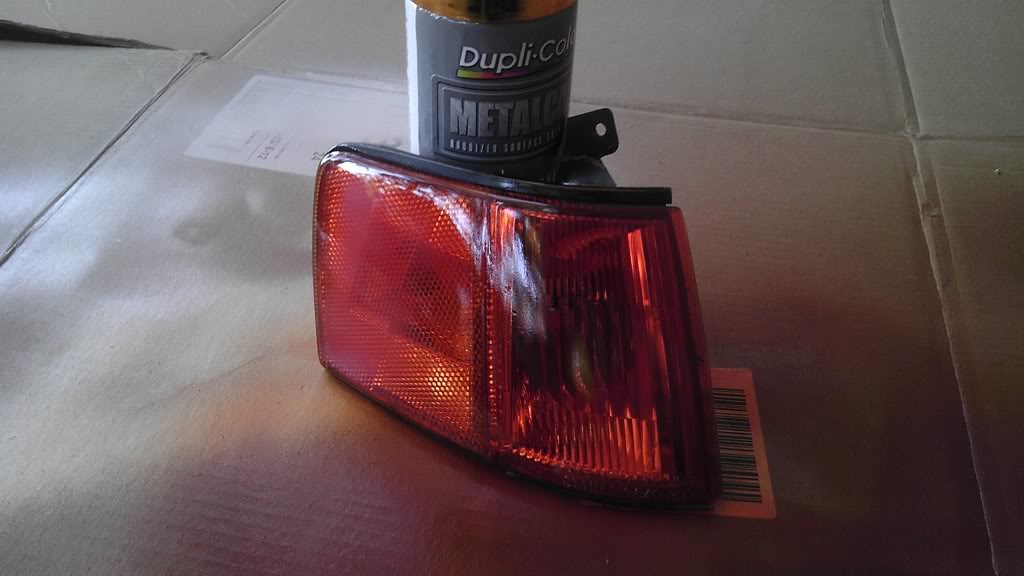
If you want to be lazy you can stop here and the corners won't look bad at all. They obviously won't have a deep gloss and proper protection without the clear coat and extra buffing steps below:
*Optional but recommended for the best looking corners*
Step7) Give the corner markers 2 or 3 even of coats of clear. I had to allow for 15~20 mins of dry time between coats, the clear was much heavier and prone to running.
Step 8 ) Once the unit(s) have dried completely (usually best to wait 6~8 hours), hit the finished product with the 2000 grit/soapy water combo again. We just want to buff out any imperfections/orange peel at this point so continue until a slight hazy effect is achieved. Be sure to NOT over sand the corners or you'll end up going through the clean and into actual paint or to the marker surface. Wash and wipe clean/dry again.
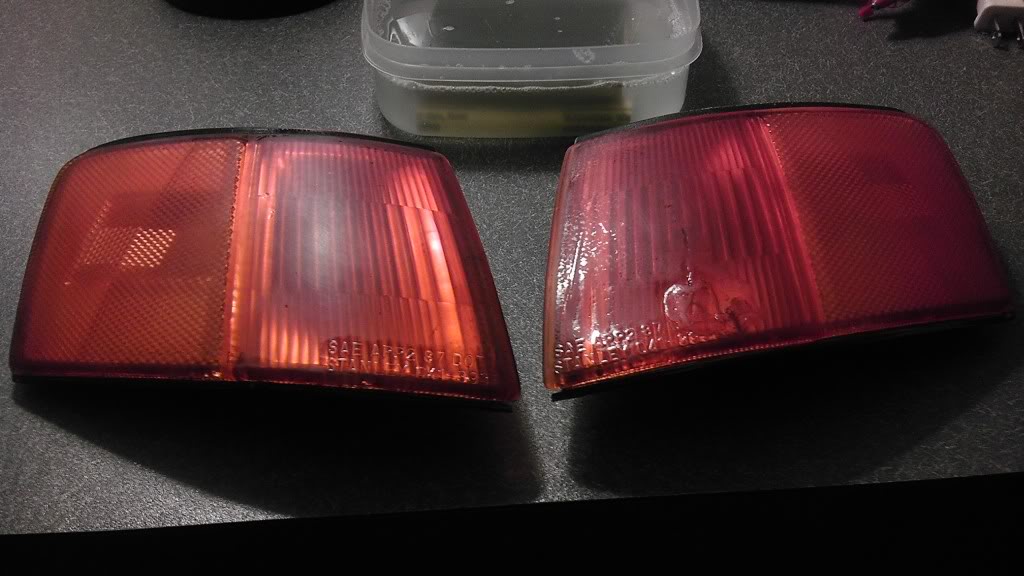
Step 9) Use your buffing/anti-swirl compound to finish the corner markers off. You'll need a good terry/mircofiber cloth to apply the compound with to prevent scratching. Make small circles until the "hazy" has been buffed out. Remember to re-apply your buffing compound when your rag or pad soaks up. DO NOT buff dry or you may scratch the clear coat. It took me about 5~10 mins per corner marker to buff them to an acceptable glossy finish. Be sure to wipe/wash off any left over buffing compound.
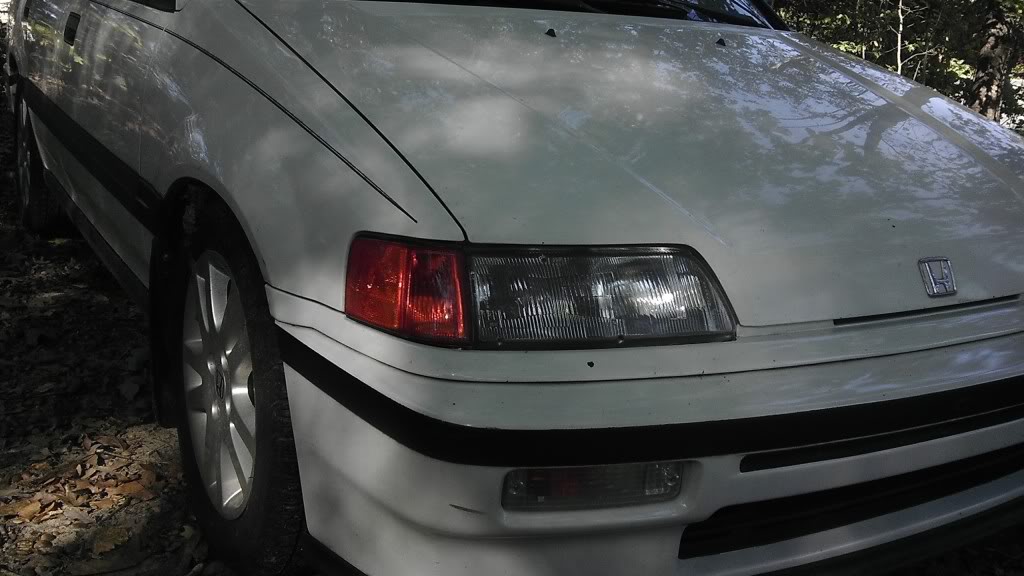
When you're complete you should have a near professional/consumer looking set of corners. Be proud of your accomplishment.
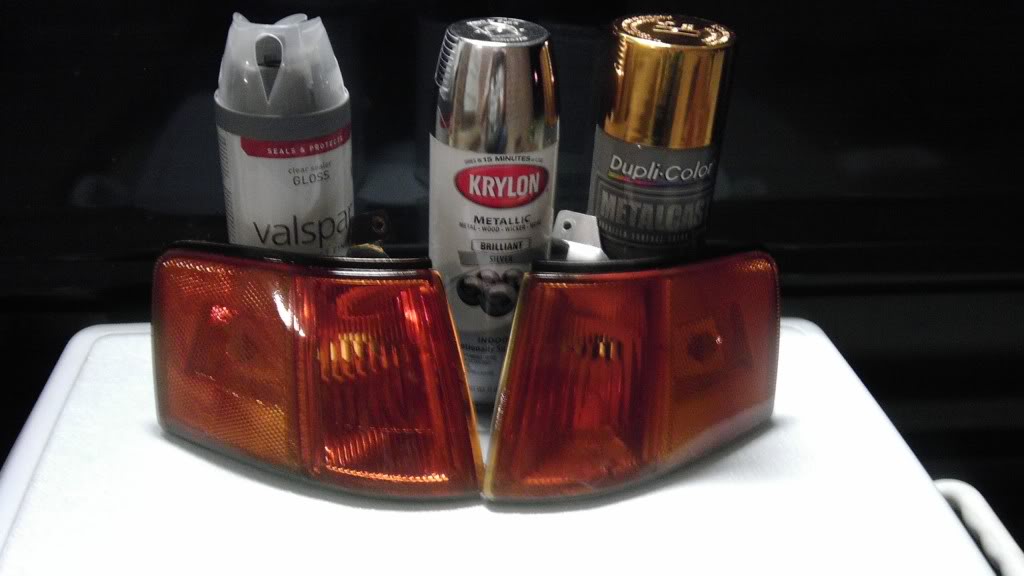
You'll have to pardon the slightly oddball first couple pics, I had to split the driver's side corner marker to repair a hole in it.
Enjoy, I have more pics if needed.
1) Dupli-color Metalcast Orange (MC-205 - main tinting agent: I found this in stock at my local O'Riley's autoparts stores. I'm not sure who else stocks it.
2) Clear coat - To protect the color
3) 2000 grit wet/dry sand paper - to scuff surfaces for proper application.
4) Some liquid soap and water - for sandpaper
4) A finishing/buffing compound - like Meguiars or Nu-finish for the final glassy shine.
Step 1) Remove corner markers from your car, if you can't do this then well you may want to have someone else attempt this job for you.
Step 2) Prep the corner markers for paint.
- You'll want to wash them in soapy water to remove any road grime from the markers.
- Get a small bowl with some water and soap
- Begin by taking the 2000 grit sand paper and lightly scuffing the surface of the marker. It should look slightly hazy when you're done scuffing.
- When done scuffing you'll need to re-wash the markers to remove any particulates/residue, then wipe clean with something like acetone or widex.
- When you're done you should have a clean and prepped similar to below:

Step 3) To insure an even coloring we'll need to mask off the factory amber section of the marker:

Step 4) Begin applying light coats to the clear section of the marker. I typically start with the edges and work inward, making sure to apply even and consistent spray. If you have never spray painted anything with the intent on making it look good you may want to practice your technique first. Unfortunately "rattle canning" something isn't as straight forward as it sounds. A few Tips below:
- Always test spray your paint on another surface first to get a feel for the can's pattern, optimal distance from target, dry time, and the paint's tendency to cause a run.
- When painting your objects start spraying outside of the object and move across it in a steady smooth motion.
- Coat your edges first. Don't be worried about getting the whole spray pattern onto the object, it's ok to lean the can at a slight angle to achieve this.
- NEVER over spray an object. It's always better to make 1 or 2 more light coats than risk a run by going heavy with first the spray.
Just for reference, I applied 4 coats to the clear section before I noticed the color depth starting to reflect the factory amber section. Be sure to go slow and take time between coats (5~10mins is fine). The Metalcast dries surprisingly fast and is fairly run resistant in 60~70F temps.

Step 5) Remove the masking tape.

Step 6) Apply the same paint technique to the factory colored AND your previously painted section. Even and consistent strokes over the entire unit until the color starts to blend, for me this took about 3 solid coats. Be sure to go slow and take time between coats (5~10mins is fine). The end results should look similar to following.

If you want to be lazy you can stop here and the corners won't look bad at all. They obviously won't have a deep gloss and proper protection without the clear coat and extra buffing steps below:
*Optional but recommended for the best looking corners*
Step7) Give the corner markers 2 or 3 even of coats of clear. I had to allow for 15~20 mins of dry time between coats, the clear was much heavier and prone to running.
Step 8 ) Once the unit(s) have dried completely (usually best to wait 6~8 hours), hit the finished product with the 2000 grit/soapy water combo again. We just want to buff out any imperfections/orange peel at this point so continue until a slight hazy effect is achieved. Be sure to NOT over sand the corners or you'll end up going through the clean and into actual paint or to the marker surface. Wash and wipe clean/dry again.

Step 9) Use your buffing/anti-swirl compound to finish the corner markers off. You'll need a good terry/mircofiber cloth to apply the compound with to prevent scratching. Make small circles until the "hazy" has been buffed out. Remember to re-apply your buffing compound when your rag or pad soaks up. DO NOT buff dry or you may scratch the clear coat. It took me about 5~10 mins per corner marker to buff them to an acceptable glossy finish. Be sure to wipe/wash off any left over buffing compound.
When you're complete you should have a near professional/consumer looking set of corners. Be proud of your accomplishment.


You'll have to pardon the slightly oddball first couple pics, I had to split the driver's side corner marker to repair a hole in it.
Enjoy, I have more pics if needed.
Comments
I'll get some on car shots when the sun comes back up, lol
Why yes, you actually can
same thing happened when i did my lens (kinda rough from particles/dust landing on lens during the drying process)
just a thought.......?
Well I only had to separate the drivers side and it wasn't happy about it. I actually chipped 2 small sections out of the edge that I had to super glue back on. As nerve racking as it was to split one, I didn't want to press my luck on one that wasn't in need of repair. I considered painting on the inside of the lens but wasn't sure if the tinting effect would turn out the same OR if it would stand up to the heat being contained inside the lens.
As far as dust and particulates being in your spray job, yeah that sucks. I had some in mine as well, but the mild sanding and buffing will usually take care of most of it as long as it's not like bugs, leaves, or big chucks of sands in it.
On car pics in the original post
One of my corner's had a hole in it(for some time apparently). The previous owner never fixed it, so it started eroding the inside of the reflector and it's reflective material. I had to split the corner lens and housing apart to:
1) Patch the hole
2) Recoat the reflector.
#1 went well, #2 went ok aside from the inside not being quite as mirror like as the factory coating.
More info over on my build thread.
viewtopic.php?f=5&t=14657