Rear trailing arm bushing replacement writeup RT4wd
 klum
Senior Wagonist
klum
Senior Wagonist
so i have been encountering a really violent vibration in my rear end after speeds of 60mph or so i replaced my toe arms with adjustable arms and i just got done installing rear trailing arm bushings as mine were shot... i mean they were ripped and disconnected ... having never done this before it took me a good while to get my balls up and do it (i was gunna take it to a shop but they wanted 350-500$ because its 4wd its supposedly harder ( bullshit ) )
any ways. so i saw this video..
http://www.youtube.com/watch?v=hPTDzrxqoOo
n i was like theres no reason i cant just do this all with hand tools i was concerned about how long this would take and what it would take to do by your self without the special tool that all you honda techers are always talking about.. YOU DONT NEED SHIT!
Heres the tools i used.
wrench / rachet combo.
12mm(brake line secure bolts)
14mm (upper camber arm , rear toe arm bolts)
17mm(Rear trailing arm bushing bolts)
19mm(Lugnuts)
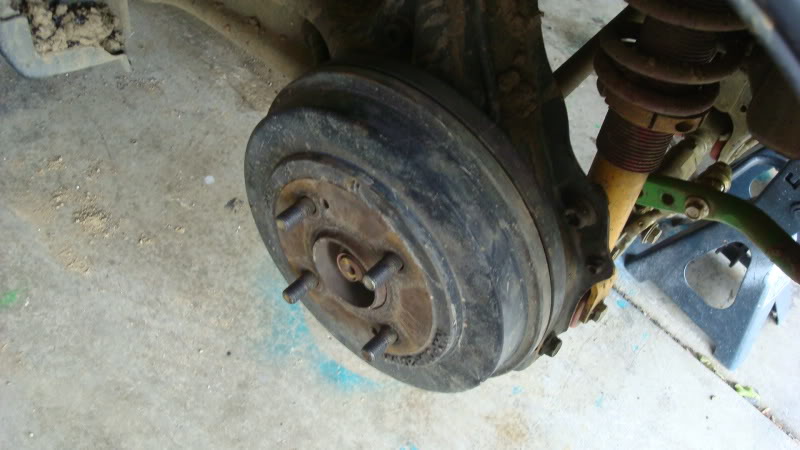
Step1::Loosen lugnuts, Jack up car , SECURE YOUR CAR WITH JACKSTANDS OR BRICKS
Step2 ::
Disconnect rear toe arms
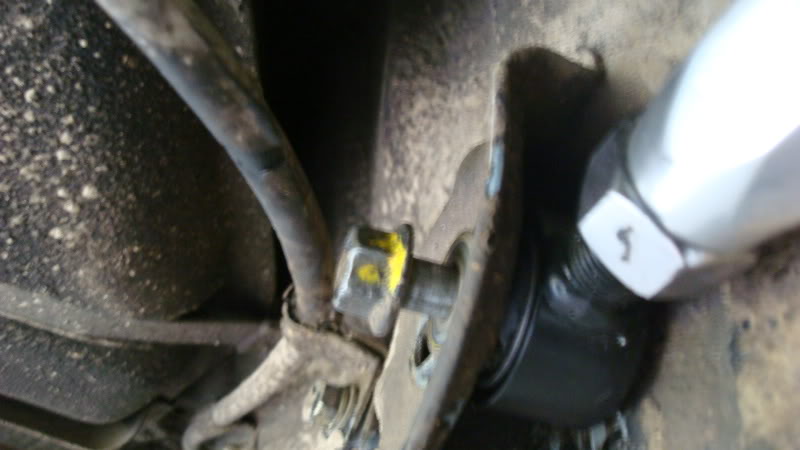
your gunna need to jack up your TA to get the bolt attached to the toe on the TA side
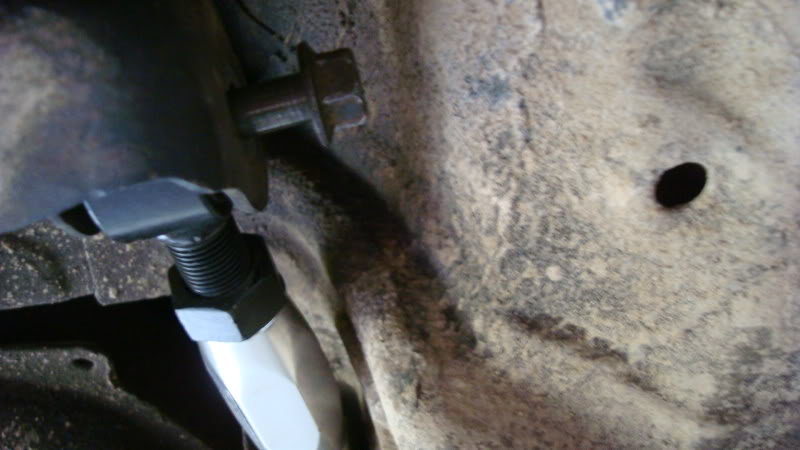
Step 3:: disconnect camber arm
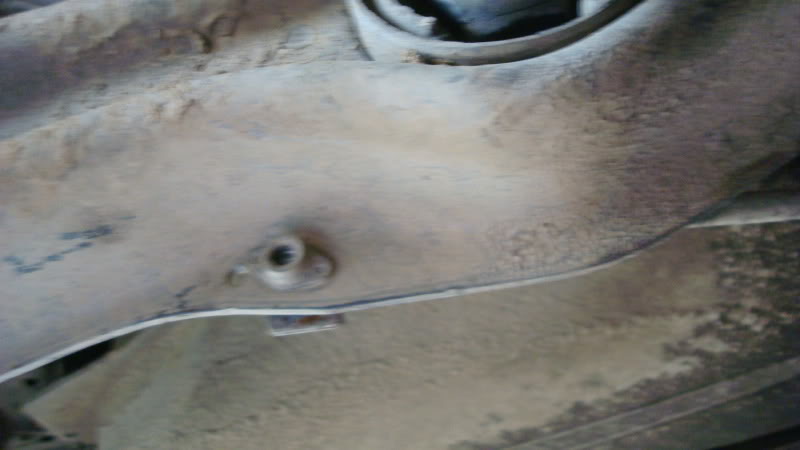
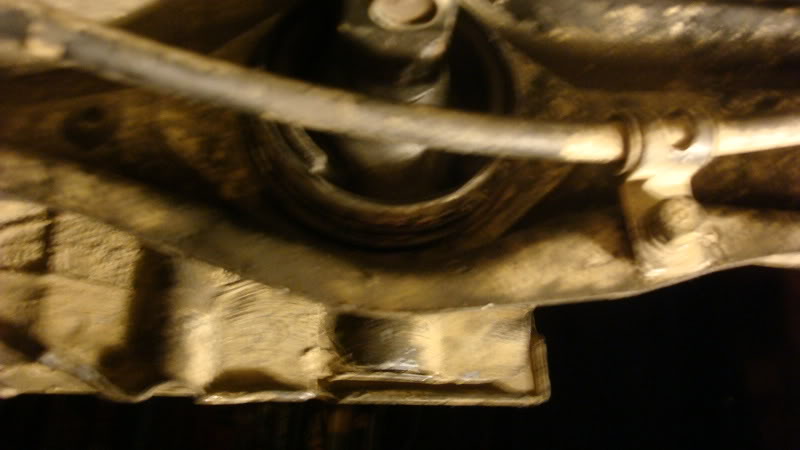
Step 4::disconnect the brake lines from the trailing arms ( dont open the line just take the bolts off the trailing arm so you dont damage them and their out of the way..)

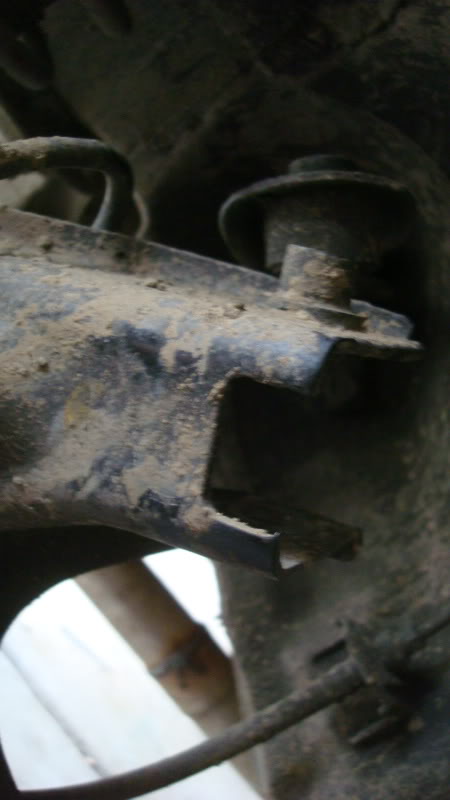
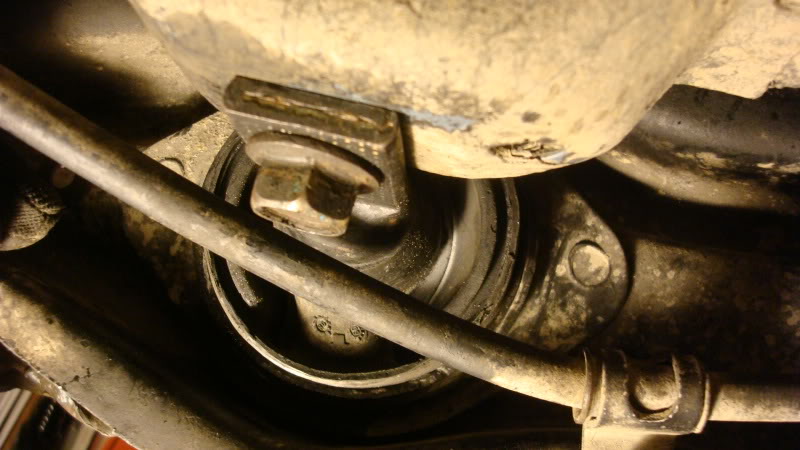
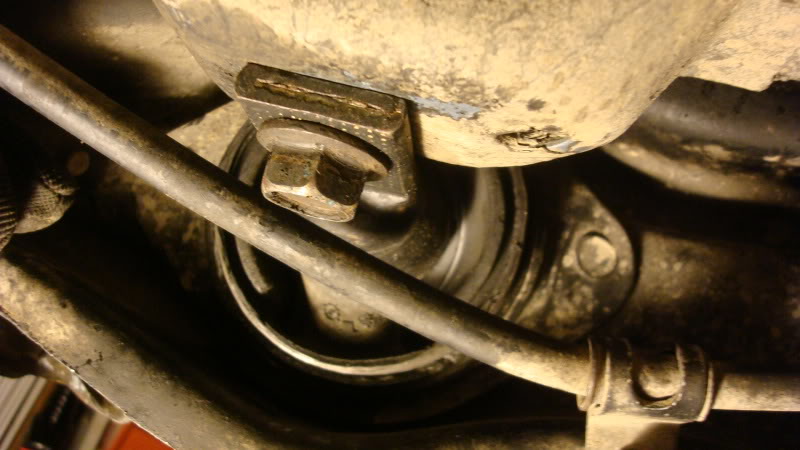
Step 5::disconnect the RTA bushing bolts
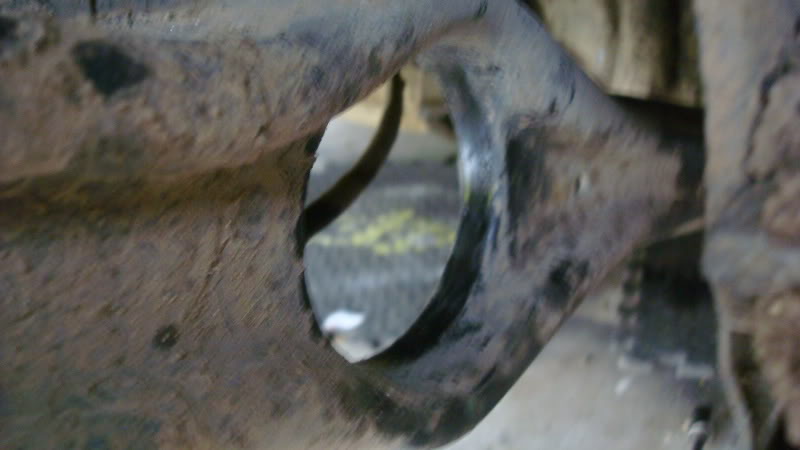
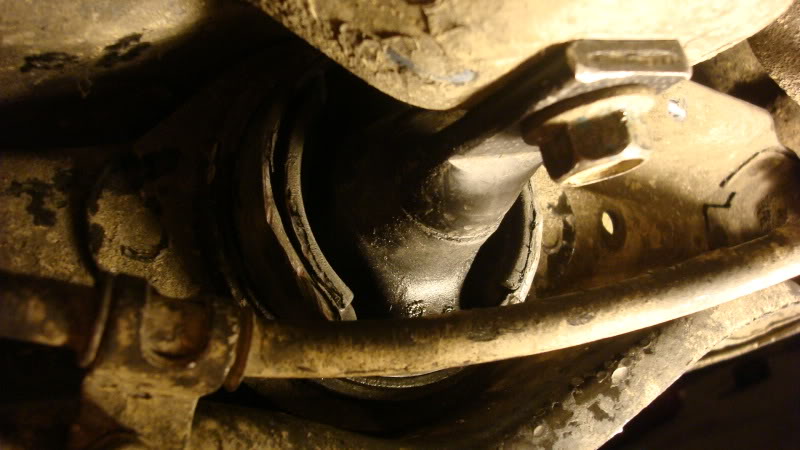
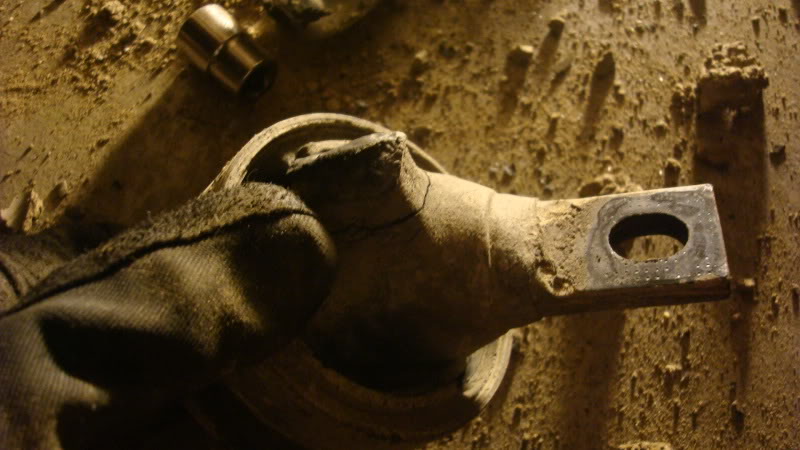
Step 6:: get your hammer and hammer out teh old bushings
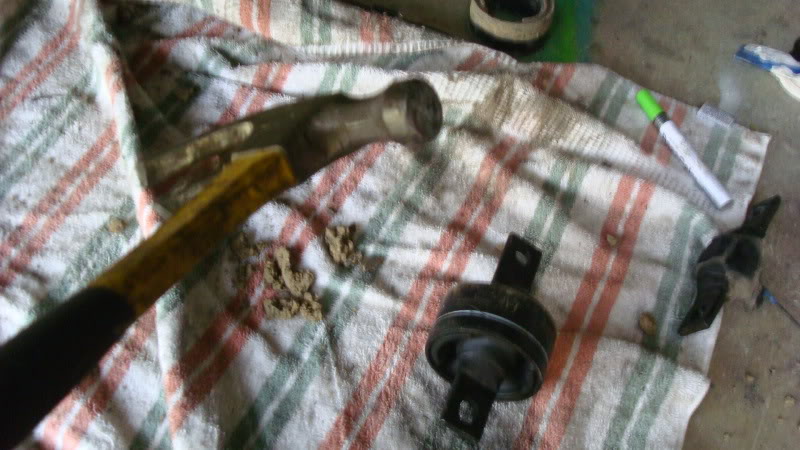
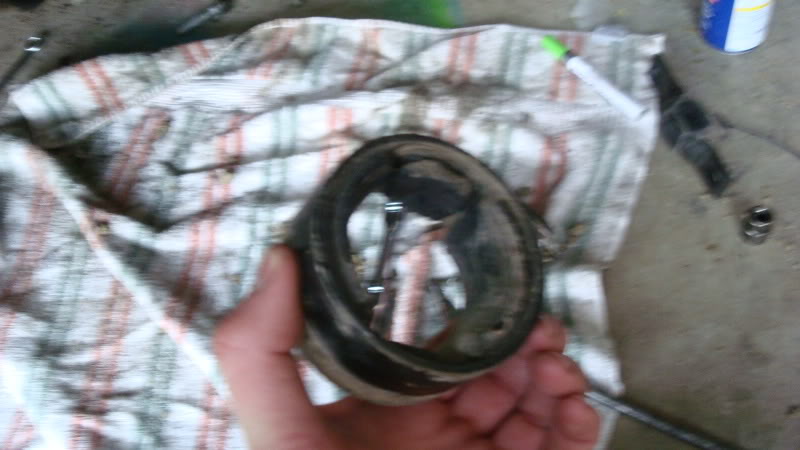
heres what was left of my existing bushing lol!
Step 7:: ( this isnt recommended) i had to grind down a lil bit of the new bushings metal since i wasnt using a tool i made a little groove to make it slide in easier
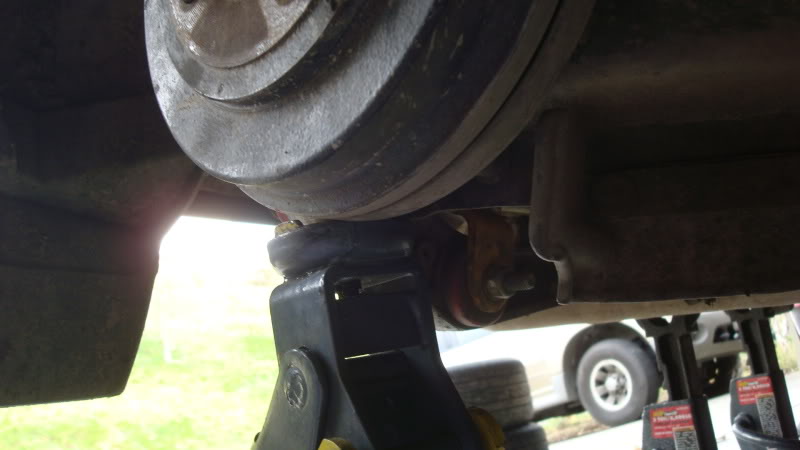
step 8:: allign your bushing making sure its the same angle as the old one ( this step is kinda stupid as most of us have lowered vehicles your going to want a little angle on your bushing) what i did was had it off to the side a little bit to compensate for the lowered hieght and a way to check to see if your stressing your bushing is kinda tedious but hey it pays to have your shit perfect.. . i jacked up the RTA and saw how stressed it was after it was at the hieght it would be traveling and made it so it would ride straight once on the ground i know this is kinda confusing and im a little bit drunk.. but hopefuly my \pictures help..
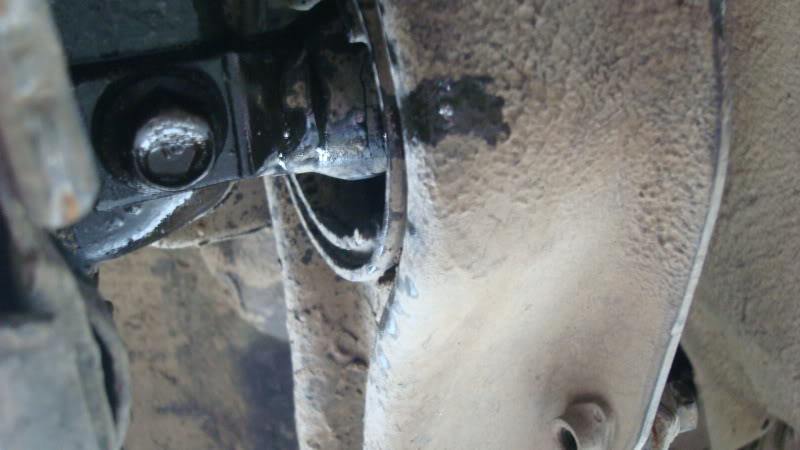
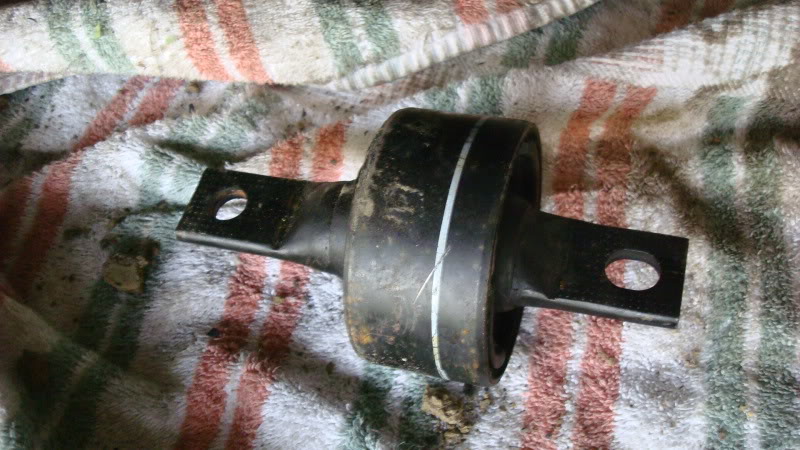
step9:: hammer in your bushing until it is alligned with the little grey line ( if your new bushings has them )
Step 10 : jack up the arm and since we're having our bushing sitting sideways getting the bolt in is a little difficult
Step 11:: tighten the 17mm bolts until your bushing is secure..
step 12 reconnect all arms and tightnen to spec.. pretty much everything is at about 50 ft lbs torque.
step 13:: test drive and enjoy
 out wit the old in wit tha neww
thanks for stopping by on my never ending proccess towards success!
any ways. so i saw this video..
http://www.youtube.com/watch?v=hPTDzrxqoOo
n i was like theres no reason i cant just do this all with hand tools i was concerned about how long this would take and what it would take to do by your self without the special tool that all you honda techers are always talking about.. YOU DONT NEED SHIT!
Heres the tools i used.
wrench / rachet combo.
12mm(brake line secure bolts)
14mm (upper camber arm , rear toe arm bolts)
17mm(Rear trailing arm bushing bolts)
19mm(Lugnuts)
Step1::Loosen lugnuts, Jack up car , SECURE YOUR CAR WITH JACKSTANDS OR BRICKS
Step2 ::
Disconnect rear toe arms
your gunna need to jack up your TA to get the bolt attached to the toe on the TA side
Step 3:: disconnect camber arm
Step 4::disconnect the brake lines from the trailing arms ( dont open the line just take the bolts off the trailing arm so you dont damage them and their out of the way..)
Step 5::disconnect the RTA bushing bolts
Step 6:: get your hammer and hammer out teh old bushings
heres what was left of my existing bushing lol!
Step 7:: ( this isnt recommended) i had to grind down a lil bit of the new bushings metal since i wasnt using a tool i made a little groove to make it slide in easier
step 8:: allign your bushing making sure its the same angle as the old one ( this step is kinda stupid as most of us have lowered vehicles your going to want a little angle on your bushing) what i did was had it off to the side a little bit to compensate for the lowered hieght and a way to check to see if your stressing your bushing is kinda tedious but hey it pays to have your shit perfect.. . i jacked up the RTA and saw how stressed it was after it was at the hieght it would be traveling and made it so it would ride straight once on the ground i know this is kinda confusing and im a little bit drunk.. but hopefuly my \pictures help..
step9:: hammer in your bushing until it is alligned with the little grey line ( if your new bushings has them )
Step 10 : jack up the arm and since we're having our bushing sitting sideways getting the bolt in is a little difficult
Step 11:: tighten the 17mm bolts until your bushing is secure..
step 12 reconnect all arms and tightnen to spec.. pretty much everything is at about 50 ft lbs torque.
step 13:: test drive and enjoy
out wit the old in wit tha newwthanks for stopping by on my never ending proccess towards success!
Comments