'88 Wagovan "Retro Wagon" [windshield replaced & rust fixed]
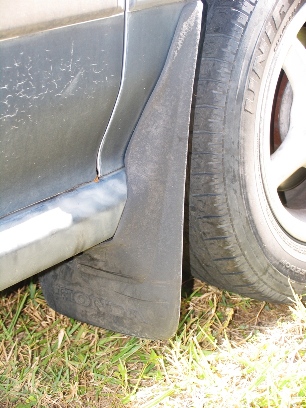
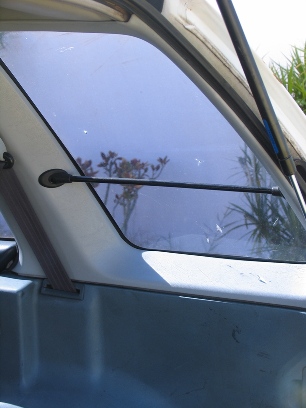
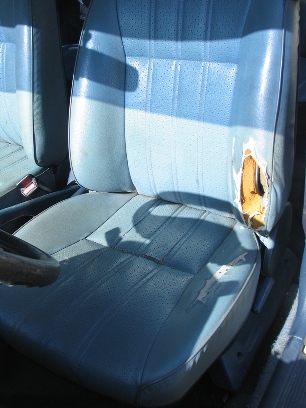
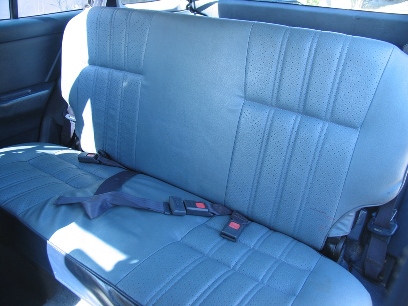
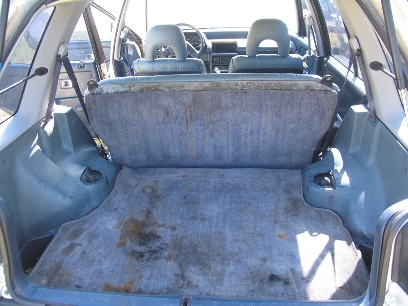
I bought a 1988 Wagovan with 25k miles on a rebuilt engine and transmission, new suspension bushings, and new steering joints. Mechanically, this car is extremely sound. Cosmetically, it needs some attention. There is rust around portions of the windshield, the interior is missing some pieces, the carpeting is shot, the bumpers and trim is all faded, and the vinyl graphic that makes the car two-tone is rough around the edges.
I'm calling this one "Cover Girl", as most of the work I'm doing is a repair and cover-up to avoid repainting the entire car. I'm hoping to have her looking very sharp in a short period of time.
Consider these the "before" pictures:
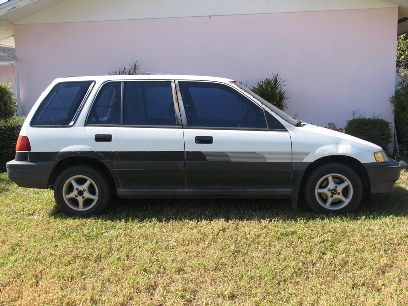
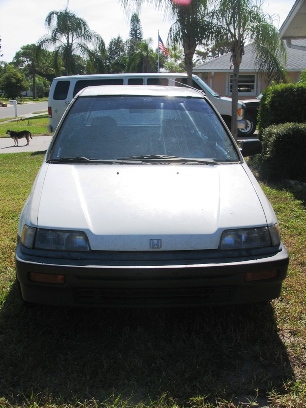
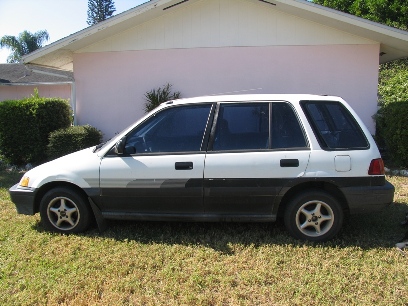
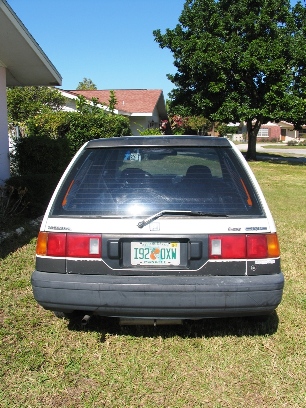
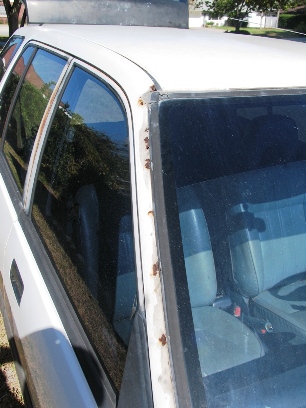
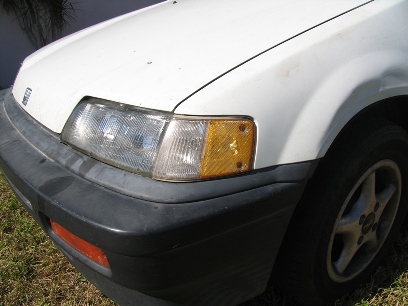
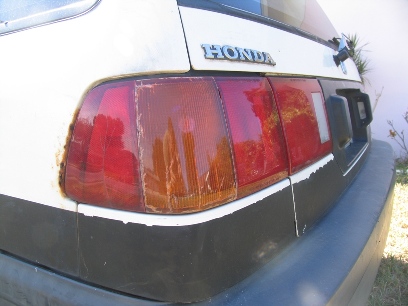
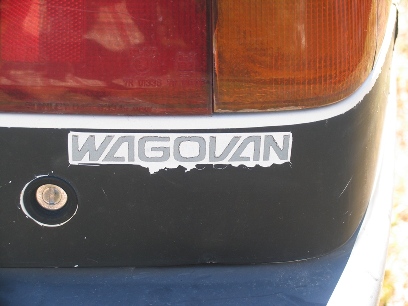
I'm calling this one "Cover Girl", as most of the work I'm doing is a repair and cover-up to avoid repainting the entire car. I'm hoping to have her looking very sharp in a short period of time.
Consider these the "before" pictures:


Comments
I wish it was paint, but it is in fact a giant vinyl decal. If it was paint it would be a simple matter to paint over it, but I don't have any idea how to remove the decal so it's staying as it is. I'll use touch-up paint to fill in the messed up edges.
The first thing I did after I bought this car was to get a writing pad and catalog the car. The first page has the "specs" on the car. The sort of things you would list if you were writing a For Sale ad. The second page starts my cataloging the problems with the car, divided into four sections (each section is on a separate page): Exterior, Interior, Electrical, & Mechanical. The final page lists the Modifications I'd like to do, like add a roof-rack.
Then I went to the junkyard and found vehicles with the bits and pieces I need. Thank goodness Sedans have the same dash! I'm getting new AC vents, passenger-side mirror, dome light, and an RT-style steering wheel since my wheel has loosened rubber grip. I also found an OEM radio to replace the non-wired JVC deck currently installed and a new antenna assembly to replace the busted one I've got.
Getting the passenger rear door to open involved cutting open the exterior door handle and operating the latch with a screw-driver.
When I go to the junkyard for a new exterior handle I'll look for a new clock as well.
The tires are pretty shot and not holding air all that well, so I'm thinking about some new 15" wheels and tires soon, too.
As previously mentioned, the area behind the decal will be significantly whiter. However, get some turtle wax rubbing compound and put a grip in a bucket of hot water to wash the entire car...you will need to wax/buff after doing this, but I would like to believe the paint will blend. I have a background in the commercial sign industry
Monday, I got a set of FIT wheels with crappy tires (195/55R15) on them. Today I installed them and got an alignment done. The car looks much nicer now and drives a lot smoother, but I'm still left looking for new tires.
I also found a set of OZ Racing F1 wheels with 195/60R15 Nitto Neogens. The fronts have 50-60% tread and the rears are 80-90%. I'm probably going to buy those tomorrow and throw them on the car so I've got good tires to ride on.
I plan to clean up the old 13" aluminum rims and try to sell them, keep the Fit rims for the Wagovan, and keep the F1s for the RT I'm hoping to buy....
I bought some speakers to install in the front doors tomorrow, and then I'll re-install the door panels. The driver's window is a real bitch to crank up so I need to address that before I install that door panel. I also need to deal with the rust around the windshield and repainting around the door glass before washing, claying, waxing, and buffing the car.... Need to find my sander!
I bought some Forever Black and plan to use it on the vinyl decal as well as the bumpers and trim.
I'd like to re-do my headliner with white vinyl. Right now it looks like someone scored it front-to-back with an Exacto knife every half-inch. I'd like to run the vinyl down the pillars as well and recover the visors with it. Just need to find a source for the material....
I went to install the new speakers and found that the P.O. had butchered the ends of the speaker wires. I pulled the center console and removed the radio and discovered that the original radio plug has been butchered as well. Tomorrow I'll head to the junkyard for an original radio plug and wires and get busy splicing it to my butchered harness.
I removed the broken antenna and bought an internal amplified glass-mount antenna. I plan to fill the hole where the old one was with Bondo Hair and paint over it.
I'm also buying a new radio since there is no plug for the one that was in it.
Interior:
I did finish installing the rear door panels at least!
Exterior:
I bought some black touch-up paint to fill in all the nicks in the vinyl. Then I'll hit it with the Forever Black and see how well they match.
Also bought the $85 Pioneer CD/USB/AUX deck with 4 6.5" speakers combo at Wal-Mart. The back of my speaker pods were already cut out, so the speakers fit great. I used the same thick plastic sheeting that I'm using for vapor barriers to keep the moisture off the speakers. Front door panels will go back on tomorrow so the car won't look so ghetto anymore. The radio is mounted with some Ford brackets that the P.O. used on the last radio. The wiring is fixed and everything works fine, just need to find some blue rear speaker pods or custom-make some.
Since the factory antenna is gone, I used an internal one that is just sitting on the dash for now. I'm debating mounting locations...
viewtopic.php?f=34&t=11678
I finally pulled the roof-rack off a junkyard '98 Subaru Legacy Outback. Got it for $26.53! The interior door panels are on, just in time for all the trim and headliner above them to come down to install the roof-rack. I can't wait to have a complete interior again, and stop looking so ghetto!
Plus, I met some really cool rock-climbing chicks down there!
I first washed the roof, then clayed and rinsed it. Then I washed the roof-rack (which I pulled from a '98 Subaru Legacy Outback for $25!) and taped over the mounting studs so they wouldn't scratch up the paint. I set it on the roof of the car to mock up the installation, and took some quick measurements of the rack and the roof to make sure I get things centered. I laid masking tape down where the mounting feet will be and used the gaskets for the mounting feet to determine where to drill the holes.
That's as far as I've got. Tomorrow I need to remove the upper half of my interior, drill the holes, and bolt on the rack. For now it's getting some washers to back the bolts but I plan to use backing plates in the future.
Pictures coming soon.
I placed the rear of the rails (the feet, not the mounting bolts) 4.5" from the seam between the roof and the hatch. With the cross-beams still attached, I measured the mounting studs to make sure they were spaced equally on each side of the roof, using the rain gutter as my reference. Then I marked all the holes and drilled them, one at a time, making sure everything stayed lined up.
When I was done and began bolting them down, a problem with the crossbars arose. Apparently, the Subaru has more curvature to the roof, so while the crossbars stand up-right on the Subaru they lean inwards on the Honda. Or I somehow mounted the rails a little too closely together. I had to remove the crossbars to get the rails to bolt down properly, and then there was nothing I could do to make the crossbars re-mount. I removed the clamps from the ends of the bars, attached them to the rails, and noticed that they tilted downwards a bit.
I cut an 8' 2x4 in half, laid each half across the rails, and strapped the canoe down. I've resigned myself to creating some new rails later- I already have a design in mind.
Pictures are still forthcoming- I'm having problems with getting my phone to upload.
I've actually splurged and ordered a set of Yakima RailGrabs to mount to the rails. I got locking cores with them, but not cross-bars. Yakima crossbars are painted 3/4" pipe from the hardware store. ~$6 for 10' at the store, and $66 for two 4' pieces from Yakima. I'm going to have mine painted black when I get some work done on the car. Those suckers set me back ~$200
Until then, I've made temporary crossbars of 4' long 2x4s, with 5/16" 2x3" square U-bolts attaching them to the rails.
love the side decals. so sleazzyyy
I'm heading to Boca Raton tomorrow (Friday, 2-18) for four days, and taking my canoe with me. I've ordered all the steel I need to build a hitch, and that will be the project while I'm down there. I'll take pictures and document everything exactly as I do it. I'm following Stampern's method but will be more detailed in what I use. I have to tow my brothers boat back home with me on Monday, so this is top priority.
When I come back, I'll be having a body shop pull the windshield and repair all the rust around it. They will re-paint it white and I'll buy or build a roof-rack fairing that will cover the area where the new paint blends into the old. They will also be painting the portion of the doors around the windows black, as well as the pipe I'm using for cross-bars with the Yakima RailGrabs. It will cost $375-$500 depending on whether or not the windshield breaks during removal.
When I got home the Yakima rail grabs were waiting for me, so I took the 3/4" Sch40 irrigation tubing and chopped it down to 4' lengths, spray-painted it with satin black paint to match the RailGrabs, and mounted it up.
Then I dug out my old SportWorks bike racks. This company invented these racks and were then bought out by Thule who now sells the product under the name "Sidearm" (594XT). You can see that I had to reposition the RailGrabs to get the front tire placement on the bike racks correct.
The pair of them take up pretty much all the space between the rails, but with these racks and my hatch rack (and technically I have a hitch rack I could use as well) I'll be able to carry four bikes on the car. The whole reason I bought the wagon was so I could haul around my self and 3 friends and all our gear for biking, climbing, canoeing, or whatever. Finally, I can!
I need to find a little jet-ski trailer so I can haul two canoes, or four kayaks, or my dinghy (that I use to get out to my sailboat) around on now that the roof space is taken up.
I use a crappy little harbor freight trailer, so I can haul my kayak, canoe, scrap metal, trips to home depot & whatever else I come up with.
I am going to get a tube bender here soon, so I can make the rack I want & some other cool stuff.
I know the pictures are pretty, but please read the words, too
Yes, I know I'm a smartazz :!:
[edited to add pictures Jan 13 2012]
Front and rear mounts look like this:
Center mounts look like this: