Got your red donut? Installing an energy suspension rear trailing arm bushing.
 greenteagod
Moderator
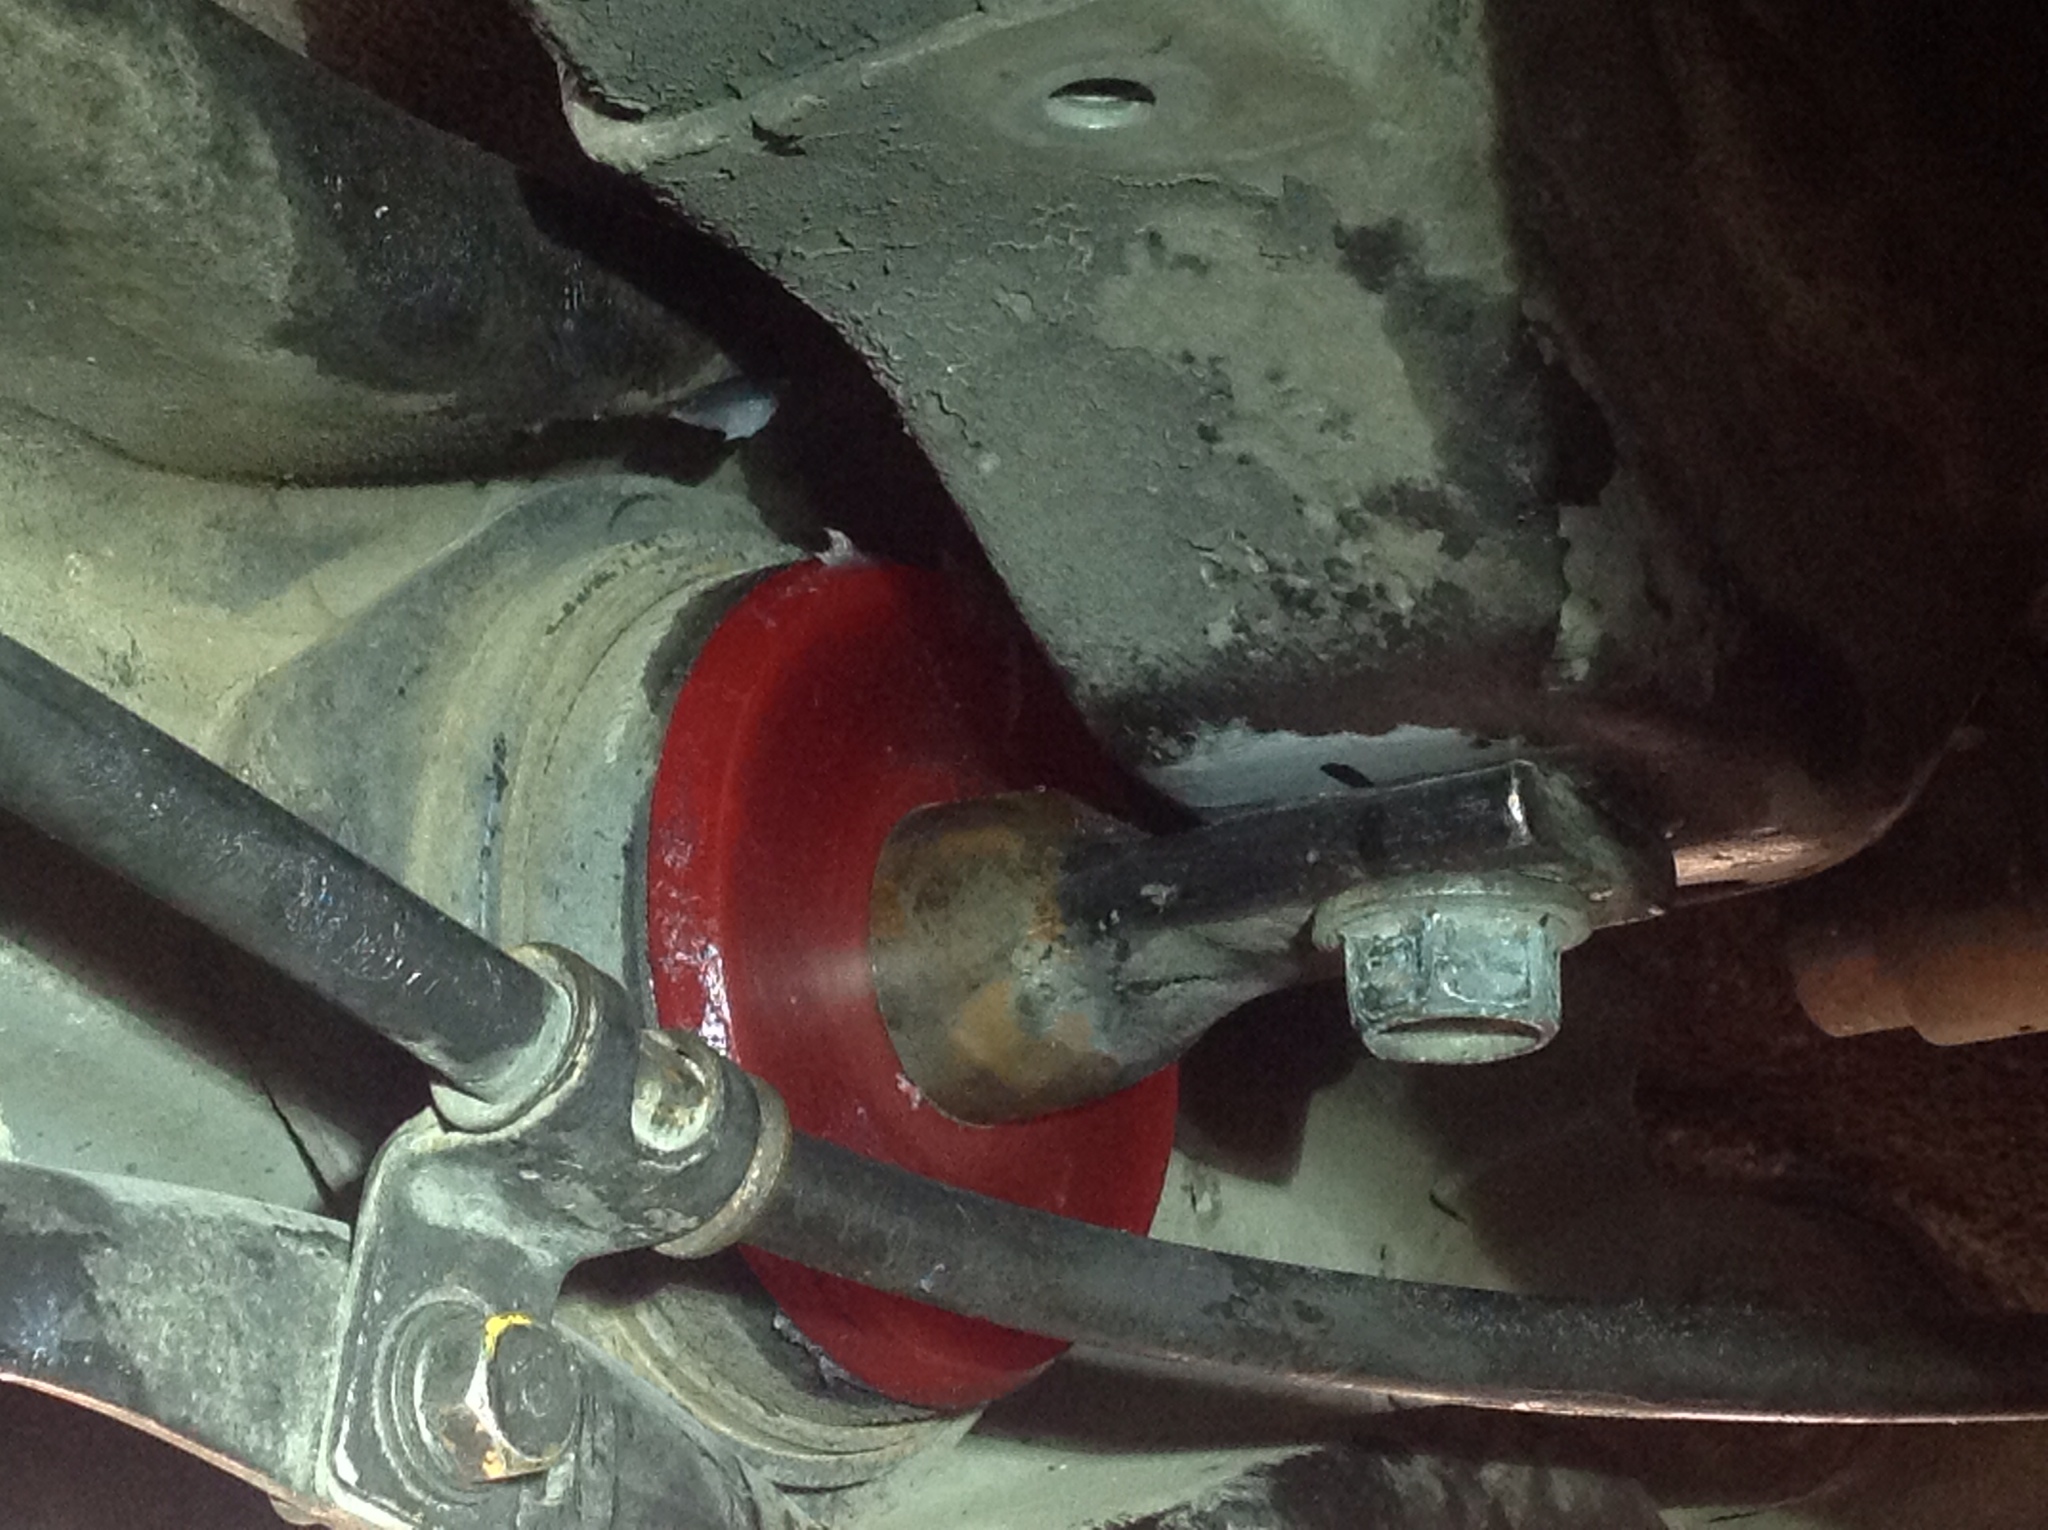
The bushing in my rear trailing arm was shot so I decided to put in these from energy suspension. It is fortunately not an overly complicated task to get this Japanese sex toy looking thing into the rear trailing arm, though it is a bit of a drawn out process.
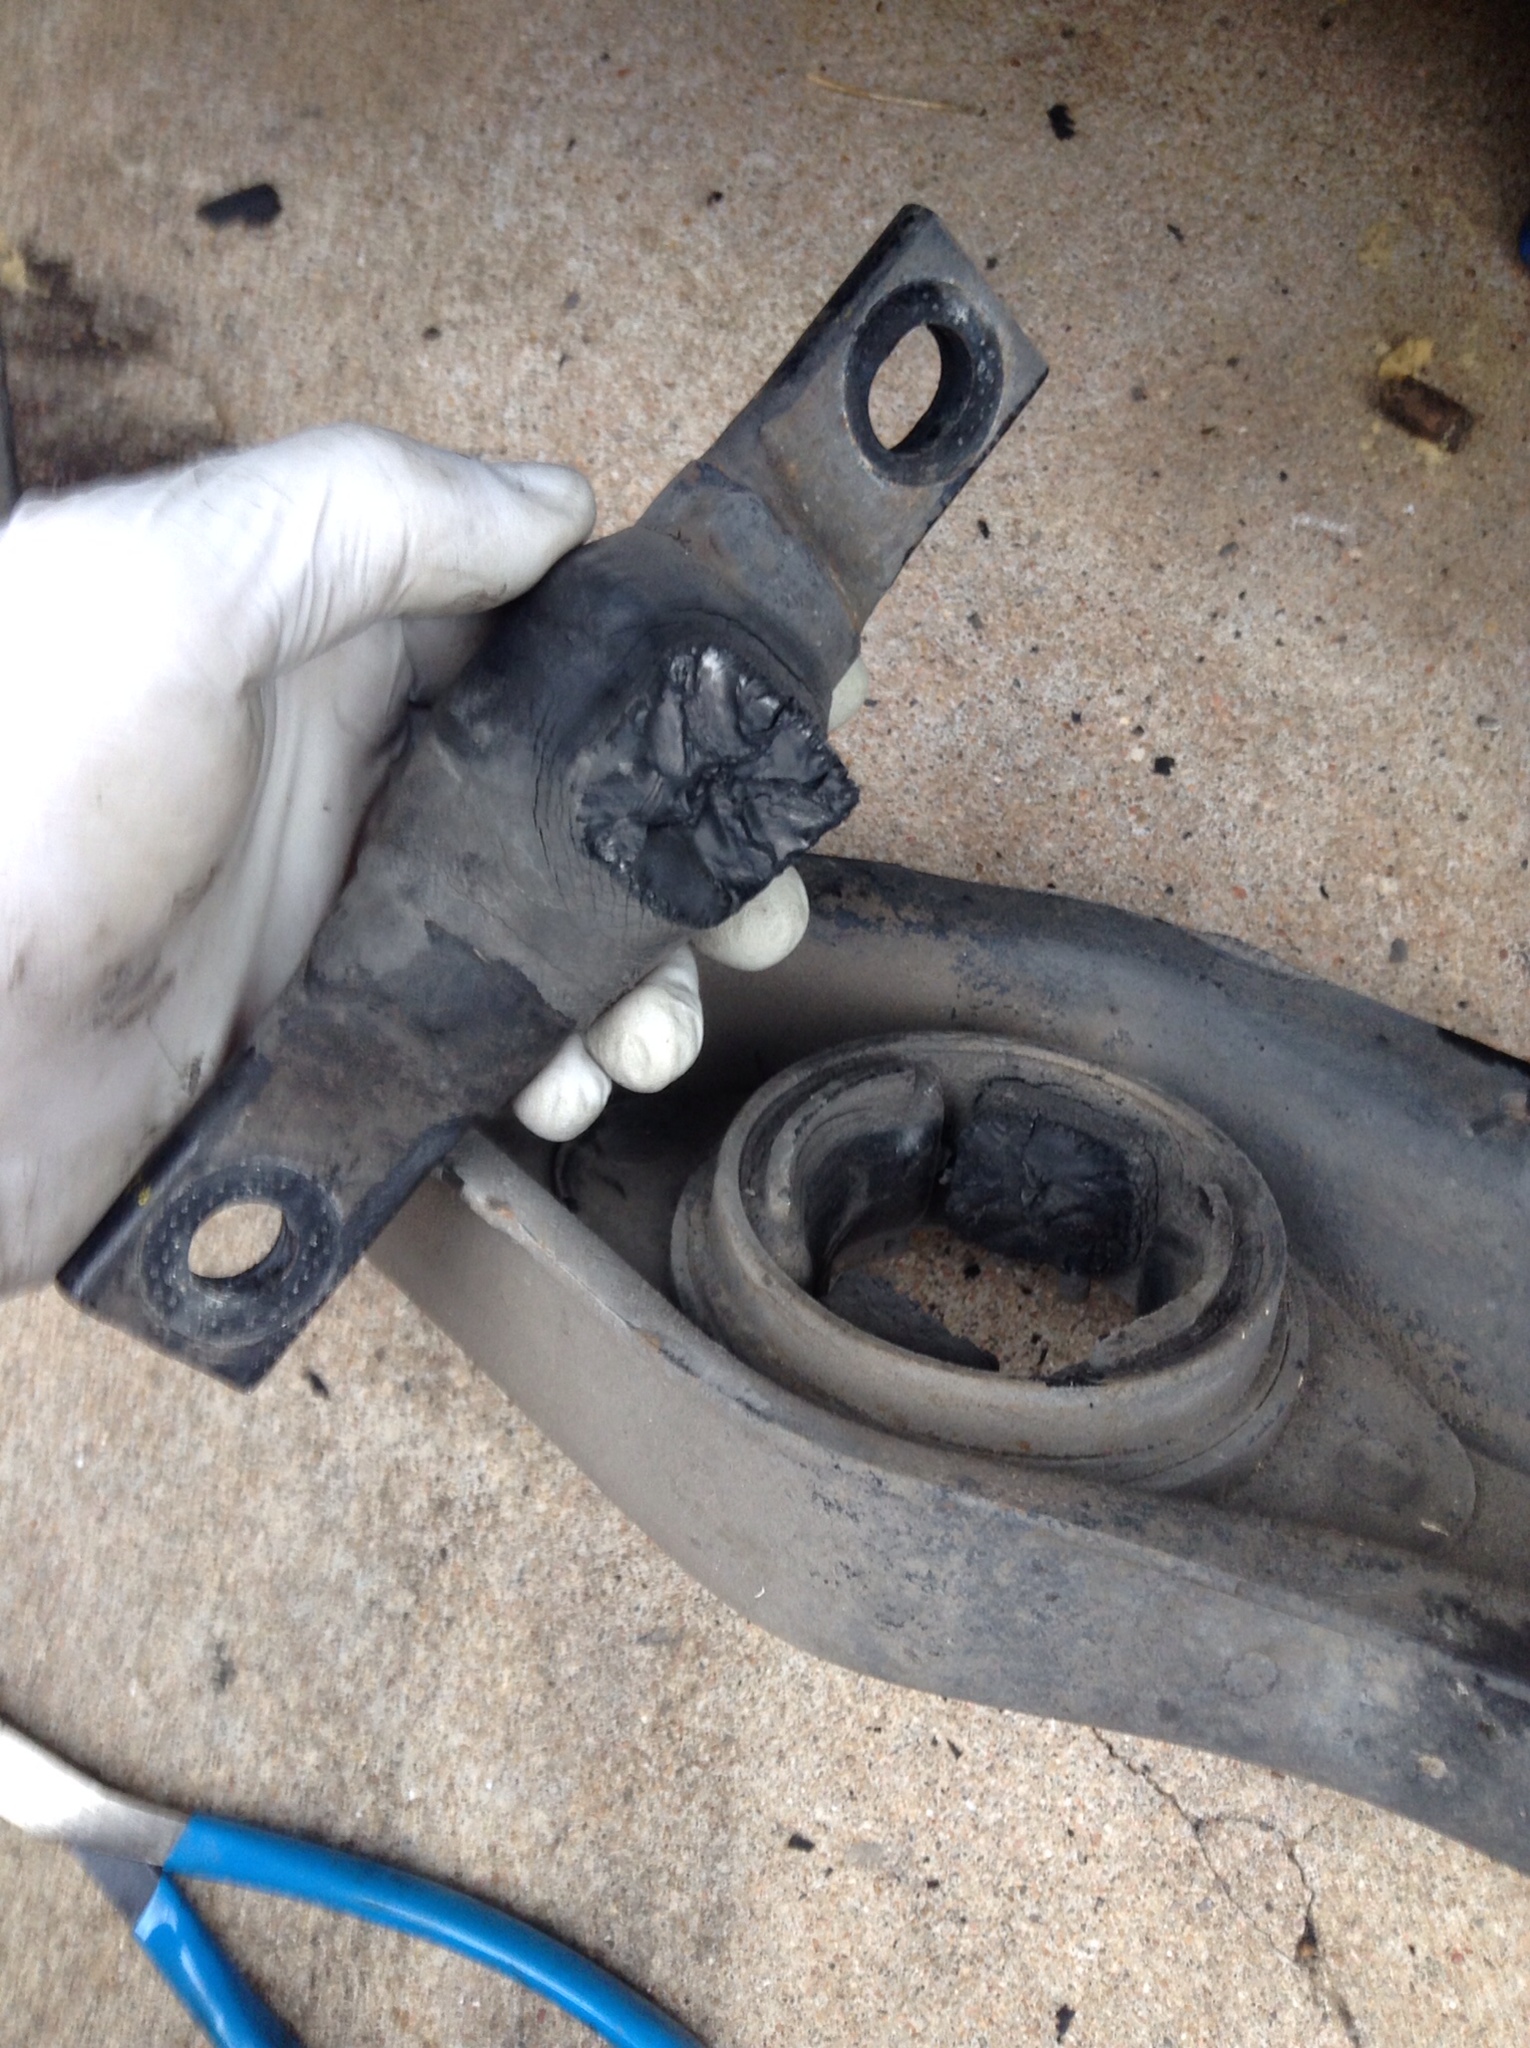
You can see it was well wiped out.
On a side note I was also installing new rear struts and a new lower control arm as well as redoing the rear brakes. Some of these steps overlap, so if you have a bunch of suspension work to do, might as well double or triple up on it as it were.
First, pull the wheel off.
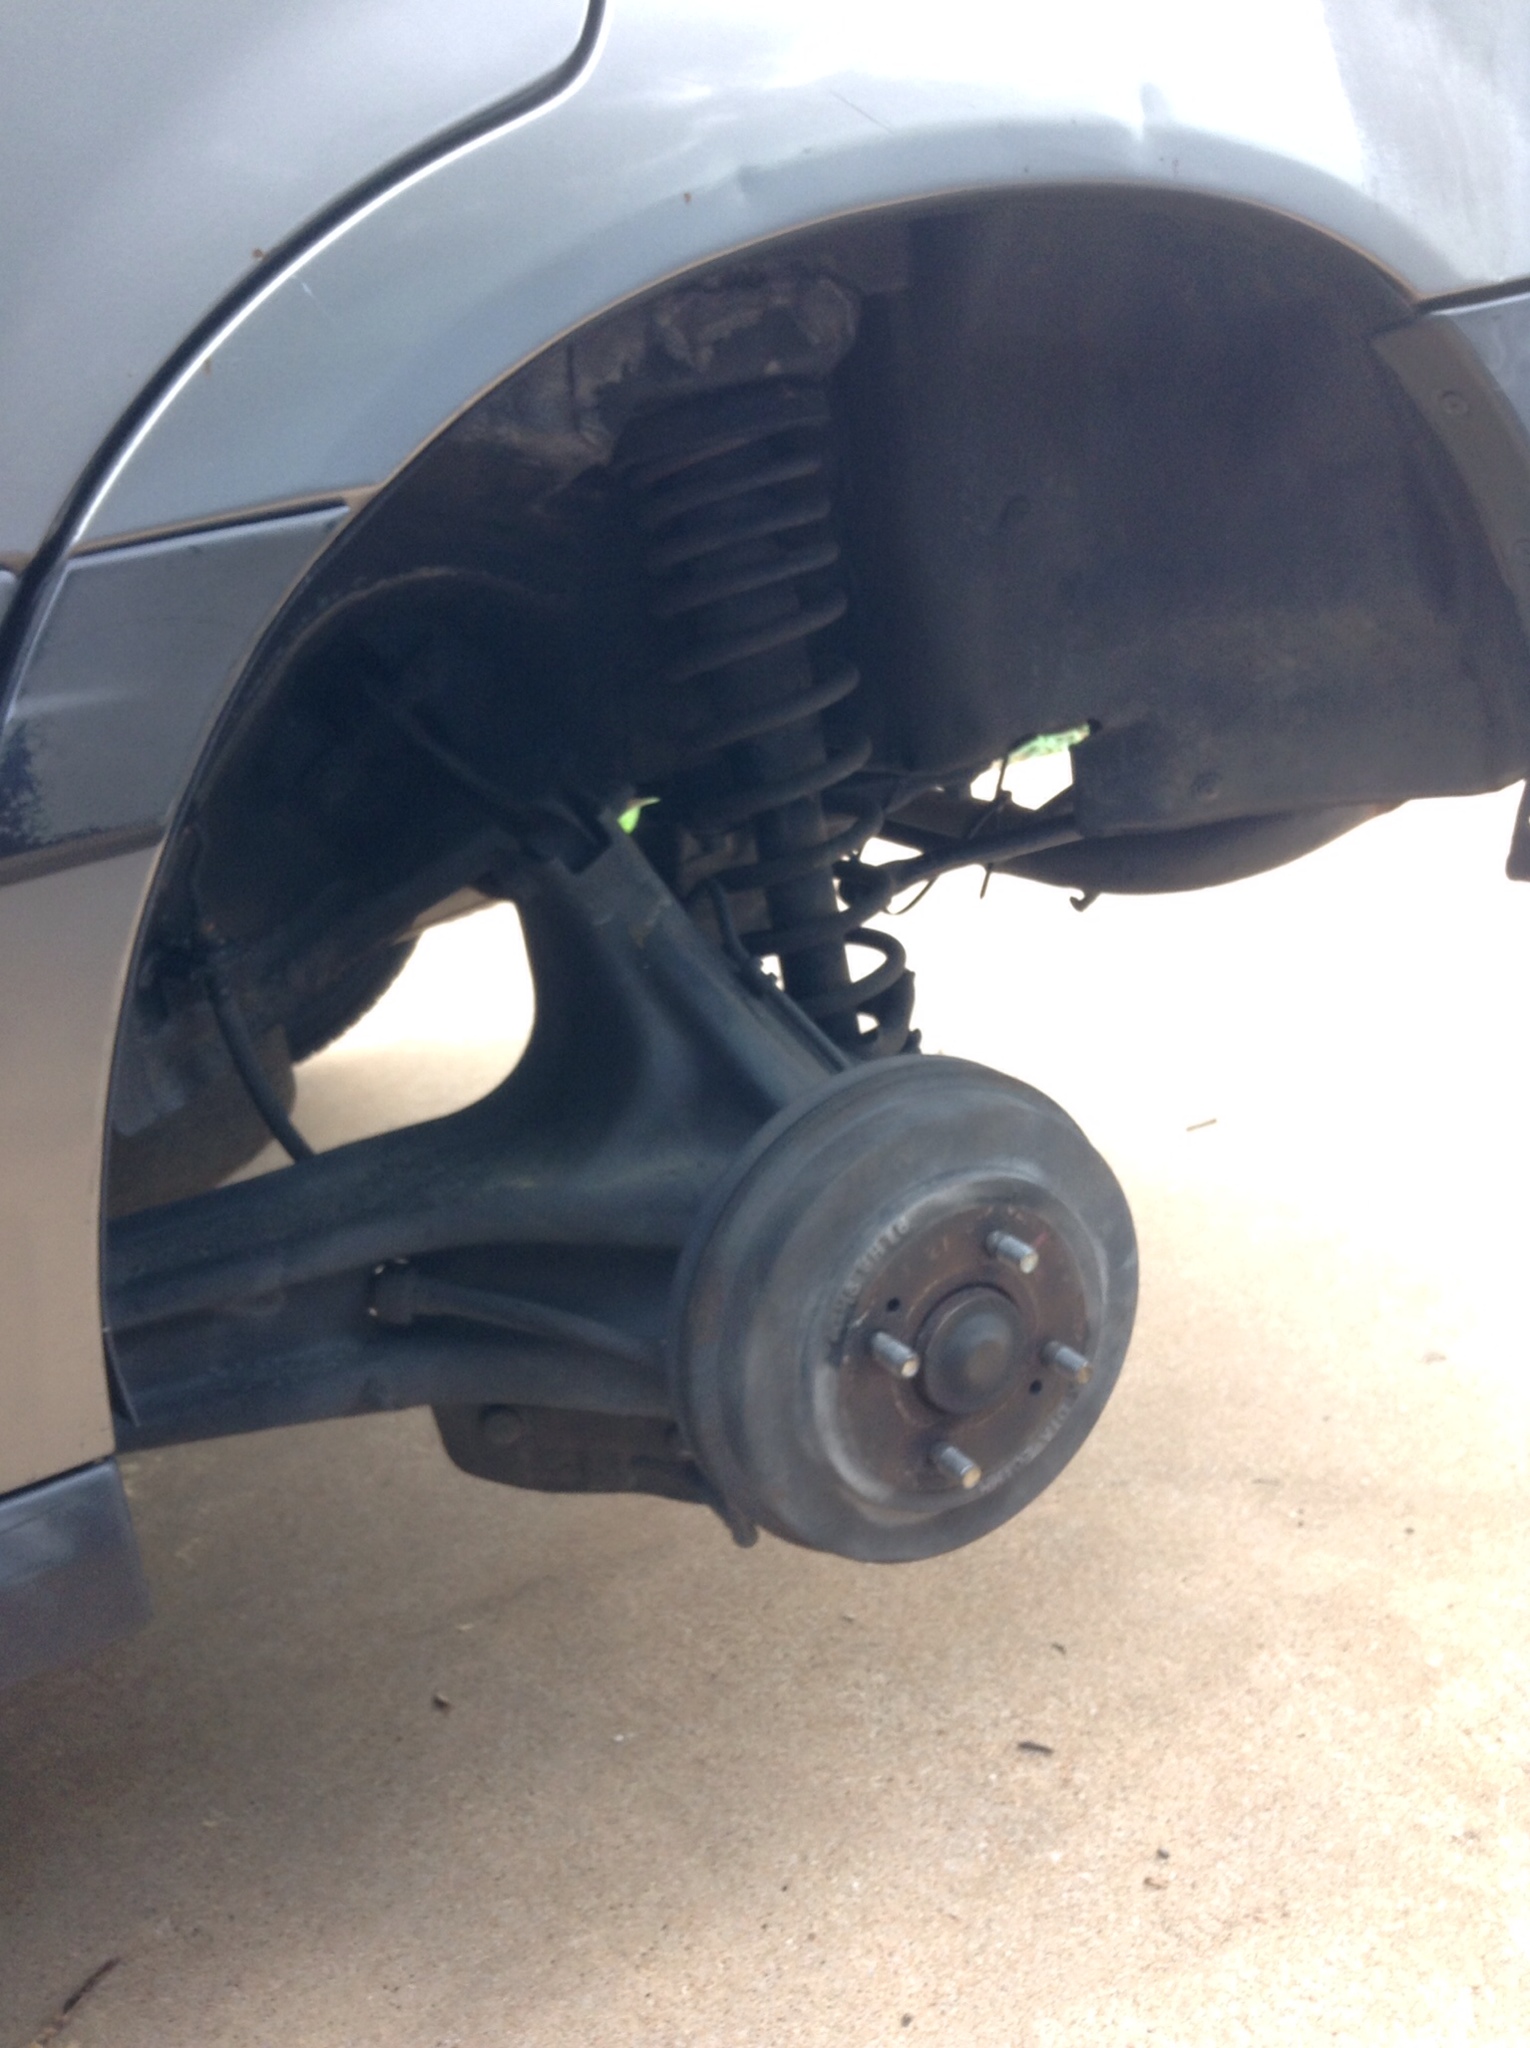
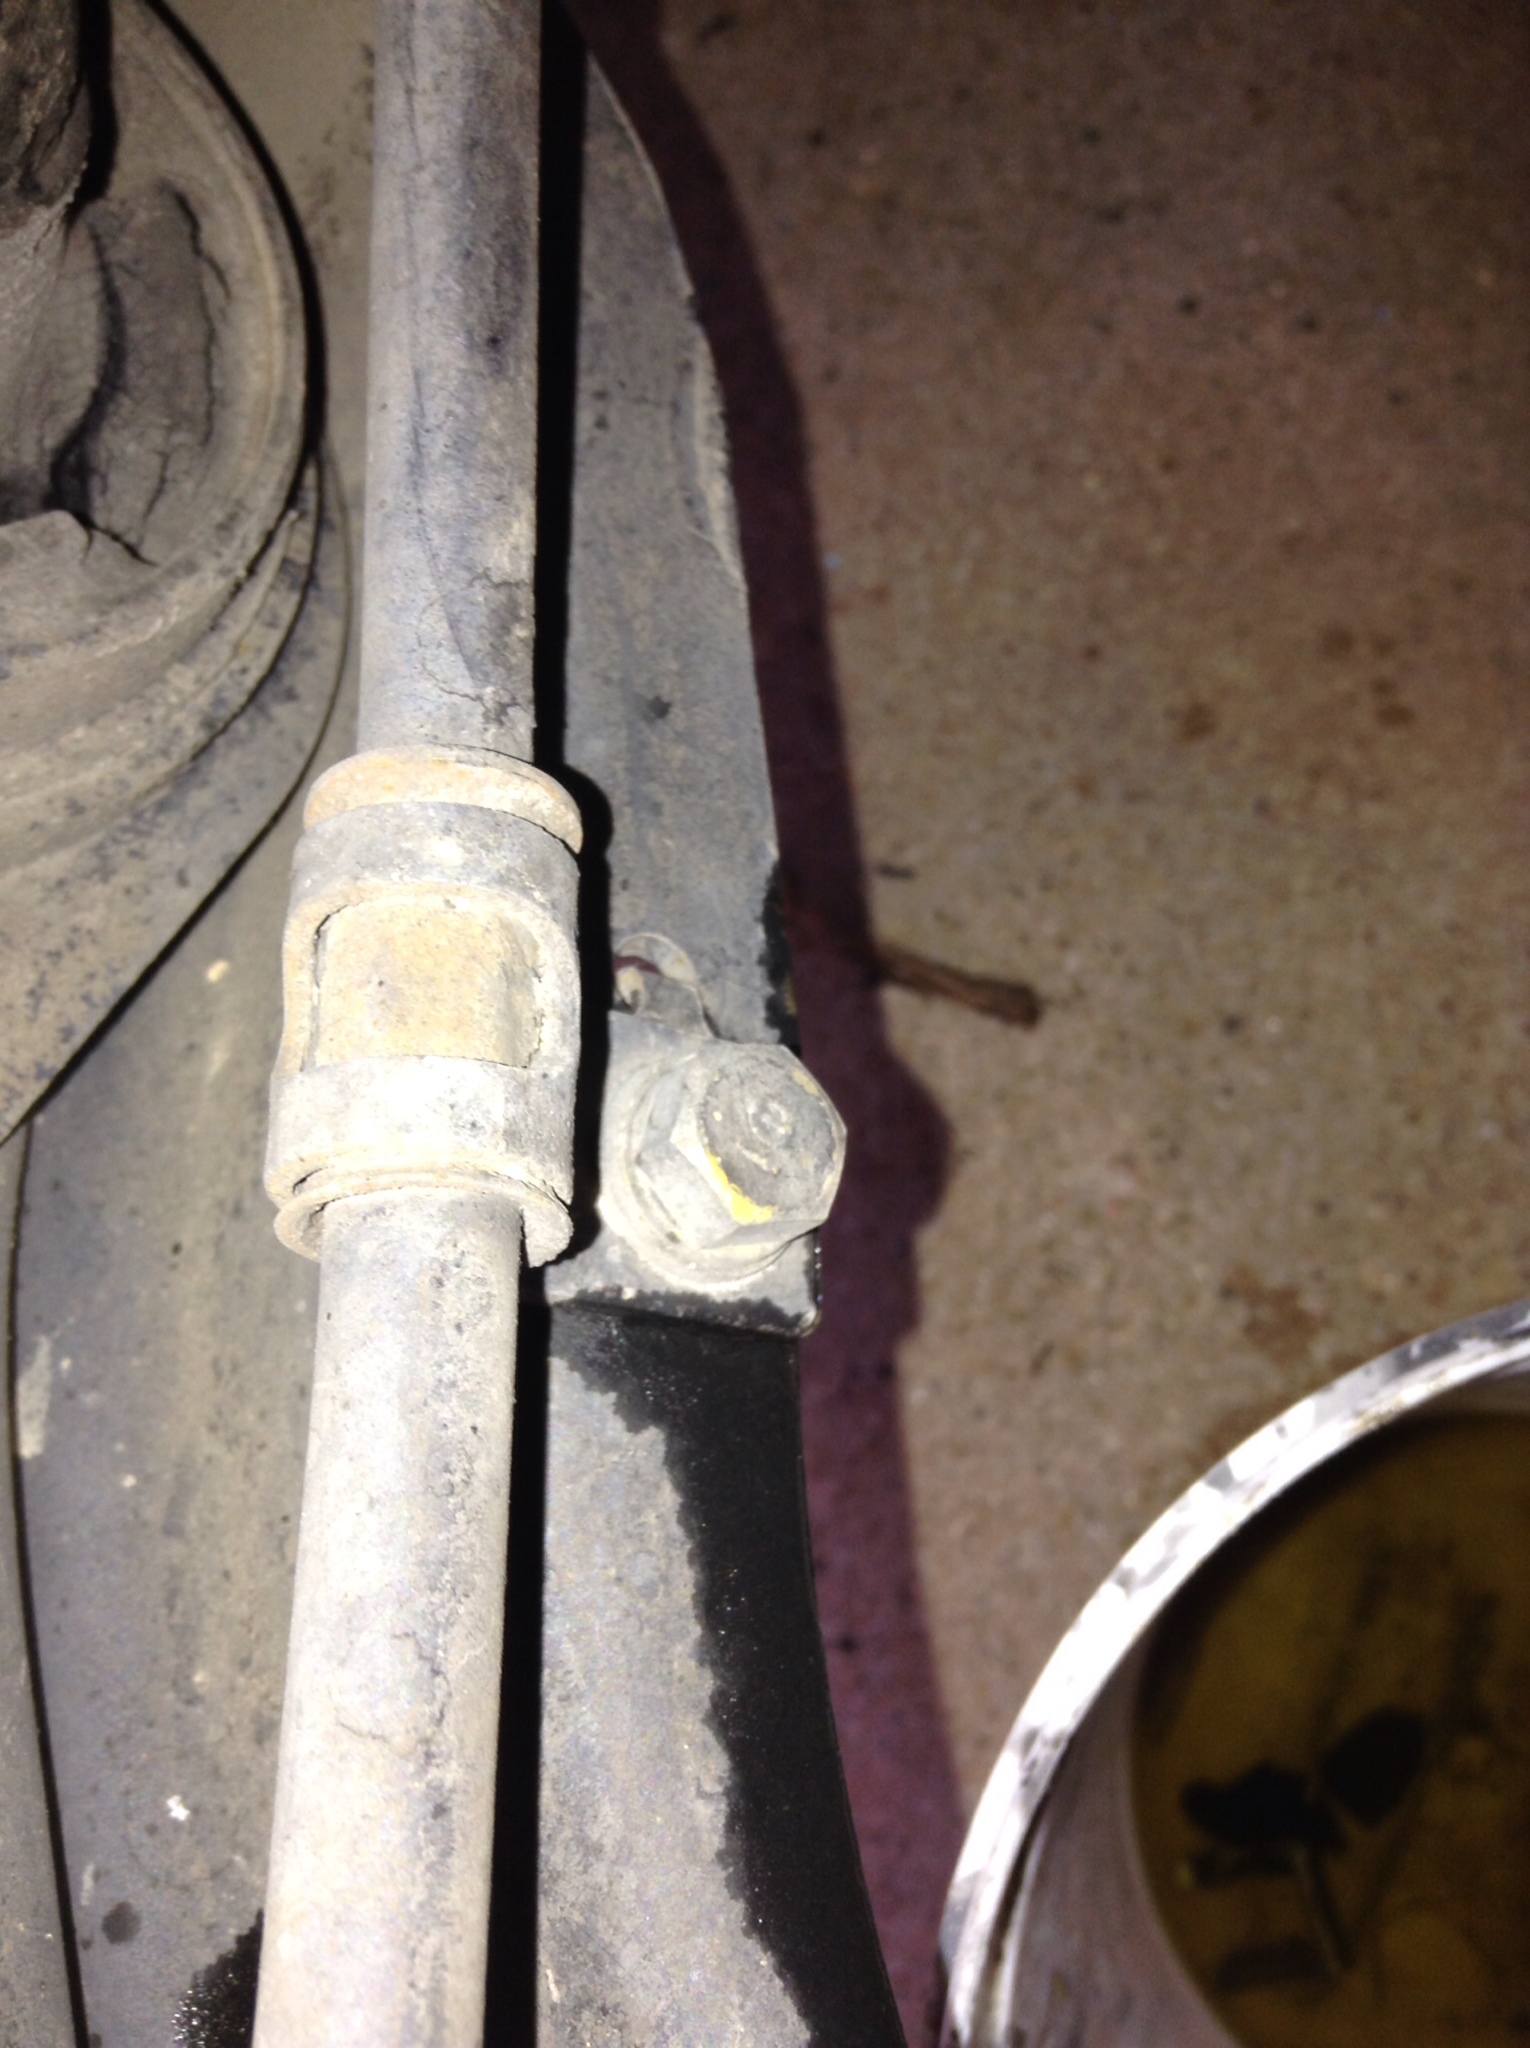
Next undo the brake line from the body, if you're replacing these pull the whole thing. It's just a couple clips and some 10mm fittings. Use a flare wrench on the brake lines if you have one.
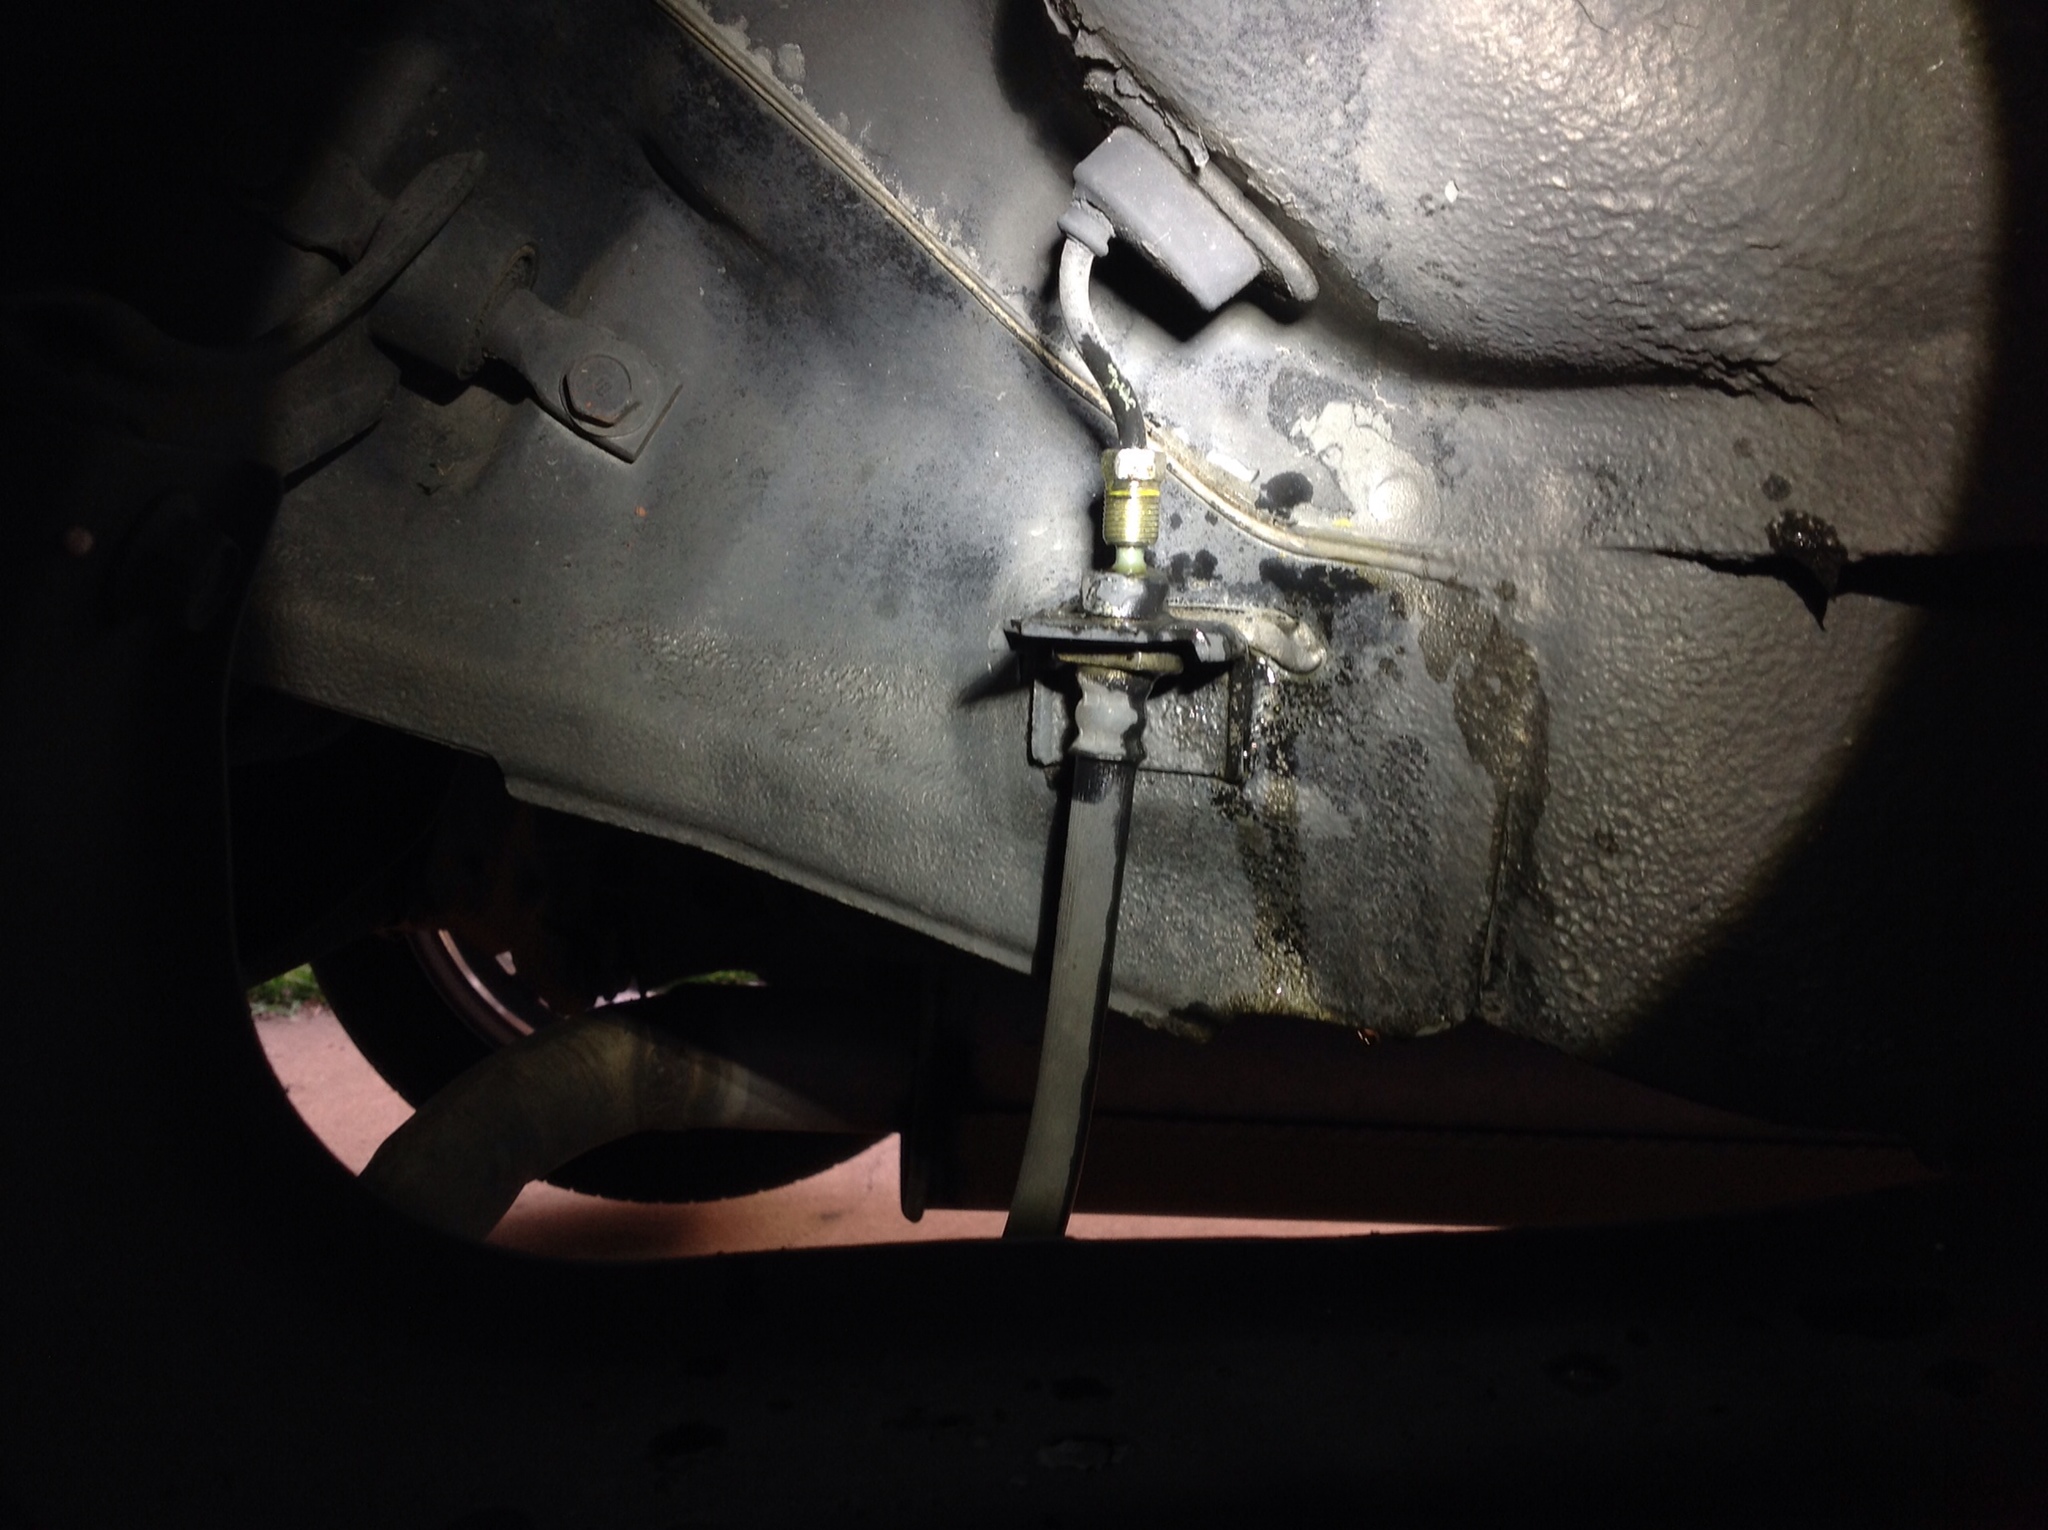
Helpful tip. Pull the rubber cover for the bleeder on the rear cylinder/caliper and use it to cap off the line on the body, this keeps you from drip dripping out all your brake fluid while you're working.
Make marks on any bolts that have room for adjustment and the pin for the bushing you're replacing.
Like so
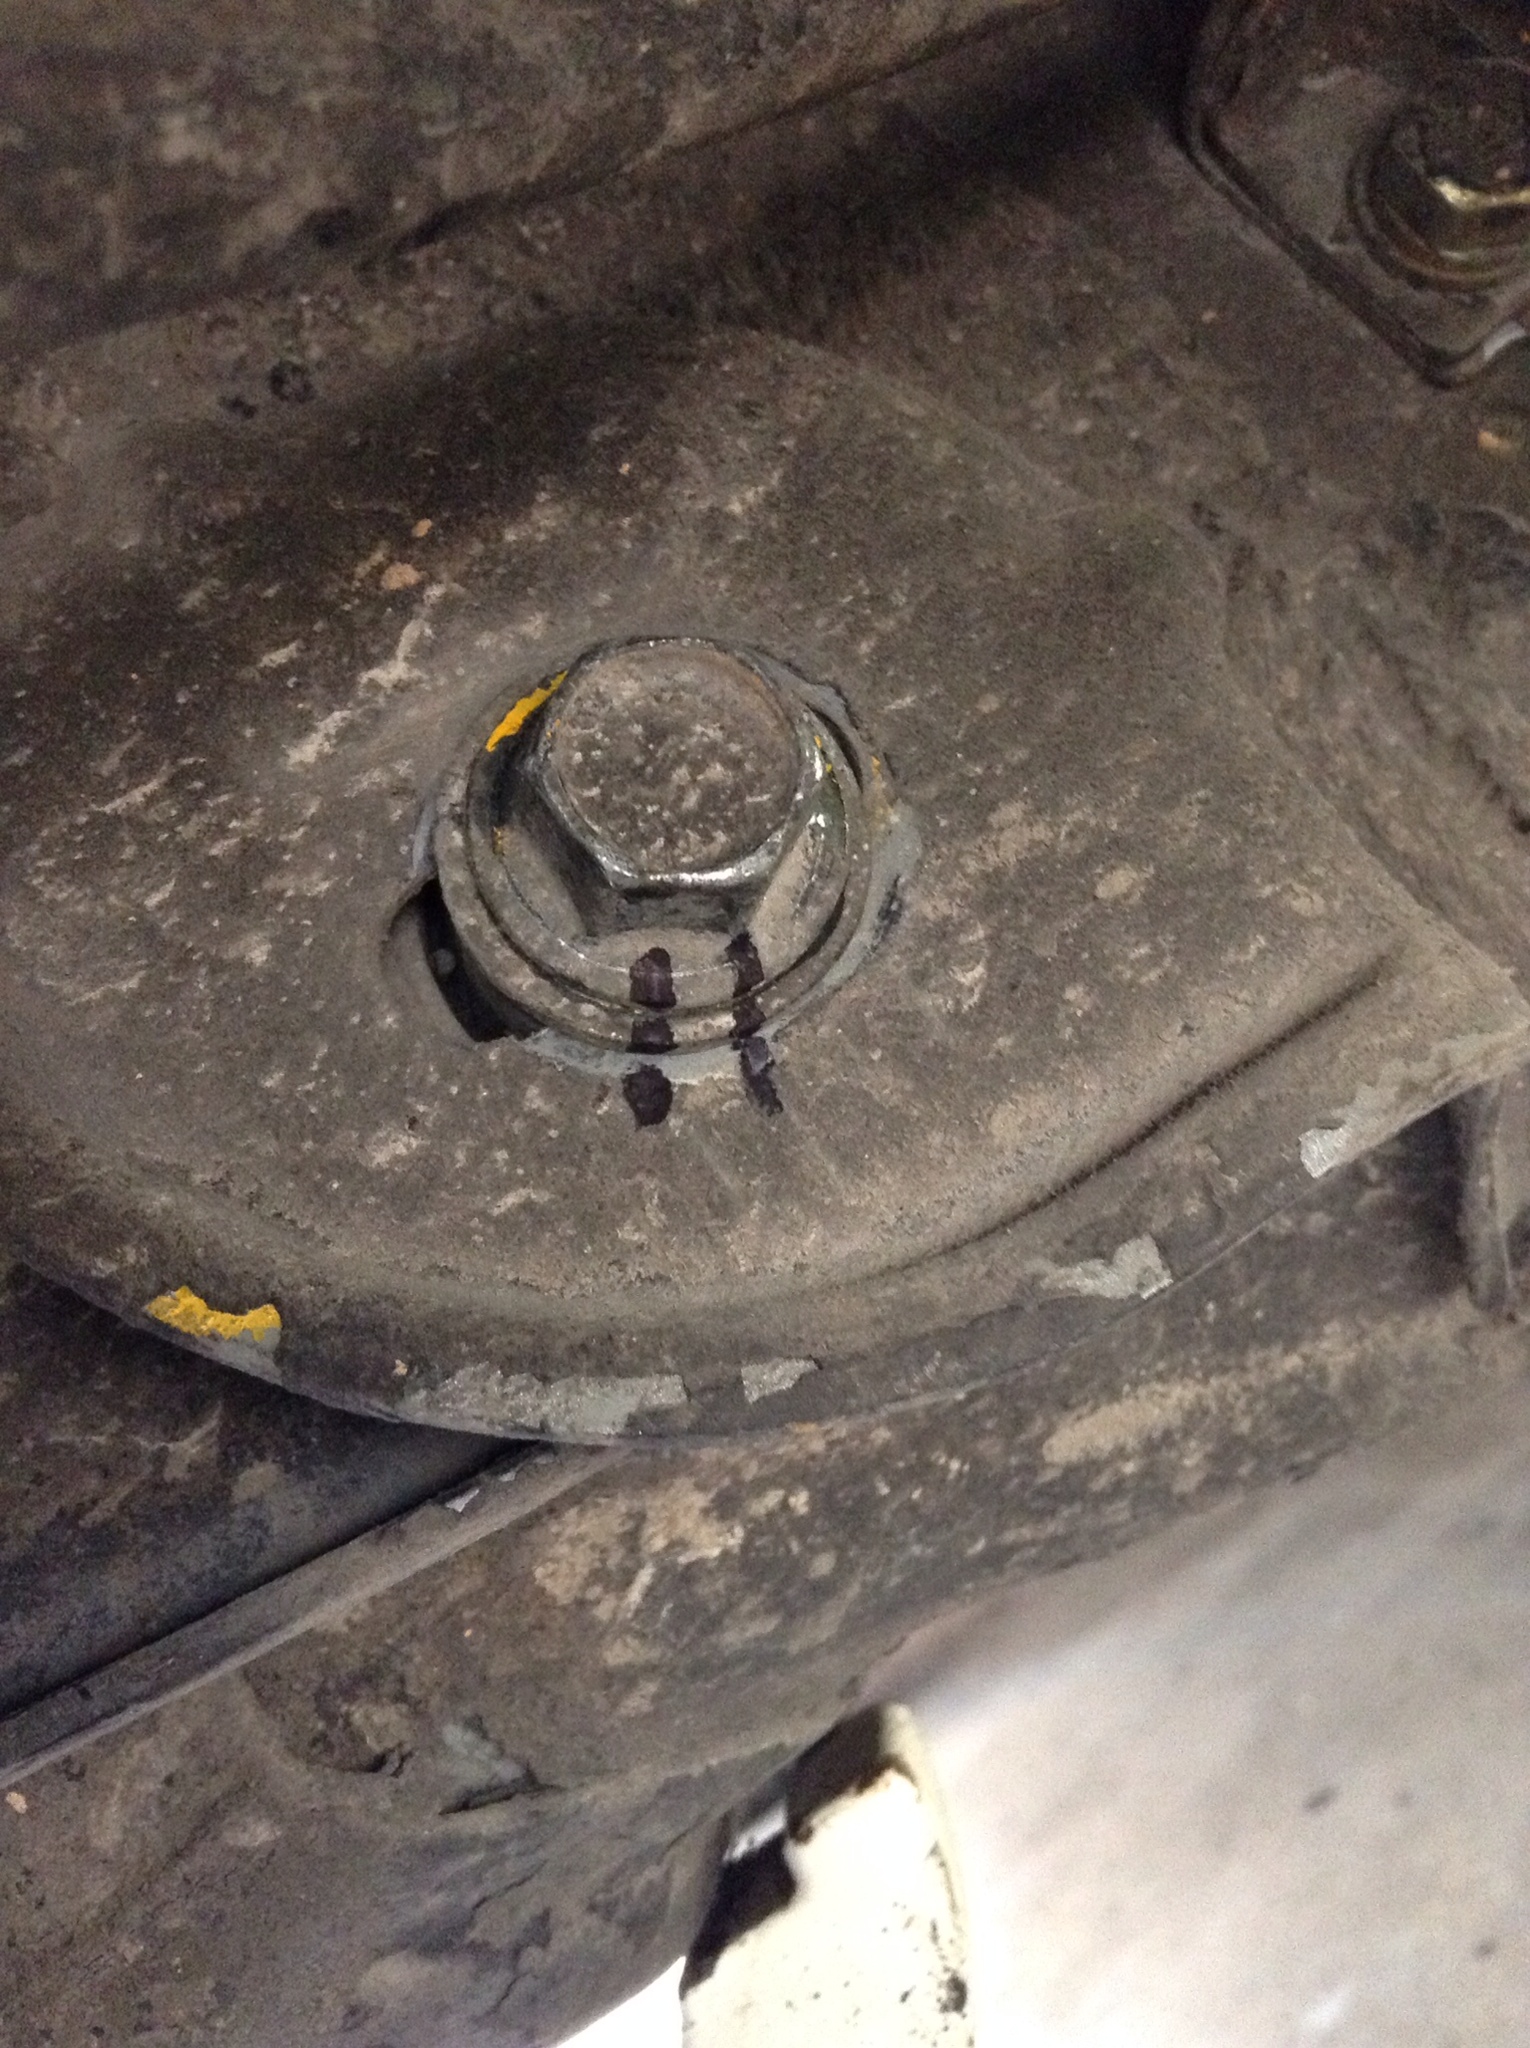
And so.
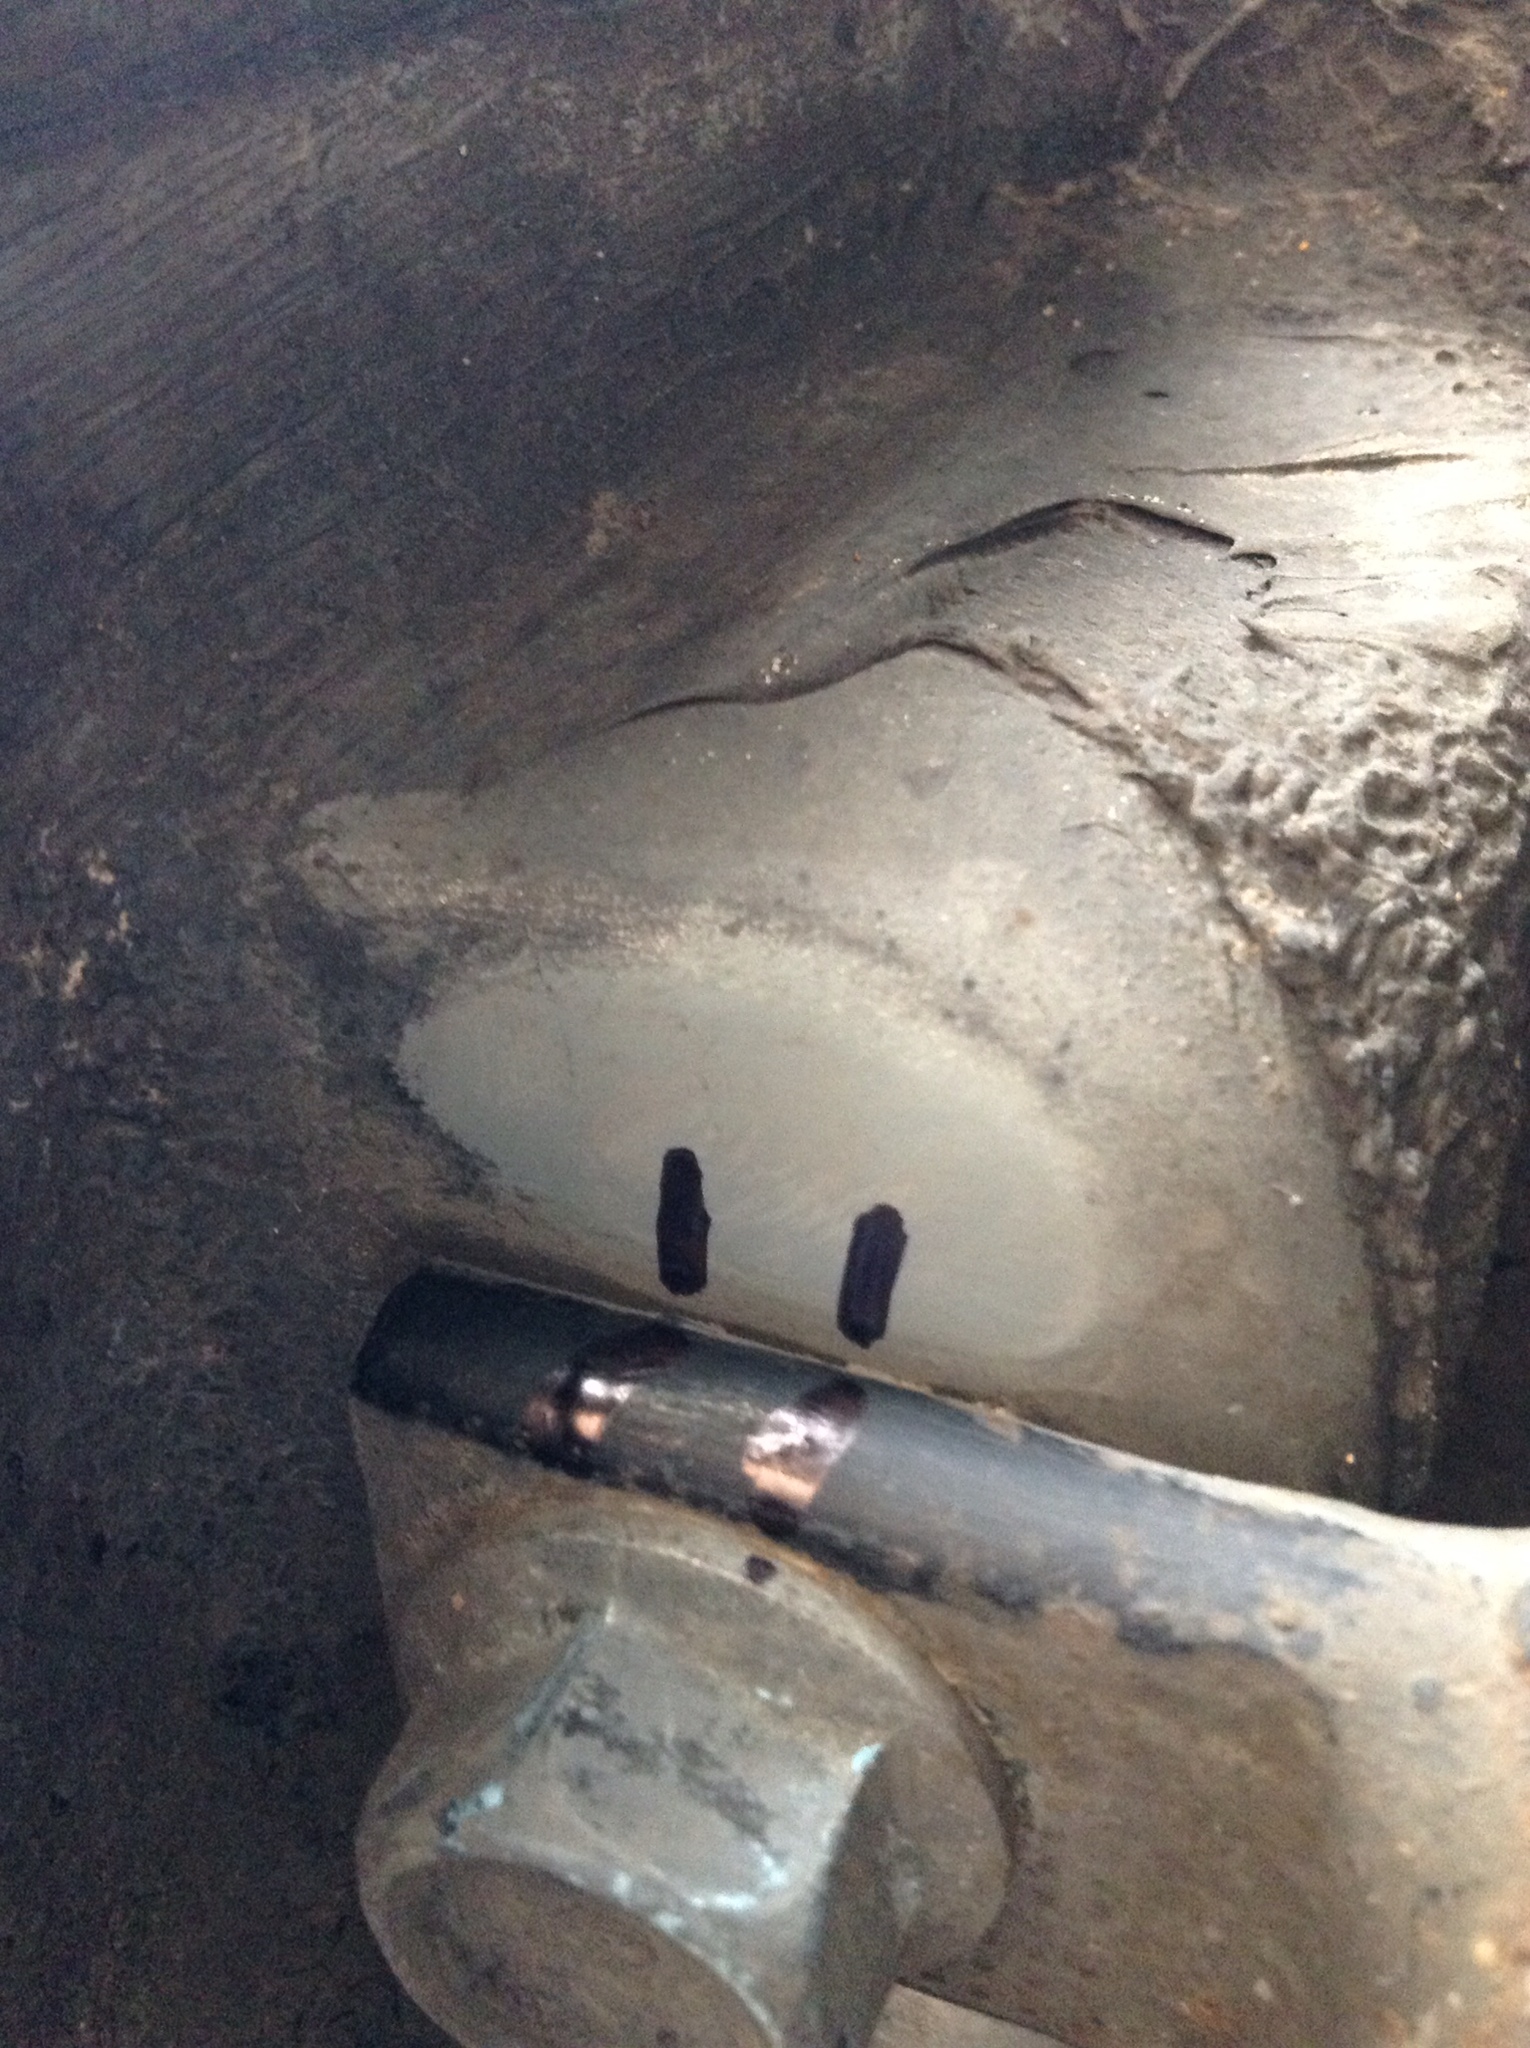
Undo the three bolts holding the rear trailing arm in as well as the two bolts for the trailing arm bushing itself. I believe these are 14mm and 17mm respectively.
Top bolt
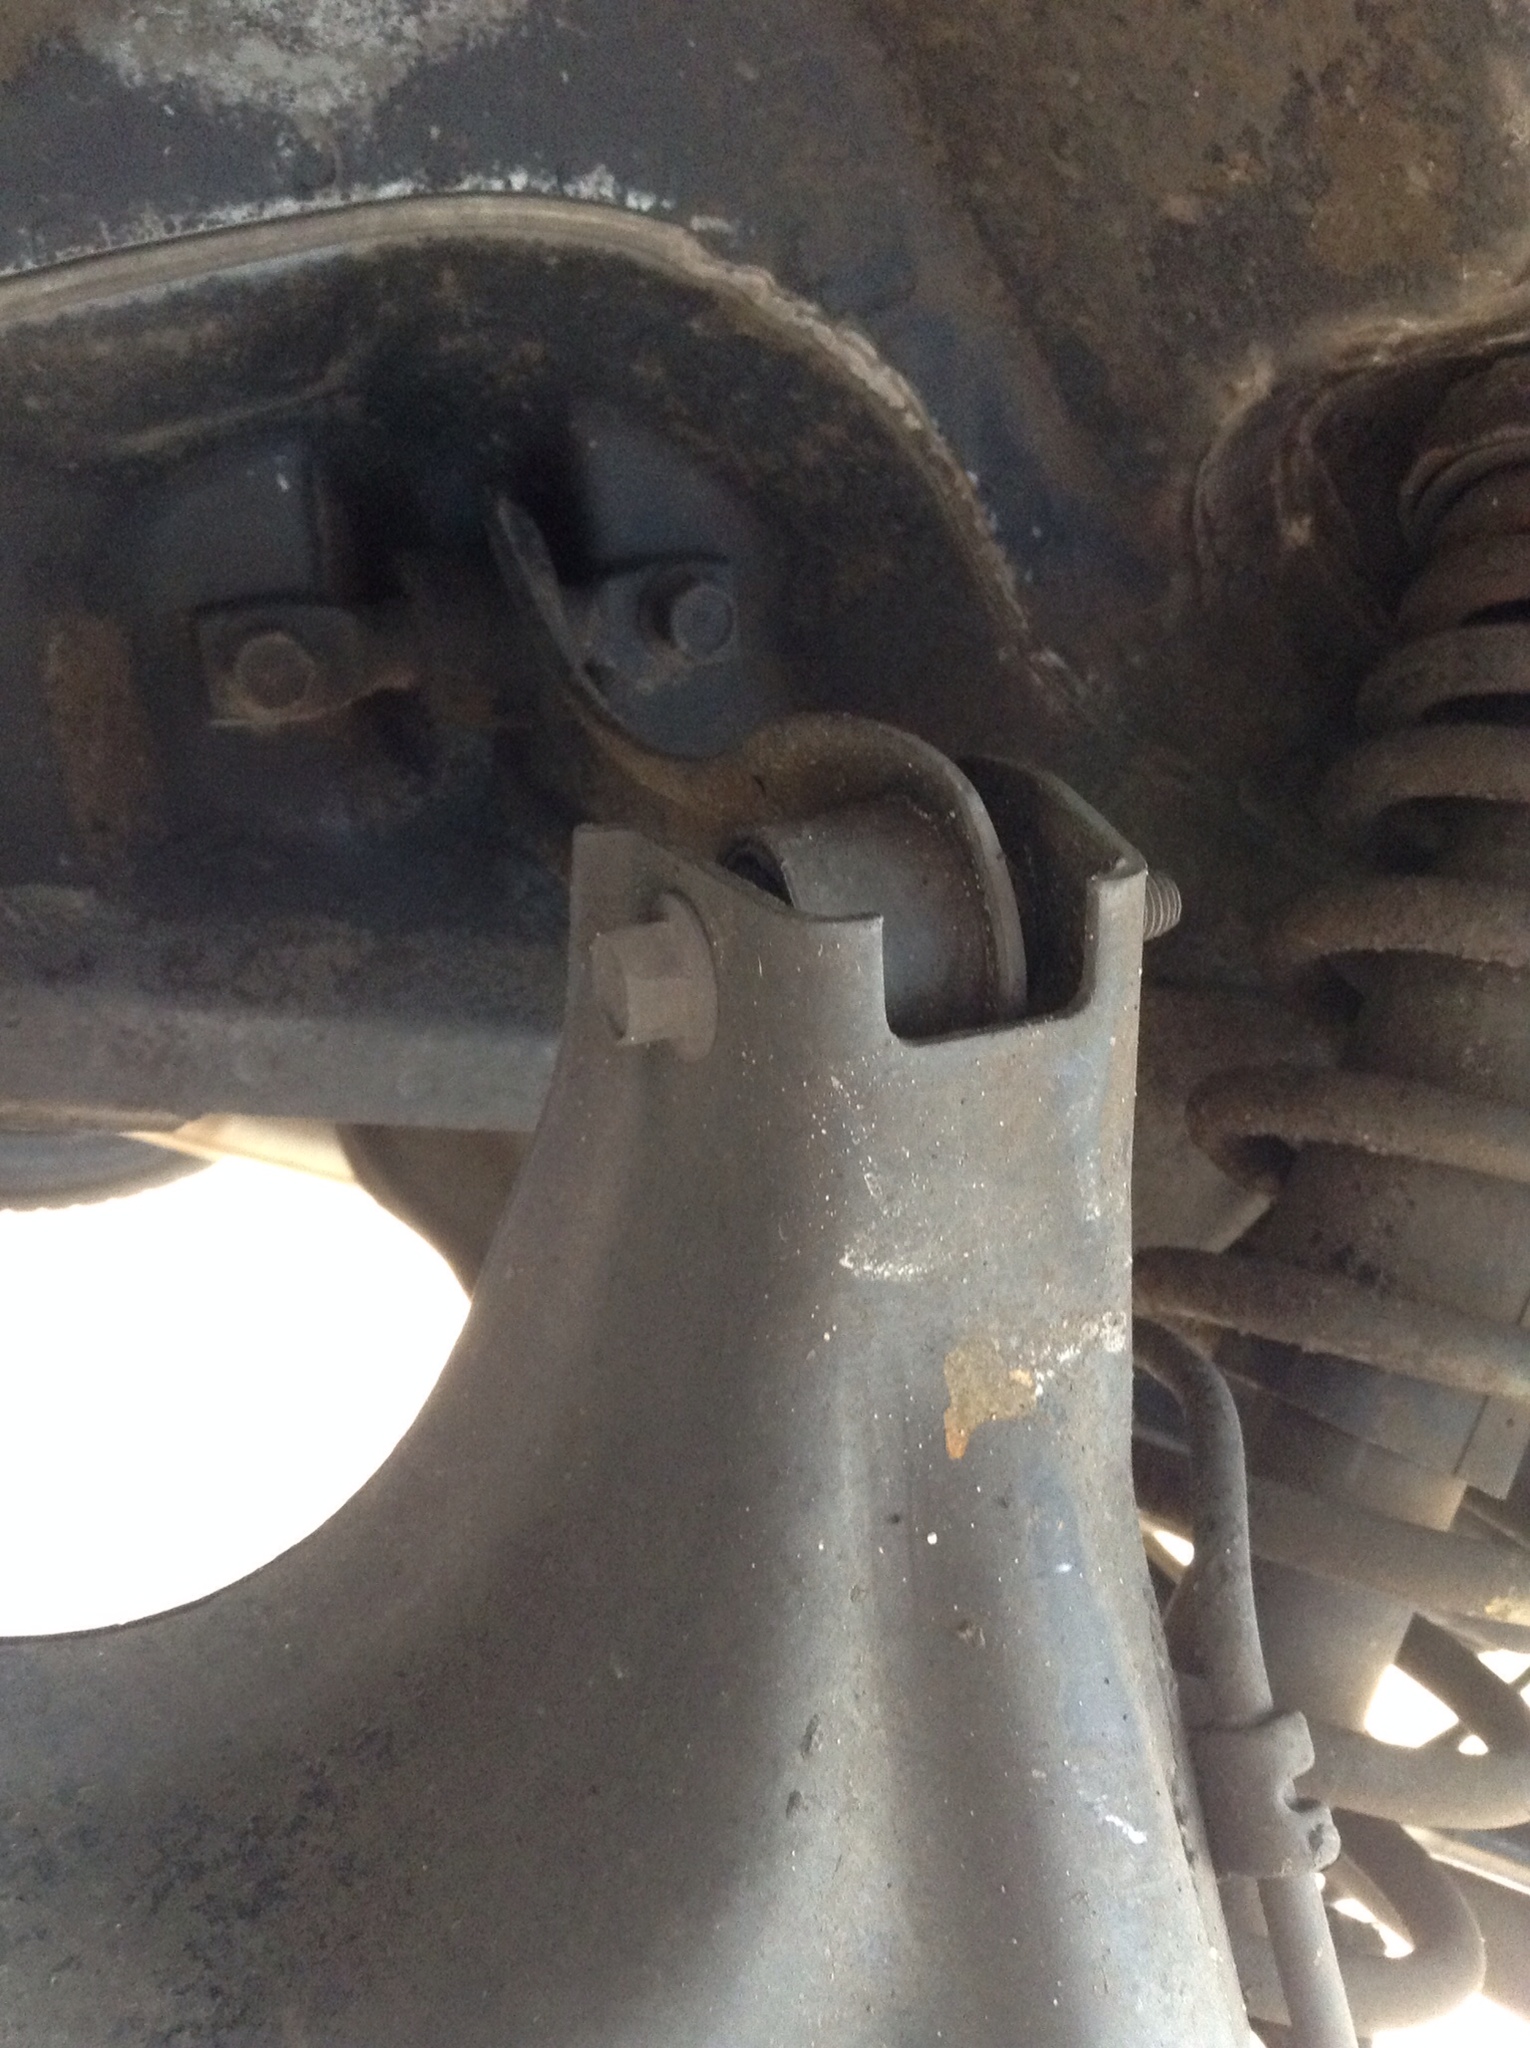
Rear bolt, the one on the left.
(I do have a jack holding things up. Not sure if it's necessary for trailing arm bushing replacement. I was doing the lca and struts as well so it was needed for that.)
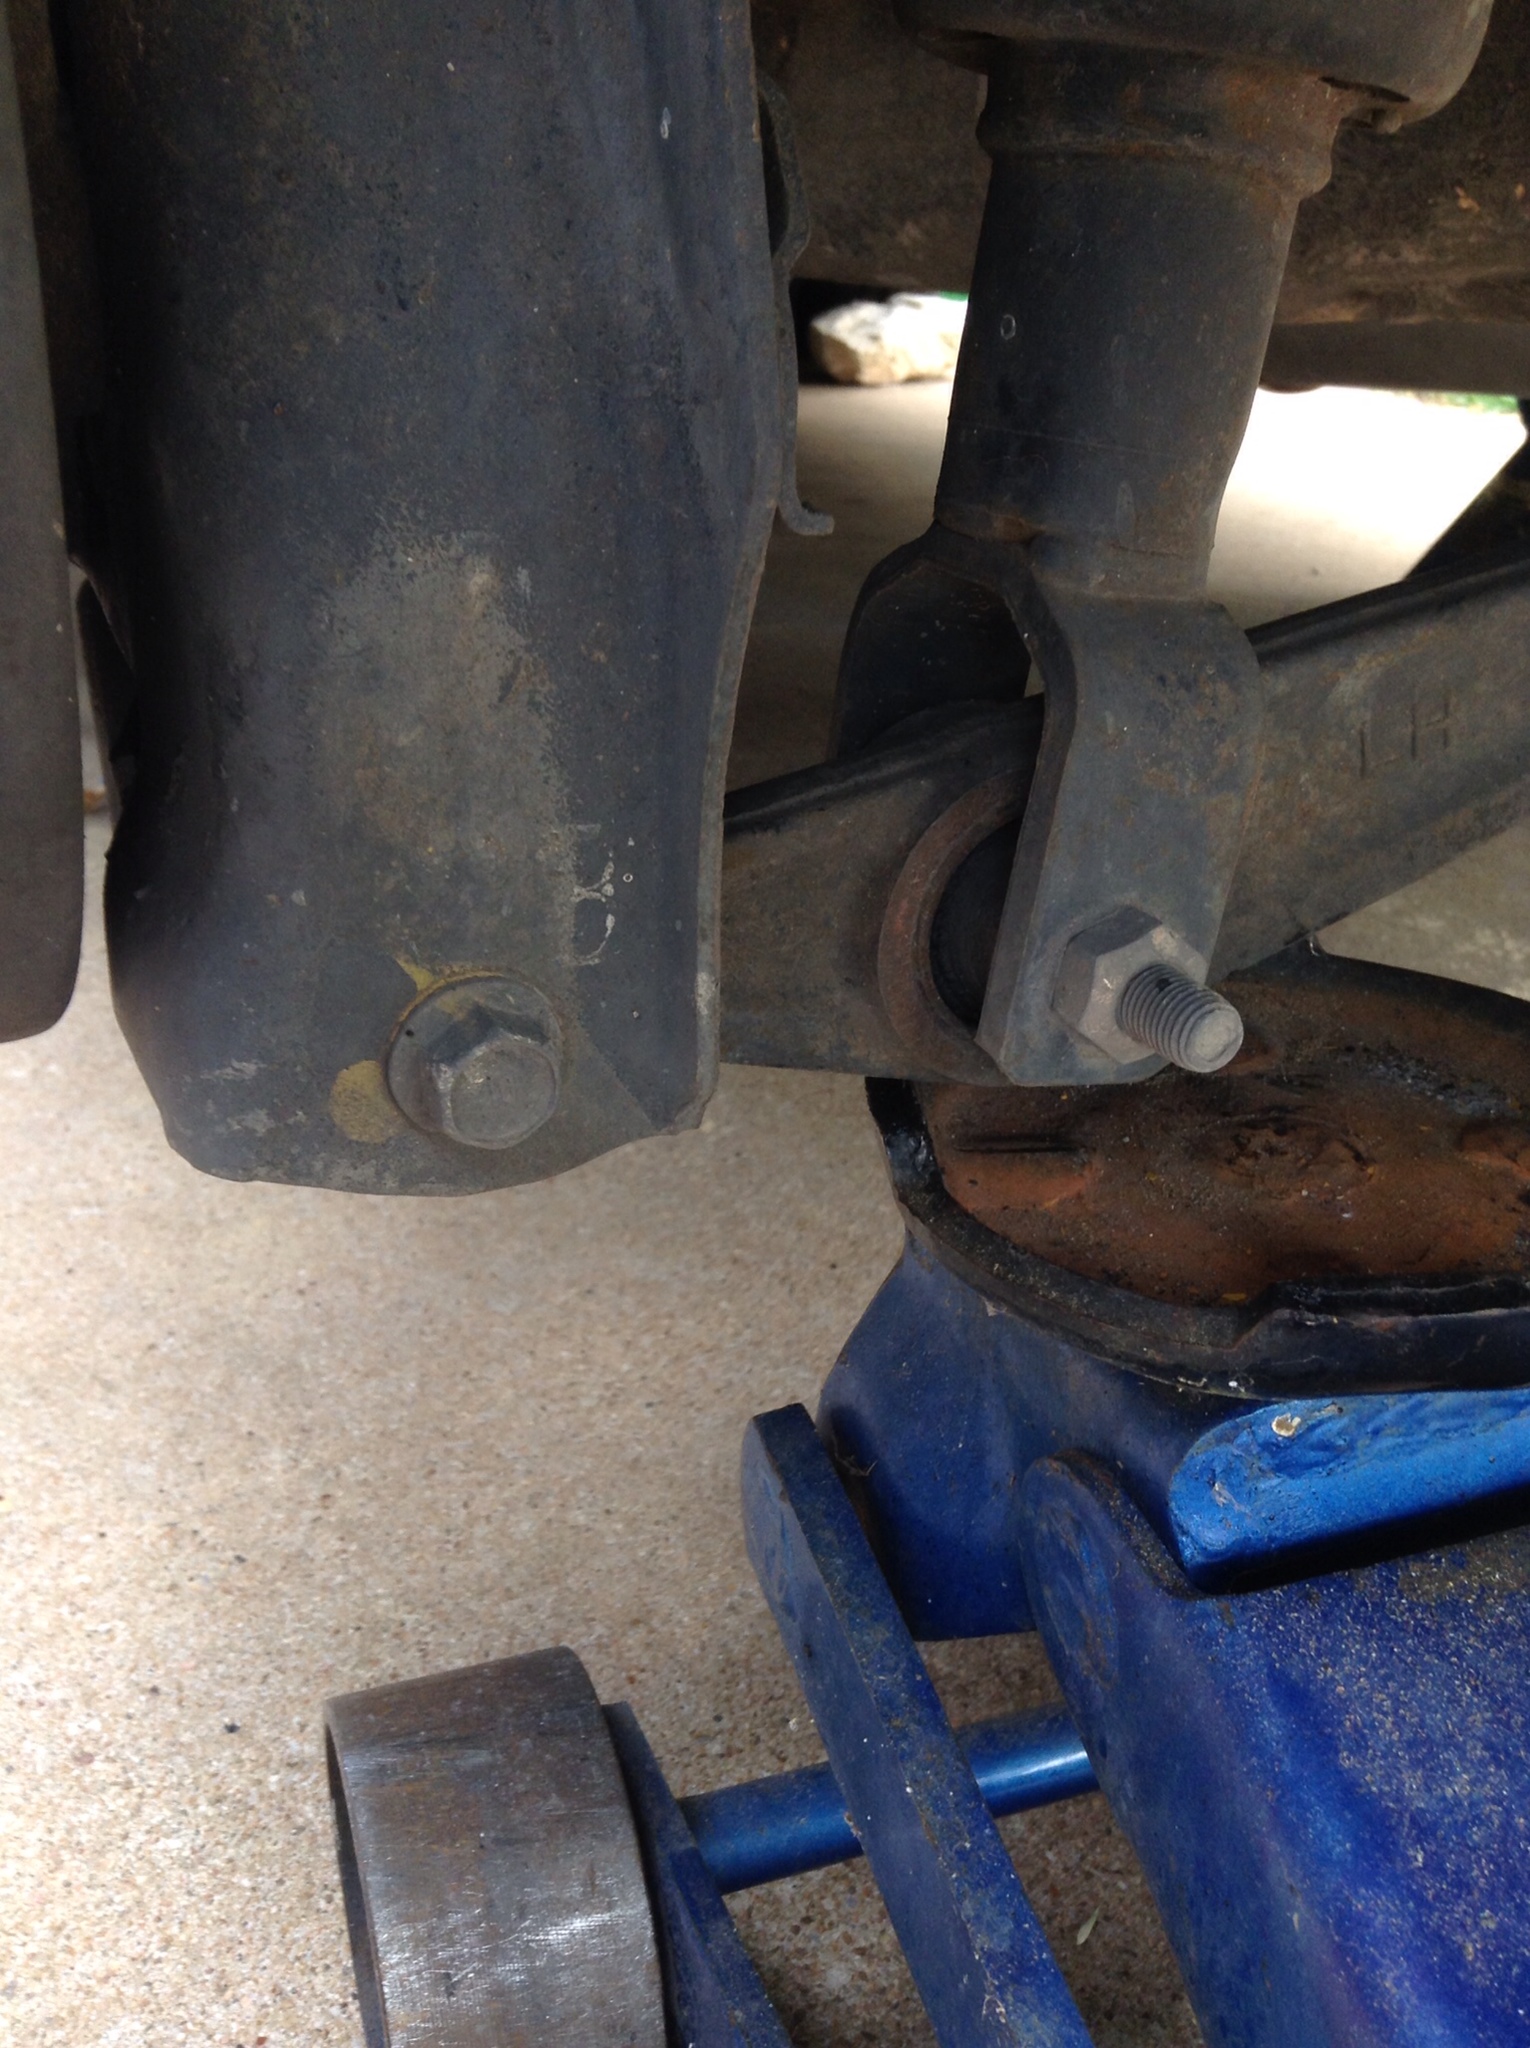
And front. The front one I'm actually removing the bolt from the stabilizing arm at the body, there was not enough room to get the impact on the bolt on the trailing arm.
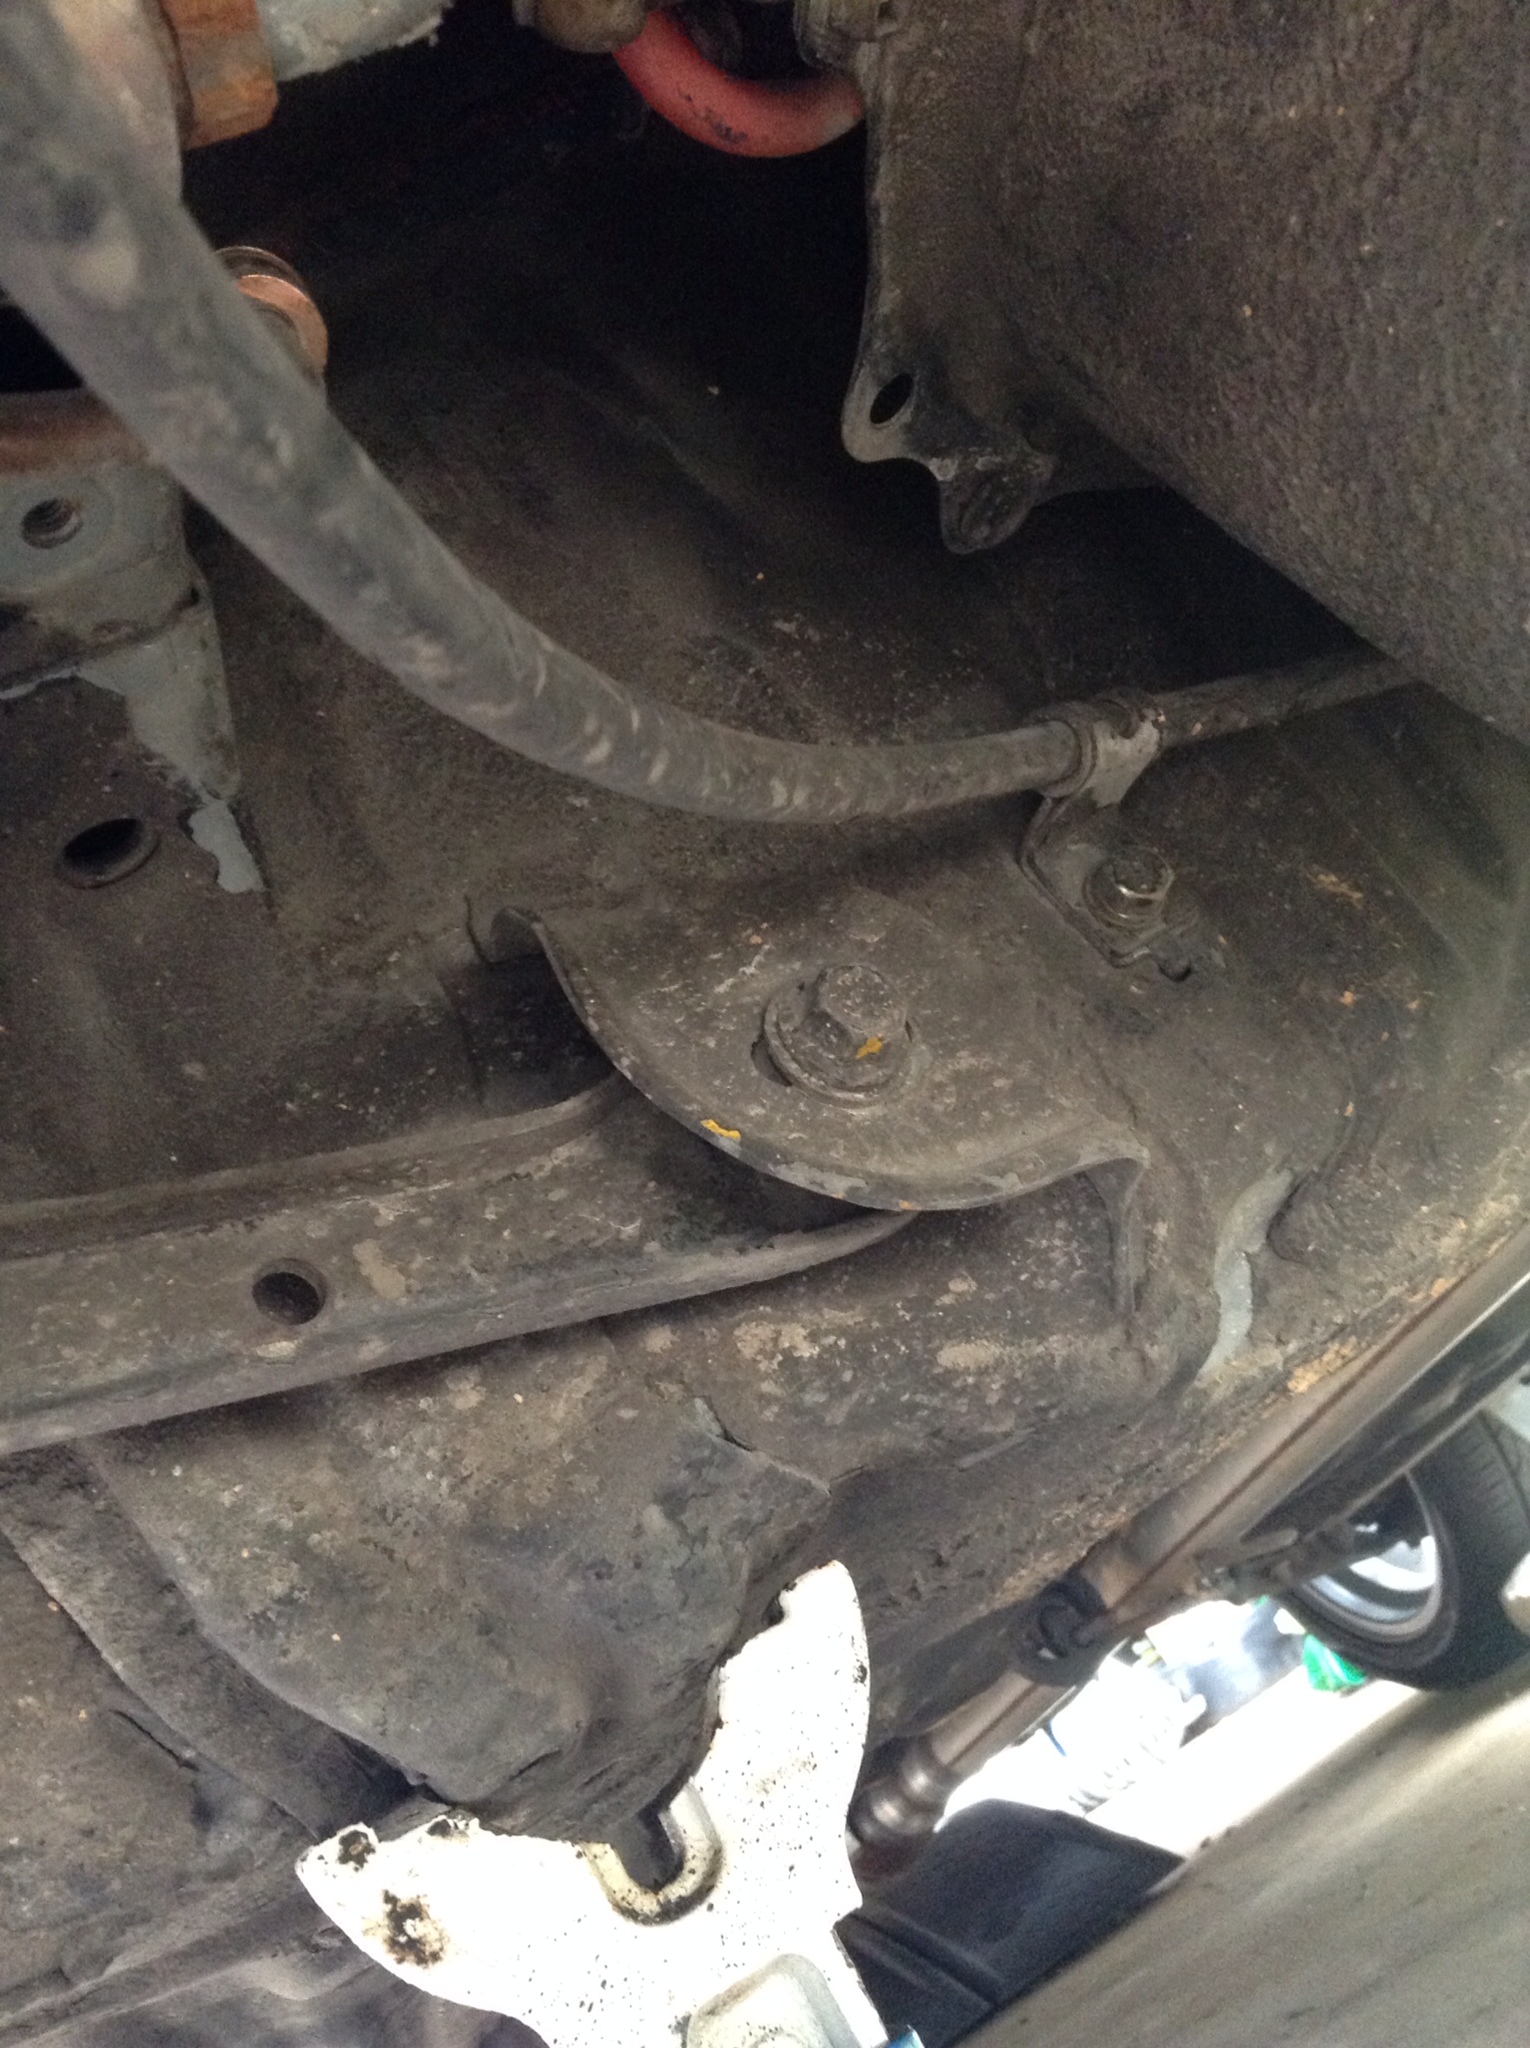
For reference, here is the front bolt on the trailing arm itself, that is connected to the aforementioned stabilizer arm.
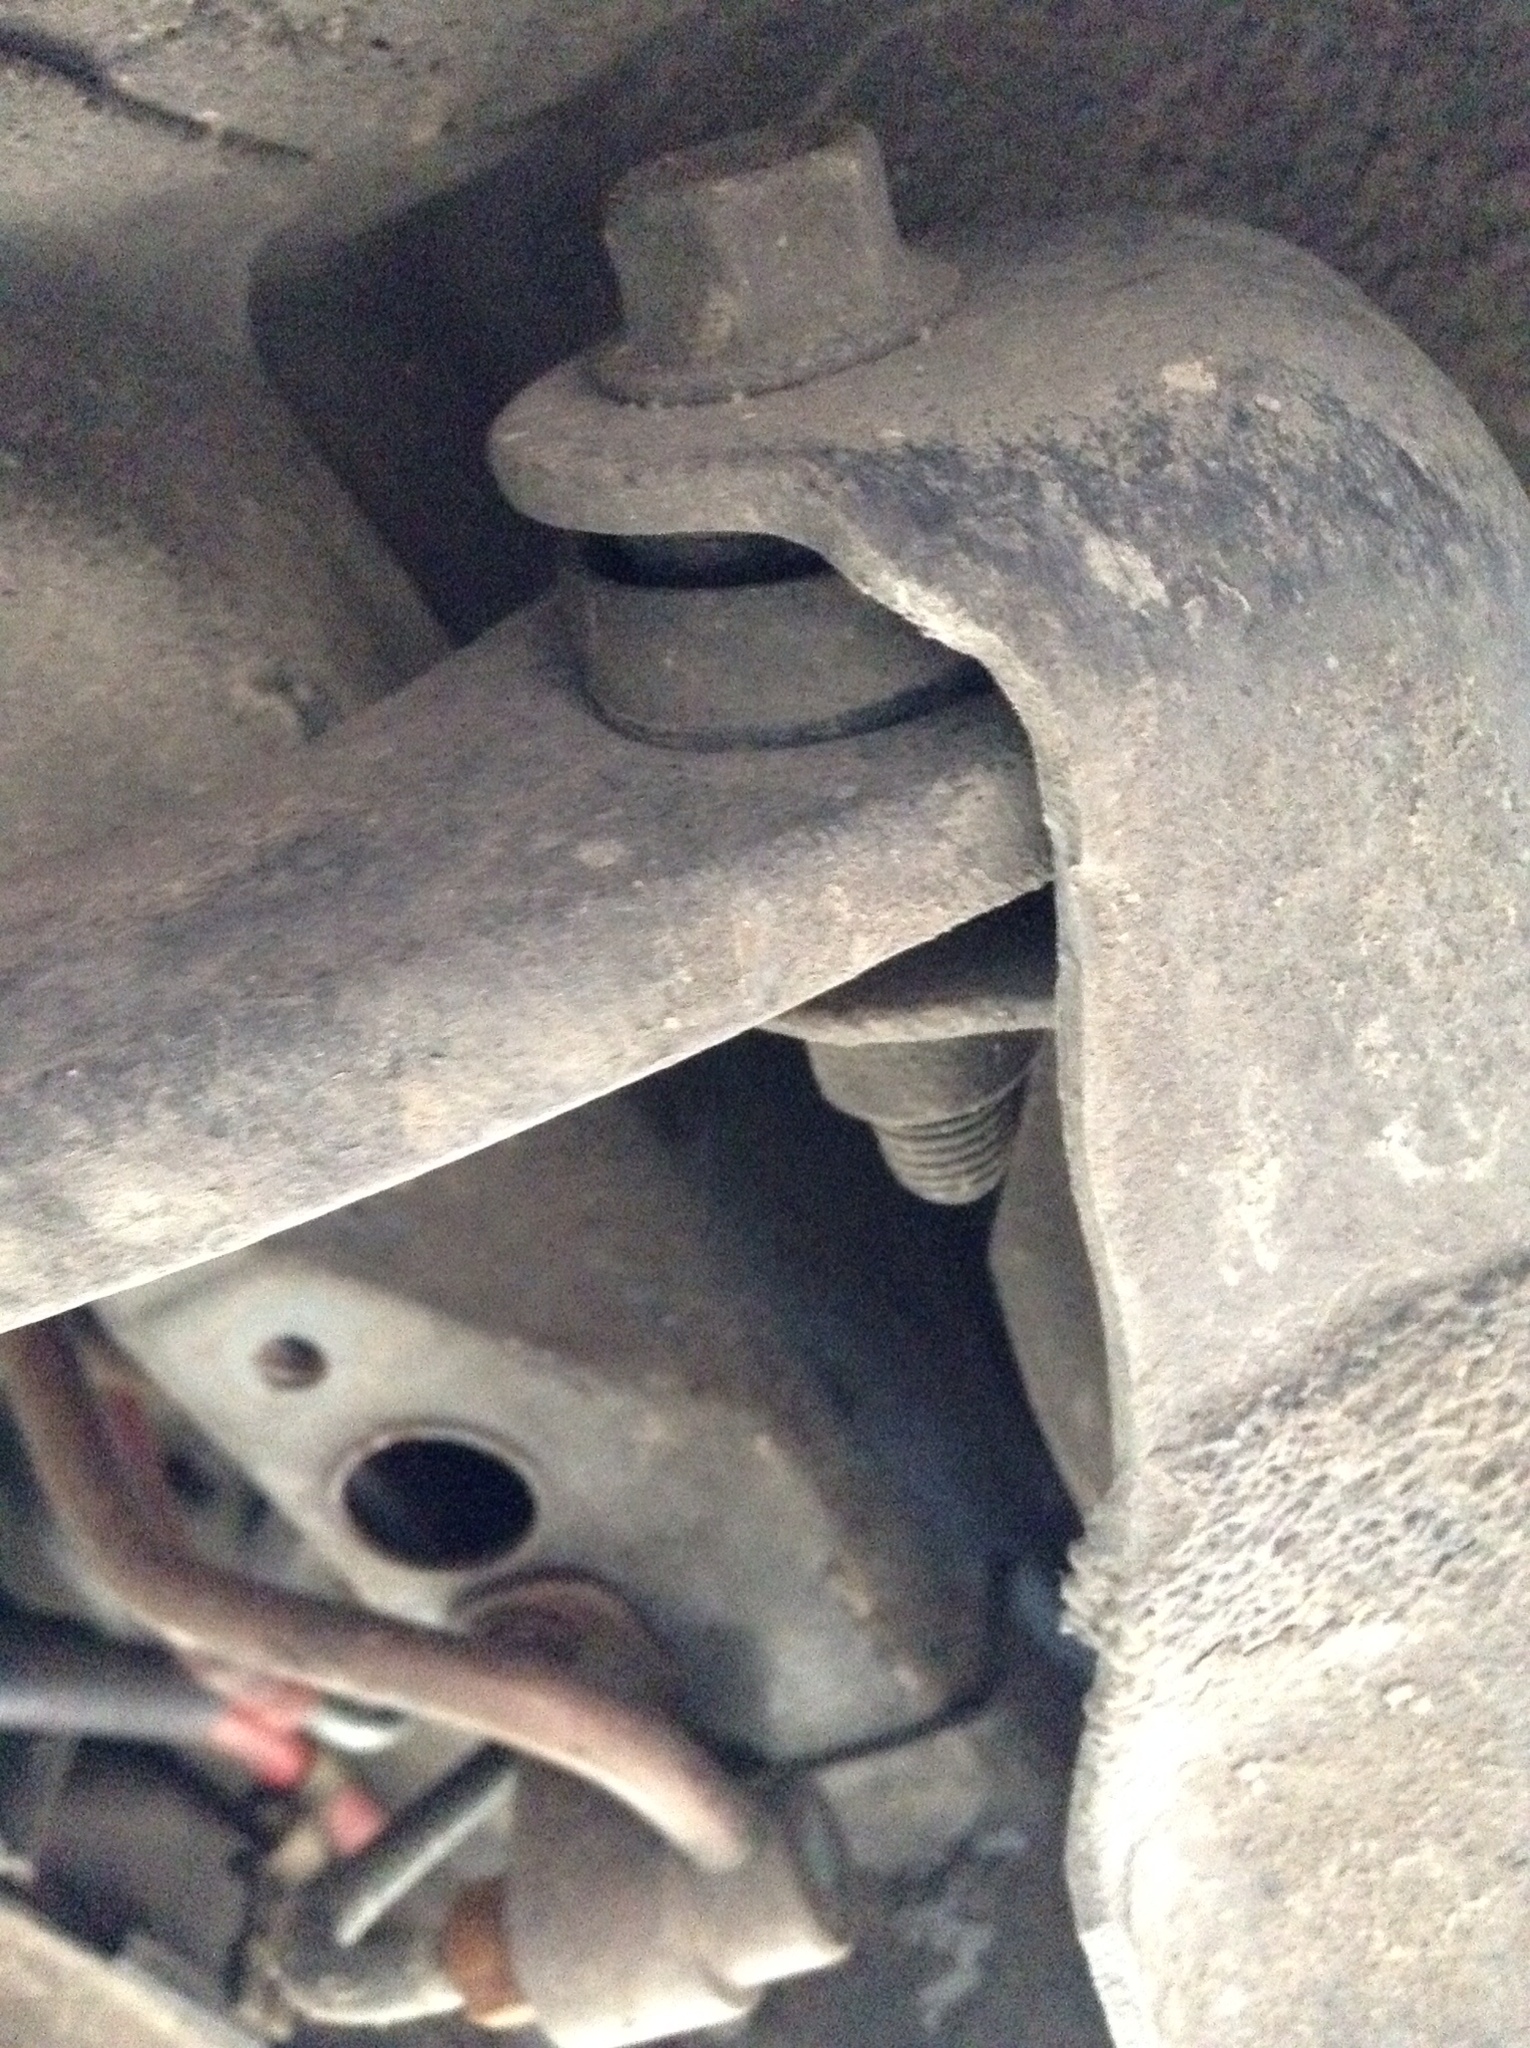
One more thing to do is to unbolt the parking brake cable from the trailing arm. This gives you some extra slack to work with. As you will likely be using a torch for the next step, getting that out from under the car always makes me happier.
Now just wrangle the trailing arm out and give yourself some room to work. First step is going to be to separate the pin from the center. We will need to keep this. Just get it out as you can. Mine were so loose
I was able to put a screwdriver through and twist the thing 360 and right out it popped.
Next step, FIRE!!!!
Use a screwdriver or whatever you like to do the prying. I have a screwdriver I sharpened the tip on just for getting in between things. Take your torch to the outside of the bushing and just let the magic heat do it's work. Eventually you'll see things smoke a bit and it start to separate then get in there and pry. If you've applied enough heat it will come out very cleanly.
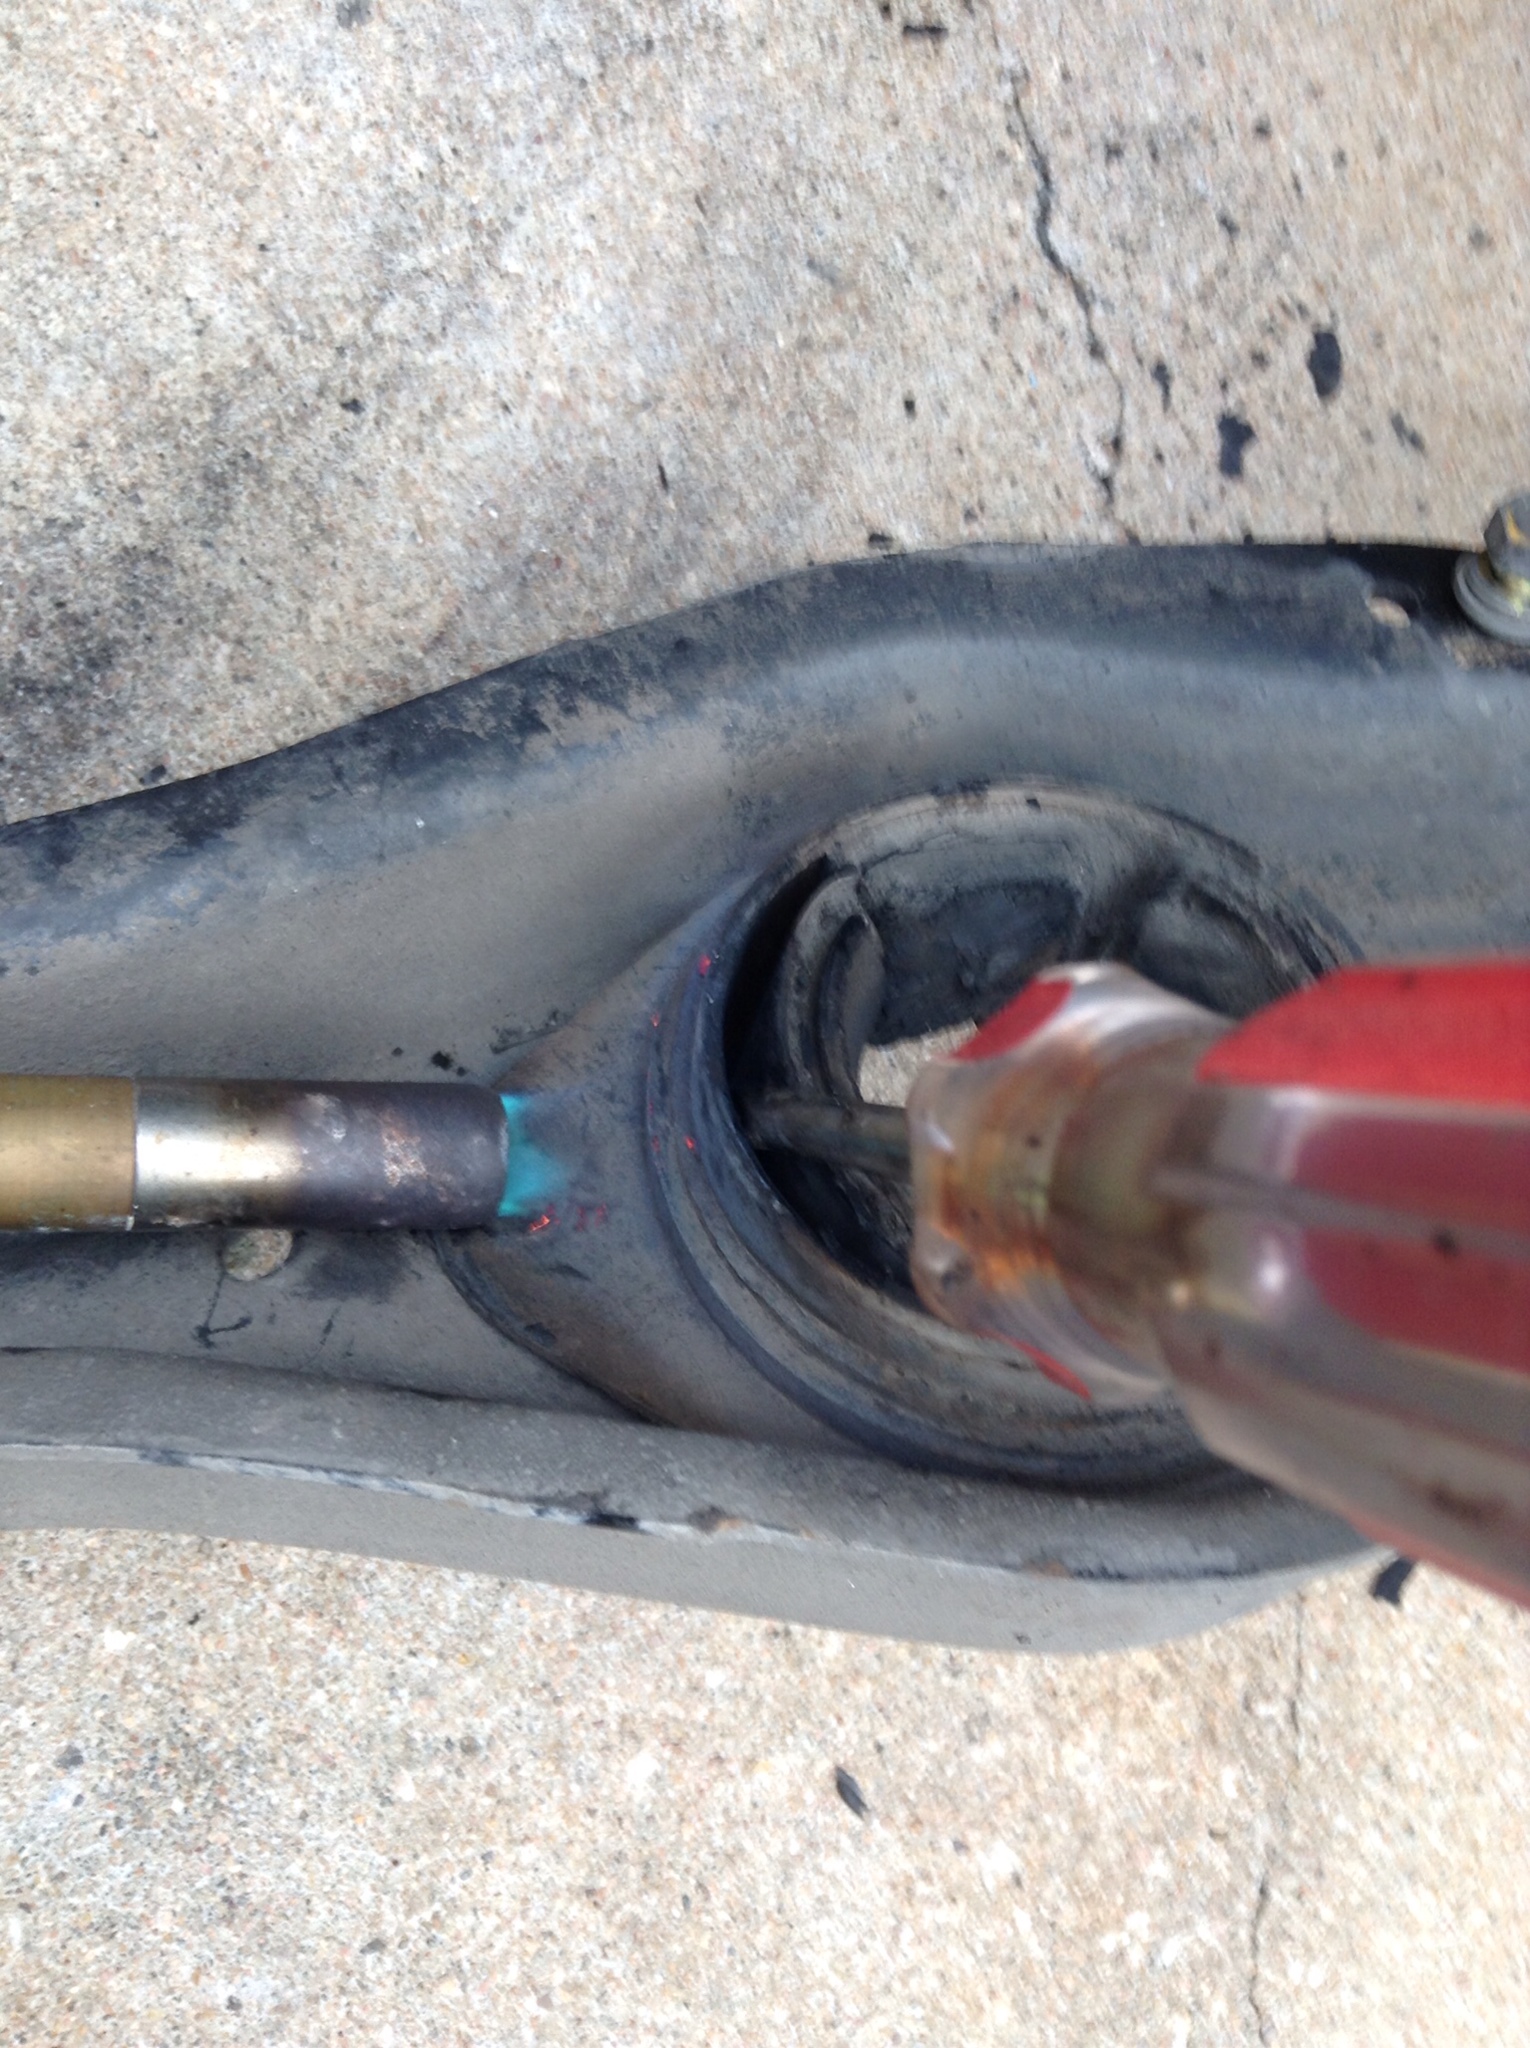
Magic heat.... Just keep applying the torch all the way around the metal sleeve as you're working on prying that bit out.
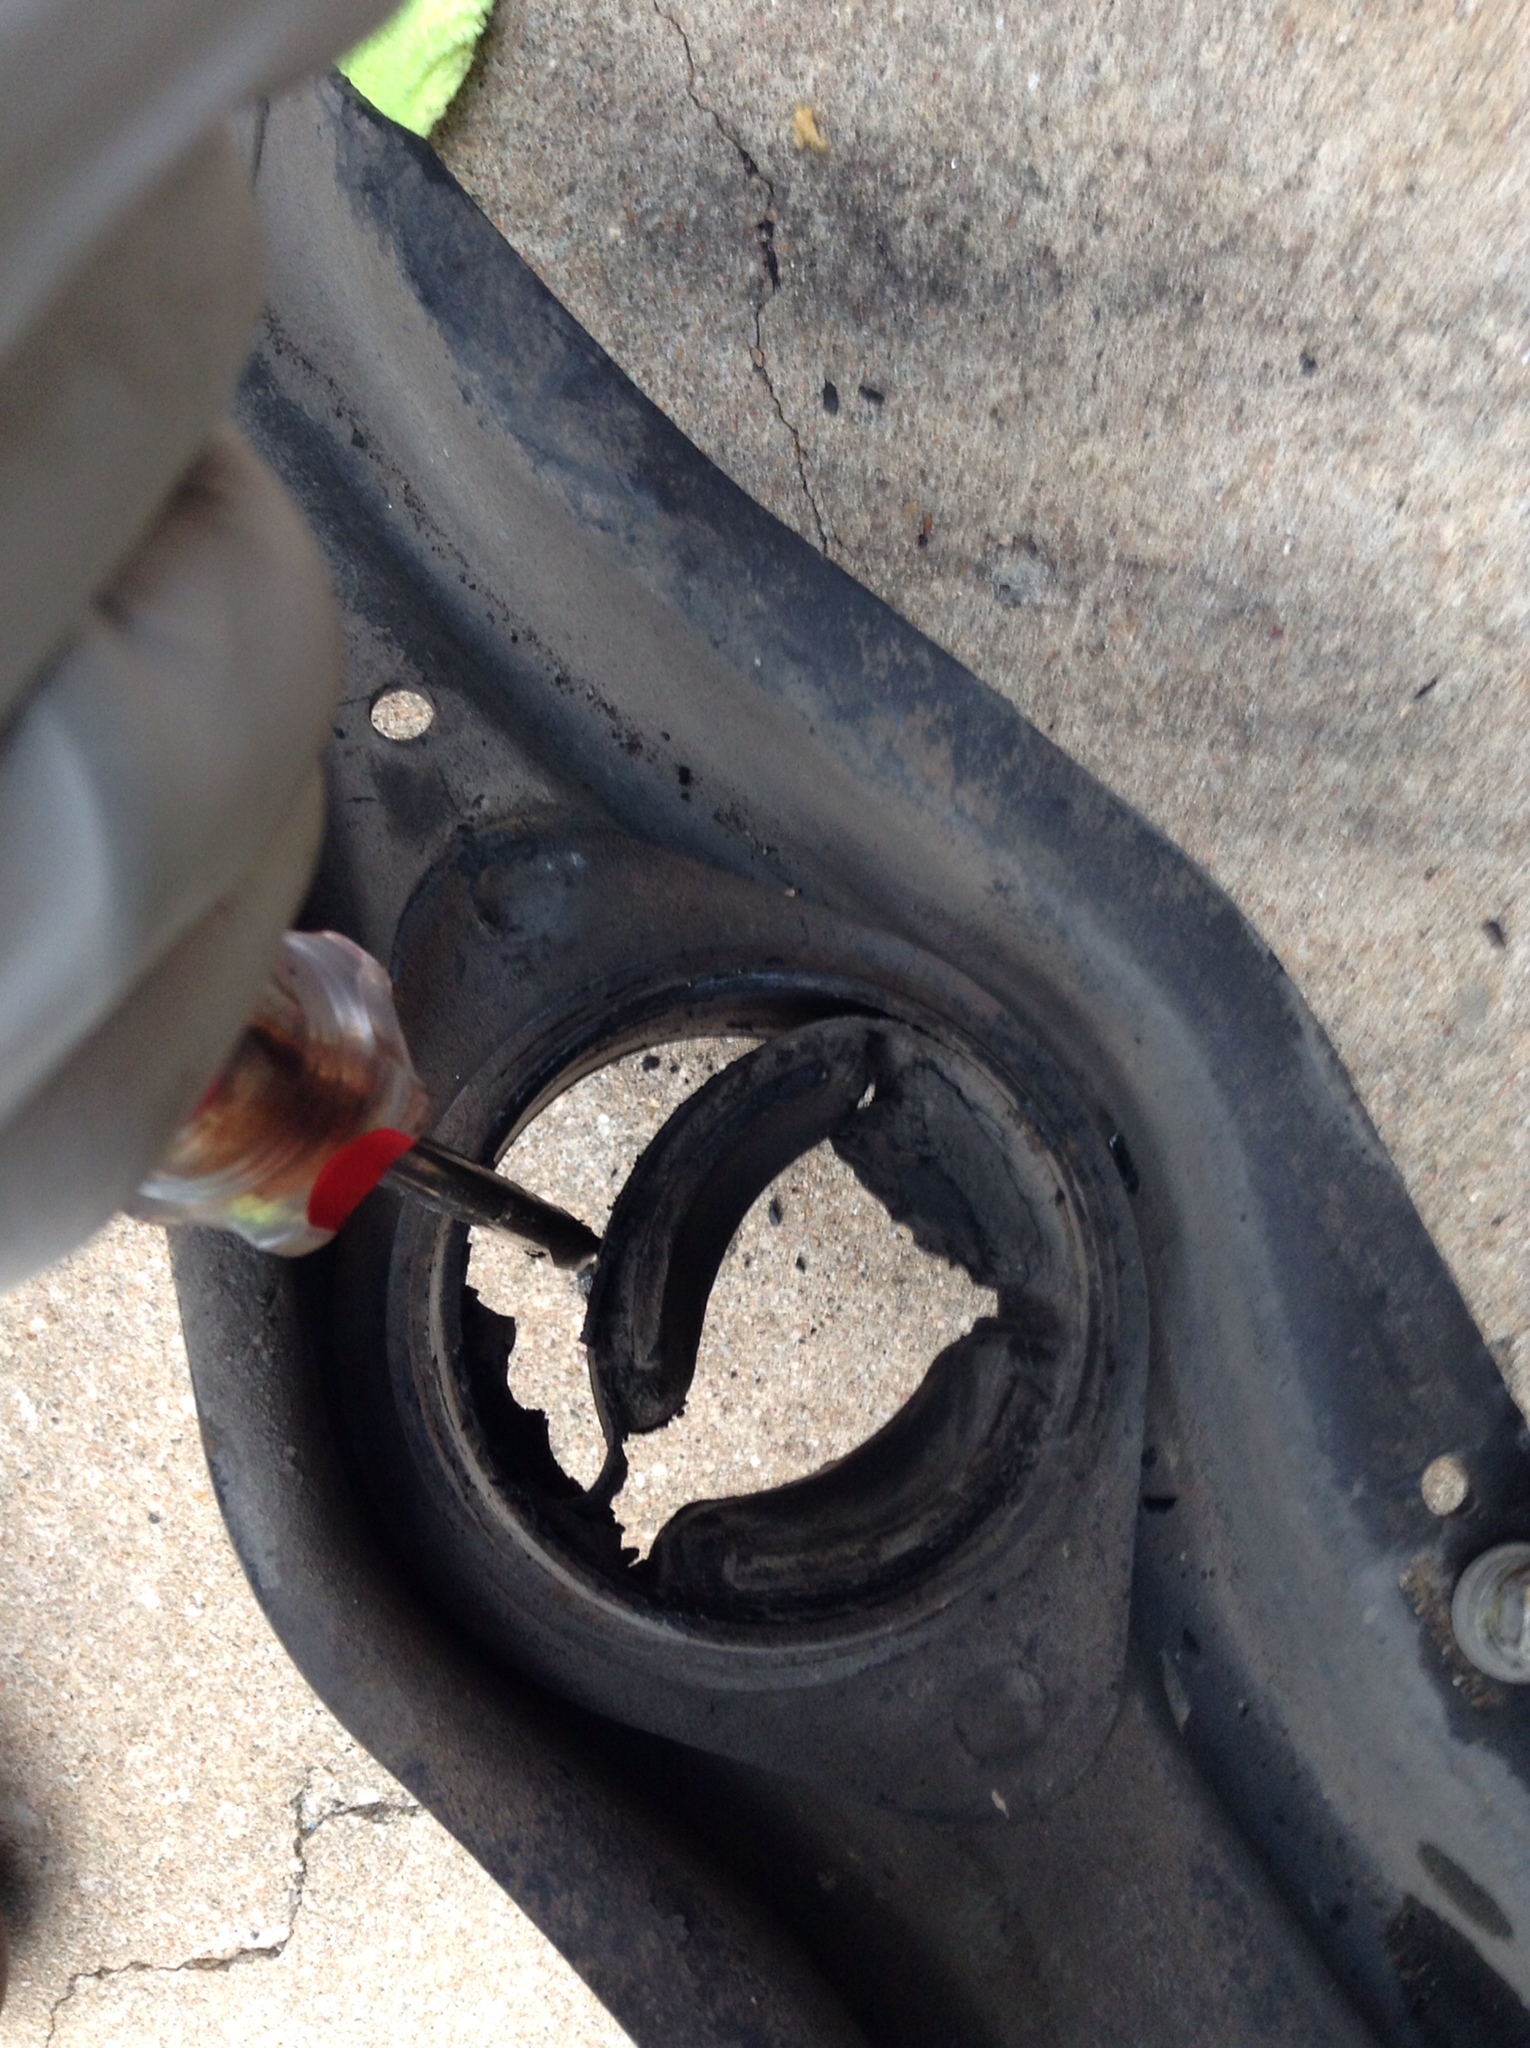
And there you go. I learned my lesson on the first one, it took about three times as long to do. So definitely just torch the outside and this is maybe a 10 minute job getting it out, if that. It came out in one big piece for me.
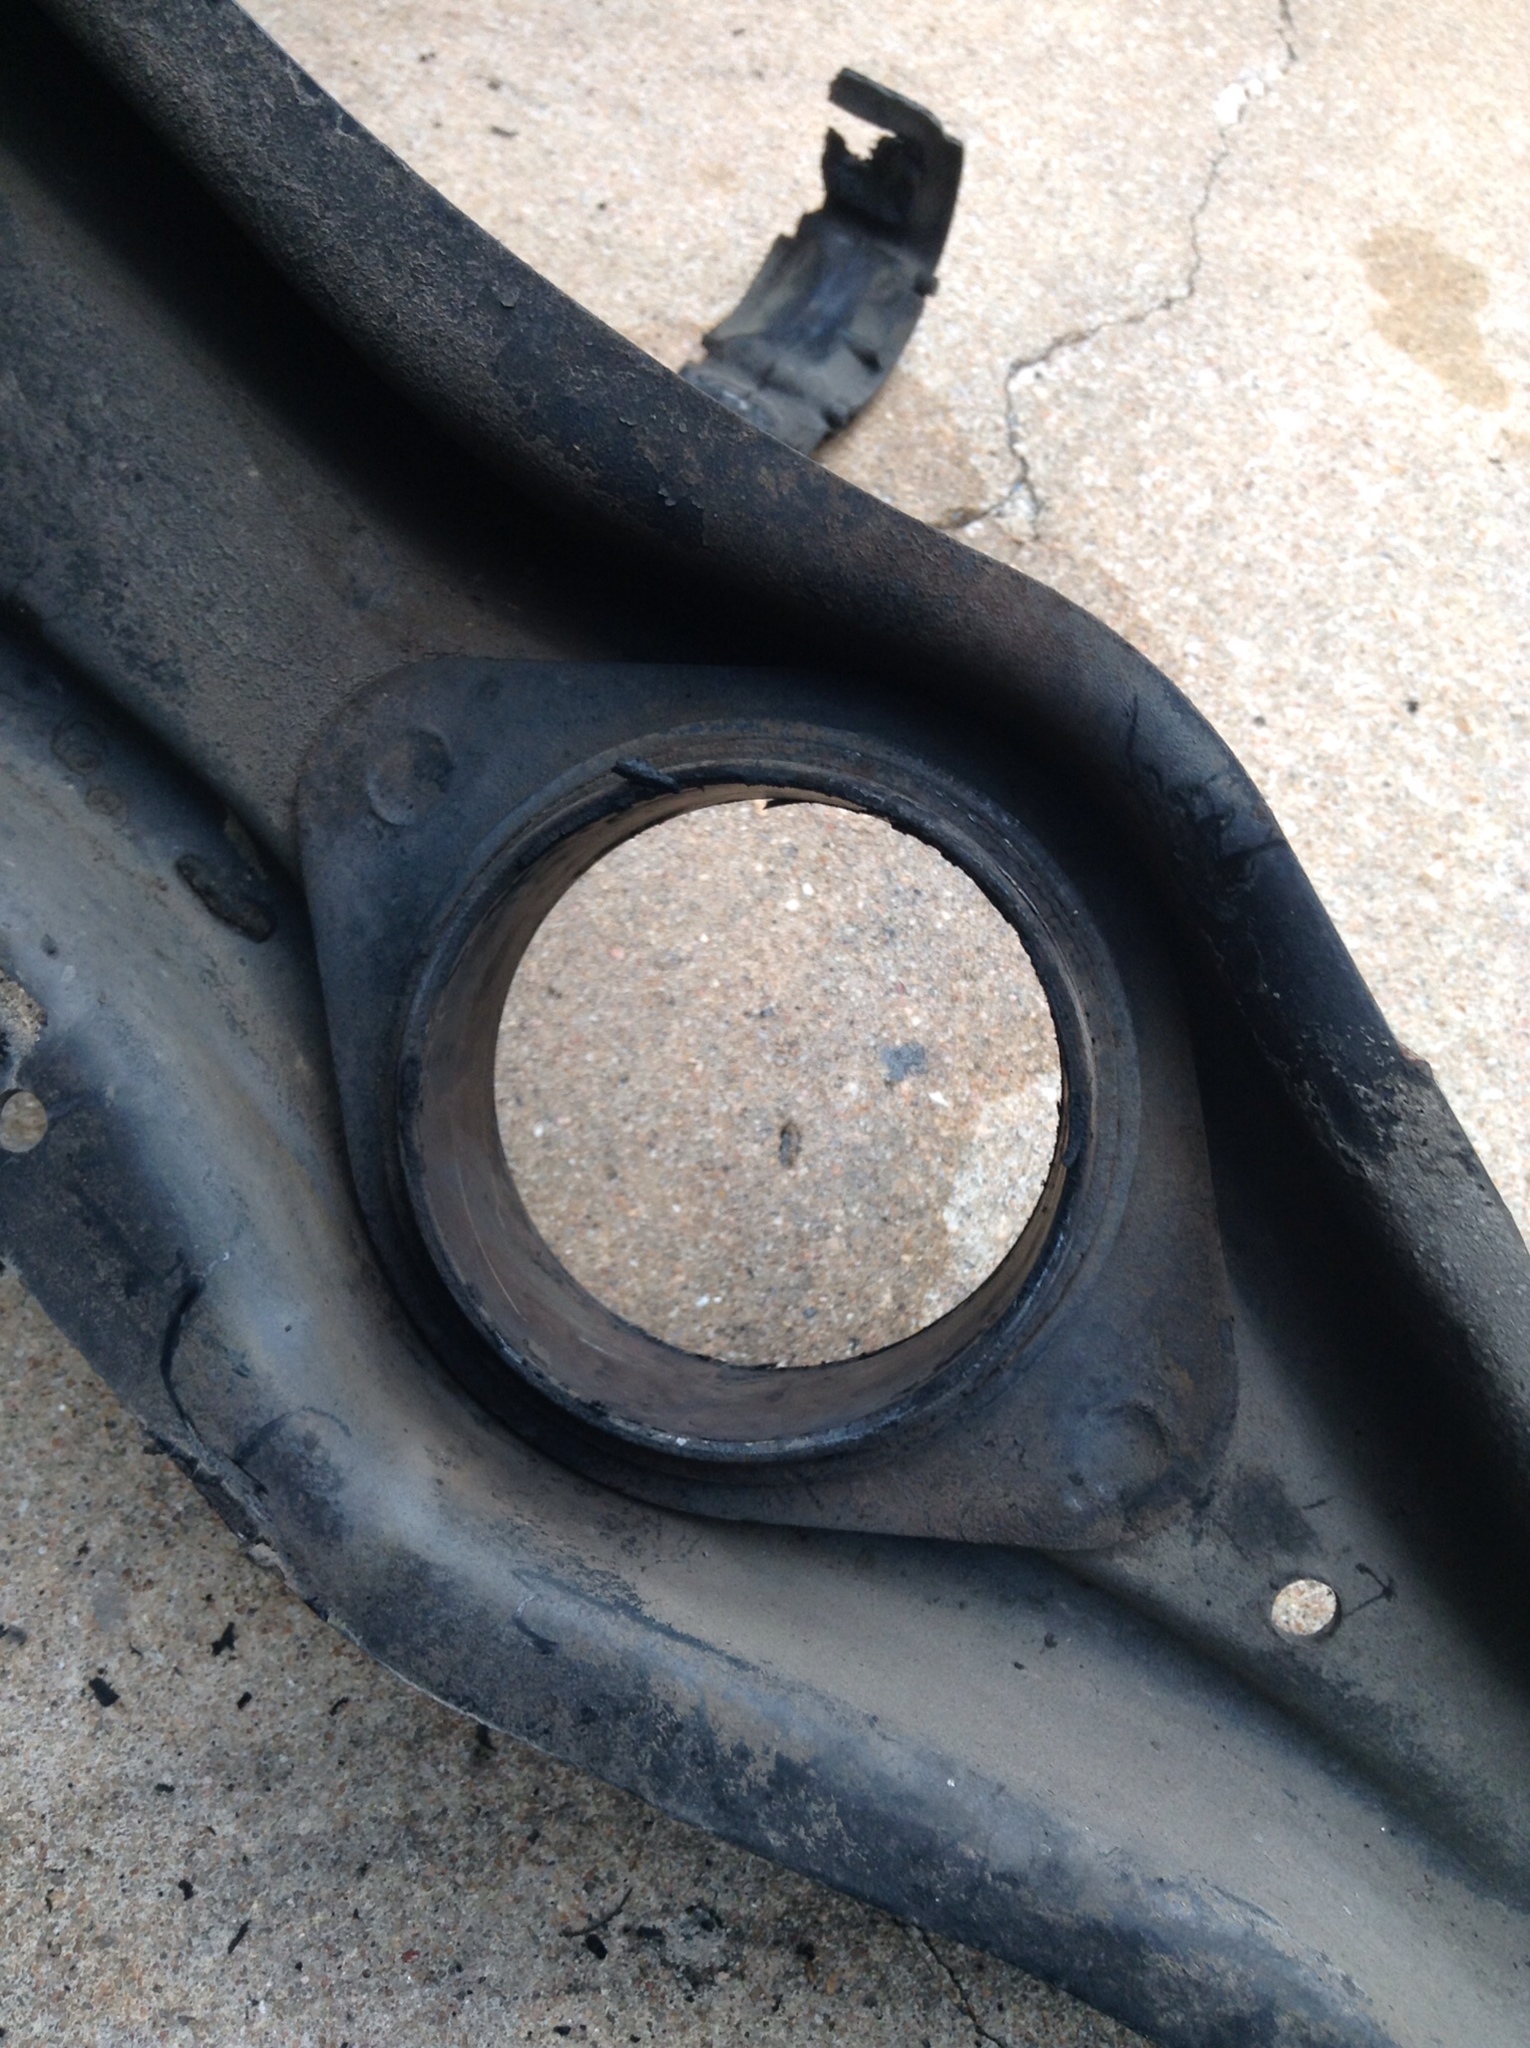
Next step is cleaning up the pin.
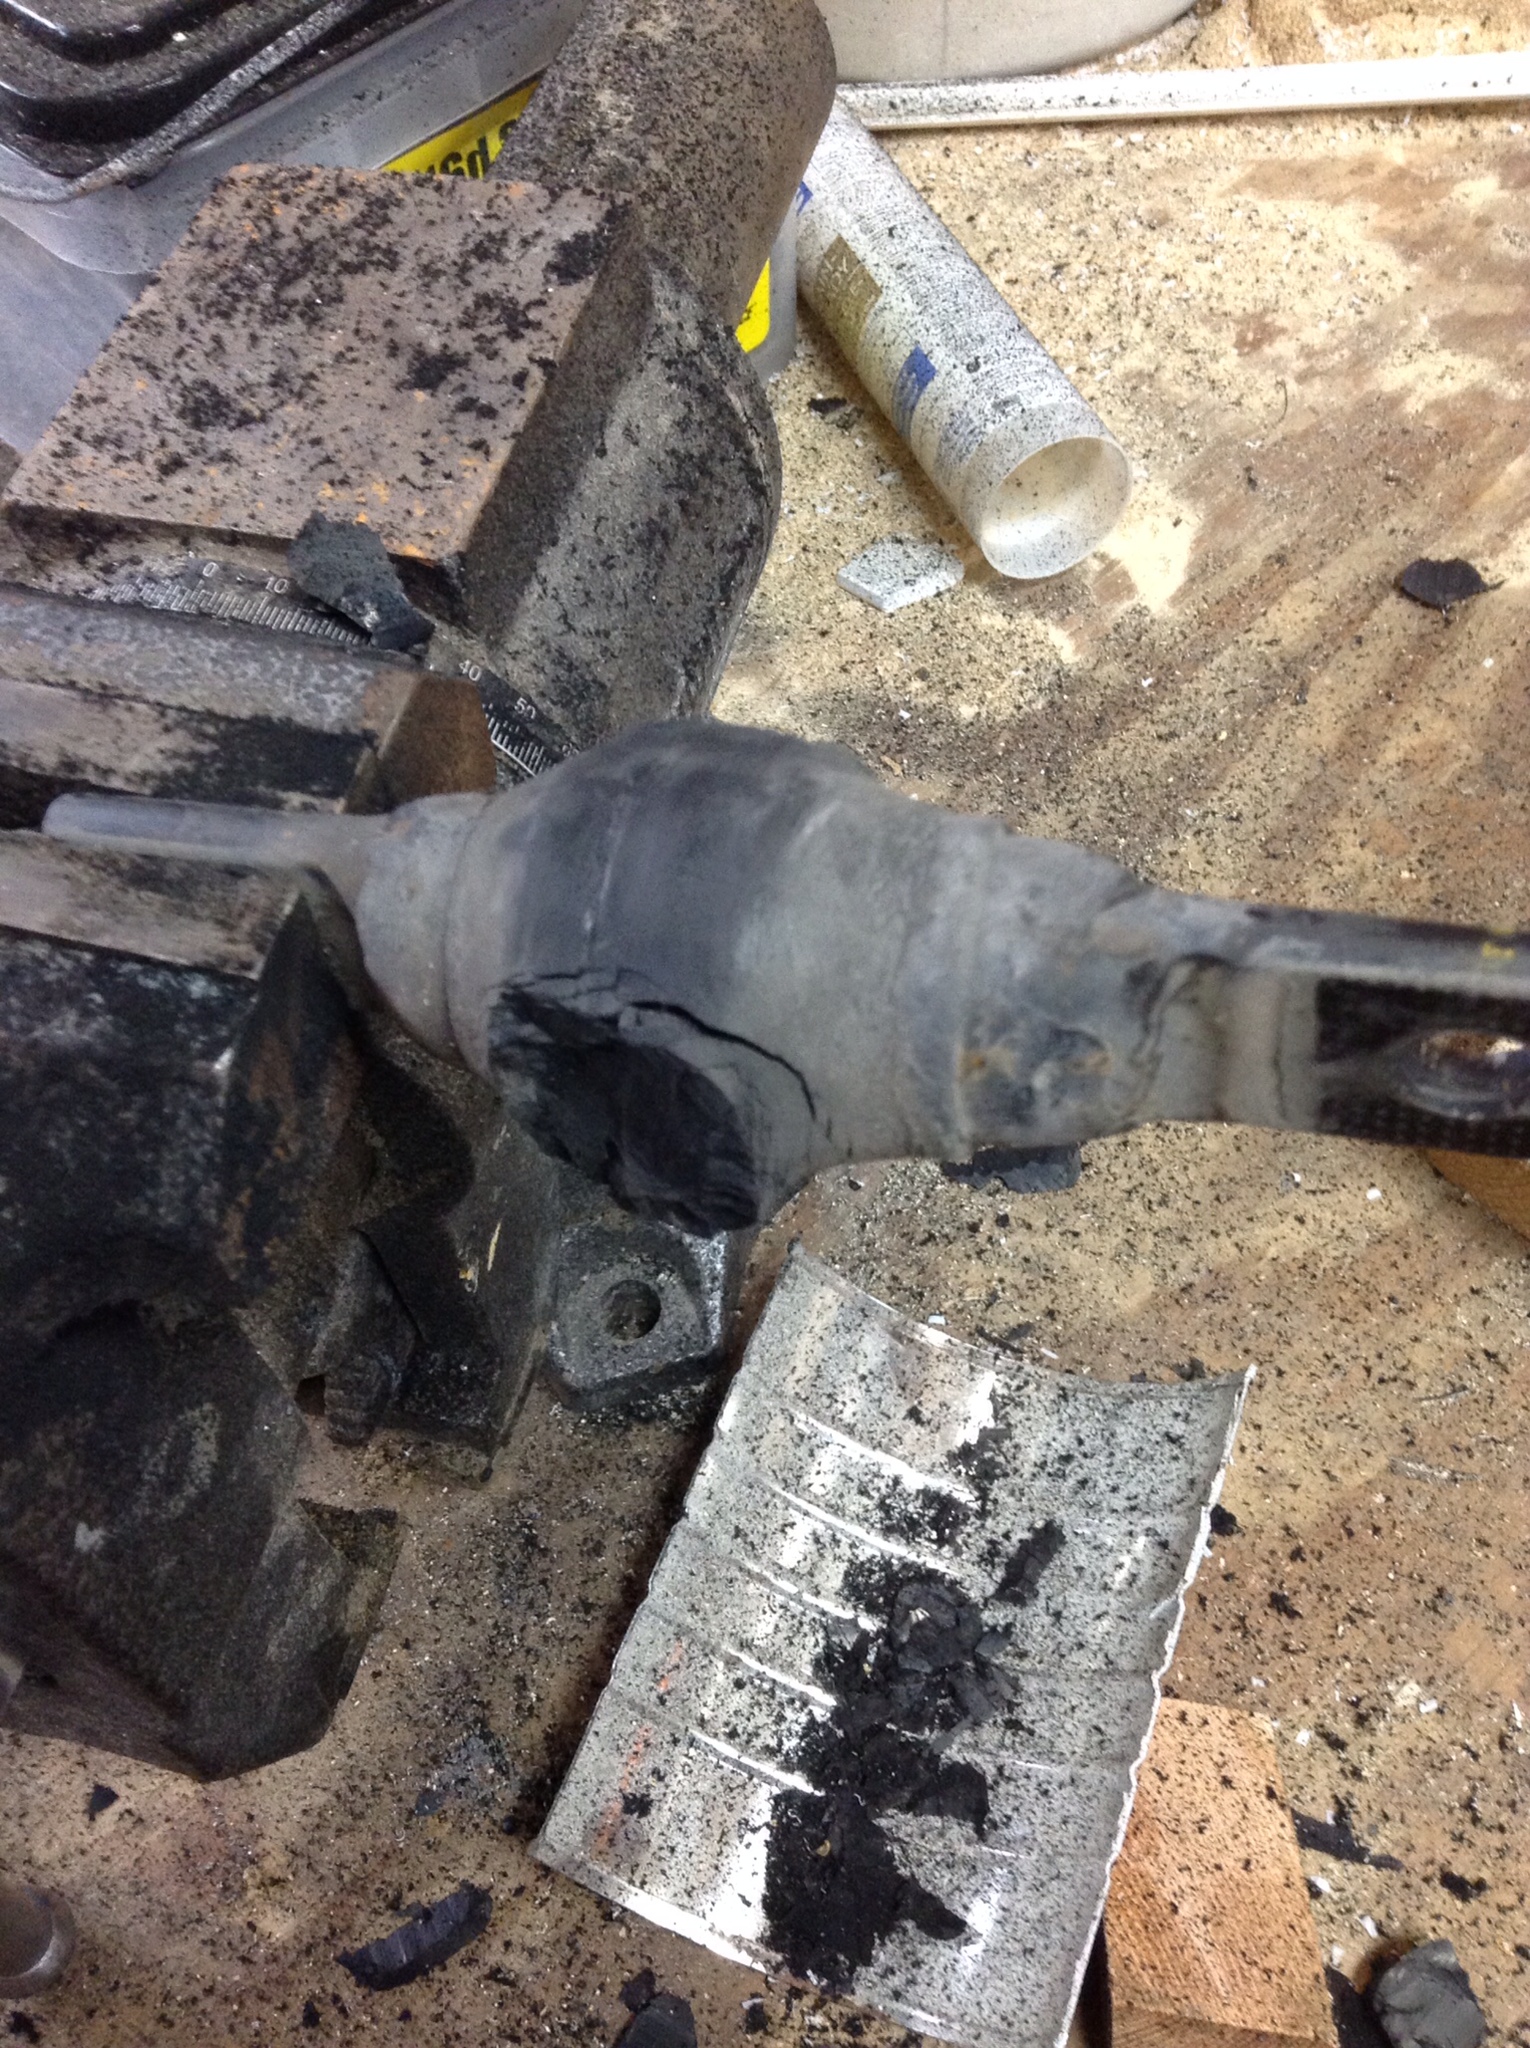
Cut on this with a box cutter and try to get down to the metal pin itself. Once you do then work it like a fillet. Peel up a bit and cut just keep working like that, it doesn't take too long.
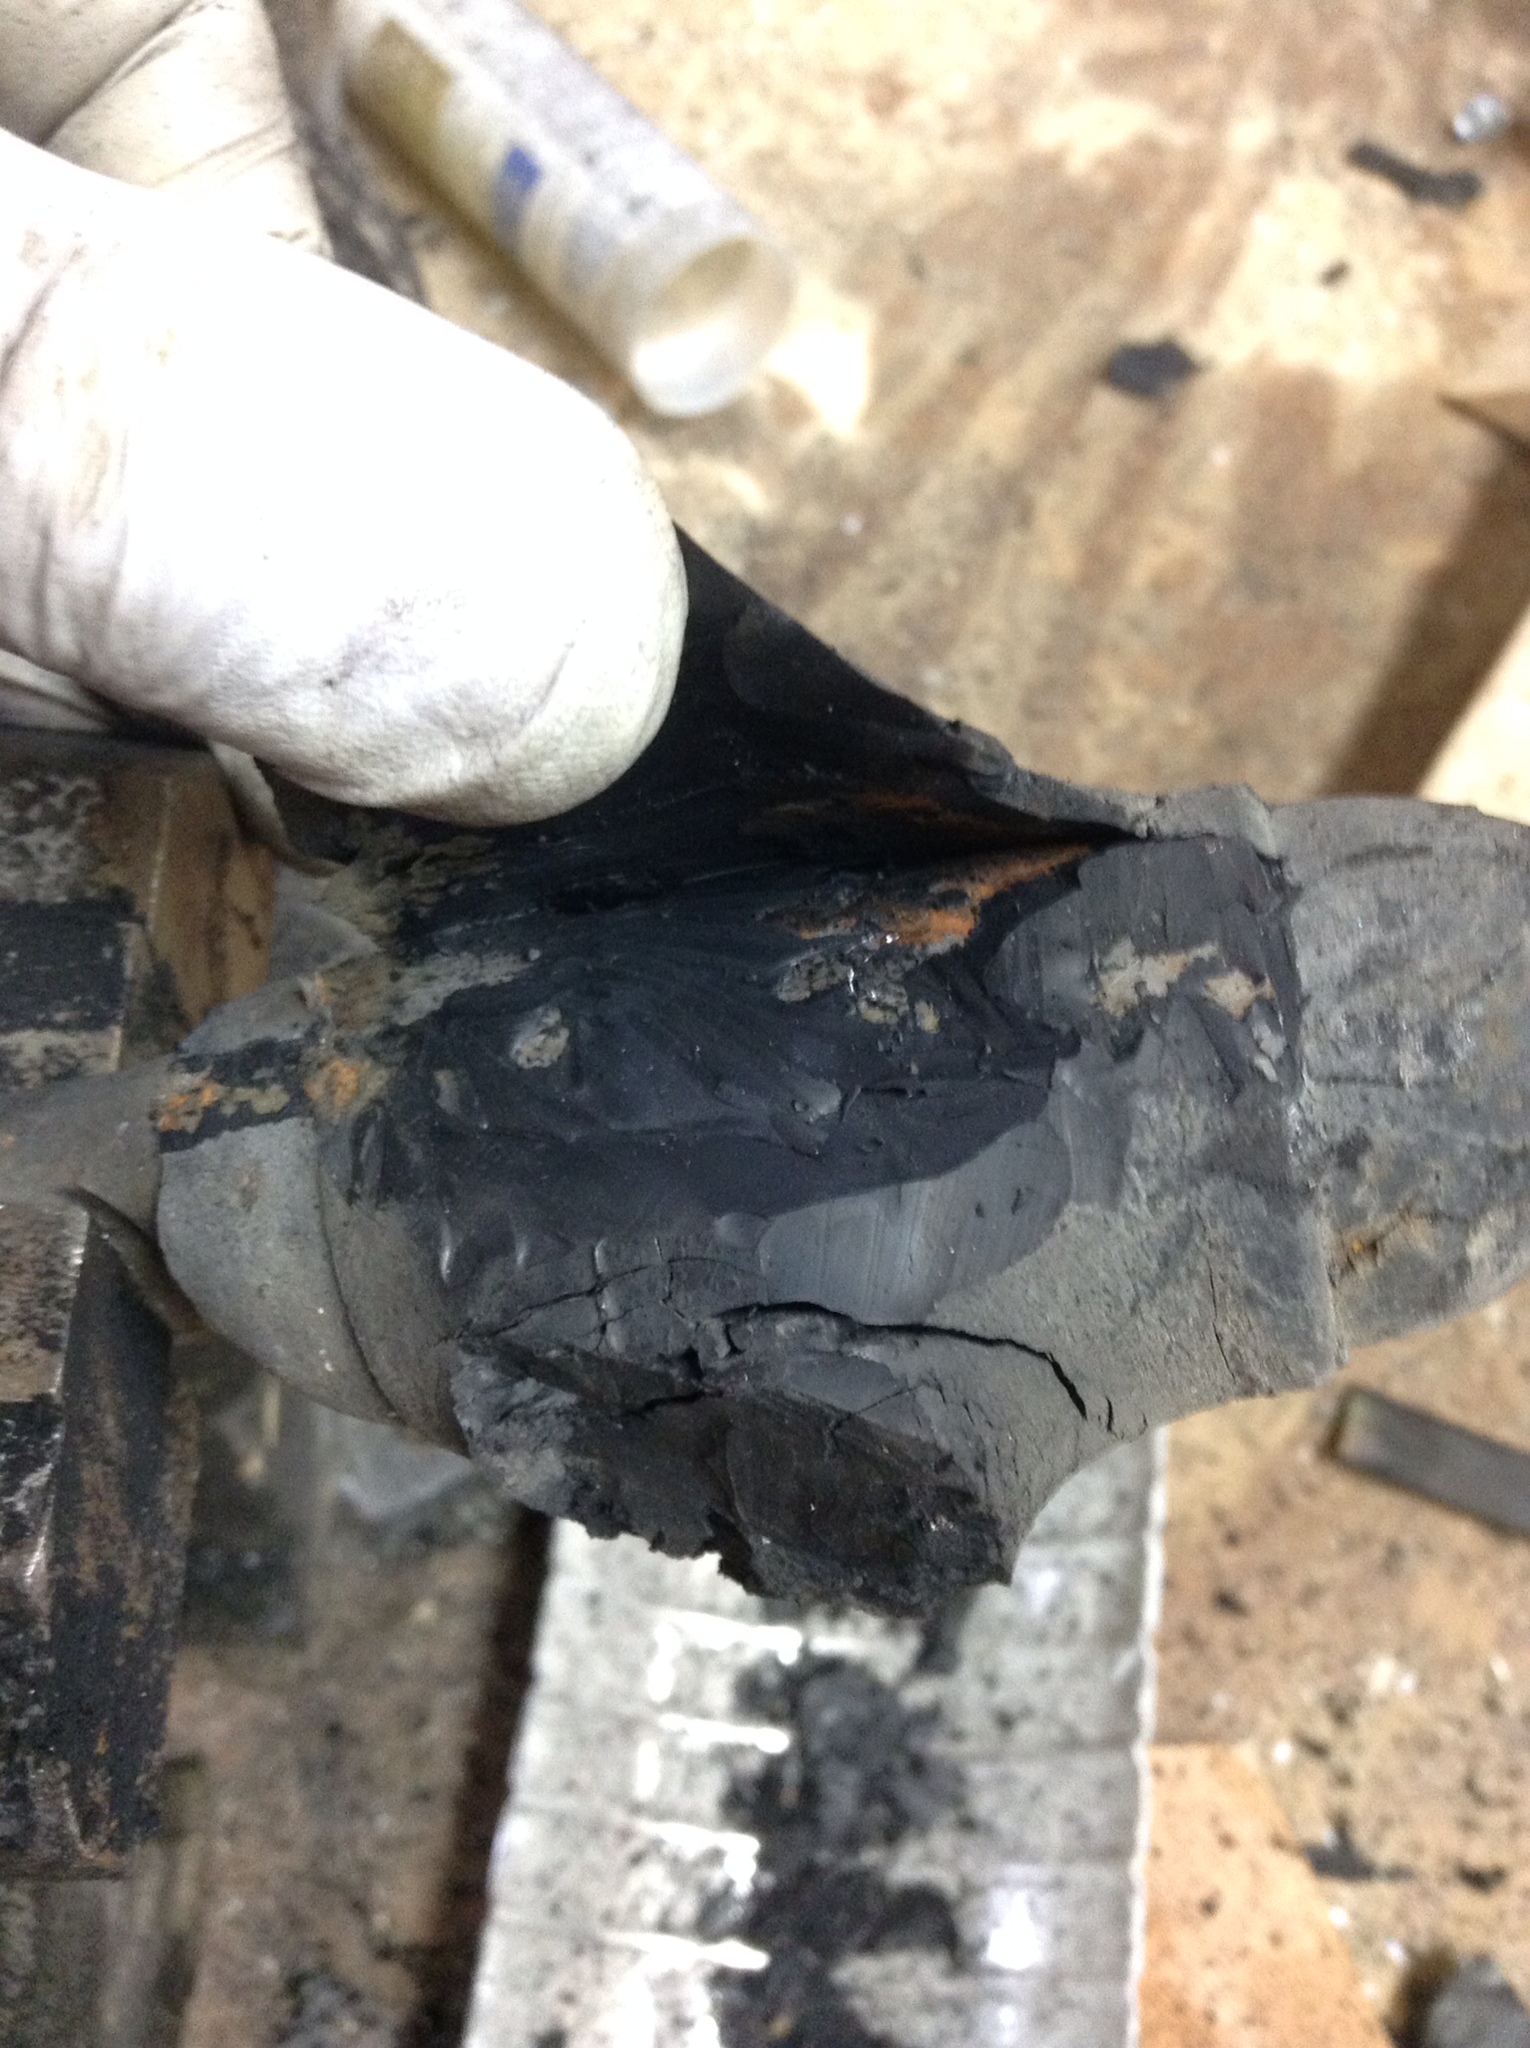
I cleaned up any remnants of rubber on a wire wheel.
Next up, inserting the bushing!
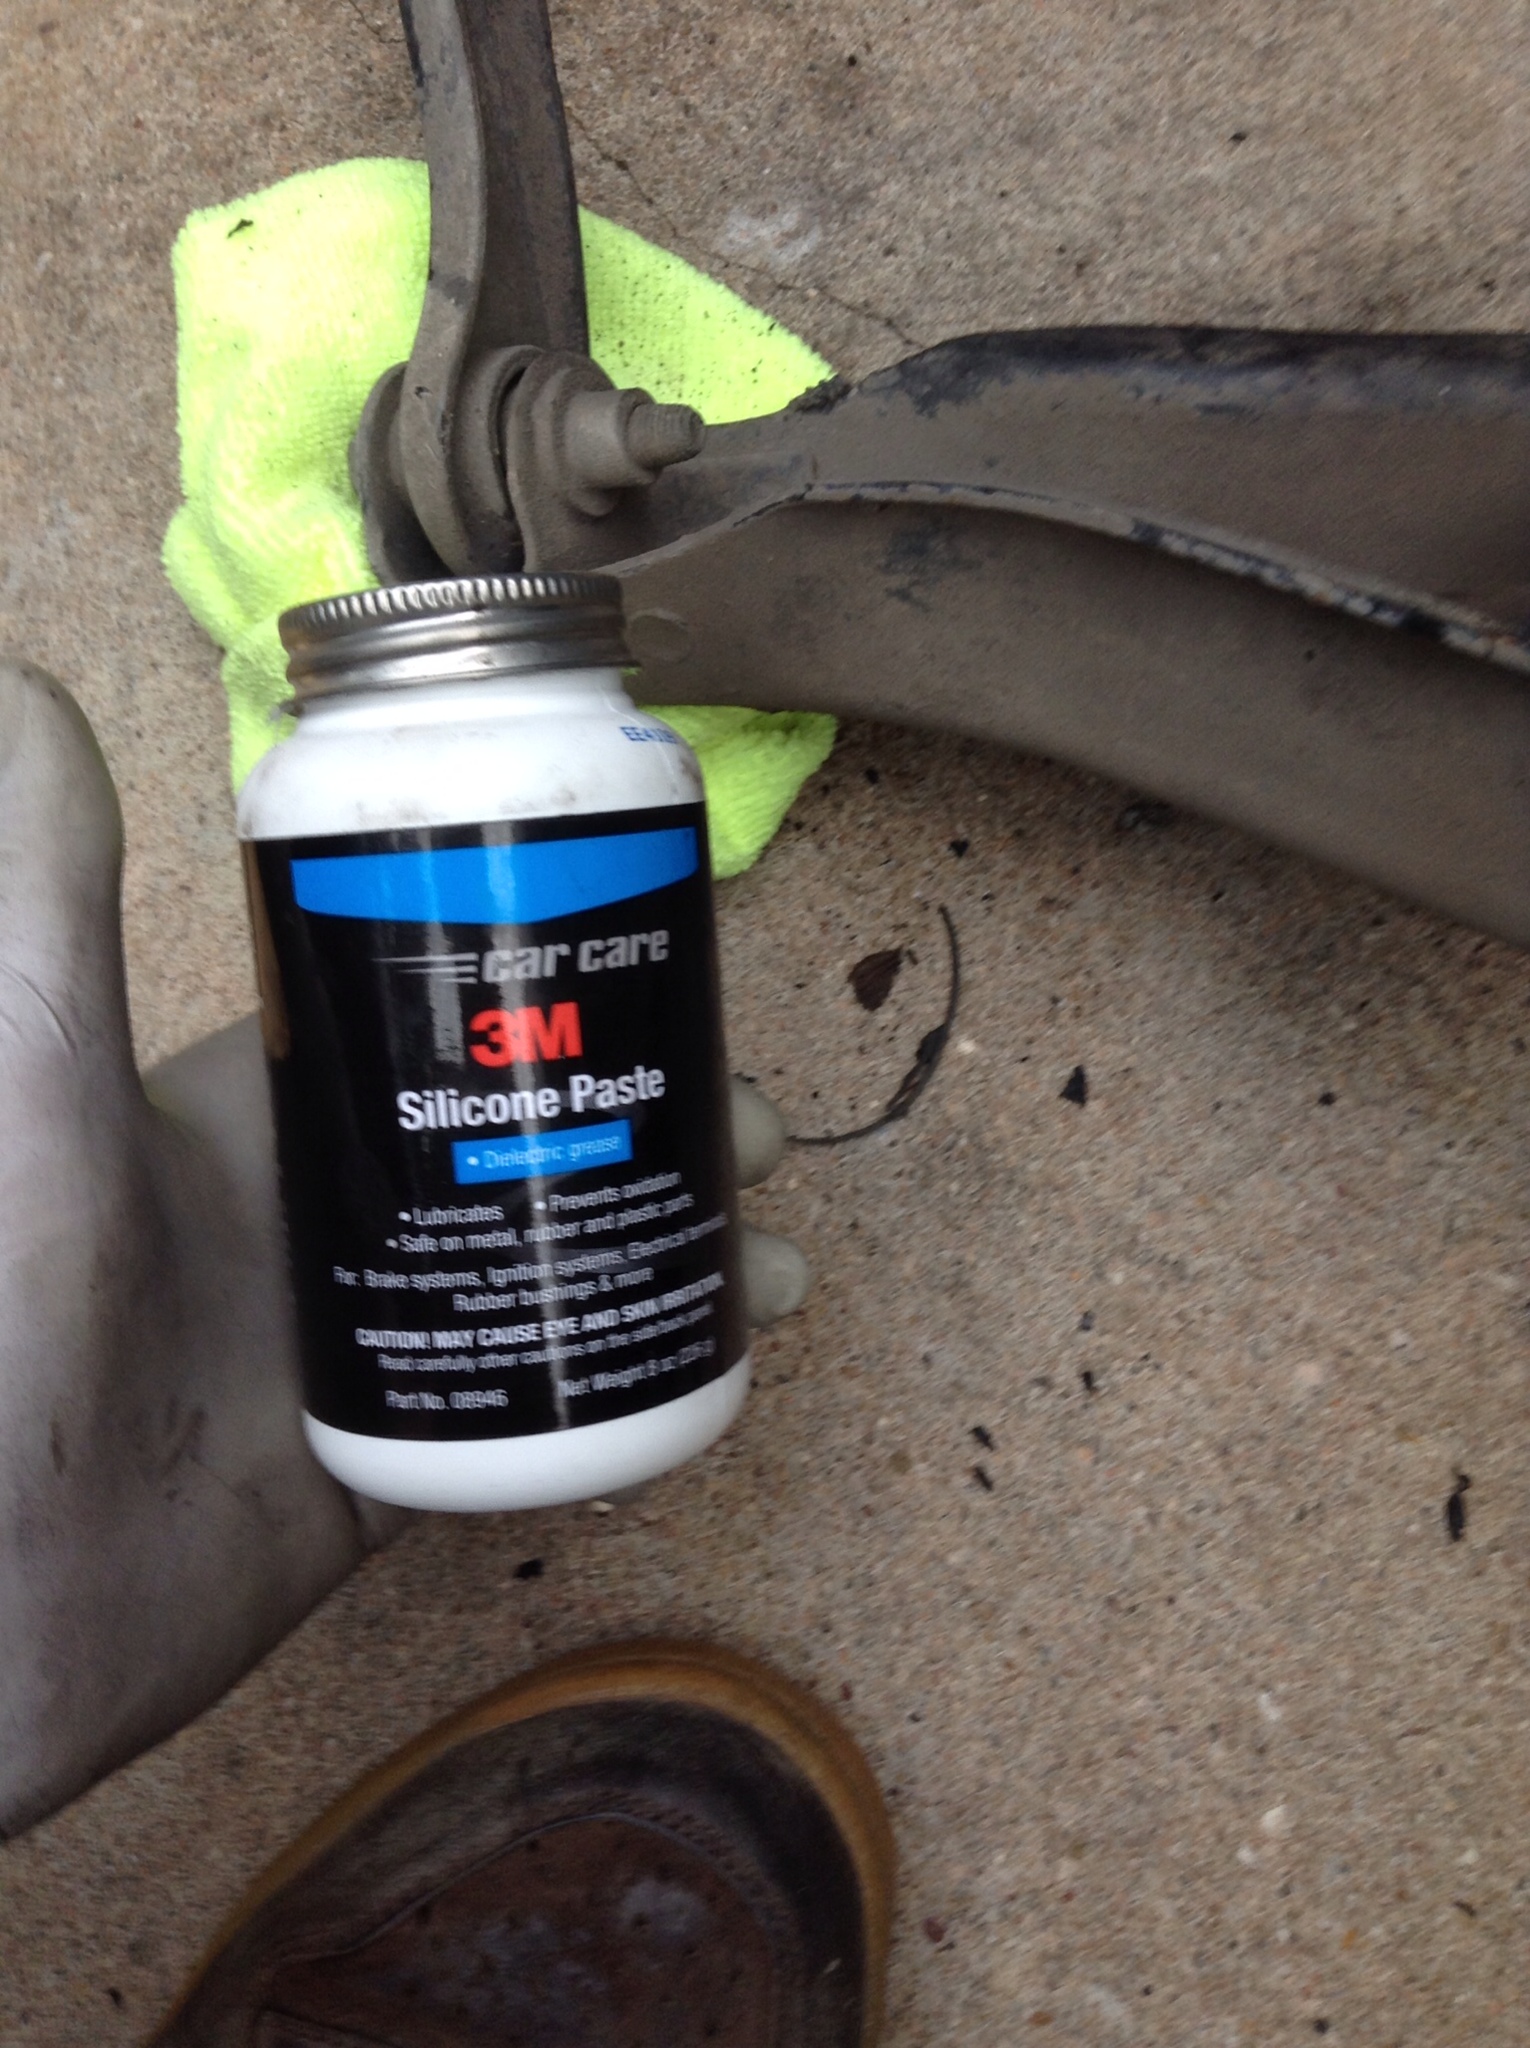
It likely will come with some silicone goop handy, but I keep some extra on hand just because ETCG say so.
And our handy little bushing press. Don't go out and buy anything expensive if you are inserting one of these donut bushings. Yeah for oem you might want a tool, but for this, a bolt a nut, some washers and scrap pieces of wood, or bigger washers even.

Assemble as such. I think the metal sleeve on the arm might be tapered I tried initially getting the bushing in from the other side, no luck. Also I had two little wood circles at first, the rear one pulled up too close though and didn't allow to get the bushing fully seated, so I got a wider piece of mdf from the scrap bin and drilled a hole in it. Just something to keep in mind.
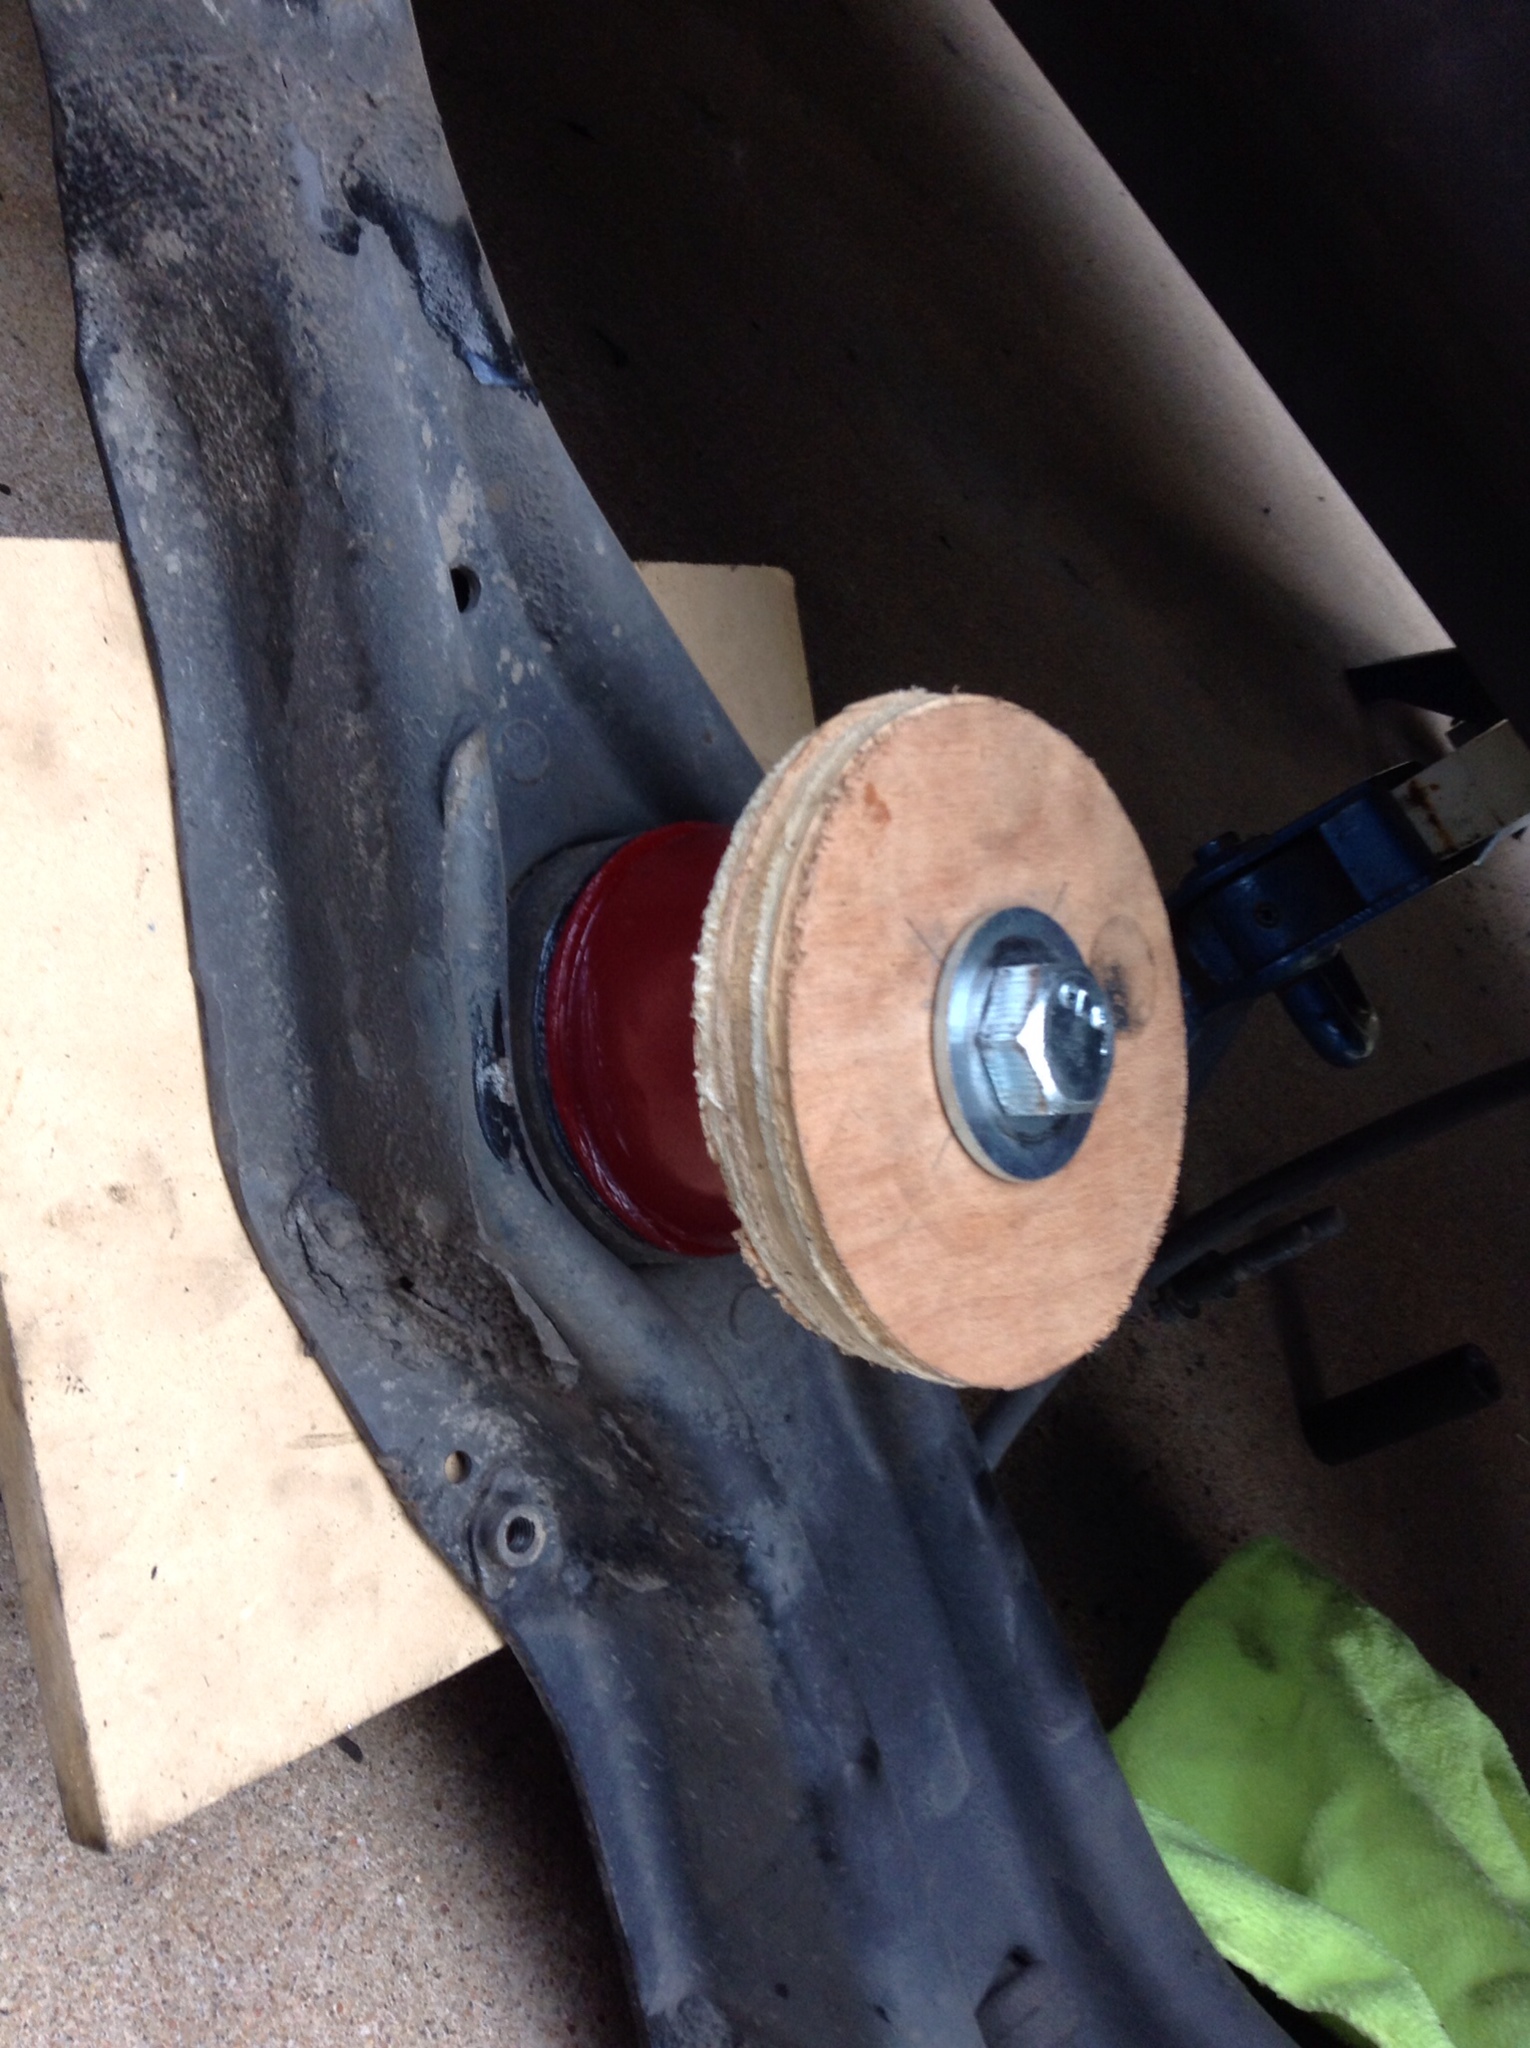
Zip zip says Mr. Impact.
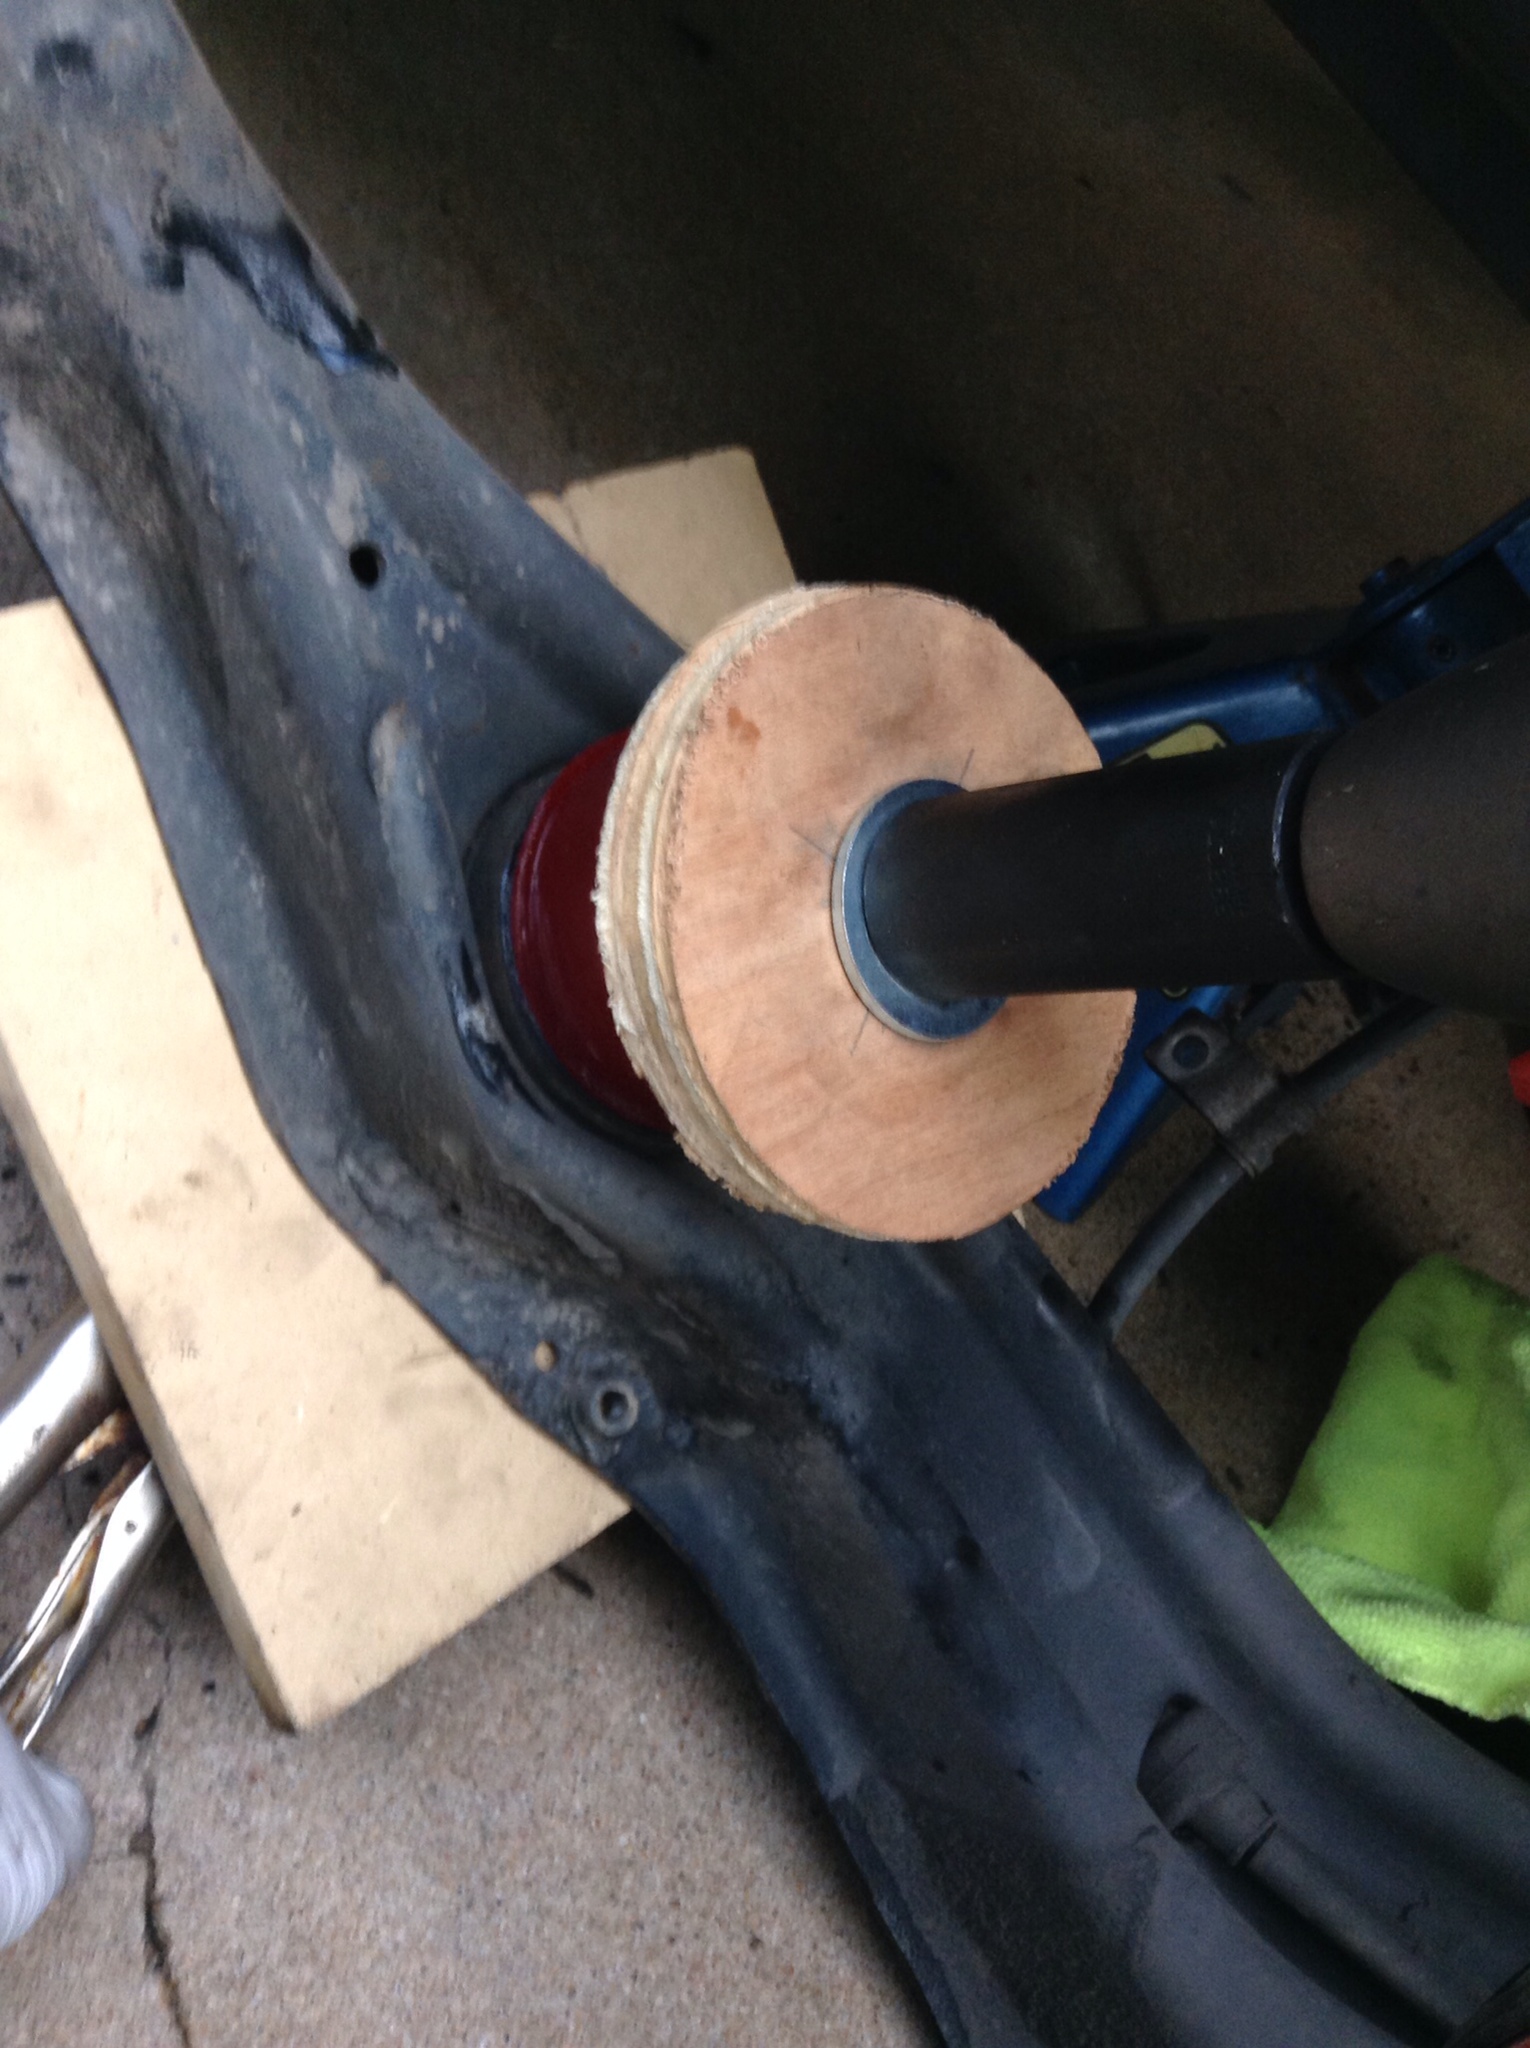
Almost there.
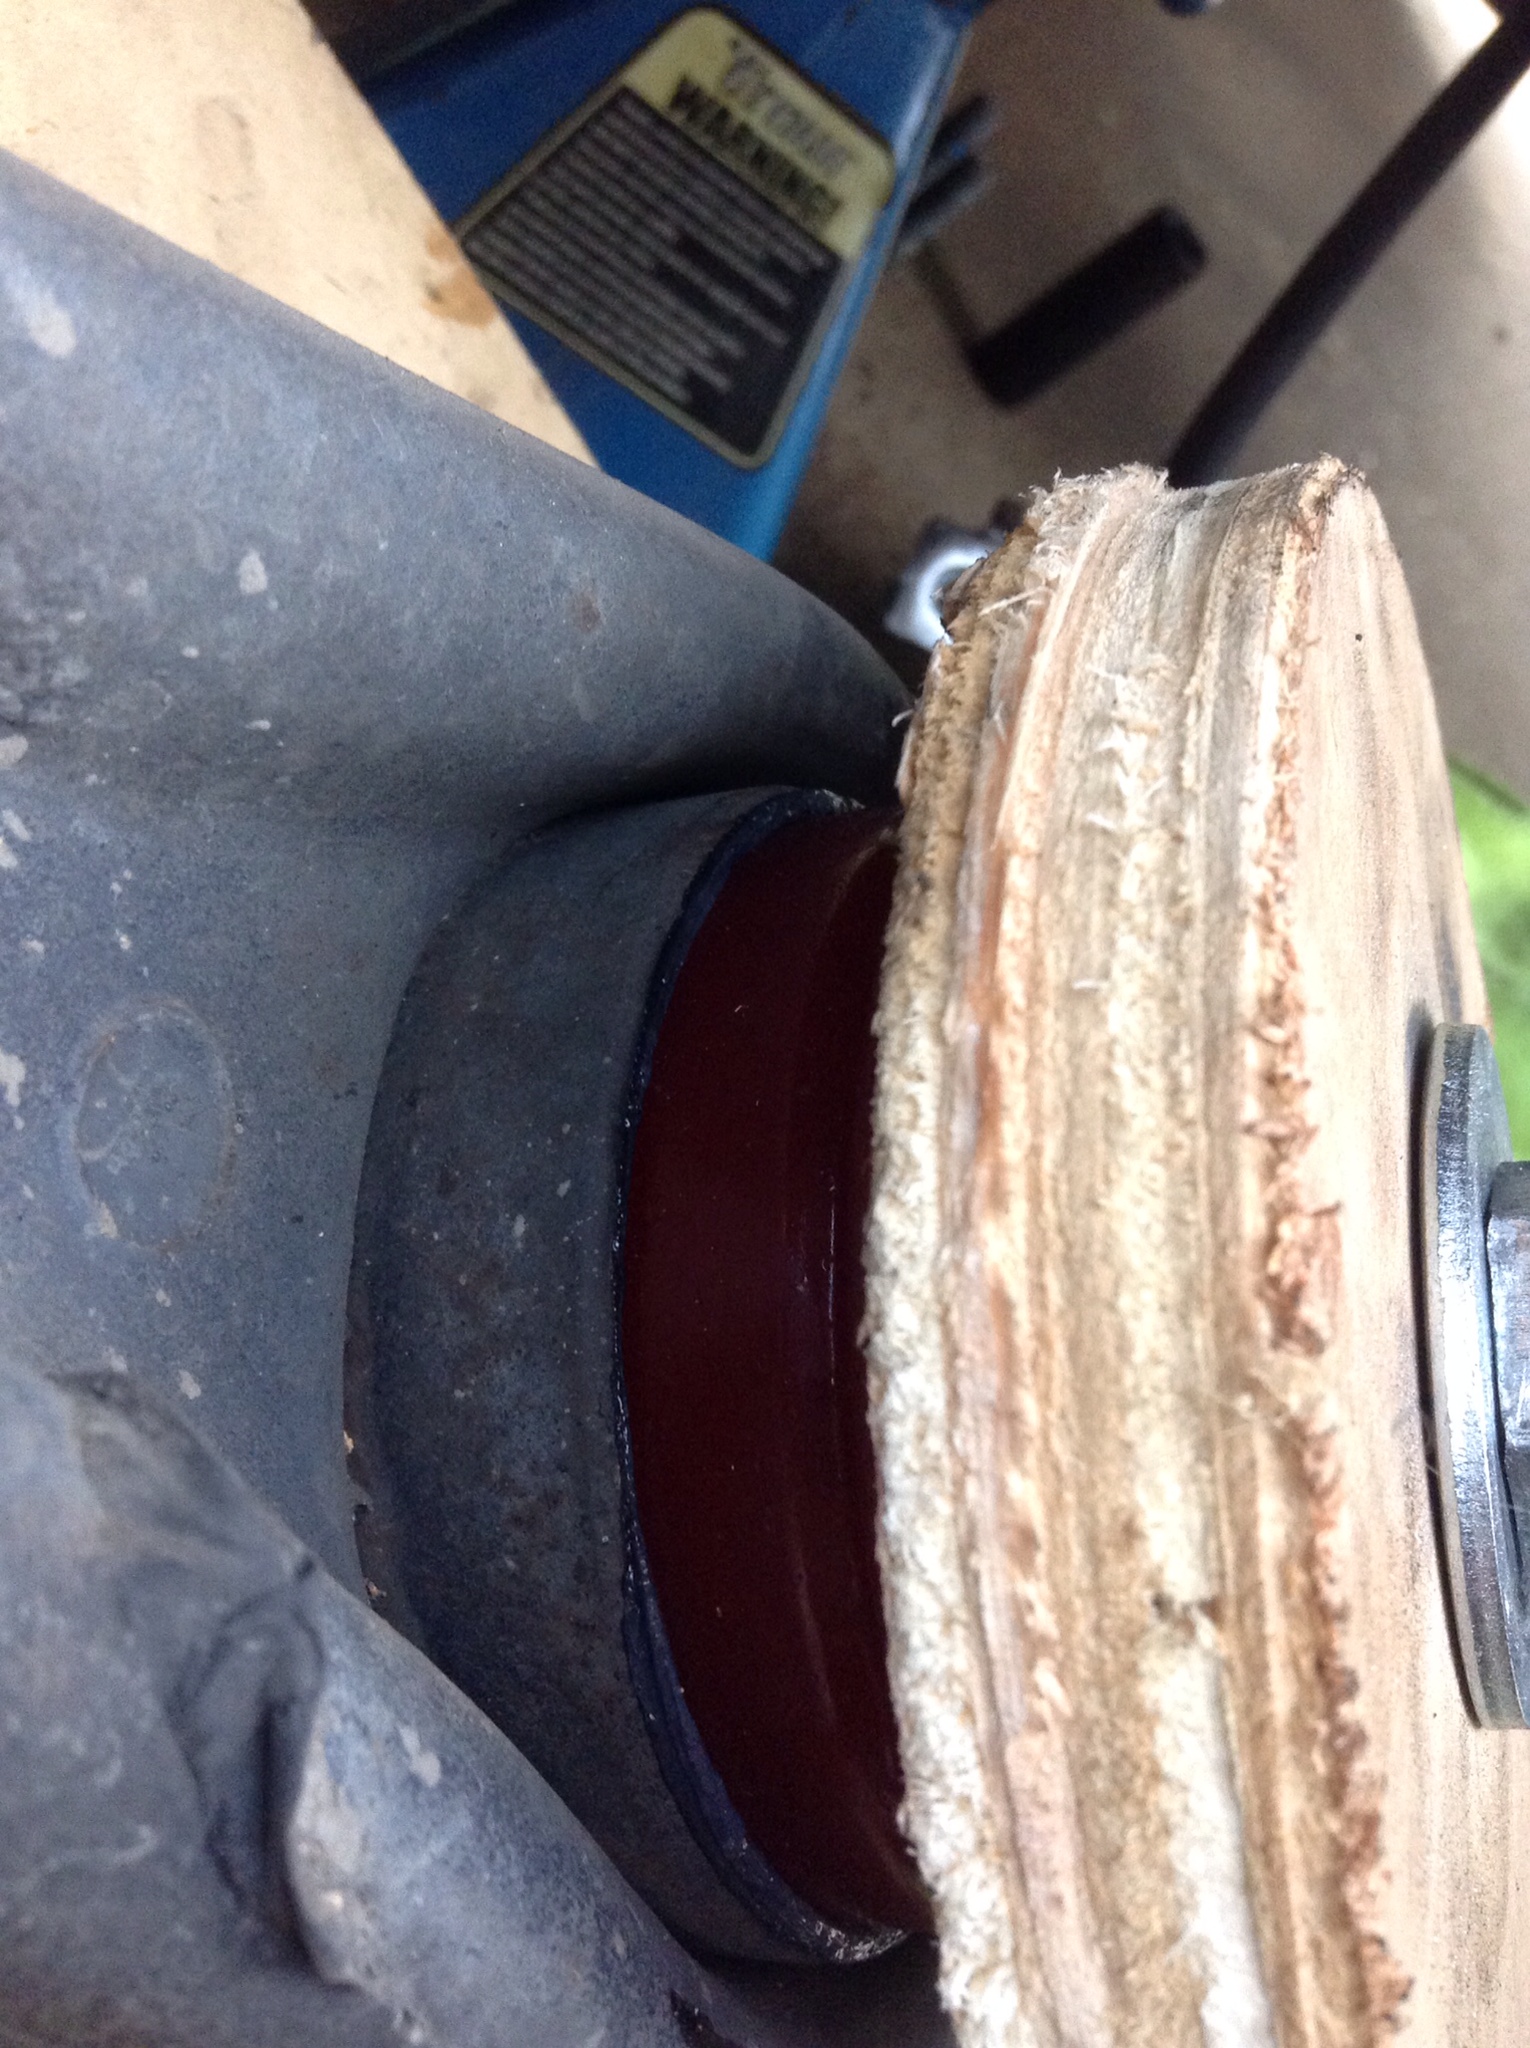
And done, with the pin reinserted. Make sure you line it up right according to your marks.

After that it's just a simple matter of following disassembly in reverse. A little prying and pulling here and there to get things all lined back up, but then you're done. Yay!
As always, let me know if I missed anything or there are any questions. All in all this was a fun little project. that could probably be done in 60-90 minutes (if that) per side once you have your process down.

Comments
I do recall that the black ones are black because they have graphite embedded and you might not even need the silicone lube if that's the case?
Are you doing an OEM reinstall of the trailing arm bushings? Or are you doing some inserts like this? I just figured since I was doing the LCA as well as this bushing, two more bolts to have it free and give me some extra space to work with.
On a side note since I do have my LCAs out and have the full energy suspension kit I plan on torching those mofos too and installing the bushings. I'm also thinking about the feasibility of welding a metal block with a 10mm hole in it to have a sway bar mount on the stock arms. I figured since I have the welder, and the arms here, I don't see what harm could come of it. Just wonder if anyone else has done so.
My rear LCA's have the typical seized bolt issues that I will sadly have to either torch the shit out of them to get them out or pay someone to since I am lazy lol.
I guess I didn't run into the typical seized bolts. I was able to take the impact to all of mine and blam, out they came. Were ya not so far away I'd say bring it on over
Haha, I would gladly swing on by and enjoy working with another wagoner.
I am changing these this week also. I am having a time finding stock struts. Where did you get yours, or do you have a part number for the rear set?
Thanks for posting your work images.
Especially as you can get better struts and springs and still maintain proper ride height.