Polyurethane filled motor mounts. Using 3M Windo-weld.
 greenteagod
Moderator
greenteagod
Moderator
I'll start by saying there are many ways of doing this, there is no one method fits all as everyone's tastes are different.
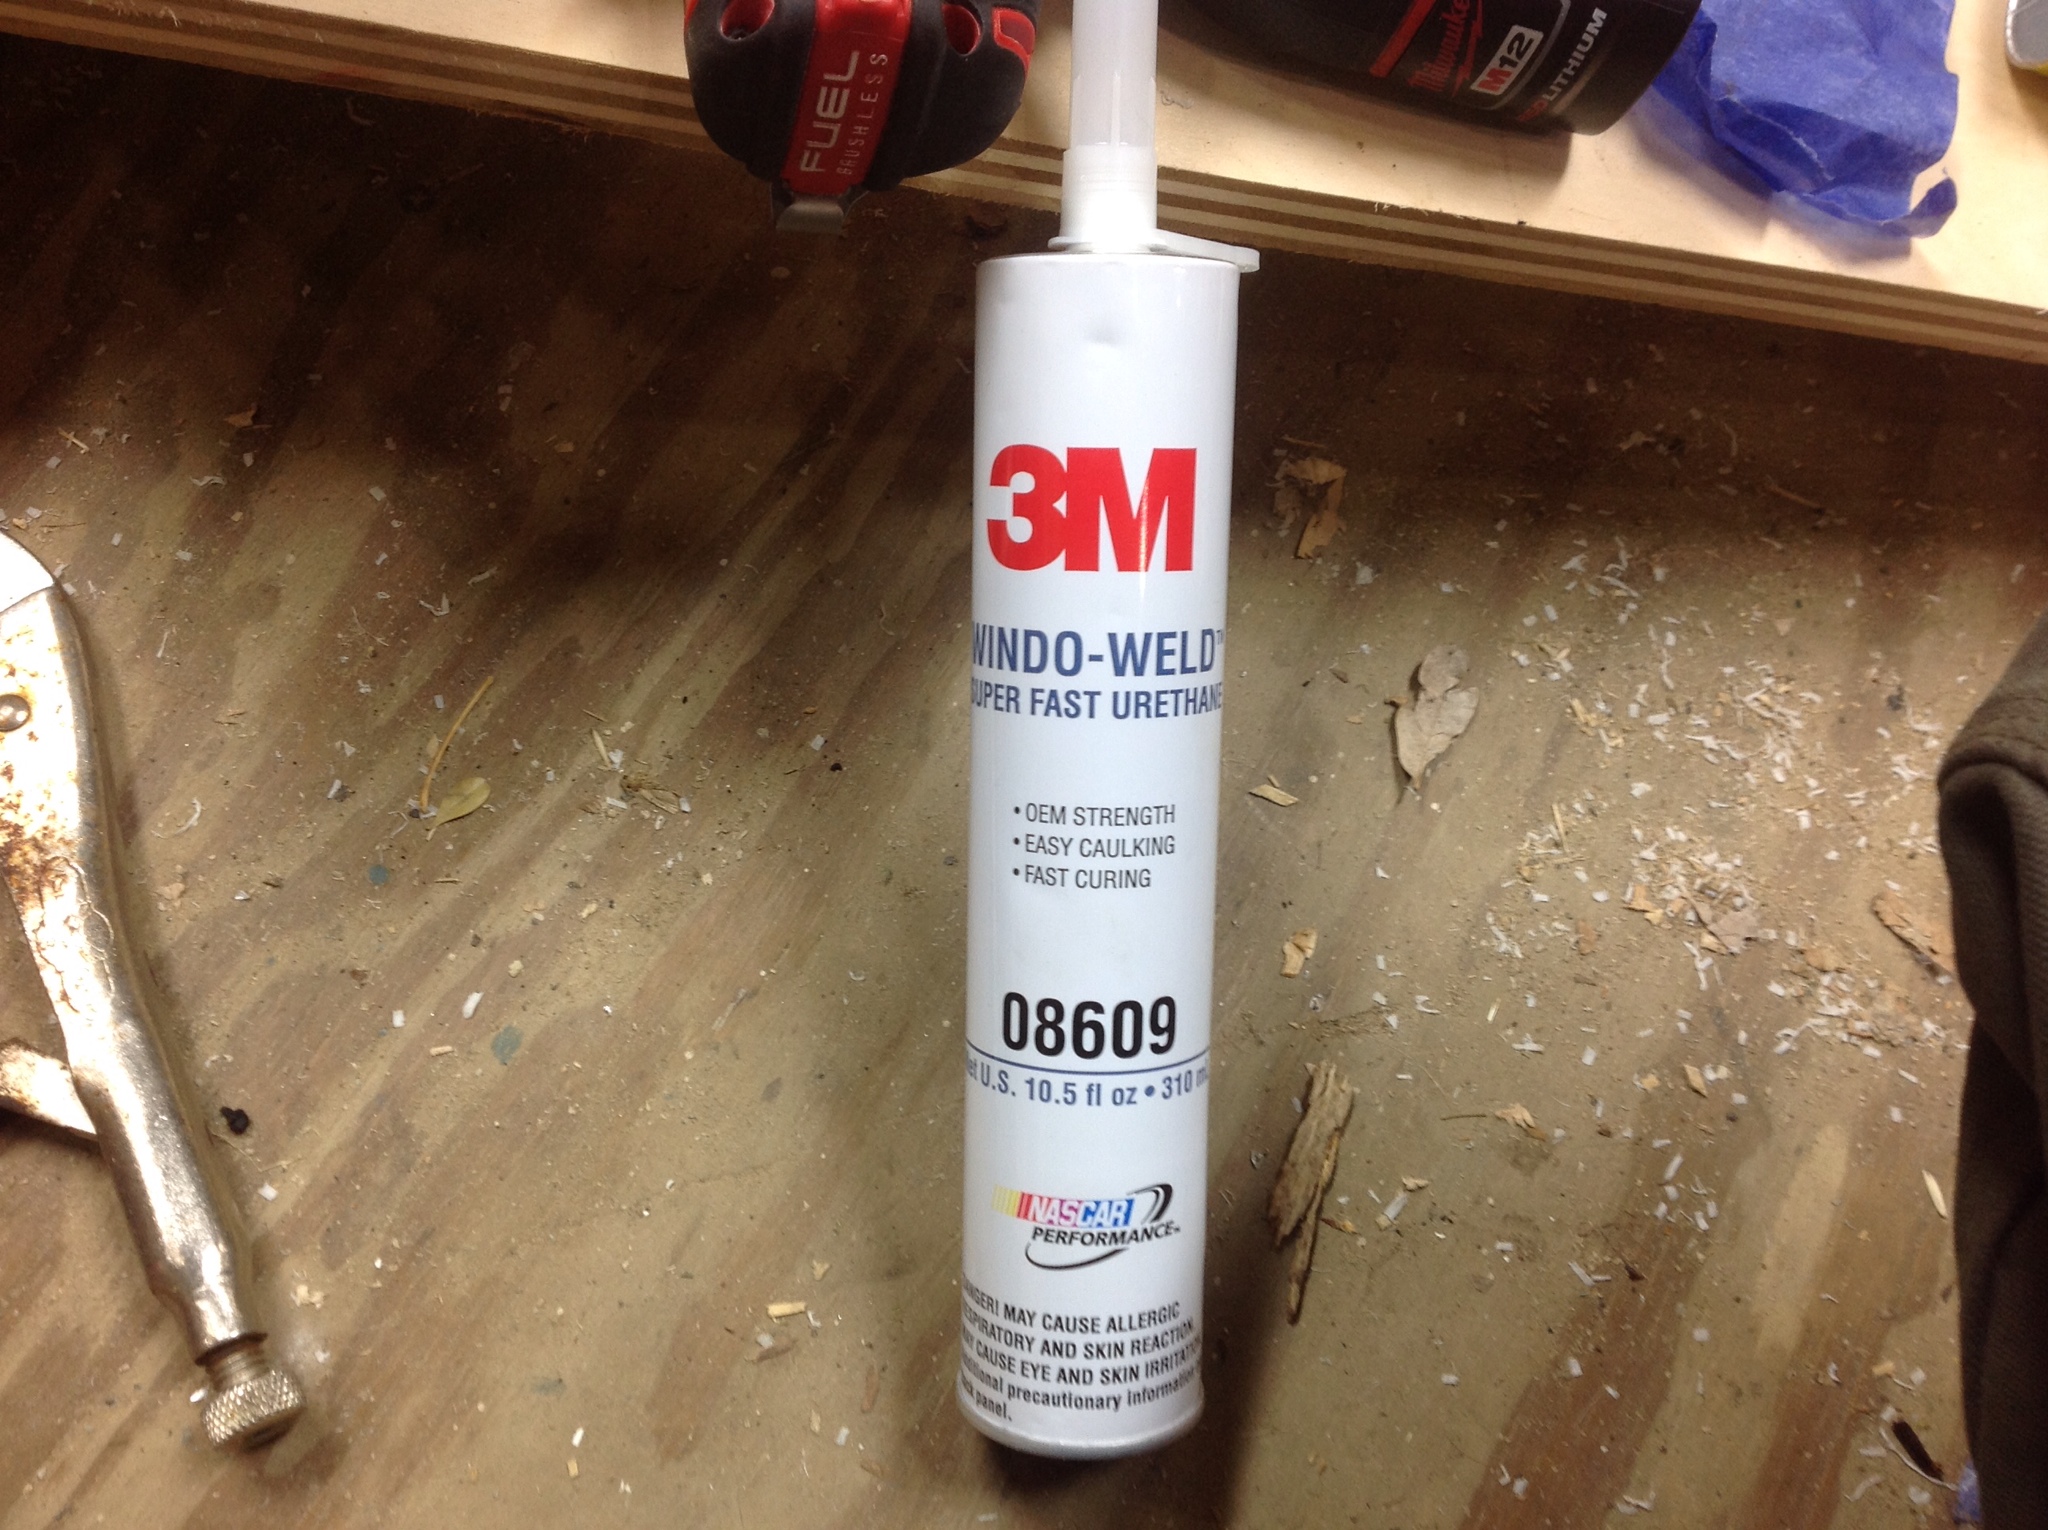
I'm going with some 3M window weld. It has what I believe to be the right amount of hardness for the results I want. A little more rigid than stock, but not jarring the fillings out of your teeth.
I tried another part with some Vulkem 116 but that stuff comes out gritty and really stinks. The 3M windo-weld is much smoother, sets up quicker and doesn't smell nearly as bad.
Windo-weld has a shore hardness of around 50. If I recall correctly a couple other companies like prothane and energy suspension who make inserts that's around 80 or so maybe even higher. In reading other reviews on it I find the following theme. "I got used to the vibrations" or "this vibrates way too much." That to me reads too much vibration for my preference. But that's just me.
For the one part polyurethane like this I think 50-60 is about as hard as you get. It is very easy to dispense though. For harder poly fills you'll need to go with a two part pourable polyurethane. I have heard of some people using stuff called steel weld, maybe that's like jb weld?
So on with a couple pics, it's very very basic so don't expect much.
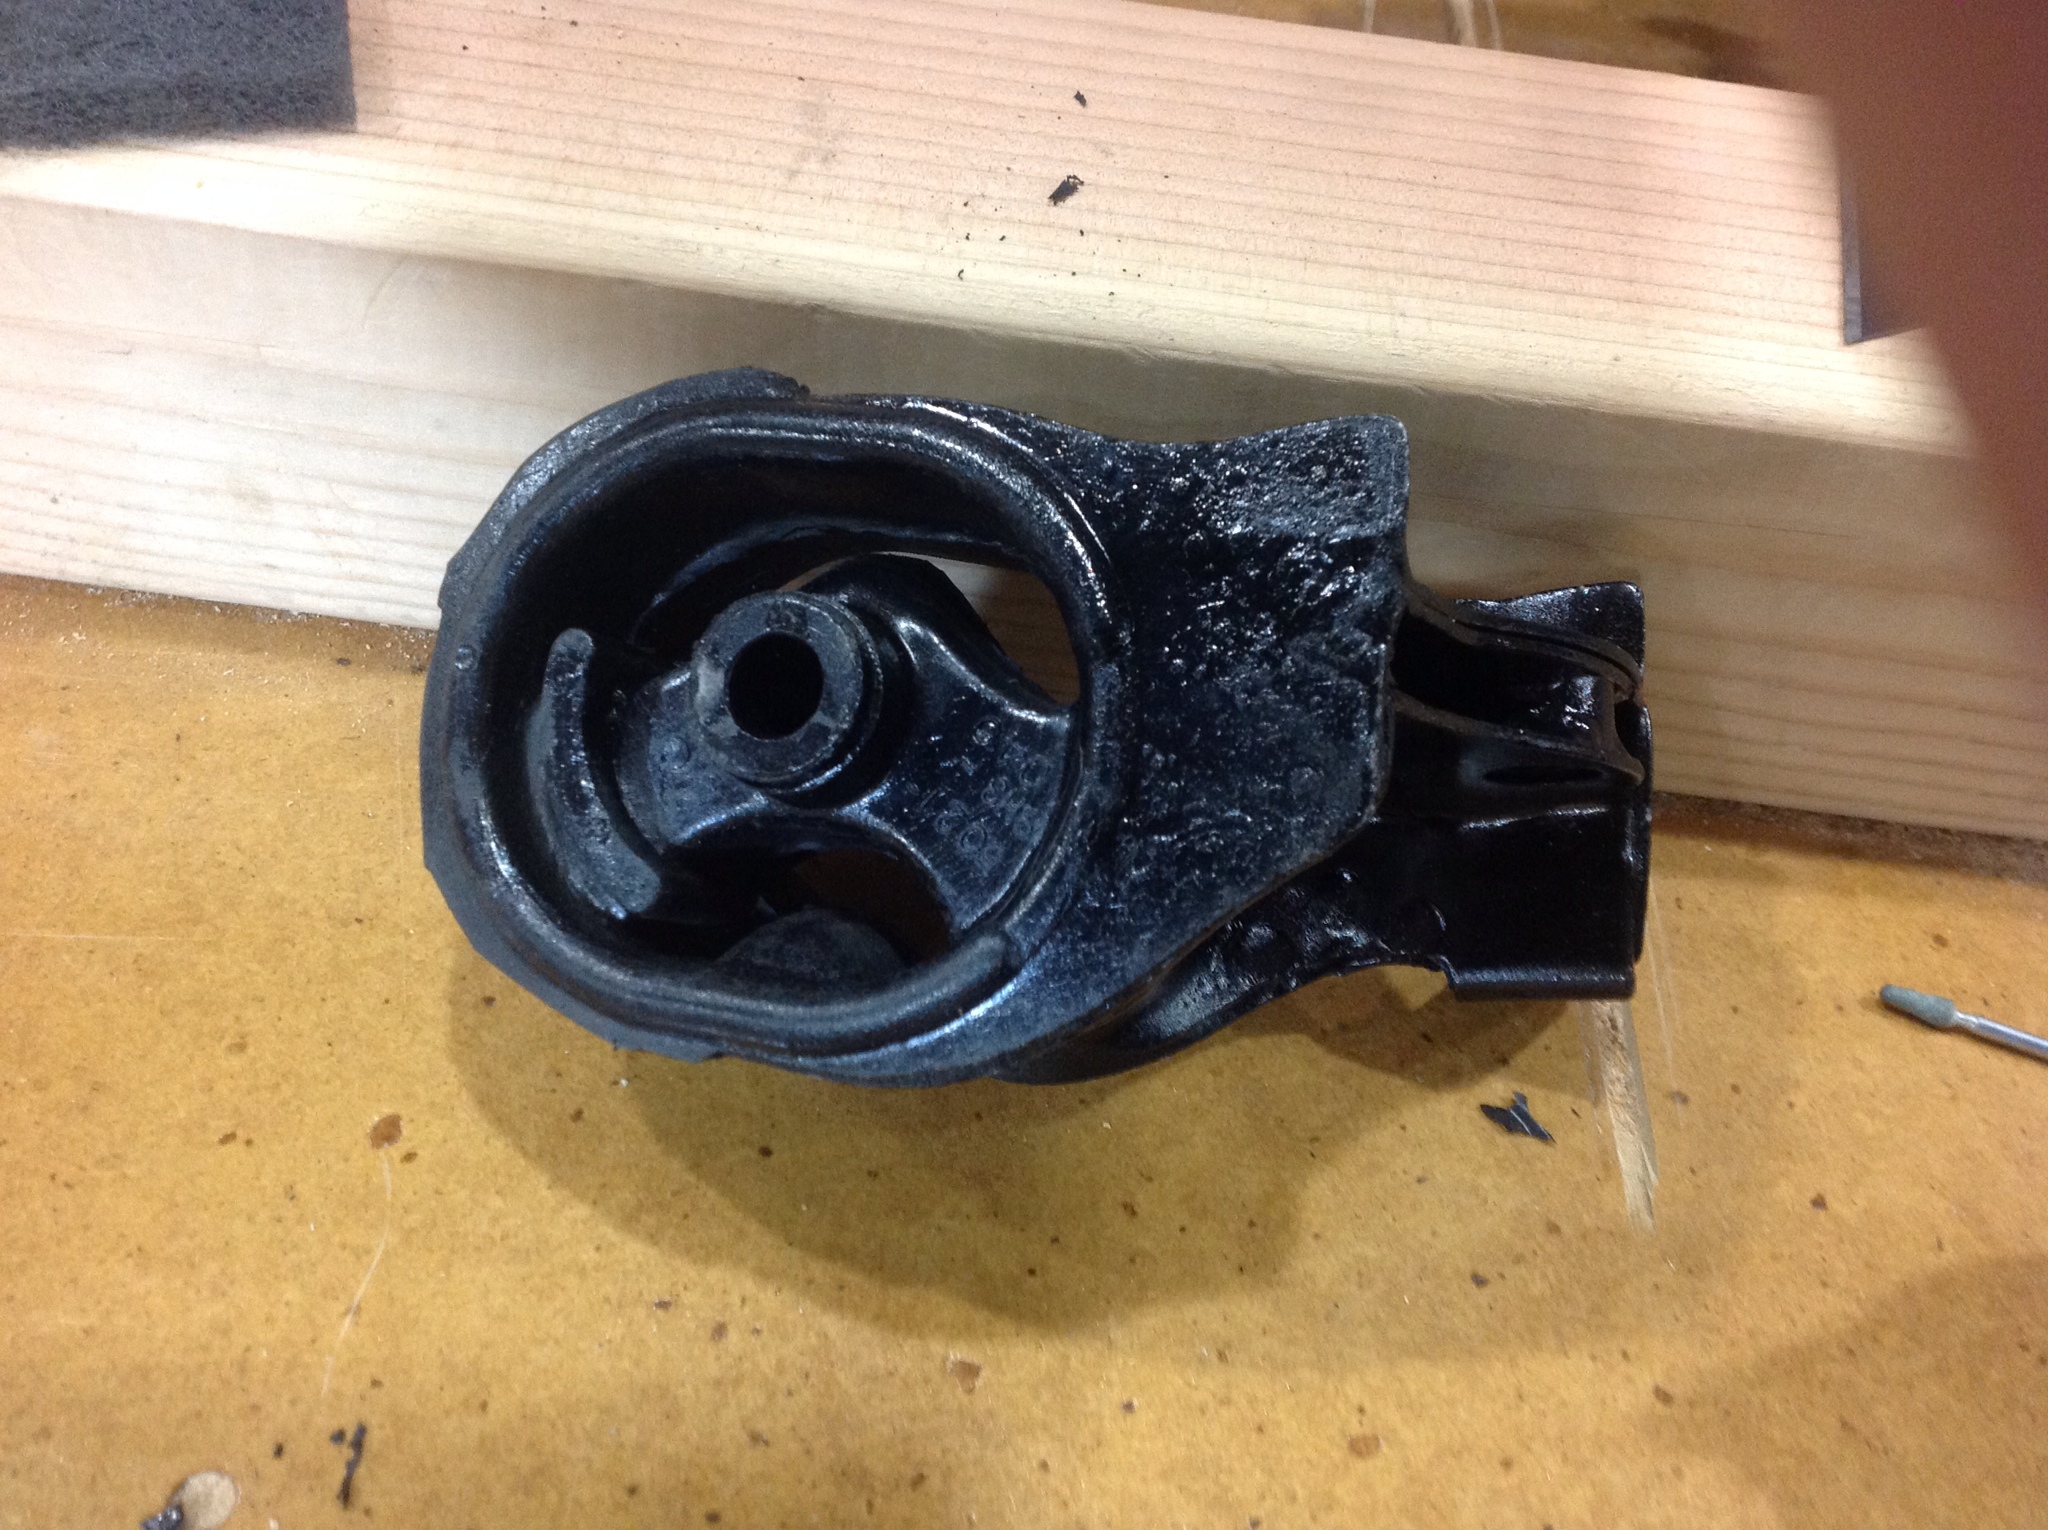
Fresh mount.
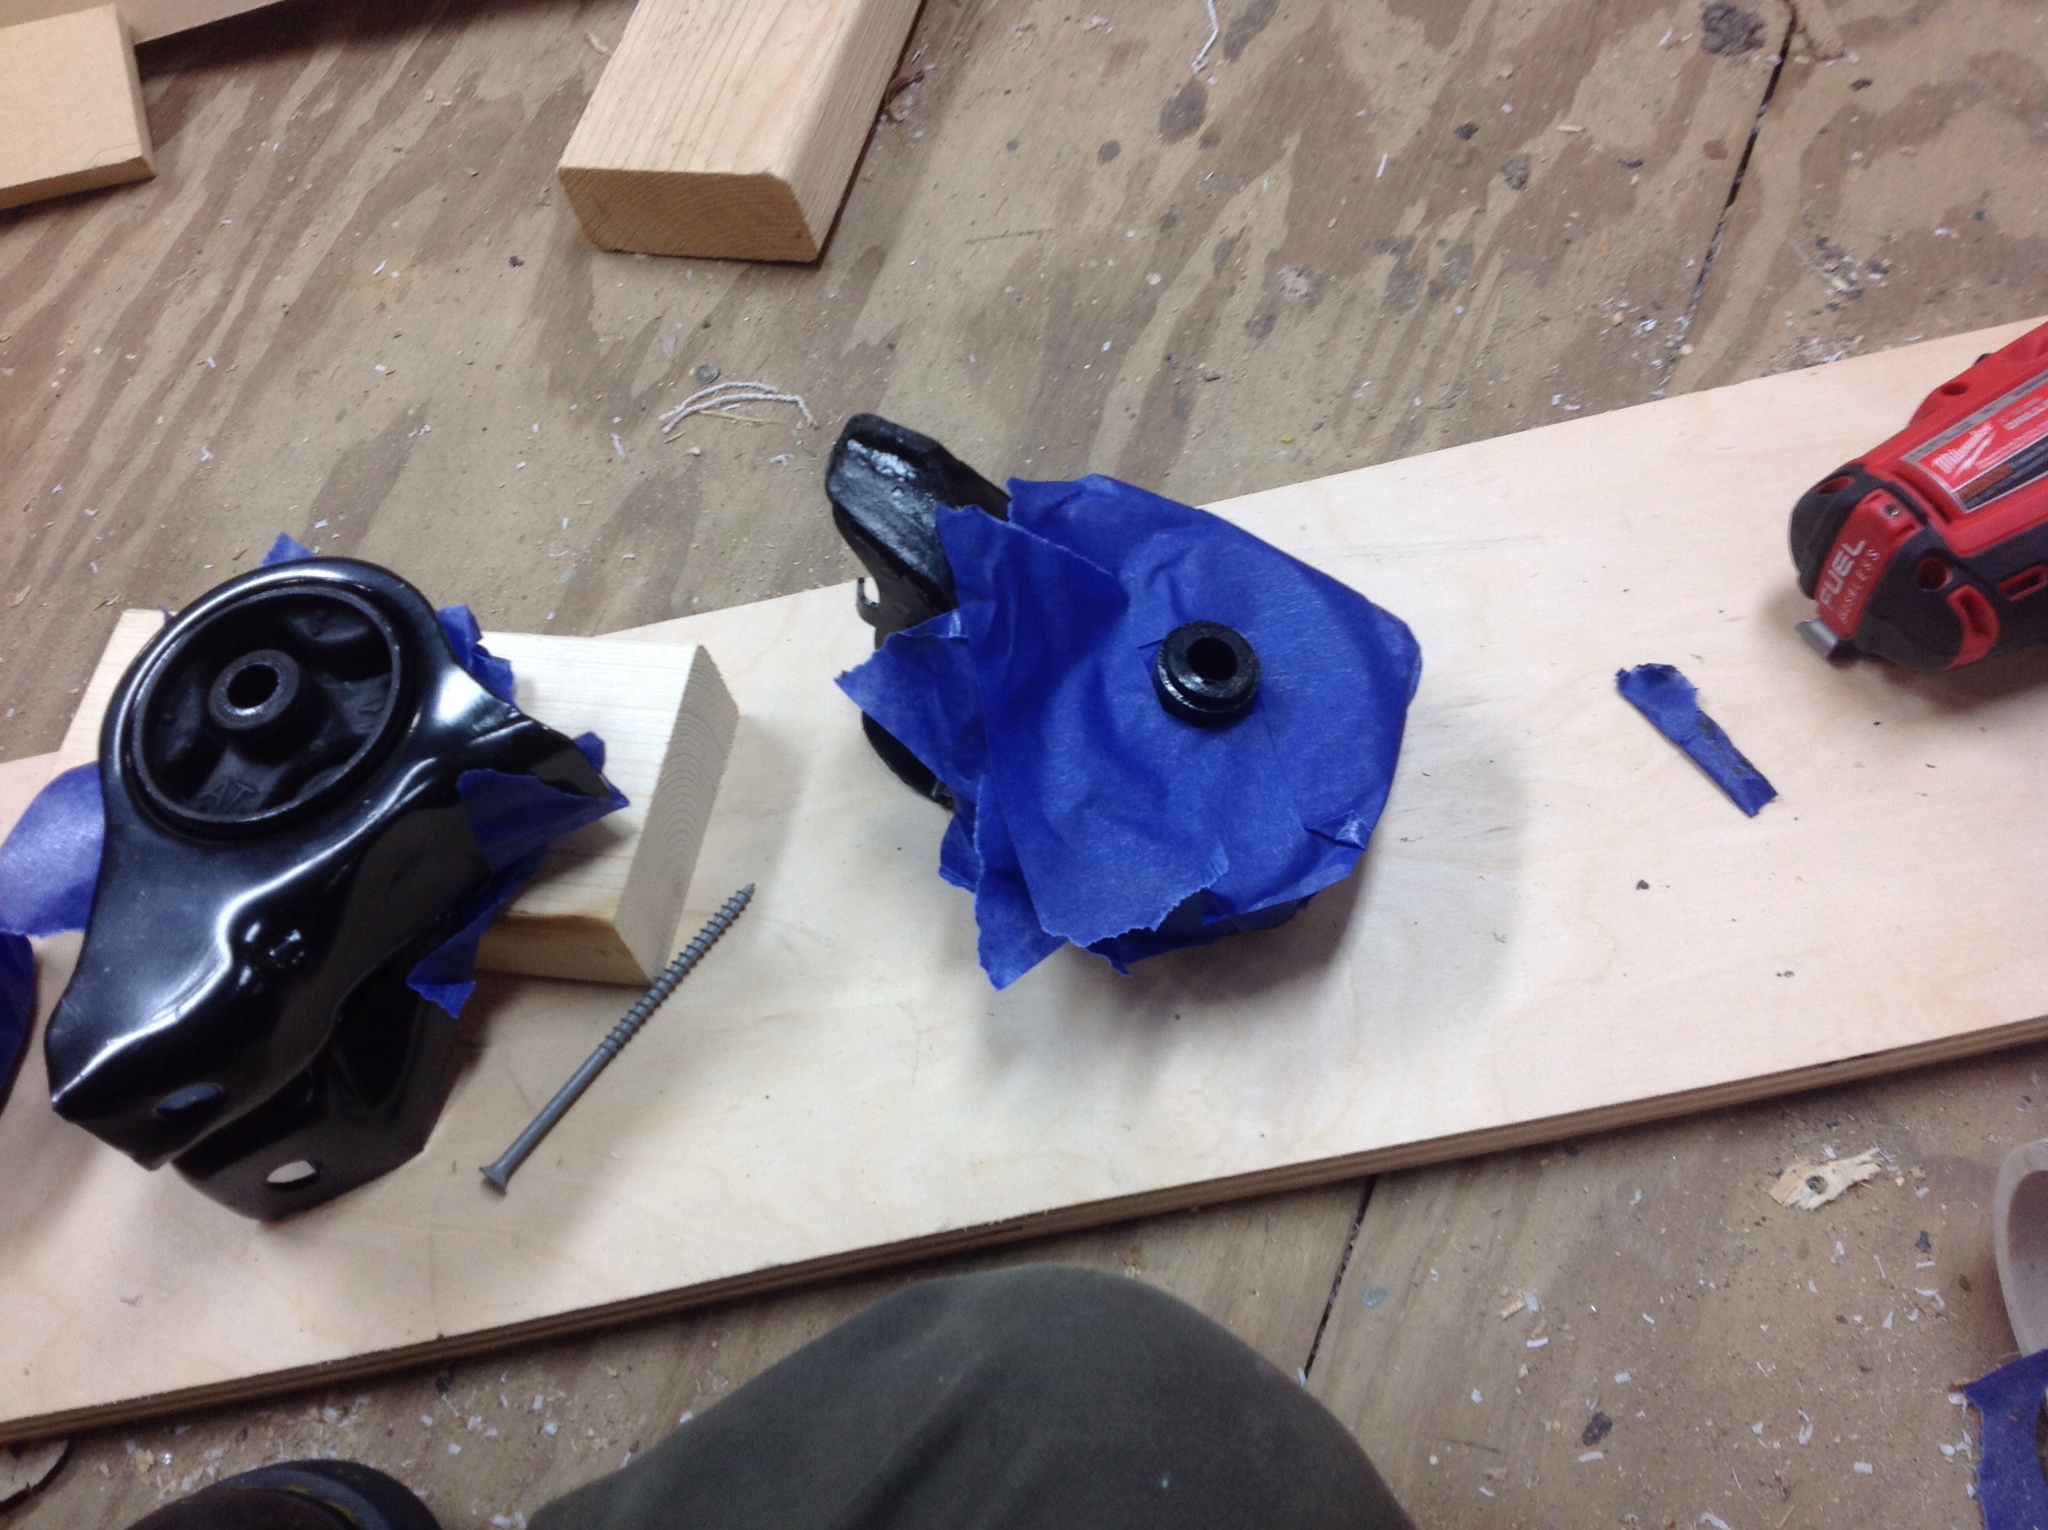
Masked off one side.
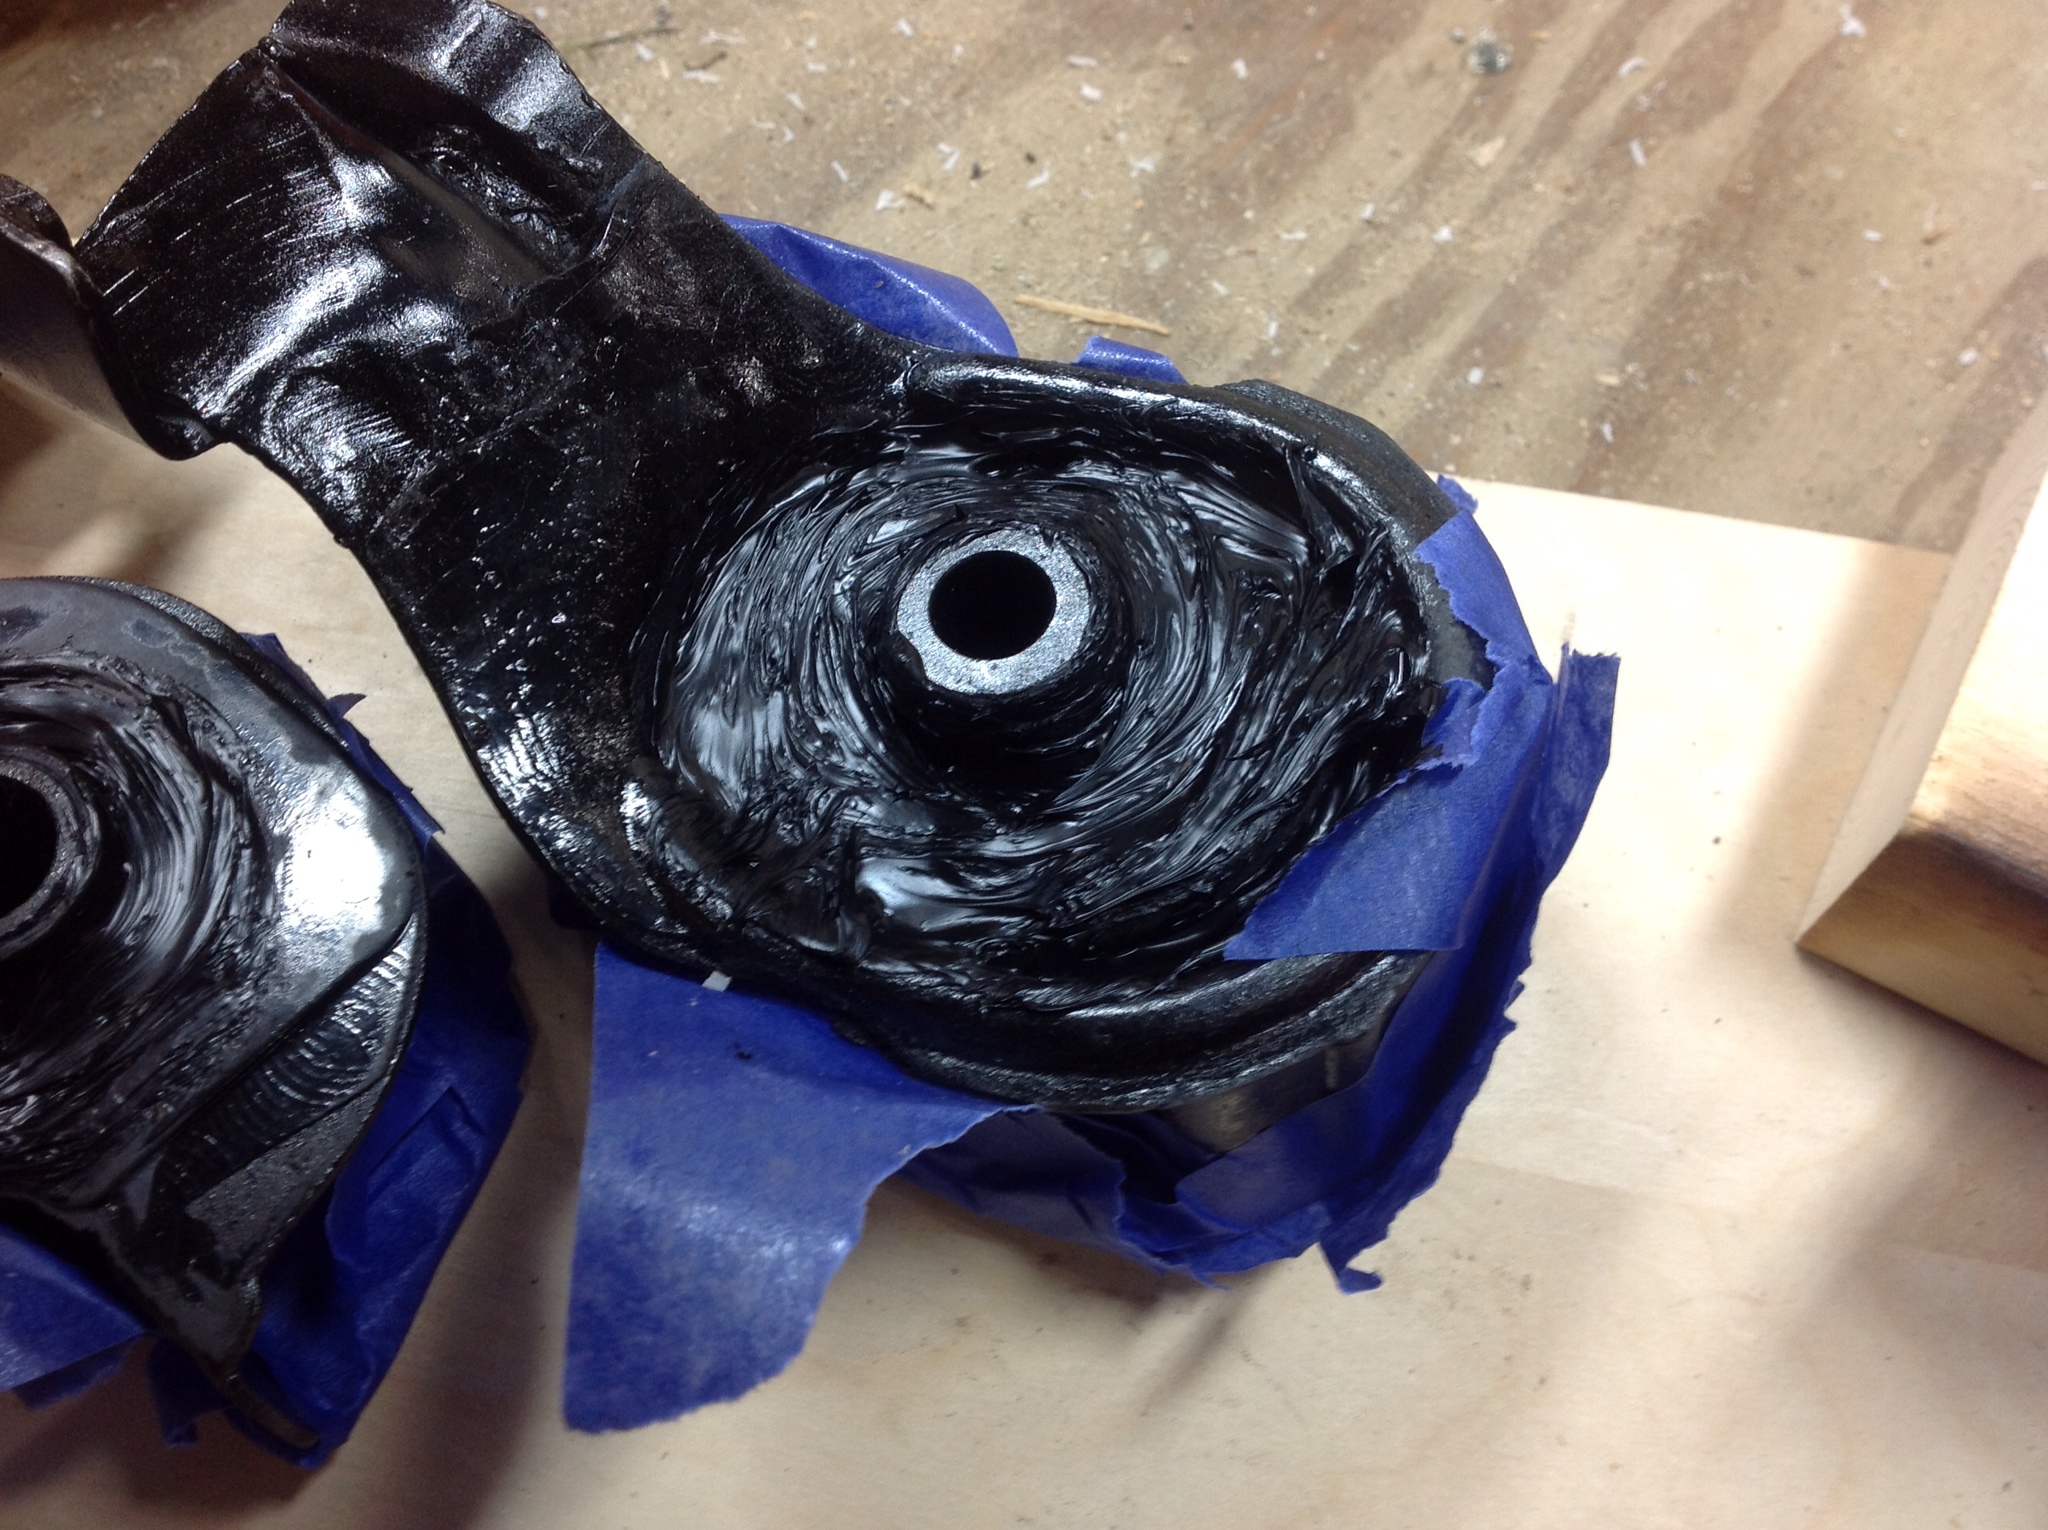
And fill. (Wear gloves, it's nasty when it gets on you.)
If you are so inclined you could probably take some time to smooth it out with soapy water and a glove. I'm not too worried about that.
This stuff does set up decently fast, it's a chemical reaction with the atmosphere. The warmer it is the quicker it will set. I tried another part in the oven it seemed to help, though at the cost of many irritated looks from the lady friend.
As some of these bushings are a bit thick I'd say give it a week for the. To fully cure.
I've also heard of some people putting an air hole through the bottom part of the polyurethane. Not sure if that is necessary, if so I may revisit that at a later date. I'll probably be putting these on later in the month, so initial impressions will be given when I get em on.
Thanks.

I'm going with some 3M window weld. It has what I believe to be the right amount of hardness for the results I want. A little more rigid than stock, but not jarring the fillings out of your teeth.
I tried another part with some Vulkem 116 but that stuff comes out gritty and really stinks. The 3M windo-weld is much smoother, sets up quicker and doesn't smell nearly as bad.
Windo-weld has a shore hardness of around 50. If I recall correctly a couple other companies like prothane and energy suspension who make inserts that's around 80 or so maybe even higher. In reading other reviews on it I find the following theme. "I got used to the vibrations" or "this vibrates way too much." That to me reads too much vibration for my preference. But that's just me.
For the one part polyurethane like this I think 50-60 is about as hard as you get. It is very easy to dispense though. For harder poly fills you'll need to go with a two part pourable polyurethane. I have heard of some people using stuff called steel weld, maybe that's like jb weld?
So on with a couple pics, it's very very basic so don't expect much.
Fresh mount.

Masked off one side.

And fill. (Wear gloves, it's nasty when it gets on you.)

If you are so inclined you could probably take some time to smooth it out with soapy water and a glove. I'm not too worried about that.
This stuff does set up decently fast, it's a chemical reaction with the atmosphere. The warmer it is the quicker it will set. I tried another part in the oven it seemed to help, though at the cost of many irritated looks from the lady friend.
As some of these bushings are a bit thick I'd say give it a week for the. To fully cure.
I've also heard of some people putting an air hole through the bottom part of the polyurethane. Not sure if that is necessary, if so I may revisit that at a later date. I'll probably be putting these on later in the month, so initial impressions will be given when I get em on.
Thanks.
Comments
It was when the mount was rubbing against the mount holder, but I got a washer in there and now it's back to good.
I used a product called fusor. It is going to be a bit harder than what you did. It is a two part epoxy. Super hard.
It 345 in the morning and I just got done filling my mounts after taping them off and God damn is that stuff messy! I got some on my t shirt but thank goodness it's a cheap car tshirt. Lol
So far so good though, I feel like I'm going to have to remove the tape off the other side and fill that side with window weld so it's even on both sides. If you do this I'm telling you you gotta wear gloves. Haha whoops.
Vibration not too bad?
Did you end up poking any holes in it?
There are a few squeaks here and there, but nothing that a little insulation can't take care of. Things like a bit of extra rubber bumper at the glove box. Some insulation behind the radio/climate control bezel. Things like that.
Nothing so harsh that I feel the need to poke a hole through it at this point, though if I were to redo them I might actually go back to that vulkem. It's squishier and that window weld is about as hard as the mount material itself.
This one didnt even work at all. It was cracked all the way around:
Here is how I taped them:
This was before:
After ( during the curing time) :
Lots of random pictures which I apologize for. After installing these on my wagon I must say I like them alot. The only problem I could see someone having is the shaking of the dashboard. I am use to this since my 97 turbo hatchback has hasports which do the same thing. If you cant handle extra vibration at idle then this prob isnt the best for you. Again this is just my own $.02 but for less then $20 its wayyyy cheaper then new mounts